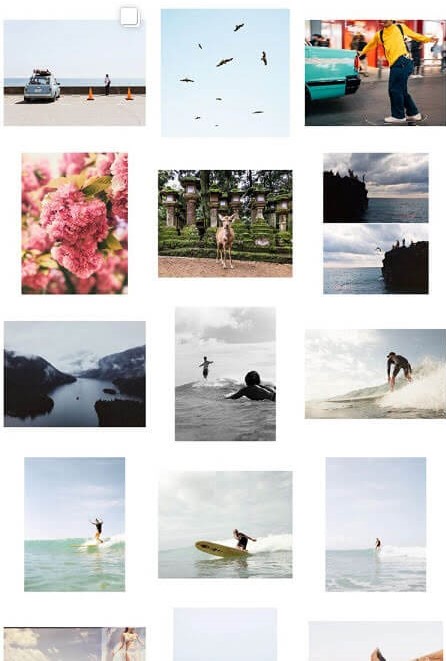
One of the best ways to improve the aesthetic appeal of your Instagram gallery and feed is to increase the amount of white space between your photos for a clean, uncluttered look.
The white border you choose will depend on your overall Instagram theme and whether the photos you’re uploading are horizontal, vertical, or square. If symmetry is your thing, then a white frame for Instagram photos is a great way to go. Here are a few simple ways to achieve a white border on Instagram.
Instagram saves duplicates to your iPhone
If your Instagram app is set to save all posted photos to Camera Roll, you’ll end up with two copies of every photo you post. An iPhone app like Gemini Photos will help you find and delete those redundant copies.
Download on the App Store
The easiest way to get white borders on Instagram is to use the native Instagram app. If you navigate to your profile page, you’ll see that your photos all show up as squares with a thin white border between them. This is lovely, but there’s a more striking white border that you can add to your photos.
Here’s how to add a thick white frame for your Instagram photos:
As fabulous as the Instagram app is, you can really only achieve one border style using the Instagram editor. If you’re looking for a thicker border or a way to add asymmetrical borders to horizontal or vertical photos, you’ll need a third-party app. Here are a few we’d recommend.
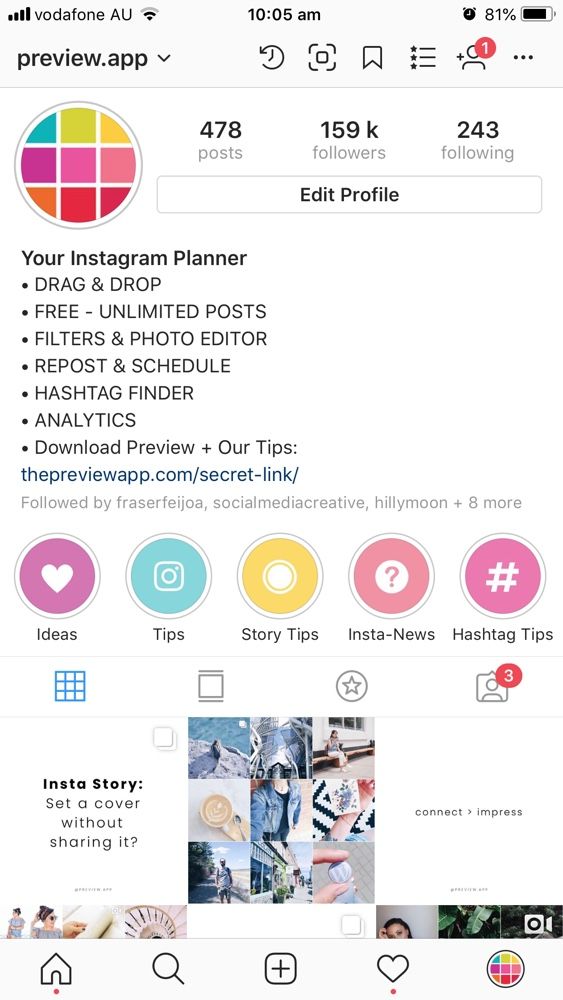
The Preview app is an Instagram planning and editing tool that has a selection of white borders you can choose to create a unique Instagram theme. If you are going to edit your photo or apply a filter, be sure to do it before you add your frame because a filter will change the color of your photo’s border when added afterwards.
Here’s how to create a white border using the Preview app:

Now you can either save the photo to your Camera Roll or post it right from the app.
With Whitagram, you can upload any photos of any kind — square, portrait or landscape — and quickly add a white border before uploading your photo to Instagram.
Here’s how to add a white frame with Whitagram:
Squareready allows you to add a white, colored or patterned border to your photos, no matter the original dimensions. With Squareready you can also move your photo around within the frame, making it off-center for a unique look. There’s also a simple, in-app editor for basic touch-ups.
Here’s how to use Squareready to create your Instagram border:

If you’re looking for ways to make your Instagram account stand out, consider using one of these methods to add a white border around your photos. This is a great trick for adding visual appeal to your gallery and giving your Instagram feed a distinct look.
With the rise of various third-party apps and tools, there are thousands of ways to edit your Instagram photos. While some users layer their pictures with cool filters or colorful light leaks, many photographers are using white frames around their photos to add a creative touch. In this guide, we’ll go over the various ways to add white borders to Instagram photos so you can easily try this look out for yourself.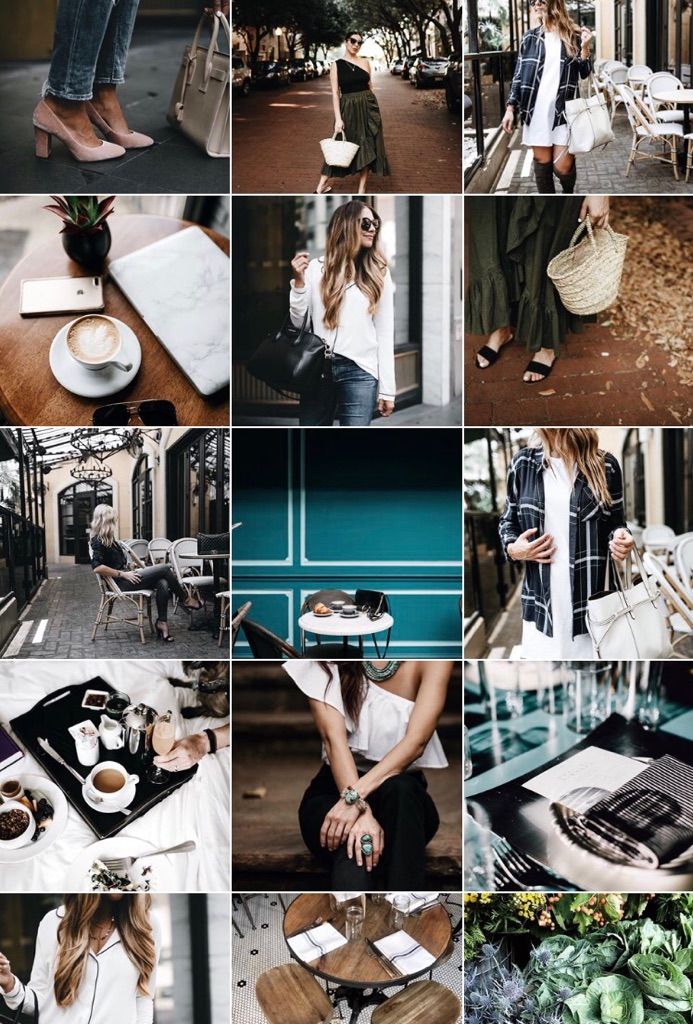
Adding a white frame to your Instagram photo is a simple and easy way to make your content stand out. While there are dozens of ways to achieve this effect, the five methods listed below are the most common — and the simplest to use.
The quickest way to add a white border to your Instagram photo is by adding one within the app itself. Here’s how:
Every filter within the app has this feature, and it’s only available for photos, not videos.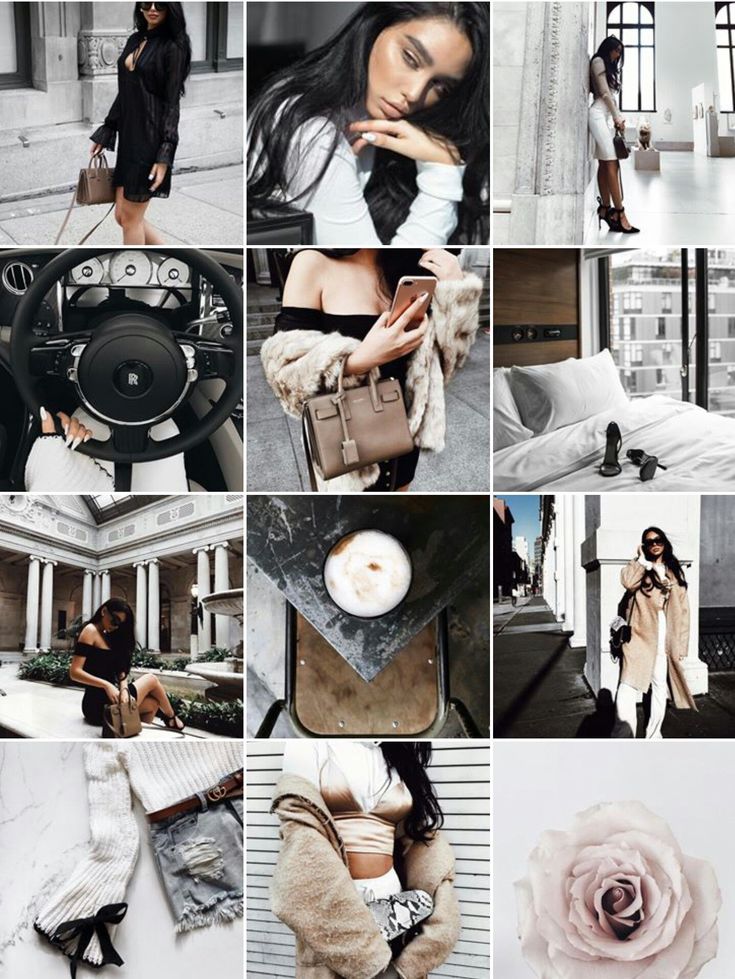
If you want more than what the Instagram app offers, you can achieve a similar style using VSCO, a popular photo editing app. It’s free to download in the App Store and comes with multiple filters and editing features, as well as additional filters available for purchase. With this app, you have the option to use a variety of color borders on your photos.
Here’s how to get a white border using VSCO:

This will save the new version of your photo to your Camera Roll, where you can upload it to Instagram as you normally would.
Another great third-party tool is Whitagram. This free app provides an easy way to add white borders around your photos, but it also allows you to use multiple colors and add text and stickers to your images.
Here’s how to add a white frame with Whitagram:
Once your newly edited photo is saved, you can upload it to Instagram.
While it’s typically used to schedule Instagram posts and videos ahead of time, Preview also has some great editing features and an option to add a white border. So if you’re already using this free app to schedule your photos, you owe it to yourself to give its editing tools a try.
Here’s how to use it:
Follow the instructions from the Preview app to post your newly edited photo to your feed.
 Put a white frame around your photo using Instfit
 Another simple and free app to try is Instfit, which allows you to not only post full-size photos with a white border but also has some fun editing features such as overlays and collages.
Here’s how to add a white frame with Instfit:
Instfit places a watermark on any photos you edit in the app, but you can easily remove it by following their account on Instagram.
Now that you know how to use white borders, it’s time for us to go over the pros and cons of doing so.
Here are the pros of adding a white border to your Instagram photos:
Here are the cons of adding a white border to your Instagram photos:
Using a white border on Instagram is a popular option for many photographers, as it allows them to display an entire photo, no matter the size or orientation, without it being cropped. And even though Instagram has increased its size options beyond the original square, using a white border can ensure that your audience will see the entirety of your image. So give it a shot, and check out our guide to taking Instagram photos if you want to take your Instagram to a new level.
Writer and editor, driven by curiosity and black coffee.
You need to increase the size of the white space around your photos to give them a crystal clear, uncluttered look. White borders add a neat and symmetrical beauty to your IG layout. It helps to emphasize perfection on a white background.
The white border you choose depends on the overall theme of Instagram and whether the images you upload are vertical, square, or horizontal. Symmetry lovers can use simple ways add white borders Instagram .
We've put together some very simple methods that anyone can use to add borders to images. Specialized applications make your work easier and boast other useful features.
Contents: Part 1. How to put a frame on an Instagram photo?Part 2. How to get a white frame on Instagram using Photoshop? photos on Instagram?
The easiest way to cut white borders on Instagram is to call the built-in function of the Instagram app. If you take a look at the profile page, you'll notice that the photos look like squares surrounded by a thin white border. You can drool over this, but you can create a more attractive white frame for your photos.
Follow these steps to create a thicker white border around the edge of Instagram photos:
 Operate slider to select the intensity of the filter. To keep the original view, just move the slider to the left.
 Note: The orientation of the original photo is critical. For example, vertical photos have white borders around the edges by default. Conversely, horizontal images include white edges at the top and bottom.
Photoshop is one of the applications that can add white borders to Instagram. The Instagram editor only supports one frame style. You need proprietary tools for tighter borders or adding asymmetrical borders to horizontal or vertical images.
Photoshop paves the way for the world of photo editing. It allows you to add a white border to your Instagram image, or tag a pattern, reshape, and change other aspects. A neat trick when it comes to creating borders in Photoshop is to use it0005 clipping mask function.
The Preview app offers an Instagram scheduling and editing tool with various white frames you can create to get a unique theme. Here's how to cut out white frames on Instagram using the app:
Squareready supports white, colored, and patterned borders regardless of their original sizes. With this tool, you can move your photo within the frame to create an off-center style to create a unique look. Follow these steps to create white Instagram borders with Squareready:
Bonus Tip: PowerMyMac Duplicate Finder helps you clean up your Mac
iMyMac Duplicate Finder PowerMyMac makes it easy to find duplicate files with incredible accuracy and efficiency. Multiple copies take up acres of precious disk space that you can reclaim. This dynamic tool scans and stacks files of the same size against each other to detect mimicry.
Duplicate search sifts through duplicate files regardless of their file names. Duplicate documents, media, images, and other content use up your Mac's memory and slow it down. It identifies duplicates like a bat out of hell and recommends removal actions.
This is a handy tool for those with thousands of images.
Get your free trial now!
If you want your Instagram pen to create a web spectacle, consider using these techniques to create white borders on Instagram photos. This is a proven technique for enhancing the aesthetic appeal of your gallery and giving your images a unique look. From adding low-profile white borders to creating patterns, you have innovative editing features that will expand your creative horizons.
I think you have often seen, by going to the profile of another user, published photos, along the edges of which there is a beautiful frame. It can be simple (white and black with different line thicknesses), or it can look like leaves, ornaments, various geometric shapes, and the like.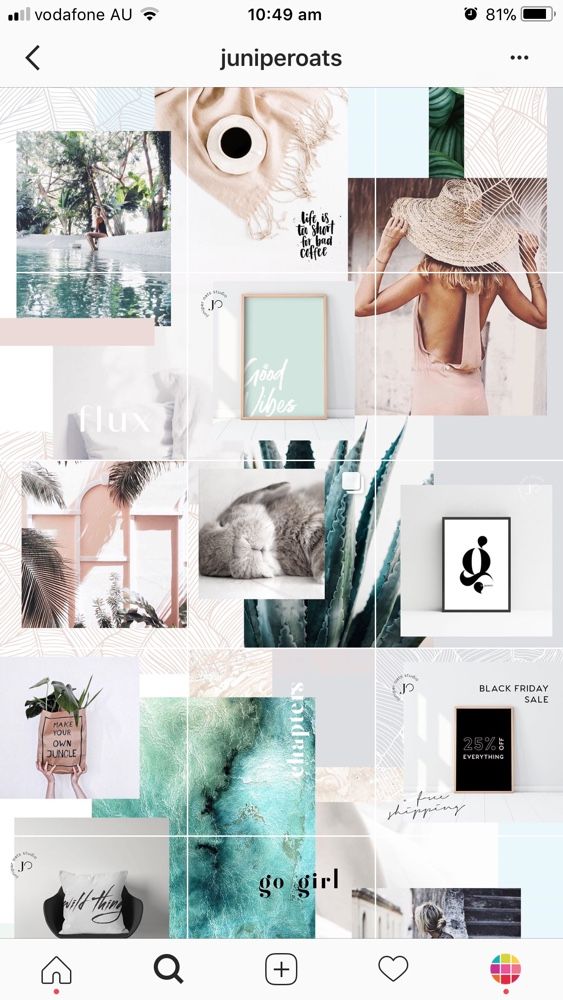 Now it is also very popular to add your photo without cropping, and leave the same picture on the background (so that it is not boring white), just make it blurry.
Let's do all this and learn how to do it now. To begin with, I’ll tell you what alternative you can use in the Instagram application, since there are filters, buttons for changing contrast, brightness, and other things, but there are no frames. Then we will look at the various applications that are in the Play Store and the App Store.
So, if there is no time to install something and you need to add a frame to the photo right now, then go to the Instagram application on your device and click on the plus sign below to add a new post. If you have difficulty with this, read: how to add a photo to Instagram.
Then decide on the snapshot and click "Next".
Open the "Edit" tab and among the available options we need only "Vignette" and "Blur".
Click on "Vignette". A slider will appear below the photo. Moving it to the right will darken the image around the edges. When you're done, click Done.
If you want to select "Blur", then there are two options: "Radial" or "Linear".
Select the first one - a circle will appear. In it, the picture will be clear, and outside it - blurry. By pinching and spreading your fingers across the screen, you can change the size of the circle or its location. At the end, click "Finish".
This is the result. The rose is clearly visible, while the rest is blurry.
If you click "Linear" blur, then two parallel lines will appear on the picture. They can be rotated and reduced / parted.
The essence is the same as with the circle - in the middle the picture is displayed clearly, and behind the lines it is blurred.
Choose the appropriate option and click Finish.
Further process the image as desired and click "Next".
Come up with a caption for the photo, mark users on Instagram and select "Share".
If interested, read the article: how to caption a photo on Instagram. There you will find various examples and tips on how to do everything right and why you need it.
Yes, there are few options here, but you can make a blurry frame and darken the edges of the picture. If you want more, then you need to look for various photo editing applications and use them.
There are a lot of options here. You can simply go to the Play Market or the App Store and in the search bar enter the query "Frames on Instagram". By searching, choose the one that suits you.
I also searched a little and found a lot of interesting things. Now I will describe some of them and tell you how to use them. In addition to the frames, all these applications have different options. So they can be safely called simple editors for photo processing, and used to improve the look of the picture.
The first one is called Insta square snap pic collage. Let's go and install it.
Collage
I will not tell you about all the possibilities of this photo processing program, there are quite a lot of them. I'll just show you how I managed to make a frame.
In the menu, select the item "Square":
Next, at the next stage, select a white background for the photo (if you wish, you can, of course, choose another one).
After that, in the left corner, click on the frame icon to choose the one that suits you.
And now select the frame style. You can choose this:
Or like this:
Or maybe like this. (After you decide on the frame, click on the "Share" icon in the upper right corner)
In the "Share" window, we will have icons in which social network you are going to publish this photo in a frame. We naturally choose Instagram.
We immediately open the Instagram application and start adding a photo as usual, only it will already be in a frame.
Type "no crop" in the search bar and search for the corresponding application. Install it on your phone.
It is in English and contains advertisements. To add a photo from the gallery, click "Add Photo". If you want to capture it, select "Capture".
The essence of the application is that it does not crop the picture, and you can add it completely. And the areas that remain on the sides can be changed to your taste.
For example, "Blur" will blur the background behind the image, "Pixel" will turn it into small squares or pixels.
With No Crop you can also rotate the picture, write or draw something on it, add a sticker.
"Colors" - you can select any fill color. "Background" are ready-made backgrounds.
Click on them to see how they will look. When you pick it up, click on the arrow to the left.
Next, you need to save the result - click on the "Save" button.
Confirm that you want to save the picture to the gallery.
You may also see a window asking you to rate the application. To postpone the procedure, select "Later".
Since we saved the result of the work in the gallery, then go to Instagram and, as usual, publish the processed photo from your phone.
The following application is called "Photo Editor - Photo Collage" from the developer InShot. The English name is "Photo Editor".
We go into it and select "Photo".
Decide on the image and click the "Fit" button.
On the Proportion tab, select an appropriate aspect ratio.
Now you need to decide on the background, which will serve as a kind of frame. Go to the "Background" tab and decide whether this is a blur or some color. If the thumbnail below consists of four squares, then click on it to see the available options.
The last tab is Border. Move the slider and see how the position of the photo on the background changes - it can increase or decrease.
After you've finished making changes on each tab, don't forget to click the "Apply" button at the top right.
Then you can edit the picture: adjust colors, select a filter, crop, add a sticker and more. When the image is ready, click Save.
An inscription will appear at the top that it has been saved. Below is the "Share with" block. Select the Instagram icon from the available options. Then specify where you want to add the snapshot to the "History" or to the "Feed".
After that, the photo is published as usual.
Photo editor from Aviary is very easy to find. Enter the desired word in the search and install the application.
On the "Gallery" tab, select one of the photos, or you can make a new one by clicking on the plus sign.
Ads may appear while using the application. You can close it with a plus sign, which is located in the middle on the left.
You can: apply effects to an image, select automatic enhancement, add stickers, crop a frame, adjust heat, saturation, shadows, focus, rotate, sharpen, transform, add a color spot, meme, text, blur an area, draw something , brighten the frame, or remove red-eye. In general, there are plenty of functions here and you can process photos to your taste.
We are interested in the "Frames" item.
To begin with, we will be prompted to install a package with simple frames. Click on it.
You can see what they look like. There are white frames and black, thick and thin ones. Then click "Free". After that they will install.
Now click on a package to expand all of its frames. Click on the ones you like one by one and see how they look on the image.
To download more frame packs, click on the "Products" button.
There are many different options. Among them, paid ones may also come across (opposite the price will be indicated). Choose what suits you and click on the corresponding picture.
Here you can find a colored frame for a photo, and a round one, and a white one, and in the form of patterns, and many more.
Again, see if these frames are suitable for Instagram posts, and if “Yes”, then click on the “Free” button.
I immediately got a window in which I was offered to either sign in to my Adobe ID account or create a new one. If you have it, then you just need to sign in. If it is not there, like me, then click "Register".
Fill in all the proposed fields, create a password and click "Register".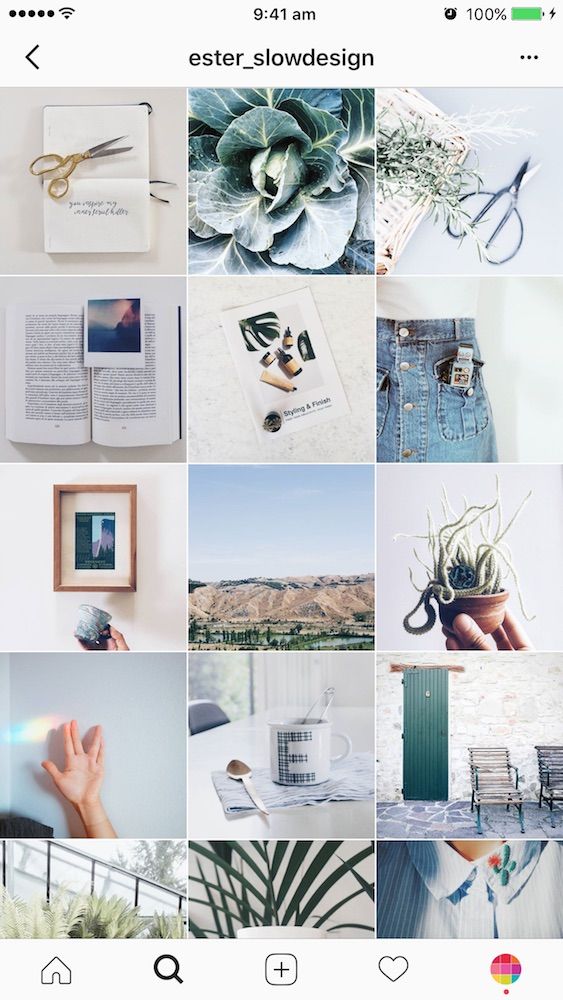
After that, you can freely install any packages with frames you like by clicking on the "Free" button.
All installed packages will appear under the processed photo. Click on the picture and see what the frames are. Choose from them suitable. Then click on the checkmark at the top right to save the changes.
Another item that might come in handy is Overlays.
Right away, let's click "Products" to see all available packages.
Click on the picture, see what is included in the package, and if you like it, then install it by clicking on the "Free" button.
Expand the desired group and decide on the frame. By the way, the "Original" set has a round white border, which many users are looking for. To save changes, click the checkmark at the top right.
When the picture is processed, click on the Done button.
Right in the application, you can select the Instagram thumbnail to go straight to creating a post.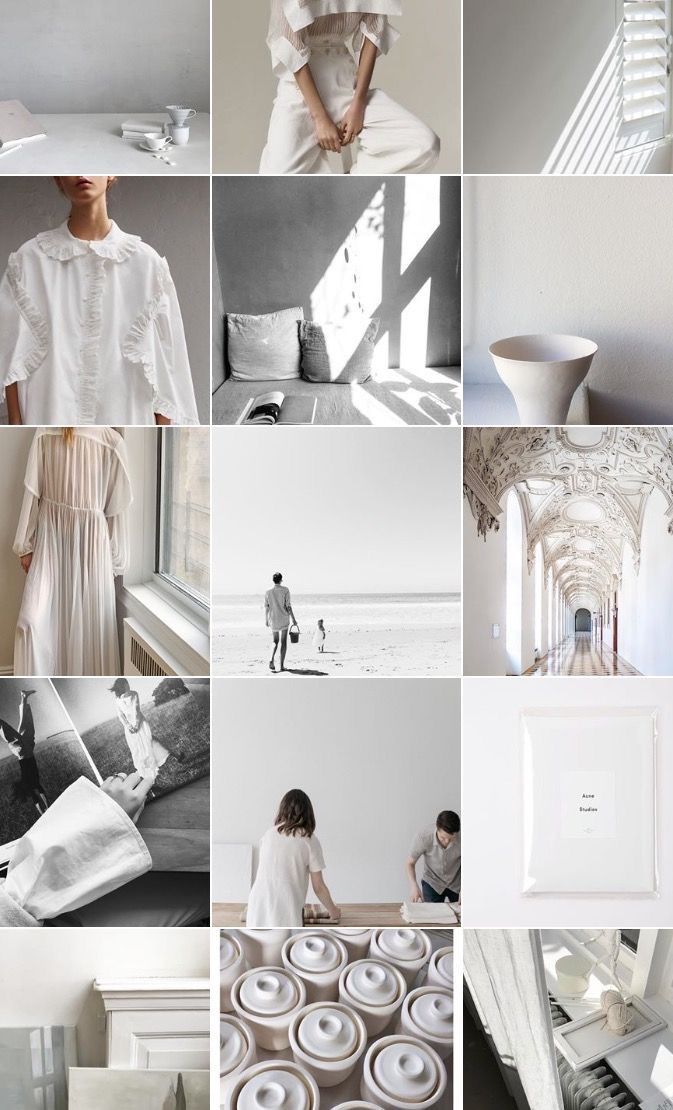
Next, click where you are going to add a picture to the "History" or to the "Feed". To remember the choice, click "Just now."
Then go to the standard form of creating posts on Instagram. Go through all the steps and at the last click "Share".
Now my Instagram page looks very unusual. The frames make it unique, and the posts look more interesting. For example, if you have important news and want to tell your subscribers about it, then you can make a white round frame and write the desired text in the middle.
Of course, there are many more applications. Popular ones include InstaSize and PhotoGrid. Try to use them, maybe you will like them more. The main thing is not to forget that it is advisable to design your Instagram profile in the same style, using just a couple of filters and frames. Then he will have his own personality, and it will look neater. So remember that you can't overdo it with different frames.