How to create custom stickers for instagram stories
Instagram Stickers: How to Make GIFs for Instagram
If the competition between social media platforms ever felt like a race, then Instagram has shot its way up the scoreboard, offering some serious competition for the top 3 in terms of size and marketing potential.
This is a step-by-step guide for making your own GIF stickers. We are not just giving advice. Our stickers have actually been used by over 120 MILLION users worldwide:
Elementor's Giphy PageTable of Contents
- Why Gif Stickers & Instagram Marketing?
- What Is a GIF?
- What Are Instagram Gif Stickers?
- How to Make GIF Stickers for Instagram
- Every Picture Tells a Story
Why Gif Stickers & Instagram Marketing?
Launched in 2010, Instagram now boasts over one billion monthly active users, second only to YouTube and Facebook (who have owned Instagram since 2012).
Instagram is popular because it’s simple and fun to use. We could also argue that it appeals, more than others, to international users as most of its content is pictorial (as opposed to text on other platforms such as Facebook) and lighter (unlike heavier content such as YouTube videos).
From a purely business perspective, Instagram has become the New World of social media marketing. Not because of the number of users but because of their behavior.
It’s this behavior that has made Instagram a major influencer in its own right.
Over 60% of users log into Instagram daily, most of them to post stories. This makes it the second most engaged social network after Facebook.
You may recall that last week, we explained the significance of Google’s decision to favor mobile versions of websites/pages in search results, making mobile responsive design more important than ever. Needless-to-say, Instagram, predominantly used on mobile and by adults, played a big part in this shift.
And we’re only starting to get the picture.
Reach seems to not only be easier to obtain on Instagram than on Facebook, once obtained, but it is also more valuable.
80% of users follow at least 1 business or brand, which means that it’s the platform where most users are likely to continue doing so.
Businesses that have realized this and have already begun marketing on Instagram claim that they get up to 37% of their total impressions from Instagram Stories.
You would think that Facebook would have similar marketing potential, when in fact the opposite is true. Instagram boasts 58 times more engagement per follower than Facebook.
There are claims that Facebook is oversaturated with advertising and marketing content, and there could be truth to it. Facebook users seem to have learned to filter out advertising and marketing content.
As consumers, we’ve always needed to be reassured, at the very least, of the quality, dimensions, and current state of a product.
A visual aid has proven to be very convenient for this purpose, and furthermore, it encourages users to take action and buy that item. Kinsta recently pointed out that “about 60% of Instagram users say they’ve discovered new products through the app, while 72% of users say they have purchased a product they saw on the app.”
Most of the businesses we’re discussing are related to things that are visual to include web design, and…, yes, like Elementor as well.
We’ve been running our own experiments with Instagram stories. Of course, we’ve been having a lot of fun in the process, but who said that you couldn’t have fun to get results?
And, boy, did we get results.
Our Instagram account is currently at 18 thousand plus followers and rapidly growing.
Creating stickers like these allowed us to strengthen our brand identity further while expanding our creative assets. In fact, one of our stickers got over 25 million views!
But wouldn’t it be better to share the knowledge of how to similar results? After all, isn’t that what makes a community great?
We want to share how we used GIF stickers on Instagram to generate social impact so that you too can benefit from our knowledge and experience, and by following the same process, perhaps expand your following to similar numbers, if not more!
What Is a GIF?
A Graphics Interchange Format or GIF is a type of digital image that also allows us to create short animations with multiple images.
Imagine the layers being the pages in a book, and flipping through those pages quickly to create an animation, and there’s no limit to the level of animation you can achieve with these GIFs.
Which wild explain why GIFs are mostly used for short animations these days.
What Are Instagram Gif Stickers?
When you share a photo or video to your Instagram story, Instagram lets you can add stickers to express yourself in creative ways.
These are little superimposed graphics that add elements of expression to your stories, adding fun, excitement, and character. This makes the stories more interesting and engaging to viewers, which inevitably contributes to the greater reach of your stories, and you know the rest.
How to Make GIF Stickers for Instagram
- Get a brand account on Giphy
- Create a GIF sticker via Procreate
- Upload it to Giphy.com
- Add the sticker to your Instagram story
The following is the exact process we use to create the GIF stickers for our stories on our social feeds.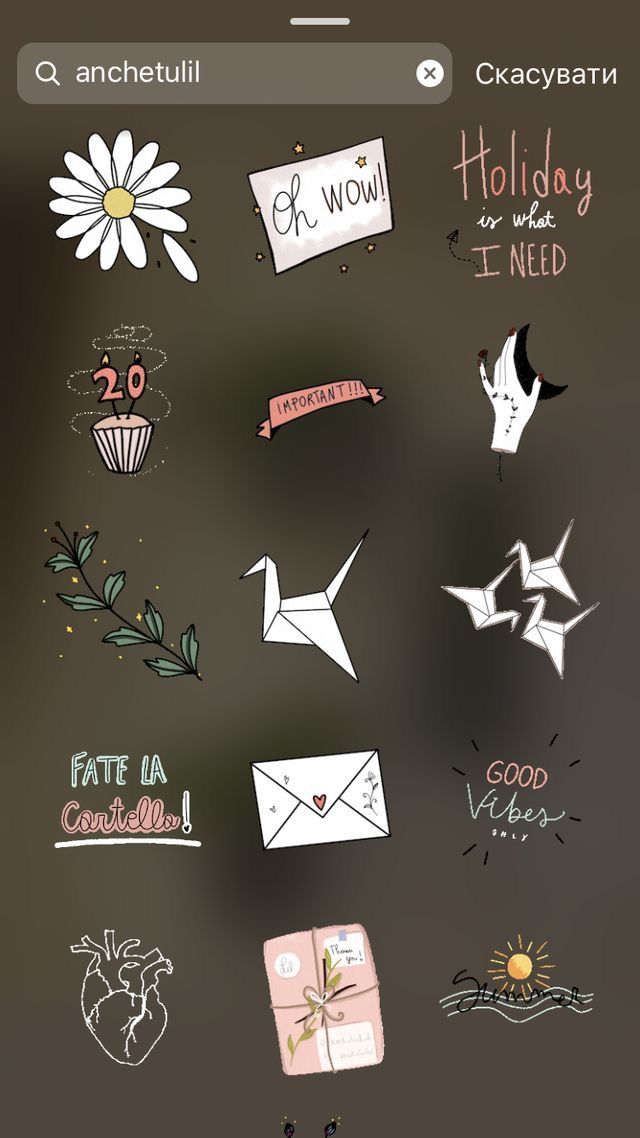 Elementor’s Social Media Manager, Lisa Raz, has gotten so good at creating them, she can produce a nifty GIF faster than you can say “animated GIF stickers for Instagram stories”.
Of course, there are numerous ways to create stickers, such as those explained in this wonderful tutorial by Elementor user Lisa Bardot.
But this is how we make ’em!
For this process we will need the following:
- iPad
- Apple Pencil
- Procreate App
- Account on Giphy.com
Step 1: Get Giphy’s Brand/Artist Account
Once you’ve uploaded at least 5 GIF’s, you’ll be eligible to apply for a Brand/Artist account on GIPHY. This will allow your GIFs to become available to the public, and your Instagram account. You can read more about Giphy’s requirements for having Brand/Artist accounts here.
Once your Brand/Artist account is approved, make as many GIFs as you want and upload them!
Let’s Get Started With Gif Stickers.
Step 2: Create the Animated GIF Sticker Via Procreate
Open up the Procreate app on your iPad (or another suitable device).
Create a new file by tapping on the plus icon (+) in the top menu bar. When creating a new file, you will be prompted to select the size of what will become your GIF.
We’ll be recreating our WordCamp Europe sticker, made up of the Elementor logo, the WCEU logo, and the @ sign.
- The logos are images that we have on our device image gallery, and we’ll import them here by tapping on the tool Icon (next to Gallery). In the menu that now appears, tap the plus sign, then tap on the Insert a Photo. Select your image from the gallery, and repeat this process to import the second image for the GIF.
- To add the @ sign, we’ll tap on the tool icon again, but this time we’ll select Add Text, and In the textbox that appears, we’ll enter the @ sign.
Tap on the mouse icon in the top menu, and then select the @ sign. - In the menu that has now appeared on the bottom of the screen, make sure that the uniform and the blue magnet options are selected.
 This assures the proportions remain the same regardless of any adjustments we make to the textbox.
 - Using the handles on the textbox, enlarge the 2 sign and center it against the other logos as best you can. Now tap the layers icon, and in the list of layers that appears, swipe the layer with the @ sign to the right, for the duplicate option.
- Tap on duplicate to create another @ sign layer, which we will now tap + hold and move in-between the Elementor logo and the WCEU logo.
- The next thing to do is to unselect the background color layer to make our GIF’s background transparent. This is of course very important if you want to get that cool sticker effect on Instagram.
Essentially, what we have now are four layers, one on top of the other, that will be flipped through like the flipbook, we mentioned.
The final step
- We’ll tap the tool icon again, then on the share icon, and at the bottom of the menu, we’ll tap on Animated GIF.
- In the preview that appears, you will see the Frames per Second option that allows you to choose how many frames, or layers, you see per second. This controls the speed of your GIF. We’ve set our speed to 2.
- Tap on Full Resolution to export the GIF to our image library. Select a suitable location from the export options, and tap the Save button, to save the GIF.
Step 3: Upload Your GIF Sticker to Giphy
Once we’ve created our GIF, we’ll upload it to Giphy.com, which acts as a host for our online GIF assets.
- Log in to your Giphy.com account, and click Upload. Use the options to either drag-and-drop or search and select the GIF you want to upload.
- Once it has uploaded, an Upload dashboard will appear.
- We suggest that you add tags to your upload so that your GIFs will appear on other users’ searches, something that will add to your overall reach.
The tags we’ll be adding are Elementor, WordPress and WCEU - Make sure that the Public option is turned on (unless of course, you want to keep them a secret for a while).

- Select the correct rating. All of Elementor stickers are rated G.
- Click on Upload to GIPHY and were done.
Giphy reviews each and every GIF to make sure they follow all their guidelines and also look good. Alas, this means that you will not see your GIFs in the stickers search immediately.
However, once Giphy approves our GIF, we’ll be able to find them on Instagram and add them to our stories.
Like we did when we placed them on the images that we were taking at WordCamp.
Step 4: Add Your GIF Sticker to Your Instagram Story
- Log on to your Instagram account, and select the image you are going to use for your story.
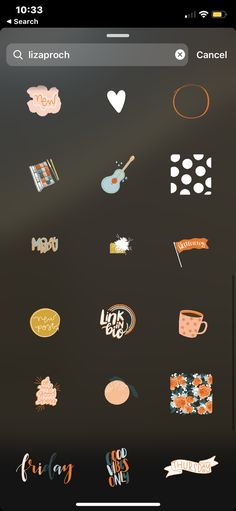
- Now click on the Stickers button, and in the search option, search for your Giphy.com account name.
- Click on the GIF of your choice and continue to post your Instagram story as you normally would.
While you’re at it, feel free to search for Elementor’s stickers on Giphy and use whatever sticker you like!
We’re only too happy to see others using our stickers on their own posts.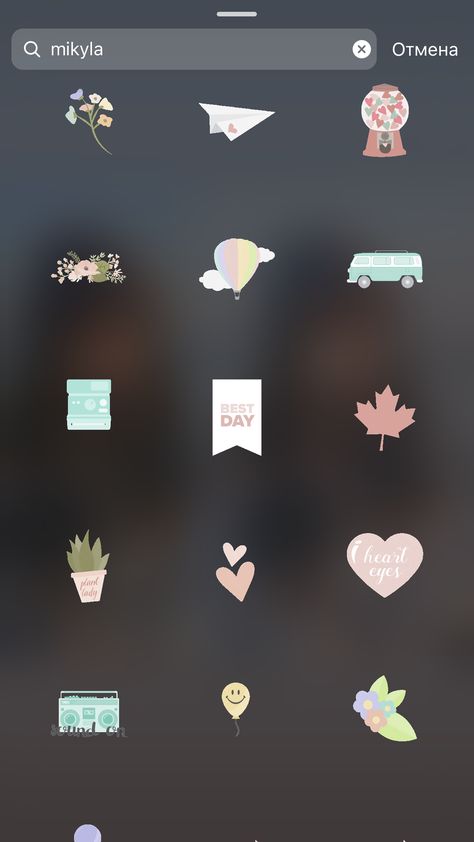
Every Picture Tells a Story
Posting stories on Instagram is more like fun than work, and adding animated GIF stickers to make your stories stand out, really is as simple as we’ve shown here.
Use it to generate awareness and expand your reach. Start making the impressions, that will encourage users to follow through your funnels.
We feel that Instagram is the New World of social media marketing. Some of us may have gotten off to a later start than others, but don’t let that discourage you. Instagram’s marketing and creative potential is still a long way from peaking.
Every picture tells a story, so get started and make some great stories of your own.
Make Your Own Custom Stickers for Instagram Stories — THE BROTHERS BUOY
UPDATE: This trick also works with GIFs which is a great way to get around the fact that they don’t play if you just upload them to your story normally. Now on with the show…
Today, we are super excited to let you in on an amazing secret we discovered that will allow you to add some serious customization to your stories, and turn you into a mobile Photoshop master.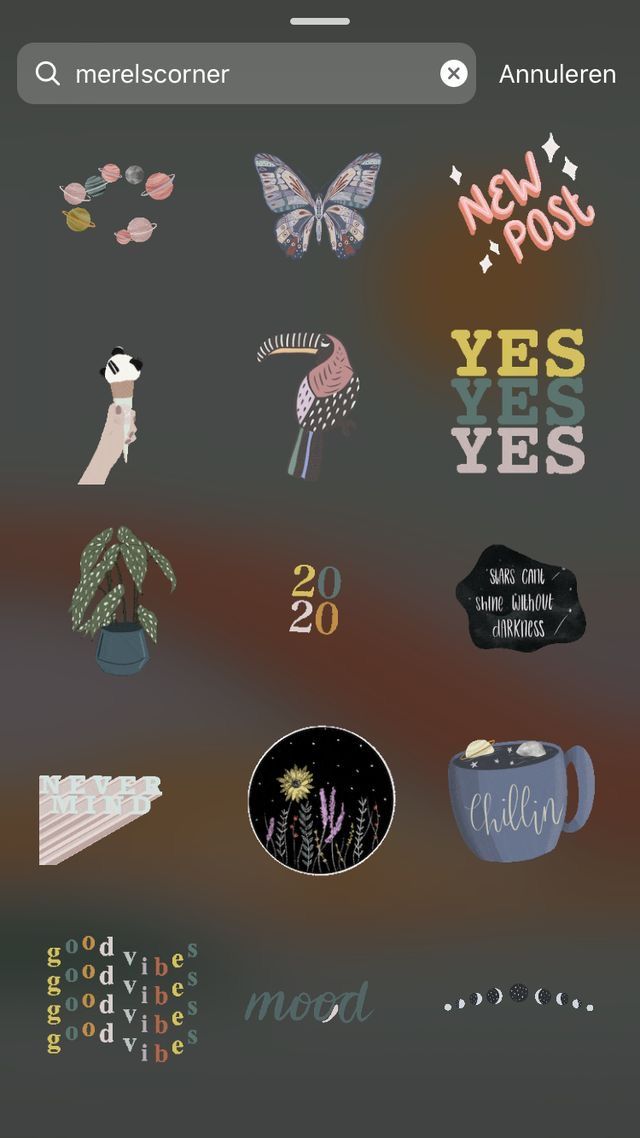 We recently discovered a way to copy and paste elements into stories, and with a little time spent on the front end, you can use this trick to make incredible customized stickers that will leave your audience stunned.
Follow Us On Instagram
DISCLAIMER:
Now in order to do this, you have to have a basic understanding of how to use Photoshop and/or Illustrator. The key thing that you have to know how to do is save a file as a .PNG with a transparent background. Additionally, we can only confirm that this works on an iPhone. Once you read the steps, if you can figure out a simple way to translate that to an Android operating system, we encourage you to try it and let us know if it works.
Without further adieu, lets get into it!
STEP ONE:
First what you want to do is grab whatever art you wanna use. Maybe you want to create some cool typography, or maybe you want to take a photo of yourself making a goofy face. Whatever you make, save it as a .PNG with a transparent background.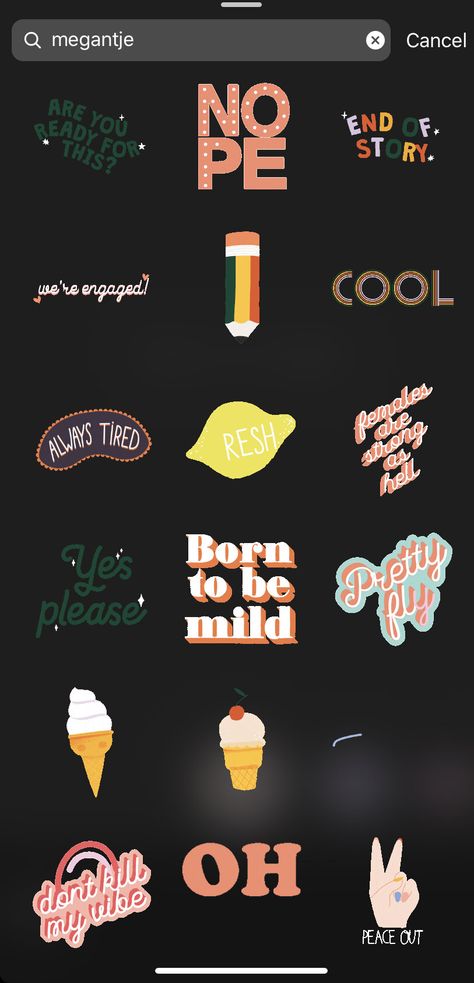
STEP TWO:
After you make a few awesome designs, send them all over to your phone from your computer. We would recommend making an album on your phone in the Photos app so you can access these easily in the future. Another tip would be that if you would like to let multiple people access these, make a folder on a file sharing app like Box or Dropbox and distribute the link. This is a great option for a social team or a business.
STEP THREE:
Go ahead and open up Instagram Stories and either take a photo / video / boomerang or upload one just like you would normally. After you do that, exit out of Instagram by clicking the home button or swiping up, depending on your phone and open your Photos app. Find your cool sticker you designed and click the button that looks like this in the lower left hand corner.
You should find an option in the menu that pops up that says “COPY”
STEP FOUR:
Double tap your home button or swipe or however you get to the opened programs on your phone again and go back into Instagram. There in the lower left hand corner, your awesome sticker should appear in a window that says “add sticker".”
Then you can place it anywhere you want in the story! It acts just like a sticker or a GIF that’s already in Instagram’s sticker menu, meaning you can scale it and click it to reverse it’s orientation.
If all that didn’t make sense, make sure you watch the video at the top that shows how to execute the placement process.
We created some stickers below that you can download and try out for yourself right now, but we want to see your creativity! If you use this technique with your stories, make sure to tag us so we can see what you made. (Click the image to open the file and save it to your phone to use)
Thanks for reading and keep your eyes peeled for our next tutorial!
-Jackson
UPDATE! We got some requests to make some non-Buoy Branded stickers so below is our first sticker pack drop: The Instagram Story Parody Sticker Pack No. 1! Download these to your phone to use and be sure to tag us so we can see your dope creations with these!
INSTAGRAM STICKER PARODY STICKER PACK Vol. 1
PRIDE PACK Vol. 1
TutorialsThe Brothers Buoyinstagram, stories, tutorial, social media, instagram hack9 Comments
0 Likeshow to create stickers for stories, new in history
The question of how to make your own stickers on Instagram is asked by many active users of the social network. In stories, as a rule, they do not think about the beauty of the photo, but only show the audience life events.
Stories are made a little more expressive with stickers. The standard set is not enough for manipulation. A special program like Any Sticker helps in solving the problem. Let's talk about sticker programs, gifs in private messages, and the rules for editing stories.
Content
- Working with the Any Sticker graphic editor
- Selfie stickers for Instagram
- Creating a selfie sticker yourself
- Attaching a picture to videos recorded with Boomerang
- Gifs in private messages, where they are
- Working in the Instagram story editor
- Creating and uploading a personal GIF sticker pack
- Uploading your own content to a social network
- On personal computers
- Working on smartphones based on the Android operating system
- What to do on iPhones
- Video review:
Working with the Sticker Any graphic editor
Instagram stickers are not always suitable for photos. The Any Sticker program comes to the rescue, where stickers with icons and inscriptions are created. For example, users select arrows for navigation, write the place where they are going now. Knife and fork tags are a way to indicate restaurants or hint that you are going out for dinner.
First, enter the text in the input box in the program, select the shade that will be used to color the label. Find the main image, crop it, adding the work to the story. The social network has built-in graphic editors that resize, move sticks, and so on. The principle of working with self-created content in Any Sticker is practically no different from working with a standard sticker pack.
Instagram Selfie Stickers
With the latest updates to the social network, there is a feature called a selfie sticker. The function allows you to take a photo by saving it as a stick. Further, a self-created sticker will be saved and can be used in the future. The update appeared simultaneously on all devices, regardless of the operating system. In the editor, other inscriptions, labels are added to the content, and the stickers themselves are attached to photos, videos.
Creating a selfie sticker yourself
As we found out earlier, stickers for Instagram are created using the built-in social network editors from a photo. To work, follow the instructions:
- Take or add a new photo to the story, selected from the gallery.
- Click the icon to add a sticker in the story editor.
- Select the camera symbol.
- The area where the photo is added appears. Above the area is a camera.
- The finished picture is rotated, enlarged, moved.
- Changes the frame, the shape when you click on the area in the picture.
- Drawings, inscriptions, various pictures are added to the finished photo. The sticker is created according to your desire.
- Next, publish the result in the story of a social network, save it on your smartphone.
Instructions on how to make your own Instagram stickers work for all devices on different operating systems.
Attaching a picture to videos recorded with Boomerang
New update features allow you to attach sticks, selfie stickers to videos based on the Boomerang function. To do this, attach the stick to the roller, follow the further instructions:
- Click on the image for a few seconds.
- After the timing strip appears, attach the sticker at the desired points. Gradually, the icon will move around the Boomerang.
Done, now the selfie stick will be present on the Boomerang, moving according to your preferences.
Additional tips for working with stickers and managing them:
- Stickers for Instagram Stories are attached to certain places, times in the video. After recording, add a stick by pressing and holding. Use the slider at the bottom of the screen to customize the function for yourself. Move the stick by clicking Attach when you're done.
- To rotate the sticker, resize, move your fingers in and out.
- To remove an unwanted stick, move it to the trash can symbol at the bottom of the monitor.
Gifs in private messages, where they are, what they are
A popular question asked by social network users is how to make your Instagram stickers using Gif. Gif - a looped picture with animation, a looping video without sound. Files were originally invented for the exchange of bitmap images. The format compresses frames without degrading the original quality.
Despite the fact that so far the social network does not provide the ability to share gifs with the audience, they are sent in private messages as stickers in instant messengers. Let's talk about how to attach a GIF to a story, make a personal sticker pack and what applications will help with this.
Working in the Instagram story editor
How to create your own sticker on Instagram using a GIF? Since 2017, the social network has been modernized - animated sticks have appeared. Since that year, dancing rabbits, sad dogs, and so on have appeared in photographs. Standard animated stickers are added according to the following instructions:
- Launch the official social network application installed on your mobile device.
- Log in to the messenger by entering your login and password.
- Swipe to the right side to open the online story recording mode.
- Select a photo from the mobile phone gallery, take a new one if necessary.
- Complete the picture with filters, masks, if necessary.
- Click on the sticker symbol in the image editor. Go to the bottom item "Gif".
- Move the stick to the desired part of the publication, after selecting it from the popular ones or finding it in the search bar.
- Click on the "Recipient" button by selecting the desired audience. Post content.
Interesting fact! A separate Giphy service is collaborating with the social network to deliver new animations. Stickers similar to me on Instagram are also added and created using this service.
Also read: Instagram removed views of other people's likes: when likes are removed - will it be canceled in Russia on instagram
Creating, uploading a personal sticker pack with GIF
If you do not like the initial sets provided by the social network, create personal animated stickers. Three ways to make animated Instagram stickers will help you in your work:
- Recording a video in Boomerang in stories. A difficult way, for which you will need to work with the social network itself. Log in to Instagram, swipe right on the main page. In the window that opens, shoot a new story by selecting the “Boomerang” mode at the bottom of the screen. Record a video that is three seconds long. View the final version after processing by the messenger, add effects if necessary. Boomerang is the same GIF, just in a slightly different format.
- Editing, creating animated pictures in video editors. Launch any of the video editors found when searching in the official app stores or download Adobe Photoshop on your personal computer. Go to the tab called "File", create a new document. Trim the unwanted details of the video recorded earlier. Click again on the "File" tab, select "Save for Web". Next, select the Gif format from the list by setting the dimensions in pixels.
Number of repetitions, select "Constantly". Save the final result on your smartphone.
- Adding stickers using the Giphy service. A simple way to work in a special editor. Download any animation you like, converting it using the editor. Register on the official Giphy service, click on the "Download" option. The content will go to the site, new stickers on Instagram in the story will appear in the editors of the social network in stickers.
Uploading own content to the social network
Let's move on to the main problem that users face - the stick is not uploaded to Instagram. Since the social network does not accept animated pictures in the desired form, you will first have to change the file formats. This is done in three different ways, depending on the operating systems of the mobile or desktop device. So, let's look at how to add stickers on Instagram to stories.
On personal computers
When working through desktop computers or laptops, use the desktop version of Instagram. The instruction will help with the work:
- Log in to the Convertio service page, click on the icon in the form of a computer.
- Select the desired file from the memory of the stationary device.
- Open the GIF, go to formats, click on Video.
- The conversion will start after pressing the corresponding key. When the process is complete, save the file to your computer.
- Post a video to a social network.
Instagram posts are published from a personal computer using delayed postings and emulators. Work with delayed hosting is carried out in the standard way - log in to the social network by attaching a video from the gallery, setting the right time.
Work on smartphones based on the Android operating system
It is easier for Android smartphone owners to create a video from a GIF. To work, follow this small instruction:
- Open the official Play Market application store, enter the name of the Giphy editor.
- Open the top result from the application list, install the utility.
- Additionally check the software for malware.
- Select an animation from the smartphone gallery.
- Use filters, live stickers. Instagram stickers will turn out brighter and more colorful.
- Click "Done" by posting the GIF.
What to do on iPhones
iPhone owners are advised to follow the following instructions:
- Download the GifLab utility from the official software store, run it.
- Attach a gif file from your mobile device gallery.
- Convert, add effects, change speed, etc.
- Save the finished stick, post it on the social network.
Video review:
Everything useful about Instagram — instagramer. info
official website — www.instagram.com
How to make your own stickers for Instagram stories on iPhone and Android
Social networks
0 3.722 3 minutes to read
Communication between people is very wide. There are those who say a lot in a few words, and those who need a lot of words to say a little. However, one of the best ways to communicate in this news is technological era consiste à use visual effects. With the help of pictures, gifs or stickers, many people manage to say everything they feel and think.
Based on this, stickers were wonderful items that we can't stop using. On Instagram, stickers have gained a lot of prominence and become a big trend in their use. For example, an account sticker à countdown to notify your followers of an important event that will happen soon.
However, we cannot ignore the fact that these stickers also brought him some Applications communication and socialization such as WhatsApp , where we can use them for any conversation, no matter what.
Have you ever wondered how to make DIY stickers for kids? Histoires Instagram ? In this small but useful tutorial, we will teach you how to use your imagination and thus create the stickers you want. You will no longer have any restrictions, and what you want to express will be said in the best and most creative way.
Use AnySticker to create stickers for Instagram
One of the easiest and most dynamic ways to create stickers and customize them to your needs. the messages you share on your Instagram stories is to use the AnySticker app. Thanks to this, you can realize all your ideas to the maximum and use these stickers on multiple platforms. To start creating a sticker, follow these steps:
- Start by downloading the app from Play Store or Apple Store . Enter the name of the application into the search engine and start downloading as soon as you find it.
- Once the app is properly installed on your phone, all you have to do is open it to start the creation process. Once inside, press the " Create Sticker " button.
- You will automatically see that an additional screen opens where you can start writing whatever you want, as well as add an icon to accompany the specified text.
- When you are happy with your little creation, tap the button » Select image » Then you will choose the story you want to use in your gallery. AnySticker will automatically place it on top of the specified sticker. That's it, your sticker will be ready and saved in your gallery .
Create stickers for Instagram stories with Giphy
Few people know that the stickers used in Instagram Stories mostly work with Giphy. This site is a huge repository of gifs that we see regularly. Whatsapp and other social media charters.
Since there are hundreds of gifs here with which you can create your own stickers, this is a great tool for this task. To create your own stickers with this tool, you just need to follow these instructions:
- Start by accessing your website
- Once inside, it is important that you register by clicking the "Login" button. Similarly, you must complete all your details and your account will be created. automatically .
- If you already have an animated GIF from another application or program, you can easily download it using the Download option. otherwise, Giphy gives you the ability to create your own animated GIFs just by clicking the "Create" button.
- Once inside the "Create" option, you can create stickers and upload them anywhere. In this case, it is ideal if you start creating stickers with animated images cut out on a transparent background, so that your sticker will be as professional as possible.


