Die meisten Menschen veröffentlichen ihre Fotos und Videos direkt in sozialen Medien, haben aber keine eigene Sicherungskopie der ganzen Erinnerungen. Hier erklären wir, wie Sie Kopien von allen Ihren Onlinefotos für Ihre eigenen Archive herunterladen können.
Eine Umfrage von Seagate und Harris Interactive hat ergeben, dass für 72 % der Menschen ihre Fotos und Videos die wertvollsten digitalen Ressourcen sind, doch nur 27 % von ihnen sichern sie auf externen Laufwerken. Und laut einem Artikel in der Washington Post stellt Facebook inzwischen den weltweit größten Aufbewahrungsort für Fotos dar. Die meisten Facebook-Nutzer verzichten jedoch darauf, an anderer Stelle Kopien ihrer Fotos zu speichern.
Es gibt viele Gründe, warum Sie Sicherungskopien Ihrer Fotos anlegen sollten. Was wäre, wenn Sie eine Kopie eines Fotos ausdrucken oder es per E-Mail versenden möchten, aber keinen direkten Zugriff auf Ihr Konto beim sozialen Netzwerk hätten? Was wäre, wenn Sie ein Onlinekonto wechseln oder löschen müssten? Oder wenn Sie Ihre Fotos auf eine anderen Website hochladen möchten? Wenn Sie ein Passwort vergessen, könnte dies schon dazu führen, dass Sie nicht mehr auf Ihre eigenen Fotos zugreifen können.
Bei den meisten Websites sind nur wenige Schritte erforderlich, um eine Kopie Ihrer Fotos herunterzuladen. Selbst wenn Sie ständig neue Fotos machen, können Sie Sicherungskopien auf benutzerfreundlichen tragbaren Festplatten wie einer Ultra Touch speichern. Dann haben Sie immer Sicherungskopien von Ihren eigenen Fotos, ganz egal, was mit Ihren Webkonten passiert.
Sicherung Ihrer Fotos auf FacebookUm all Ihre auf Facebook veröffentlichten Fotos herunterzuladen, müssen Sie für Ihr Konto ein Archiv anlegen:
Sie müssen Ihr Konto bestätigen und dann erstellt die Seite eine ZIP-Datei von allen Fotos und Videos, die Sie jemals hochgeladen haben. Sie können zwar nicht einzelne Dateien zum Download auswählen, aber die erstellte ZIP-Datei enthält mehrere Ordner von Ihren Beiträgen, Fotos und Videos – und zwar in der ursprünglichen Größe und Qualität, in der Sie sie hochgeladen haben.
Wenn Sie Ihre Fotos und Videos von Flickr herunterladen möchten, führen Sie die Anweisungen der Seite aus und Sie erhalten einen Link zu einer ZIP-Datei mit allen Ihren Inhalten, die Sie direkt archivieren können.
Sicherung Ihrer Fotos auf InstagramInstagram bietet keinen Archivierungsdienst. Es stehen jedoch Tools von Drittanbietern zur Verfügung, mit denen Sie Ihre Instagram-Fotos exportieren und sichern können.
Sicherung Ihrer Fotos auf SmugMugWählen Sie in Ihrer SmugMug-Galerie Tools und dann Alle herunterladen. Ihre Galerie wird daraufhin in einer ZIP-Datei komprimiert. SmugMug sendet Ihnen dann per E-Mail einen Link zum Download Ihres Archivs für Ihre eigene Datensicherung. Diese Datei steht zwei Wochen zur Verfügung.
Sie benötigen mehr Speicherplatz für Ihre Fotos?Wenn Sie wirklich sehr viele Fotos und Videos aufnehmen, könnte sich ein größerer Sicherungsspeicher, wie One Touch, für Ihren Computer lohnen.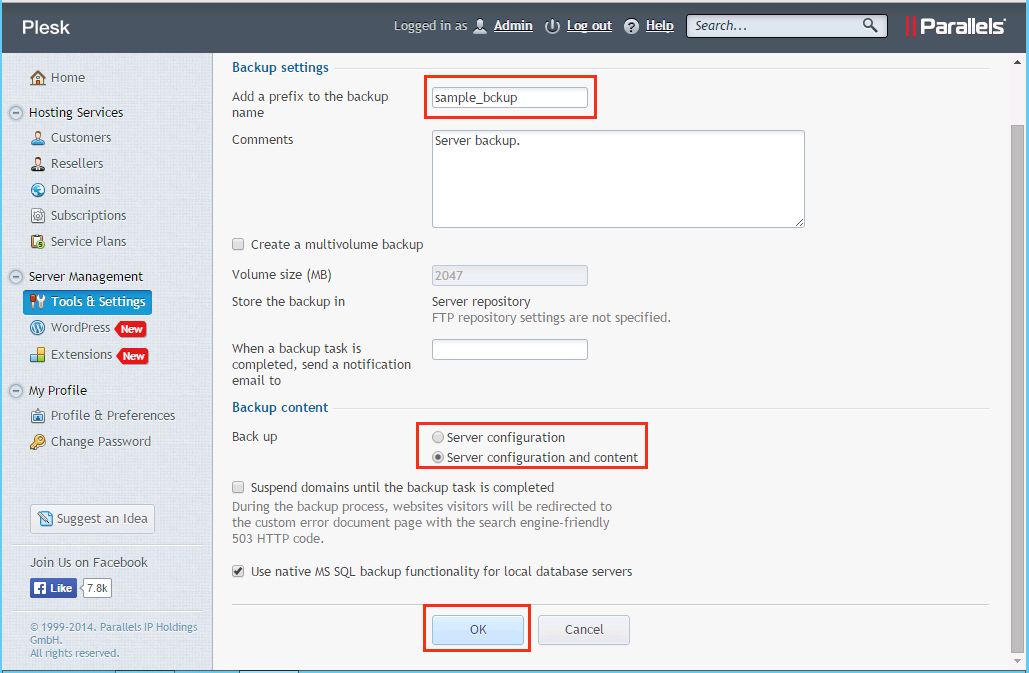 Dank der kompakten, tragbaren Größe und der überragenden Kompatibilität können Sie Ihre Fotos genauso einfach speichern, wie Sie sie aufnehmen.
Device Links
Did you know that Facebook users upload millions of photos every day? If you’re one of those users and have posted many pictures over the years, it might be time to clean up your albums.
But before you delete all the photos from Facebook and lose them forever, downloading them first might be a great idea. That way, they will all be in the same folder.
Fortunately, you don’t have to download each photo separately. You can download all images simultaneously, and this article explains how.
One of the reasons some Facebook users decide to download all their photos in bulk is that they want to delete their accounts, but there are other reasons as well.
 ” Choose “HTML” to navigate and view files in a browser environment or “JSON” to get a zipped folder to browse files on your device. Click on “Save” when finished.
 HTML pages and view images in a browser.
Note: When choosing to download all Facebook images in bulk, the created folder also downloads any other data residing in the specified folders. You’ll have to browse through some of them (mostly for HTML format) to find the images and videos. such as “your_posts.html.” Others (mostly with the “JSON” option) like “stories” and “posts > media > [folder name]” only show the images and videos. Keep in mind that the number of videos and pictures you have on Facebook determines how long it takes for the file to download. Once the process is complete, you’ll receive a notification and an email from Facebook.
You can only download all photos from the Facebook page for which you are the administrator. However, you will also have to download all other data to download all images and videos.
Essentially, you’re making a full copy of your page. That’s the only way it works on Facebook pages for now. Here’s what you do:
It might take a few minutes for Facebook to create a downloadable file. Once complete, you can save it to your device.
Unlike Pages, Facebook doesn’t allow data from groups to get extracted. There are several reasons why this could potentially be the case. Some groups have tens of thousands of members who want to protect their information.
On the technical side, extracting files from groups would create large files. Some browser extensions and add-ons can download separate albums from Facebook, but they don’t always work very well.
iPhone users also can download all photos from their Facebook profiles to their devices. Before you start, ensure that you have enough storage on your phone when it’s time to download the compressed file.
 ”
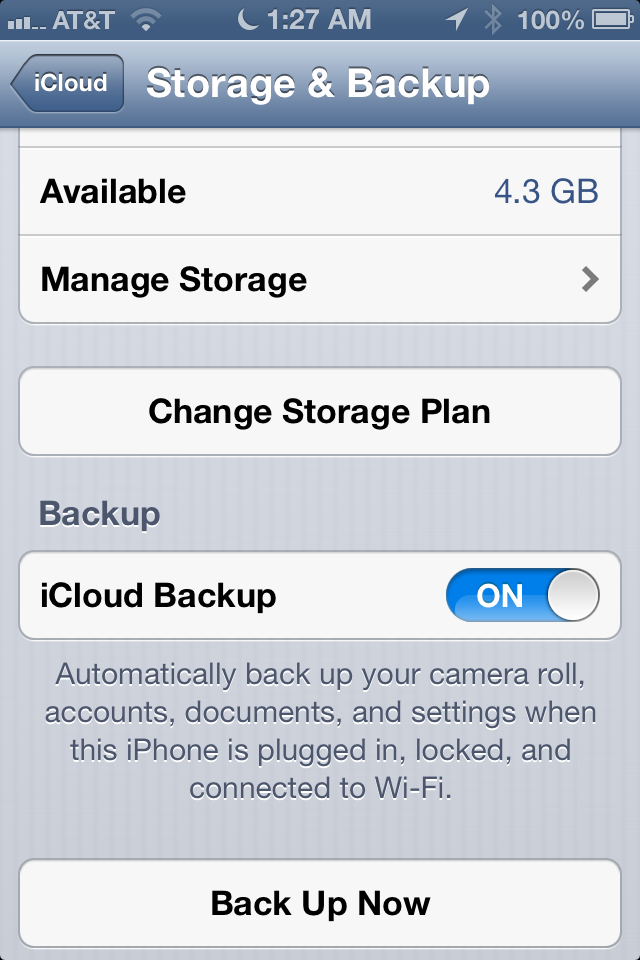
”You can choose to save your compressed file to your iPhone camera roll or iCloud.
Android users can also download all their Facebook photos in one compressed file. If you have an Android phone or tablet, here’s what you need to do.
If you’ve already exchanged plenty of photos with your friends, you can’t retroactively download them all at once. You download them individually by tapping on the image and saving it to your device.
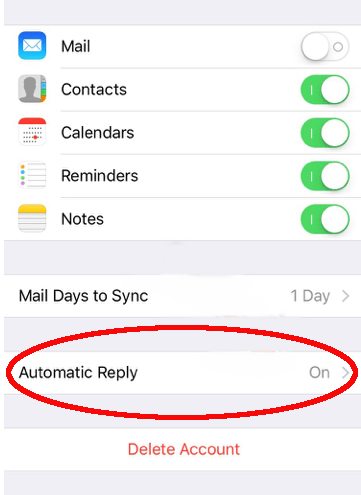
However, if you want Facebook image downloading to be an automated action in the future and avoid having to save the files manually, here’s what you can do.
 ”
”Once you have completed the above steps, your Messenger photos and images will automatically get saved to your device.
You can download all photos at once from Facebook only within your profile account or page, regardless of whether you’re using a browser or the mobile app version of Facebook.

The created file can sometimes become several GBs, so ensure you have a stable internet connection and enough storage to save the file.
Sometimes, you don’t need every photo or video from your Facebook account, just a particular album. There’s a simple way to download the album you want. Here’s how to do it.

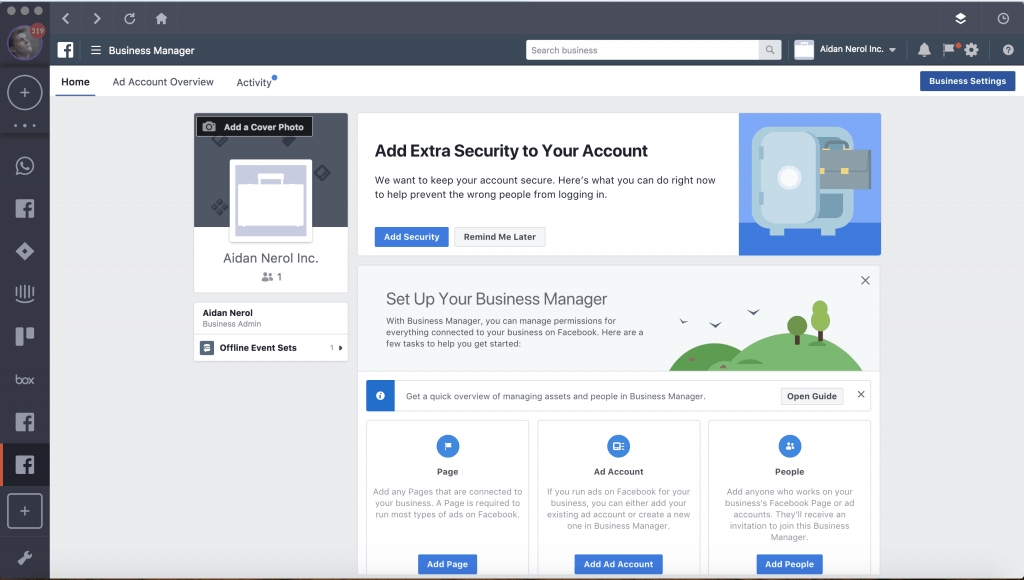
If you have a business page on Facebook, you can download all the data, including your photos and videos. Unfortunately, you can’t just save pictures alone. Regardless, here’s how to download your images from your Facebook business page.

In closing, whether you want to purge your Facebook profile or just clean it up, there’s no need to lose all the photos forever when you don’t want them on Facebook anymore. There are several ways to download your precious images and videos and preserve them forever. How you go about it is up to you!
Yes, you can save your Facebook images to your devices and the cloud, such as iCloud or Google Photos. Navigate to “Settings>Your Facebook information,” then select “Transfer a copy of your photos or videos.”
Facebook asks you to choose a file location, and you can select “Google Photos” or any other destination you have in mind. Finally, just confirm the transfer. Facebook will send you an email when the import is complete.
Yes, you have the option to download all your photos at the same time. You can do it on mobile devices and your computer (Mac, Linux, Windows, etc.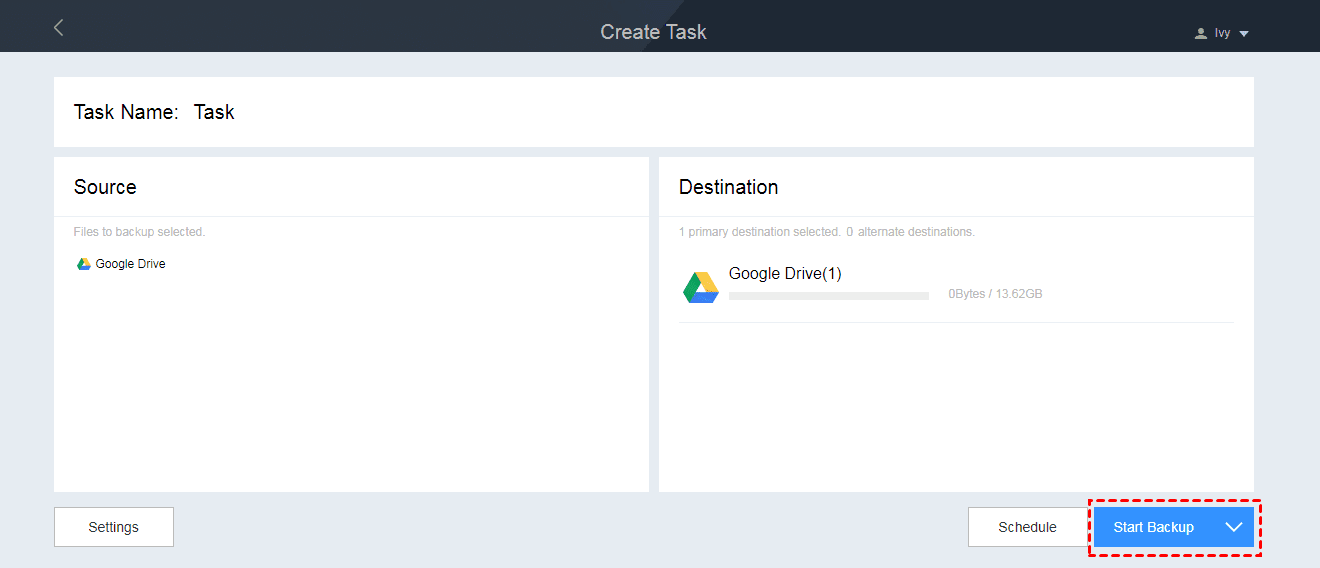 ) The easiest way to get all images is to access the “Your Facebook information” section from the “Settings” menu.
Copying facebook images is just another term for downloading them. There are three ways you can copy all pictures from Facebook.
The first option is to copy one picture at a time, but that might take a while.
The next option is to download one album at a time. If you don’t have too many albums, the process won’t take that long to complete.
The third option is to export all your photos and videos at once. Keep in mind that when exporting all the images in bulk, videos are attached too. You can’t just download all the photos.
If you have shared a lot of photos and information about your life on Facebook over the years you want to back up or you are just curious to know what a hacker can do learn about you, it is recommended that you review or upload a backup of all your Facebook data. Backing up your activity is especially important if you're planning on completely deleting your Facebook account.
With a backup, you have your own offline copy of all the photos you have posted on a social site in one folder that you can easily store on a CD, DVD or computer. If Facebook ever crashes and burns, all your selfies and other personal photos and information don't get away with it.
Log in to your Facebook account on a computer - either a laptop or desktop.
 If you have previously launched a new file and want to add it, press Files available instead, and Facebook searches your computer for a previous backup.
 You will not receive the download right away. You can choose to download all or only certain categories of information, but either way you'll need to wait a few days to get a message from Facebook that your password-protected download is ready.
A few days later, Facebook sends a link to download the file. The link will take you back to Facebook, where you will be asked to re-enter your Facebook password. After that, you can save the file as a compressed (compressed) file on your computer. Specify the folder where you want to save it and Facebook will discard the file on your drive.
Different types of information are displayed in folders. You can find your photos in a folder named Photo , Each album has its own folder inside.
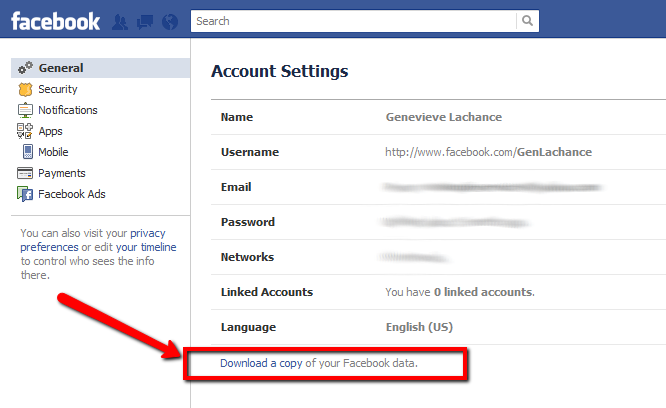
You do not need to upload information to Facebook if you are only interested in what is in it. Select Access your information on Your Facebook information to view your information without downloading it. Click on any of the categories listed on the page that opens. Click on any of the themes you see on the download page - for example Posts or Likes and Replies - to see the information that Facebook has stored on you. Unlike downloading, this process is fast and you can see the information right away.
If you use Facebook on your iOS or Android mobile device, you can upload your information to your device.
It may take a few days before you get a notification from Facebook that your upload is ready. Follow the instructions in the message to download the password-protected backup.
If you want to view the information and not download it, select Access your information in Your Facebook information settings section.
Whether you're planning to delete your Facebook account, or just want to back up all your social media data, the process isn't too complicated.
With a backup, you have your own offline copy of all the photos you have posted on a social networking site in one folder that you can easily save to a CD, DVD or computer. If Facebook ever crashes and burns, all your selfies and other personal photos and information won't disappear with it.
Facebook makes it pretty easy to save all your content, including photos, videos, transcripts of messages, and friends lists:
Click on the triangle in the top right corner of your Facebook screen.
Select Settings from the menu.
Click or click on Facebook information .
Go to Download Information and click View .
Select All my details or select one of the other options available to you.
Select HTML or JSON (select HTML if you are not sure) from the drop-down menu, and then select High , Medium or Low media quality.
High is probably the best choice for most. This will give you back all those shared photos and videos in the highest possible quality.
You can select different types of Facebook data using the checkboxes, but it's probably best to check them all.
Click or click " Create File" to confirm the download request.
Be prepared to wait, especially if you've been on Facebook for a long time.
When the file is ready, Facebook will send you a notification. Follow the instructions to download a copy of your Facebook data.
You will not receive the download right away. You can choose to download all or just certain categories of information, but either way you'll have to wait a few days to get a message from Facebook that the password-protected download is ready.
Within a few days, Facebook sends a link to download the file. This link will take you back to Facebook, where you will be asked to enter your Facebook password again. After that, you can save the file as a compressed (compressed) file on your computer. Specify the folder where you want to save it and Facebook will dump the file on your drive.
Various types of information appear in folders. You can find your photos in a folder called Photos .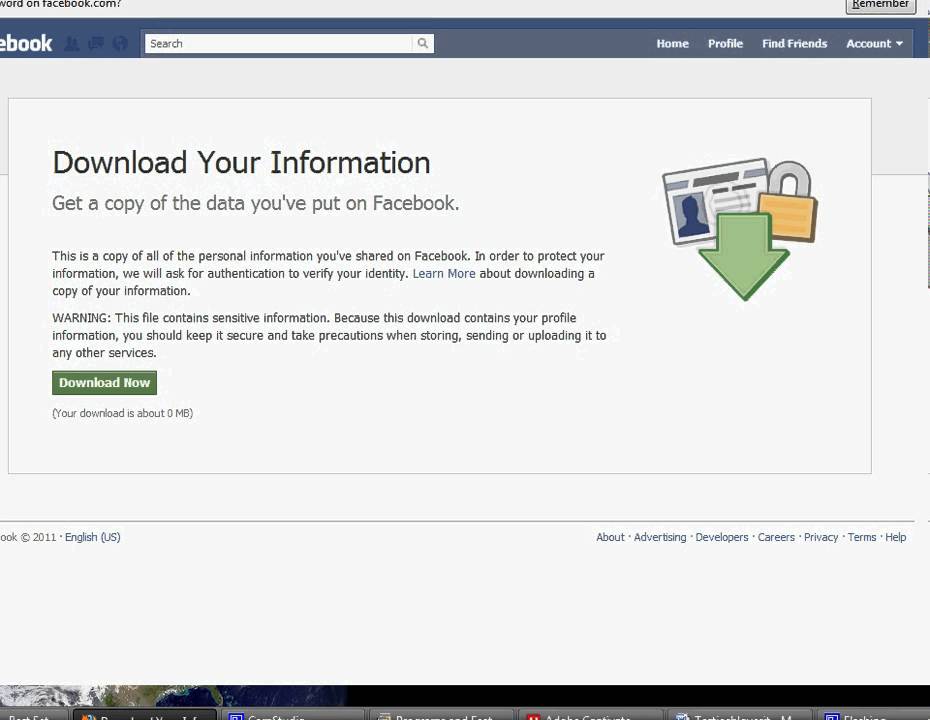 Each album has its own folder.
You do not need to upload information to Facebook if you are only interested in what is there. Select Accessing your information on page Your information in Facebook, to view information without downloading it. Select any of the categories listed on the page that opens. Click on any of those themes that you see on the download page - for example, messages or likes and reactions - seeing the information Facebook saved you. Unlike downloading, this process is fast and you can see the information right away.
If you use Facebook on your iOS or Android mobile device, you can upload your information to your device.
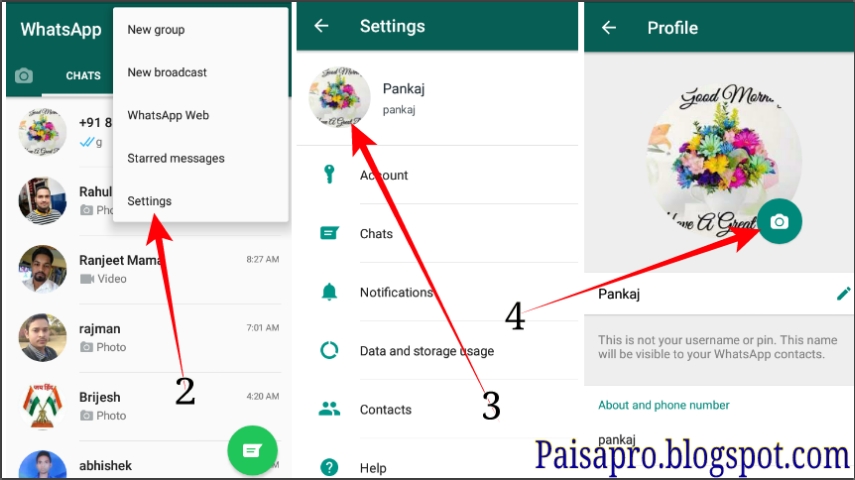
Open the Facebook app and tap the menu icon with three bars.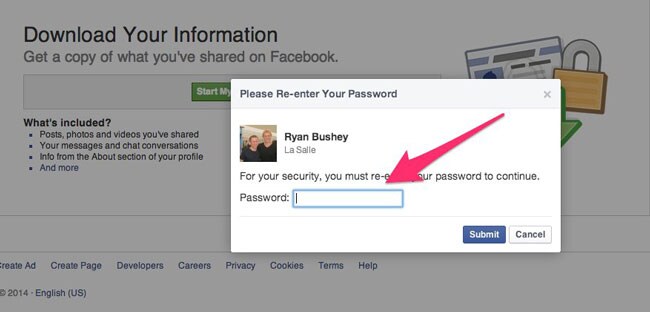
Select " Settings and Privacy" > " Settings" .
Scroll down to the " Your Facebook Information " section.
Click Download information.
Click the circles next to data categories to add or remove them from the download.
Select other options including format, photo and video quality, and a specific date range if you don't want all of your information to be downloaded.
Press " Create file" to confirm.
It may take a few days before you get a notification from Facebook that your upload is ready. Follow the instructions in the message to download the password-protected backup.
If you only want to view your information and not upload it, select " Access your information" under " Your Facebook information " in the settings.