How to archive an entire instagram account
How to Archive an Instagram Account
As with other social media platforms, like Facebook and Twitter, organizations often need to archive their official Instagram accounts. In the public sector, this is usually to satisfy FOIA and Open Records recordkeeping requirements, while in the private sector, it is generally in preparation for a regulatory audit or legal matter. One recent example of a lawsuit related to a company’s use of Instagram is that of Teami, which was accused by the FTC of misrepresenting the health benefits of its tea.
How to Archive a Post on Instagram
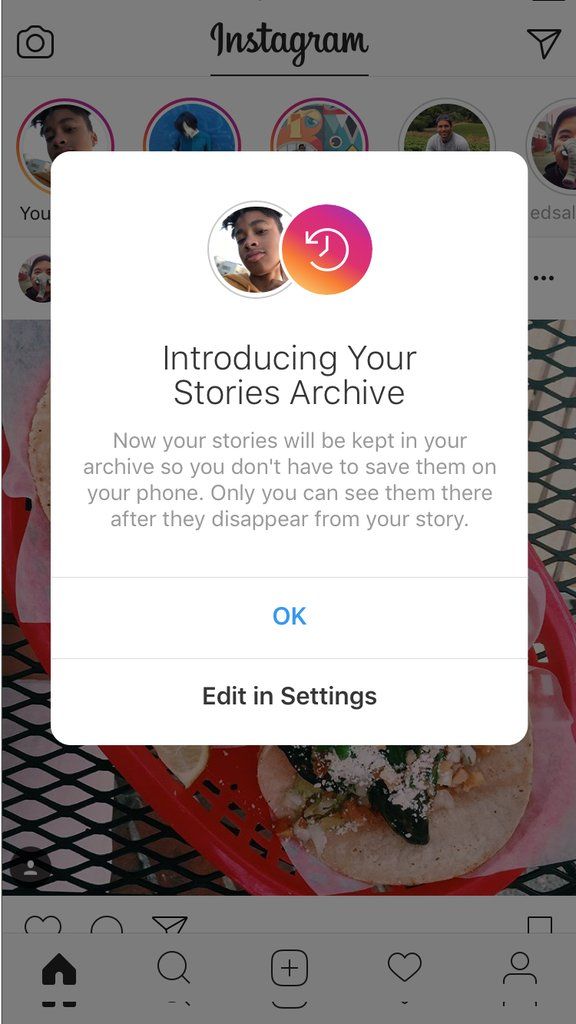
If you’re familiar with the platform, you’ll know that Instagram added an ‘Archive’ function in 2017. All you need to do in order to use this feature is to click on a post you’d like to archive, tap the three dots in the top right corner, and select Archive from the list. Once that’s done, the post will disappear from the profile.
It sounds simple, but the problem is that this isn’t really an archive feature at all. It’s actually more of a ‘hide’ function—it removes a post from your profile and hides it from other users without deleting it completely.
The goal is not to capture and preserve that post in an archive that can be exported for use during an audit or legal matter, but is instead just a quick and easy way for Instagram users to hide old pictures that underperformed or are now simply too embarrassing to keep on their profiles.
Downloading Data from Instagram
Luckily, for users looking for a more traditional archive of all their Instagram data, another option exists. The platform allows you to request all of your data from Instagram. To do this, you simply go to Settings and click on ‘Privacy and Security’. Once there, you’ll find ‘Data Download’ towards the bottom of the list.
If you select ‘Request Download’ from here, you’ll be able to leave an email address where you’ll be notified once the data has been prepared. Instagram says that it can take up to 48 hours for the information to become ready for download, but it typically takes much less time than that.
When the information is ready, you’ll receive an email that directs you back to the same section under ‘Privacy and Security’. From here, you’ll be able to download the data directly to your computer in a single ZIP file.
So does this leave you with an archive of all your information? Sort of. Unfortunately, while you will indeed receive all your data from Instagram, this information isn’t particularly useful in terms of data collection for litigation and compliance purposes. The reason for this is that the data download deconstructs all of your profile’s content, which makes understanding this data and preparing it for practical use time-consuming and complex.
Once you’ve extracted the zipped data, you’re left with one folder that holds all your photos, one that has all your videos, and a bunch of JSON files with all other account information. The JSON files include data such as device and profile information, as well as messages, comments, and likes.
While you can use a JSON viewer to access this data and a converter to transform it into a more practical format (like CSV), crucial post elements—such as comments and likes—are confusing and hard to understand when stripped of the context of their post, image, or video. Moreover, it can’t be submitted as evidence to an auditor or court in this format. Below is an example of what a JSON comments file looks like in a viewer.
Archiving Instagram for Compliance and Litigation
Relying on Instagram’s own archiving capabilities isn’t an option when it comes to collecting and preserving data to meet recordkeeping requirements—which means many organizations resort to simple screenshotting of posts and comments.
This does retain the context of the information, but it also introduces its own issues:
- There is no way to prove the authenticity of a screenshot, which means that it does not meet the Federal Rules of Evidence and will not satisfy an auditor or court.
- Screenshotting a single Instagram post is quick and easy, but capturing an entire account in this way can be very time-consuming, especially if new comments are constantly being posted.
- Because of the real-time nature of social media, it’s almost impossible to archive changes to posts and comments through screenshotting—a post might be edited multiple times or a comment might quickly be deleted before you’ve had time to screenshot it.
A much better alternative is to make use of an automated archiving solution that collects and preserves Instagram content in real-time. With real-time social media archiving, an organization can:
- See all edited versions of a post.
- Retain all context—archived content has the exact same look and feel as the original platform.
- Instantly capture every new comment to every Instagram post across your account.
- See all metadata associated with a post.
- Authenticate archived content through a digital signature.
- Easily export documents to PDF.
Pagefreezer offers real-time automated archiving of popular social media platforms like Instagram, Facebook, Twitter, and YouTube. If you’d like to learn more, simply request information by clicking the button below.
The Easiest Way to Mass Archive Instagram Posts
Next Story
from '5 DJ social media management hacks to boost your growth'
5 DJ social media management h. ..
..
aischedul.com/mass-archive-instagram-posts
As the number of Instagram increases, Instagram developers add new features to this application to make their users’ experience more delightful. There are many features added to this app in recent years that have become popular in no time and have led to attracting more users to this social network. One of the practical features that have been added to this platform since 2017 is the option to Archive Instagram posts. In this article, we are going to discuss this feature, how it works, and then, we will show you ways to Mass Archive Instagram posts at once. So, if you are an Instagram user and you want to know more about this feature, don’t miss this article.
Are you looking for a way to manage your Instagram page more effectively and also, save so much time? Hit the button below to try the AiSchedul Instagram management platform for FREE!
Try AiSchedul for free
What Does Instagram Archive Feature Do?
It may happen to everybody to decide to remove a post from their page but after a while, they miss that post again. But with the Archive option, you don’t need to delete the post to hide it from your page anymore. This option lets you move your posts to a part of your profile that is only visible to you. Using this feature, you can remove posts from your profile without deleting them, and also, you can restore them to your Instagram page whenever you want. Plus, no one will notice these changes and you will have full control over your posts.
How to Archive an Instagram Post?
Archiving a post on Instagram is so simple. To do so:
1. Open the Instagram application, go to your profile, and select the post that you want to archive. 2. Hit the 3 dots button on the top right corner of the post. 3. Select the Archive option. That’s it!
As easy as pie! This way, the post will no longer appear on your profile. Now, how can you see the archived posts and maybe restore them to have them on your profile again? You can see all of your archived posts and stories in this way:
1. Open the Instagram app and go to your profile page. 2. Tap the three-line button on the top right corner. 3. Select the Archive option. 4. From the top drop-down, you can choose between posts and stories and you can see all of your archived content there.
Also, you can unarchive a post and return it to your profile or delete it permanently. To do this, select the post in the archive section, tap the 2-dot button on top, and choose the “Return to profile” or “Delete” option. No need to mention that if you delete the post, you can restore it after that so be careful!
How to Mass Archive Instagram Posts?
The archive feature of Instagram became popular in no time and it’s pretty useful. However, many users have multiple posts from the past that they want to archive at once. It’s so much time-consuming to archive them one by one and they are looking for a way to mass archive the posts.
Unfortunately, the Instagram application doesn’t support bulk archiving. You can just archive the posts one by one in the Instagram app. But don’t worry! There is a way that you can mass archive the consecutive posts using third-party applications. In the following, we will show you how you can mass archive Instagram posts using a mobile device or a PC.
Mass archive Instagram posts on mobile phone
In order to mass archive consecutive posts on Instagram, you need an application to record your action and repeat it automatically for the other posts. “Click Assistant – Auto Clicker” is an app for android devices that you can download from Google Play. Here we are going to show how you can archive many posts using this app. But if you are using an iPhone, don’t worry! there are similar apps for iOS such as “Web Macro Bot: Record & Replay” app that you can download from App Store.
Now to mass archive Instagram posts using Auto Clicker:
1. Go to Google Play and download the “Click Assistant – Auto Clicker” app. 2. Open the app. You don’t need to change any of the settings. Just hit the “START SERVICE” button at the bottom.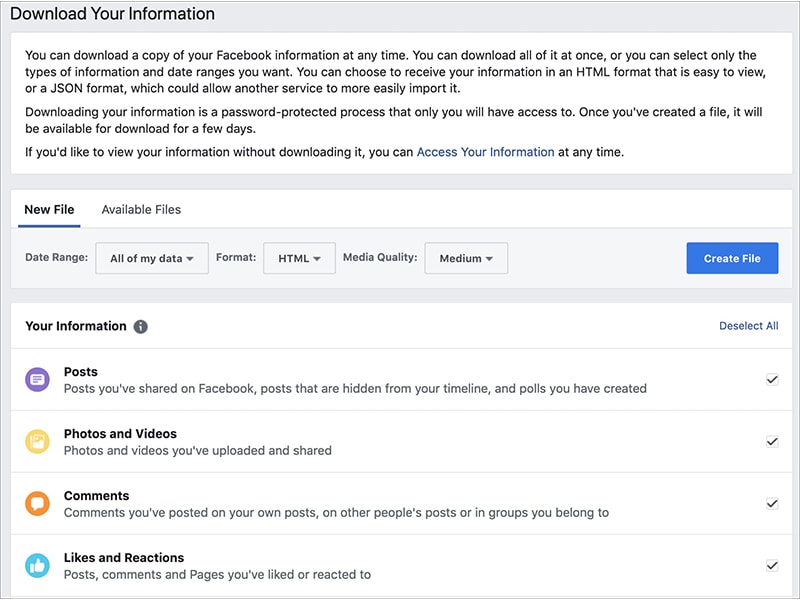 3. Auto clicker tools will appear on the side of your screen. Now, go to the Instagram app, open your profile, and choose the post that you want to start mass archive from it. 4. Select the circle tool from the toolbar. From now, all your clicks will be recorded to repeat so be careful. 5. Tap the three-dots button on the top right corner, select “Archive” and then tap the top bar of the application to make sure you are on that page. These 3 moves will be recorded in order to archive other posts. 6. After it, tap the “Done” green button which is appeared on the screen to finish recording.
7. Now, you can repeat the action by hitting the play button on the toolbar.
8. The action will be repeated until you pause the process or it archives all the posts. 9. You can finish the process by hitting the cross button on the toolbar. 10. All archived posts will appear in the archive section of your account.
Can We Do It On Pc & Mac Too?
Unfortunately, the web version of Instagram doesn’t support the story feature so, you can’t archive even one post using the Instagram web.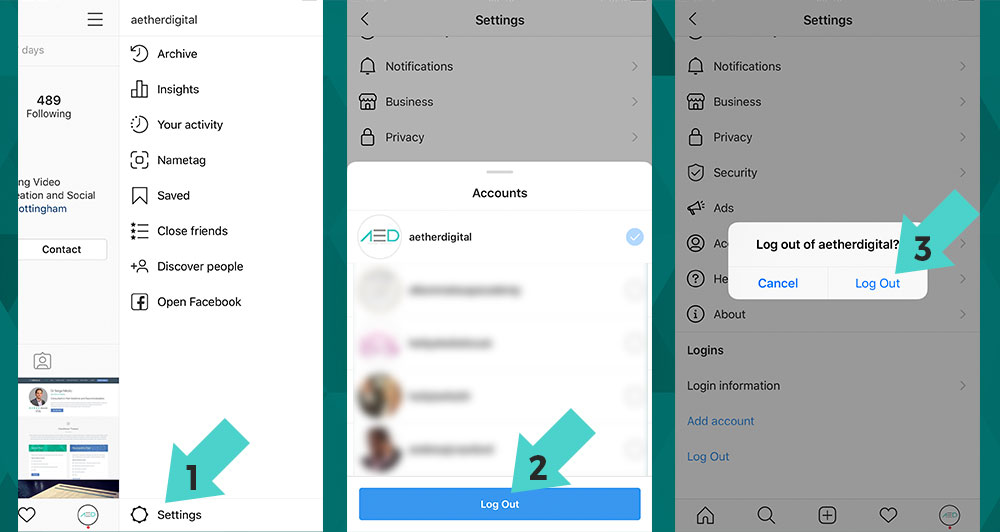 But don’t be disappointed! You can archive Instagram posts on your PC using an emulator software.
Emulators can help you have the same experience you have on your phone using your PC. They stimulate the mobile phone environment so you can run mobile applications on them too. Many Android emulators can help you with this task. Nox Player and BlueStacks are two of the most well-known emulators that you can download for free.
For mass archiving Instagram posts on your PC, you should follow the previous way. The only difference is that you need to run an emulator on your system and then follow the steps we mentioned before.
1. Download an android emulator suitable for your operating system. 2. Install and run the emulator. 3. In the emulator window, download Instagram from Google Play and log into your account. 4. Download the “Click Assistant – Auto Clicker” application from Google Play in the emulator environment. 5. Follow the steps we mentioned in the last section to mass archive posts on your mobile phone.
The procedure is the same, the emulator stimulates your mobile phone’s environment and then you will go through the same procedure.
All in All…
In this article, we talked about the Archive feature of Instagram. We explained how we can use this feature and told you that you can not archive multiple posts at once using just the Instagram app. You will need an assistant application to help you with this task. Then, we showed you how you can mass archive posts using your mobile phone or PC through a step by step guide. We hope you find this article helpful. Share your ideas with us in the comment section.
aischedul.com/mass-archive-instagram-posts
How to archive all photos on Instagram ▷ ➡️ Creative Stop ▷ ➡️
As a forward-thinking person, would you like to back up the photos and videos you've shared on Instagram but don't know how? Would you like to download all the photos you have posted on Instagram to your computer, but being a bit of an expert in technology, you don't know how to do it? Don't worry, I'm here to help you today.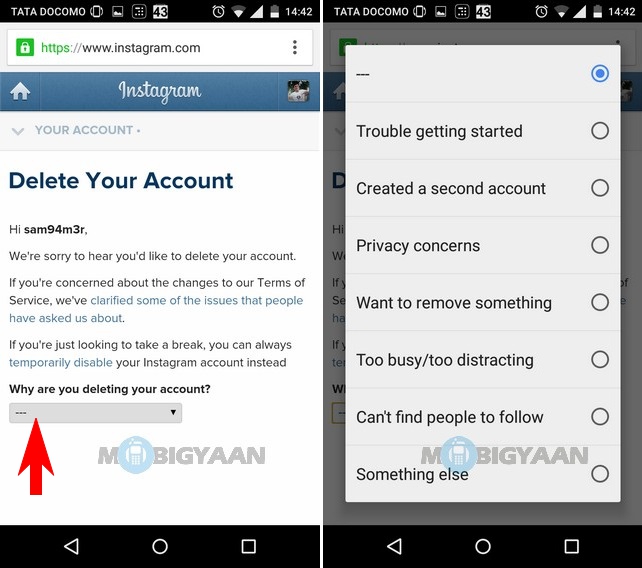
If you want to know how to archive all photos on instagram , take a few minutes of your time and read what I have to offer. In fact, in the next few lines, I will explain how to archive and Guardar Instagram photos, both from mobile phones, tablets and PCs. Also, for the sake of completeness, I will show you how to save photos from Instagram Direct and how to save profile photos from a well-known photo social network.
What do you say? Are you looking forward to the tips I have prepared for you? So sit comfortably in front of your computer, grab the device you're going to use to put into practice the instructions I'm going to give you, and get to work. I have nothing else to do but wish you good reading and above all have a good time!
- How to archive all photos on Instagram
- How to save all photos on Instagram
- How to save photos from Instagram Direct
- How to save Instagram profile photos
Index
- How to archive all photos in Instagram 90 2 2 How to save all photos on Instagram
- 3 How to save photos from Instagram Direct
- 4 How to save Instagram profile photos
How to archive all photos on Instagram
If you want to Archive all photos on Instagram , You should keep in mind that the well-known photographic social network does not allow automatic bulk archiving of content posted on your profile. However, using the operations that I am about to show you, you can manually archive images published in messages and Stories in a specific section.
To do this, you must download, log in and log into your account on Instagram for Android and iOS. Then tap on the little man icon located in the bottom right corner to go to your profile screen, find the image you want to archive, click on it, tap on the (...) icon in the top right corner and in the menu that appears, tap item archive .
To access the section of the archive, click on the clock icon at the top of your profile screen, tap archive in the top menu and click the item publication .
If you want to make sure that even images published in stories are archived 24 hours after publication, click on the icon (.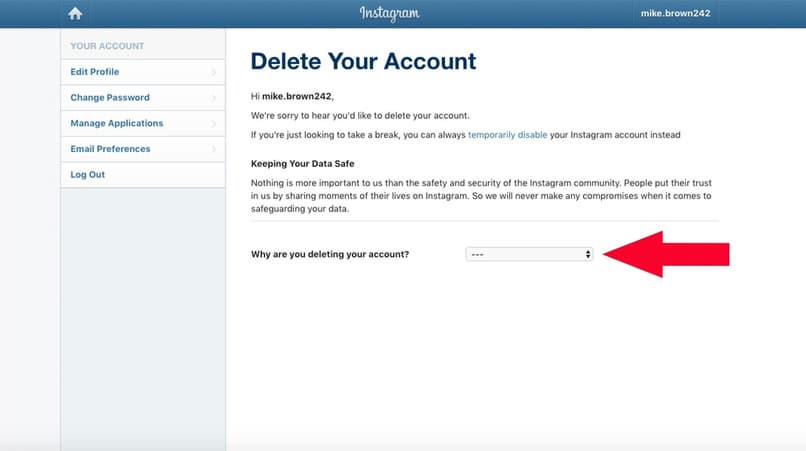 ..) and in the menu that appears, click on the item configuration and ready EN the lever is located in accordance with voice save in archive .
To watch stories filed, tap the clock icon is in the menu at the top of your profile and select item history in the menu that you see by clicking on the option archive . If you're having trouble, check out my guide on how to recover photos stored on Instagram.
You can also launch the story tool, click on your profile photo, click on the gear icon in the upper left corner and go to EN lever in the wording Save to camera feed : this way images published in stories will be stored in your device's memory.
How to save all photos on Instagram
If you want to save all photos instagram You can act through the application Instagram for Android and iOS or from a PC by connecting to the official website of Instagram. In the following lines I will explain how to proceed.
On Android and iOS, after downloading Instagram and logging into your account, click little man icon in the menu bar at the bottom, then click the ☰ button and in the side menu, click the text configuration .
Now tap the items Privacy & Security > Upload Data , enter the specified email address valid in the text field and click the Request Upload button. To confirm the operation, enter account password and first press the button Venga and then in the final . In the said e-mail you will receive a link where you can download all the contents of your account.
Act from Pc , enter your profile from the official website of the social network. Then click the small person icon at the top right, then the gear icon and finally the voice Privacy and security .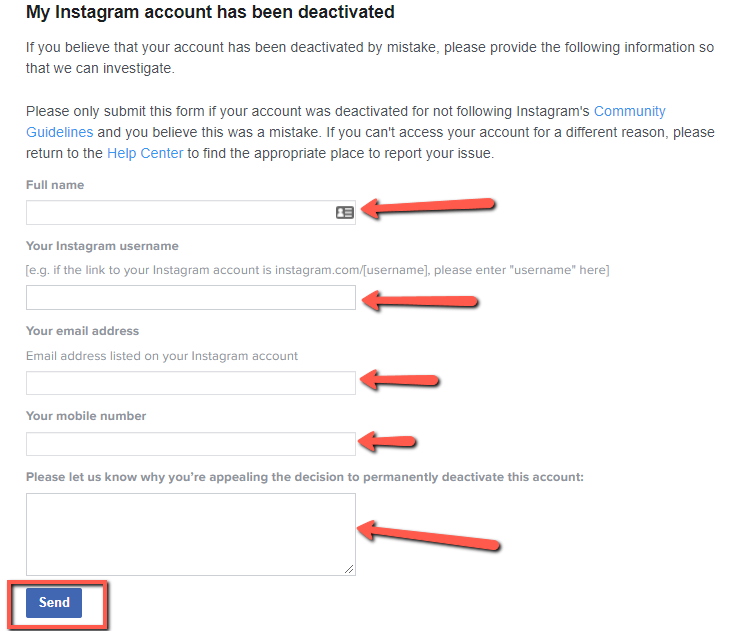
Then click on Request download corresponding to article Data download . Then enter a valid email address and enter the password of your account for confirmation to receive a link where you can download your account data and photos to your computer.
After receiving the email (this may take up to 48 hours), press the Download Data button twice in a row to receive the file. The link you received will expire after 4 days.
For more information on how to perform this procedure and about third-party programs such as 4K Stogram o JDownloader that allow you to download photos from Instagram, read my guide dedicated to this topic.
How to save photos from Instagram Direct
Save the received photo to Instagram Direct It's very simple and you need to do it through the social network application for Android and iOS.
Then launch the previously downloaded Instagram application on your mobile phone and log into your account, then click the airplane icon in the upper right corner to go to the private message section.
Now find the conversation you're interested in, tap on it, and then hold your finger on the image you want to save. Finally press button save in the menu that appears, save the resulting image in the memory of your device.
How to save Instagram profile photos
If you want to save user profile photos to Instagram You can operate through the social network application for Android and iOS or from a PC by connecting to the official website of Instagram.
From mobile phones and tablets, after downloading the application and logging into your account, search for the user profile using the search engine ( magnifying glass ) and on your profile screen, tap the icon (…) in the upper right corner, then tap the object Copy the profile URL .
Then launch a browser to browse the Internet to paste the previously copied URL into the address bar. Finally, in the new screen that appears, press and hold on the avatar of and press the button Download image (For Chrome on Android) or Save image (For Safari on iOS).
De Pc , connected to the official website of Instagram, and log in to your account to determine the profile of the user of interest through the search engine. Then right-click on avatar of the person in question and click on the element Save image I like in the context menu.
If you have any doubts or problems with the operations that we have just indicated, please refer to my guide in which I will tell you how to view Instagram profile photos.
How to archive all Instagram posts without deleting them
Social networks
0 10. 719 3 minutes to read
Instagram has become a very popular social network where you can post a large number of photos, videos, he even created an alternative to TikTok with his drums. But over time, there are posts that you do not want to see all your followers, so in this tutorial we will teach you how to archive all posts on Instagram without deleting them.
Instagram has this tool that allows you to hide posts without deleting them from your profile. Thus, the messages you need will be hidden from your subscribers, but they will remain in your profile for your memories and for keep your statistics .
How to archive all Instagram posts without deleting them
Instagram's archiving feature allows you to delete all those images, photos and videos that you do not want to publish from the point of view of your followers ; but at the same time, you can store this content in your account, but away from public viewing.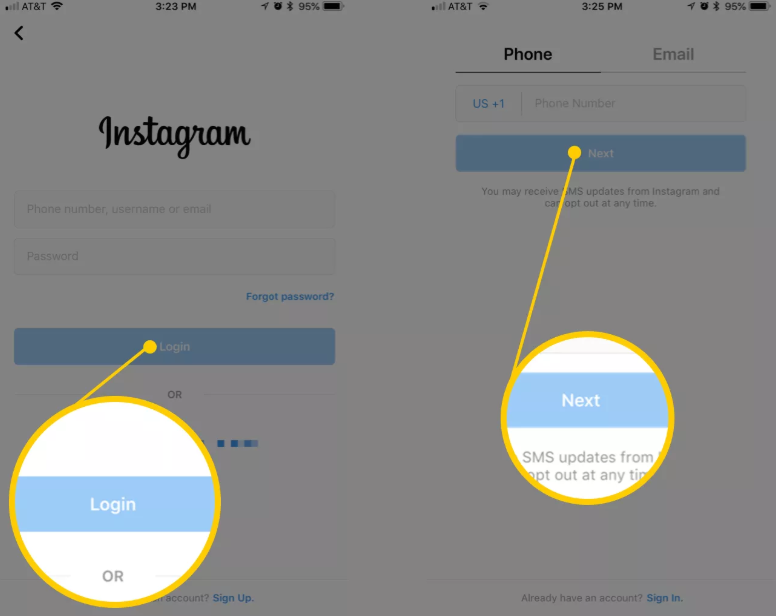 When you upload a photo, it stays on your profile and only you can see it whenever you want.
When you archive a photo, you won't lose it, you can access it whenever you want, which we'll talk about later. But if you want to be sure, you can save Vos Instagram photos to keep all your memories.
Archiving an Instagram photo is very easy, you don't need to be a computer expert to clear your profile without having to delete posts from your account. Here are the steps to follow:
- Open the Instagram app.
- Log in to your profile, for this you must click on the icon human figure which is located in the lower right corner.
- Click on the message you want to archive so your subscribers don't see it.
- When the selected publication appears on the screen, you must click on the three vertical points that appear in the upper right corner of the image.
- When the menu is displayed, select option "Archive" .

- Immediately your post will be archived, it will no longer appear on your profile and your followers will not be able to see it either; It will look like you've removed it from your account, but it's actually saved.
There are two things to keep in mind when archiving a message; First, if you ever want your archived posts to reappear on your profile, you can do so in a simple way; Secondly, the ability to archive publications can only be made from mobile application , this function is not available in the web version.
The stories you share on your Instagram profile will be automatically saved to the stories archive after they disappear; that is, 24 hours after publication; but if you run into problems, you can learn how to archive, save, and display your stories. Remember that if you delete an article from your history before it disappears, it will not be archived.
How can I access my archived messages?
- When you are in your Instagram account, tap the icon the human figure which is in the lower right corner.
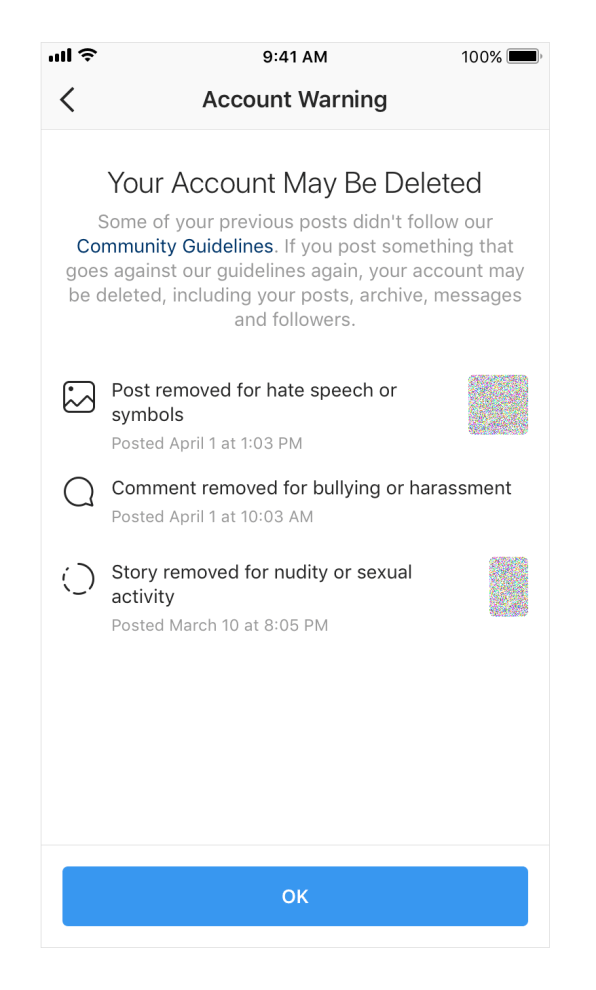
- You will immediately see your profile panel on the screen; now you need to click on three horizontal bars located in the upper right corner of the screen.
- When the menu is displayed, select the option "Archive" , this option has a clock icon with an arrow rotating to the left.
- In a new window, you will see all messages that you have archived and that only you can see. If you don't see your messages, go to the top of the screen where you will see a small dropdown arrow, click on it.
- You will see two options "Archive stories" (stories when they disappear from your profile are automatically archived here) and "Archive posts" .
- Select Message Archive to view all archived messages.
All posts you archive will be displayed in chronological order based on the date they were posted; They will not be sorted by landing date. And as you just read, viewing your archived photos is very easy.