When you, the names of the persons in the conversation appear as the chat name. Though it won’t be a problem if there are only a few and distinctly different conversations and chat members in your Messenger. However, if you need to handle different chat groups at a time, things can turn a bit confusing, especially if the members are recurring in different conversations. The next section teaches you how to change the group chat name on Facebook Messenger.
To change the name of a group conversation in Messenger using your iPhone, do these:
1. From your iPhone’s Home screen, open the Messenger app.
2. Then with Messenger opened, tap on the group conversation that you want to rename.
3. With the target conversation opened, tap on the conversation name on the upper part of the screen to view more details about the group chat.
4. From the group details, tap on the group name.
5. Enter the group’s new name and tap the Save button to save changes.
6. You just learned how to change the group chat name on Facebook Messenger using your iPhone.
To change the name of a group conversation in Messenger using your Android device, do these:
1. First, open the Messenger app on your Android phone.
2. Then, open the group conversation that you want to name or rename.
3. After that, tap on the more information button (letter “i” icon) located on the upper-right part of the screen.
4. The screen displays more information about the conversation. Tap the name of the conversation just below the pictures of the group chat members’ icons.
5. An Edit Group Name screen pops up. Type in your desired group name. Tap on the Save button to save changes.
6. The new group chat name appears. You just learned how to change the group chat name on Facebook Messenger on your Android device.
To change the name of a group conversation in Messenger using your laptop and computer, do these:
1. Login to your Facebook account then click on the Messenger icon on the left part of the page.
2. With Messenger opened, select the group that you want to rename.
3. With the selected group chat opened, tap on the Group Chat name located on the right part of the page.
4. Enter the desired new group name then click on the Save button.
5. You just learned how to change the group chat name on Facebook Messenger for Windows.
Learning how to change the group chat name on Facebook can help you organize your messages and save you time. It also helps keep your Facebook experience better. If you have questions about any of the information in this article, let us know in the comments section.
Do you think that this article is helpful? You might want to check out these related articles:
How to Create a Group Chat on Facebook Messenger
How to See Message Requests on Facebook Messenger
Disable the SMS Feature in Facebook Messenger
Hide Active Status on Facebook Messenger
How to Unread a Message on Facebook Messenger
How to Search a Conversation on Facebook Messenger
Set Reminders in Facebook Messenger
If you have an array of group chats, it may be difficult to find the right one amongst a flurry of names and numbers.
What's the fix? If you have an iPhone, you can change the name of group texts on the iPhone. That said, you should know that it only works if everyone in the chat is using iMessage.
Here's what you'd need to do to change the group text name or photo on an iPhone.
Quick tip: You can also change iMessage group text names using an iPad or Mac. With an iPad, you'd use the same process as you would on an iPhone. However, on a Mac, you'd go into your group chat in the iMessage app, click the details button, and then follow the prompts.
1. Open your group text.
2. Tap the group icons at the top of the thread. If you have iOS 14 or earlier you'll then need to tap the info button.
Tap the group icons at the top of the thread. Devon Delfino/Insider3. Tap Change Name and Photo.
Tap Change Name and Photo. Devon Delfino/Insider4.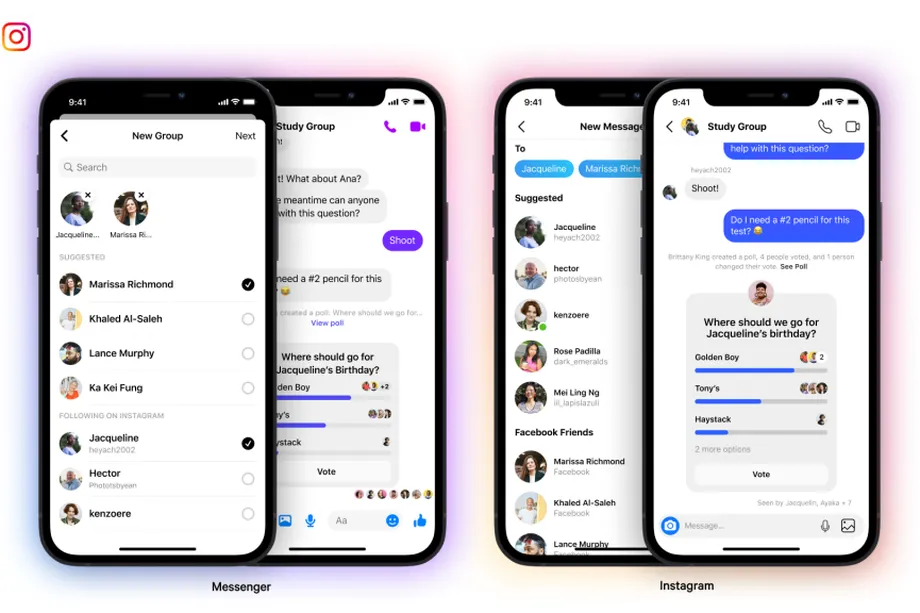 Add your new group text name.
5. Tap Done to set the new name.
You can choose to take a photo, or choose from the photos you've already saved on your phone. You could also set an emoji or Memoji as your group chat photo.
Devon Delfino
Devon Delfino is a Brooklyn-based freelance journalist specializing in personal finance, culture, politics, and identity. Her work has been featured in publications such as The Los Angeles Times, Teen Vogue, Business Insider, and CNBC. Follow her on Twitter at @devondelfino.
Read moreRead less
Skip to content
Home » Guides
How to Make a Group Chat on Facebook Messenger June 16, 2021 June 14, 2021 by Alex
The popularity of Facebook has quickly made its companion chat app, Facebook Messenger, one of the most popular chat apps in the world. However, its success may not only be due to Facebook, as Messenger has many useful features of its own, such as augmented reality effects, custom chat themes, and more.
Some of these features, such as the latest version of Watch Together, are sometimes best used with friends. With group chats, you can do just that! Plus, it's a great way to keep in touch with your closest friends and family.
In this article, we will show you how to create a group chat on Facebook Messenger.
Content
 As you select them, a check mark will appear next to each name and profile picture in the top row.
If you want to name the desktop group, click "Change Chat Name" in the right panel under Customize Chat after sending the first message.
Once you've created a group chat, it's useful to know how to manage its members in case you need to add or remove someone later. Use the steps below to add/remove members from a Facebook group chat.
You need to be a group administrator to remove members, but anyone who is already a member can add others.
 You can also just go to www.facebook.com/messages/t/.
Deleting a group chat in Facebook Messenger is a little more difficult than it might seem. You can delete a chat just like any other, but only your copy of the conversation will be deleted.
Although you can't delete a conversation from everyone's inbox, you can disband the group. This will archive the conversation for all other members of the group, and they will no longer be able to reply.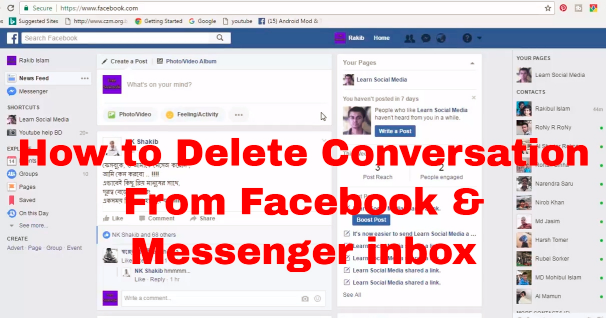
You must be the administrator of the group to disband it. To do this, follow these steps:
0 360 views
Did you like the article? Share with friends:
Microsoft Teams
Chat
Chat
First things to know about group chats
Microsoft Teams More...Less
There are three ways to communicate with users in Teams:
In the channel on the tab "Entries " (with all team members who follow this channel)
In a group chat (with several people at the same time, but outside the channel)
In a one-to-one chat (with one person)
First of all, you need to know the following:
It is recommended to use the name of the group chat so that it is clear what the topic of the conversation is.
To start and start a group chat, select at the top of the chat list. Click the down arrow on the right side of the field " K" and then enter a name in the "Group name " field. The name will appear at the top of the group chat.
To rename a group chat , select the name group chat at any time.
Name the group chat so it's easy to follow.
Pinning is a great way to keep track of a chat, even if you only need it temporarily.
To pin a chat, highlight it and then select more options > pin .
After pinning a chat, drag it to the desired order. Do this for multiple chats and you'll have all your pinned chats within easy reach.
Unpin the chat if you no longer need it. There is a limit of 15 pinned chats.
Pin group chats for easy access.
In a group chat, you can share and collaborate on files.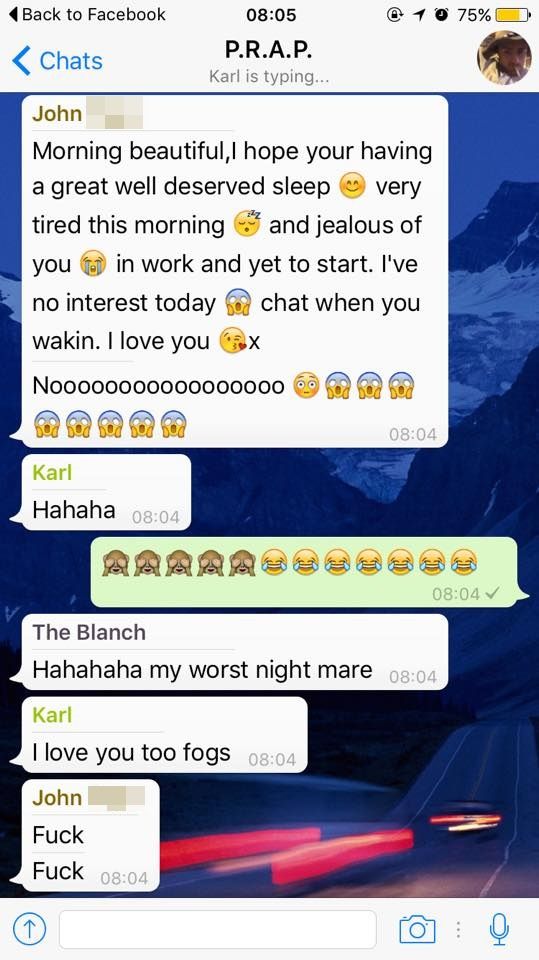 Then instantly call the whole group of people in the chat.
There are two ways to share files in chats:
Navigate to the left Teams, highlight the file, select more options > "Copy " link and then paste the link directly into the message.
On the toolbar below the message, click the button "" and send the document.
The "Files" tab in the chat shows all the files that you have shared with each other.
The Files tab of your chat shows all files that have been shared.
Select Voice to start a call from a group chat.
When adding a user to a group chat, you can choose how much of their existing chat history they see.
Select View and add
Select command Add users .
Enter the names of the people you want to add to the chat. Choose how many chat logs they will see after being added.