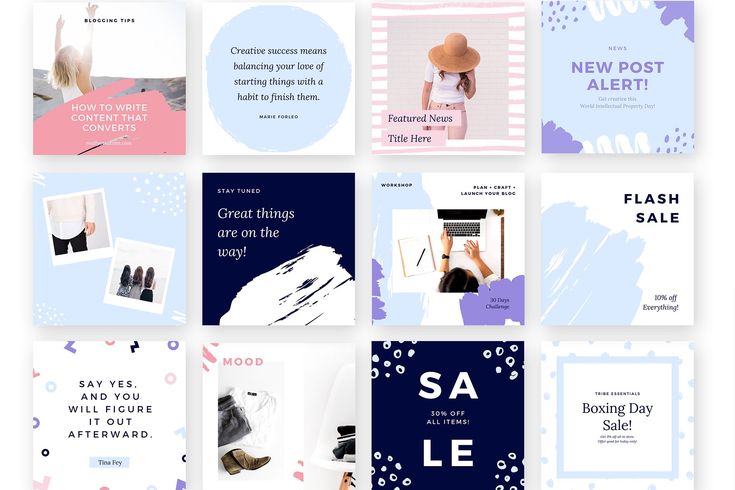
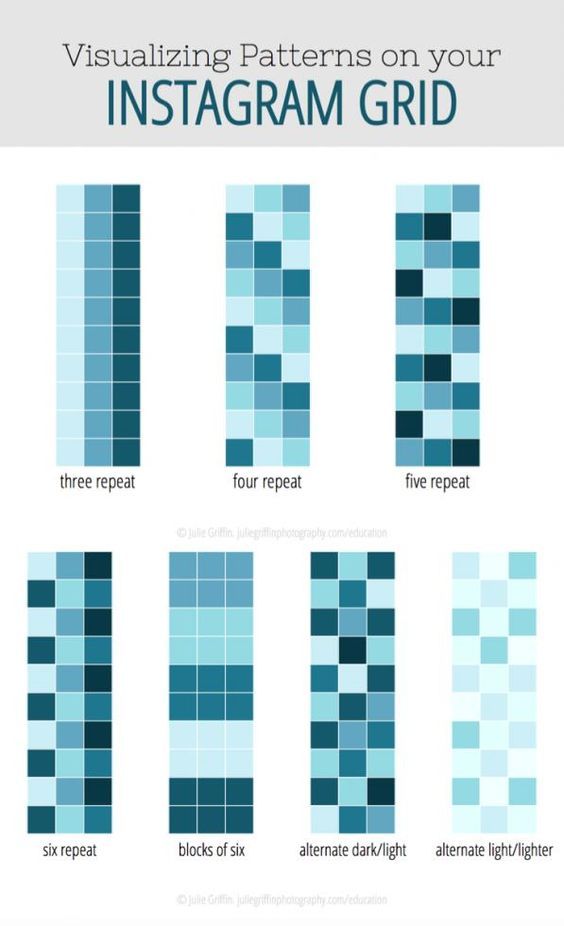
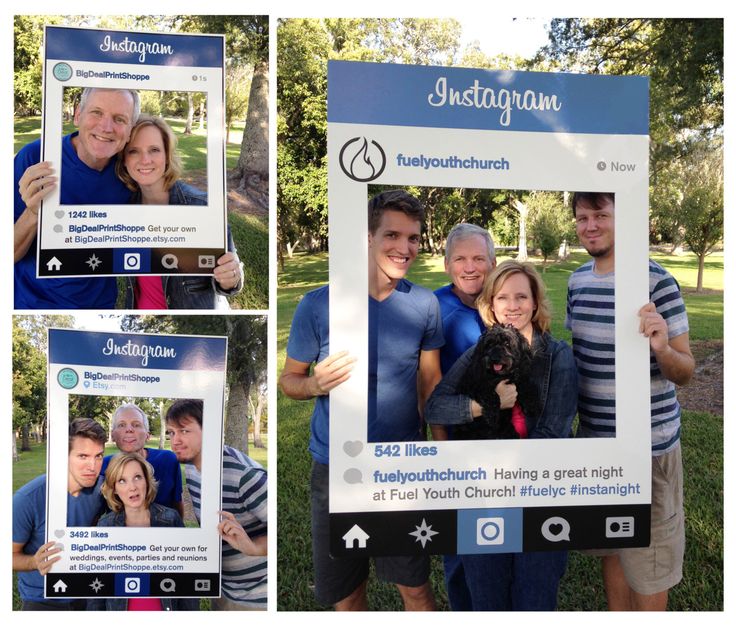
One of the best ways to improve the aesthetic appeal of your Instagram gallery and feed is to increase the amount of white space between your photos for a clean, uncluttered look.
The white border you choose will depend on your overall Instagram theme and whether the photos you’re uploading are horizontal, vertical, or square. If symmetry is your thing, then a white frame for Instagram photos is a great way to go. Here are a few simple ways to achieve a white border on Instagram.
Instagram saves duplicates to your iPhone
If your Instagram app is set to save all posted photos to Camera Roll, you’ll end up with two copies of every photo you post. An iPhone app like Gemini Photos will help you find and delete those redundant copies.
Download on the App Store
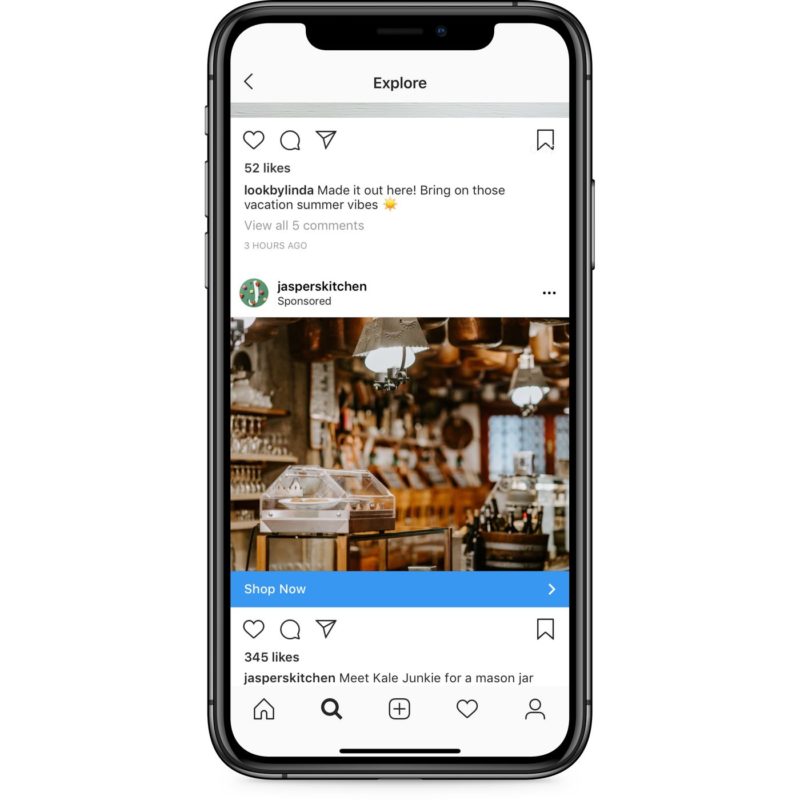
The easiest way to get white borders on Instagram is to use the native Instagram app. If you navigate to your profile page, you’ll see that your photos all show up as squares with a thin white border between them. This is lovely, but there’s a more striking white border that you can add to your photos.
Here’s how to add a thick white frame for your Instagram photos:
 Your photo will show up in your gallery with a white frame.
 As fabulous as the Instagram app is, you can really only achieve one border style using the Instagram editor. If you’re looking for a thicker border or a way to add asymmetrical borders to horizontal or vertical photos, you’ll need a third-party app. Here are a few we’d recommend.
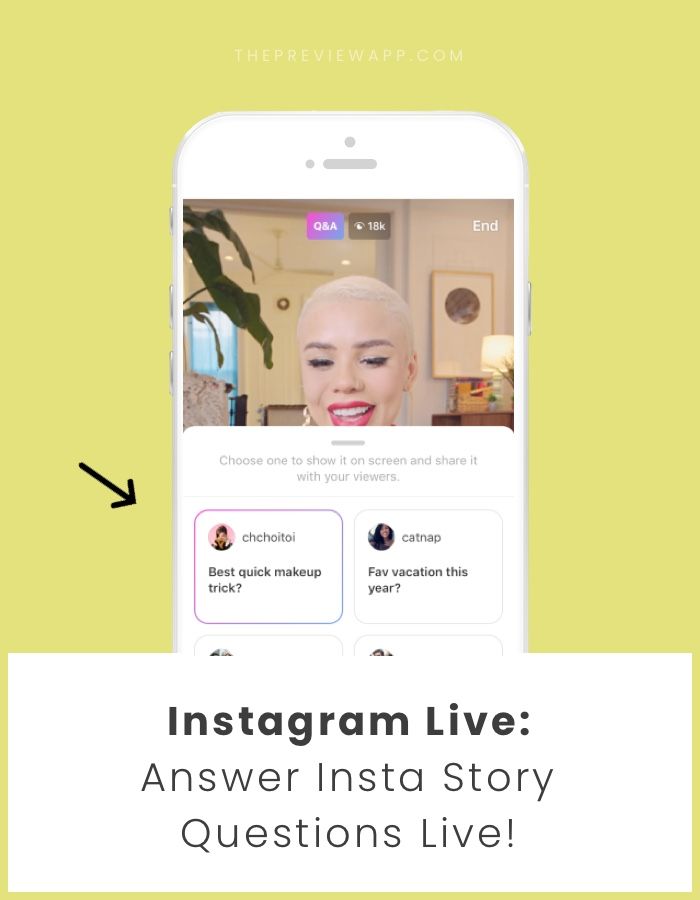
The Preview app is an Instagram planning and editing tool that has a selection of white borders you can choose to create a unique Instagram theme. If you are going to edit your photo or apply a filter, be sure to do it before you add your frame because a filter will change the color of your photo’s border when added afterwards.
Here’s how to create a white border using the Preview app:
Now you can either save the photo to your Camera Roll or post it right from the app.
With Whitagram, you can upload any photos of any kind — square, portrait or landscape — and quickly add a white border before uploading your photo to Instagram.
Here’s how to add a white frame with Whitagram:
Squareready allows you to add a white, colored or patterned border to your photos, no matter the original dimensions. With Squareready you can also move your photo around within the frame, making it off-center for a unique look. There’s also a simple, in-app editor for basic touch-ups.
Here’s how to use Squareready to create your Instagram border:
If you’re looking for ways to make your Instagram account stand out, consider using one of these methods to add a white border around your photos. This is a great trick for adding visual appeal to your gallery and giving your Instagram feed a distinct look.
A
lthough Instagram has certainly been pushing Reels recently, there is a large number of people who want the old days of a photo-based platform in a Polaroid-style back.
Despite Instagram’s best efforts, many users still prefer to share images and want their feed to look clean and aesthetically pleasing as well.
Clever customisation enables you to frame the same old pictures of your kitchen and your cat in a new way, so your feed of photos can look sleek and in Instagram’s original Polaroid theme.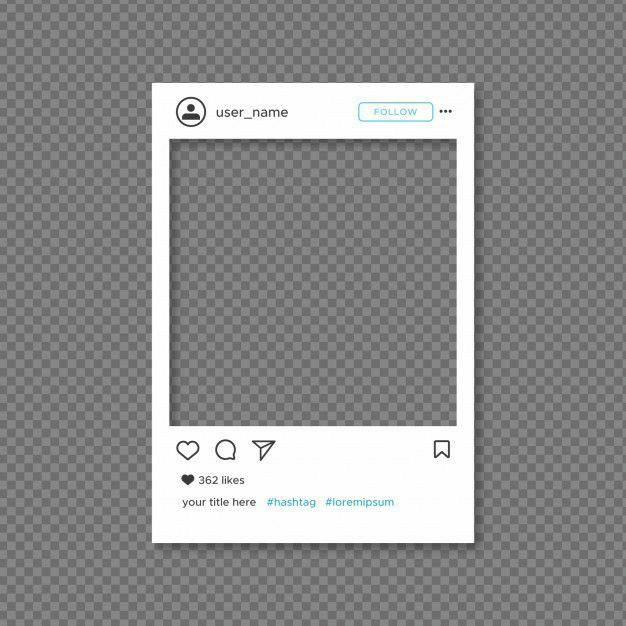
There are several apps and sites you can use. We have laid out the most convenient options for you here.
1. Instagram’s own - filters and white bordersYou can get a pretty nice white border on Instagram itself. If you look at your profile, you will see a white line separating each photo automatically. You have the option to thicken this on every image you upload.
When you upload a photo, look for an icon with two arrows pointing away from each other on the bottom left of your image. Tap it and it will automatically create a border. Depending on the size and shape of your original image, it might not look exactly like a Polaroid, but it creates a nice effect on your feed.
2. Afterlight - editing and Polaroid bordersAvailable on iOS and Android, After Light is an app that allows you to make precise adjustments to your photos and add various Polaroid frames. You can do this all in one place, as well as export the final product directly to Instagram (or any social platform).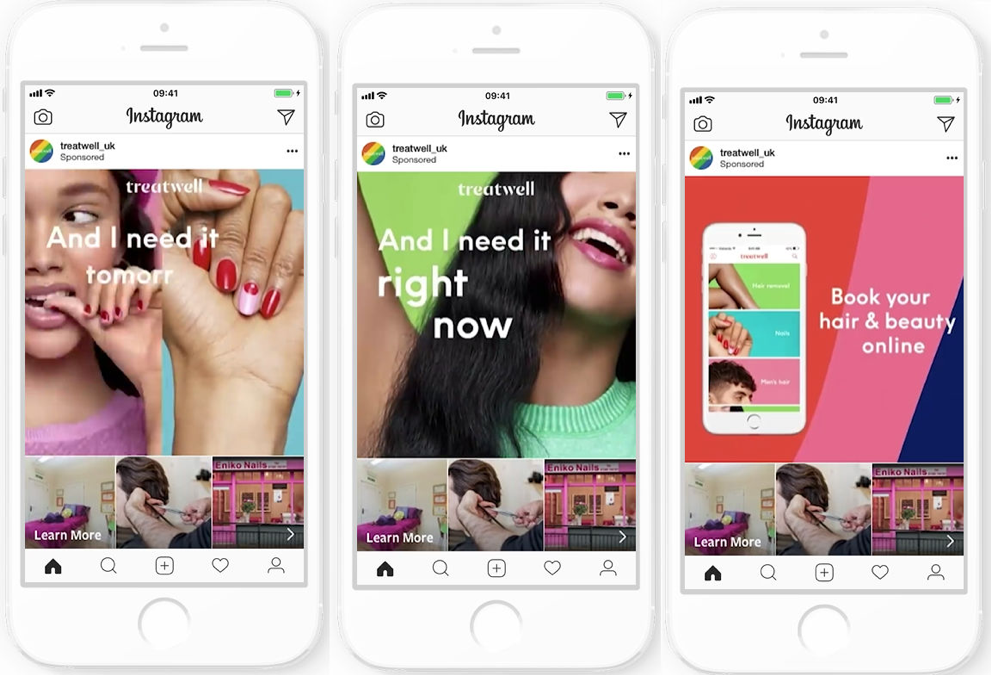 But, while the download is free, you need the paid option to achieve what we're looking for.
First, edit the image itself. For the dated, analogue effect, try altering the RGB curve to fade the colour, decrease shadows, and increase grain. Then you can move on to frame options, before saving or sharing directly.
Alternatively, if you don’t want to splash out, you can download a couple of apps that will collectively do what Afterlight does alone. A little more effort, but free of charge.
3. InstaLab - filters and Polaroid bordersA limited version of InstaLab, available for free on iOS and Android, can get you the Polaroid effect very quickly and easily. Just download the app, import or capture an image, and scroll through the available free templates. You’ve even got a #stayathome caption.
It doesn't offer the same level of editing control or sophistication as Afterlight, but comes with various filters that can help give your photo an aged effect.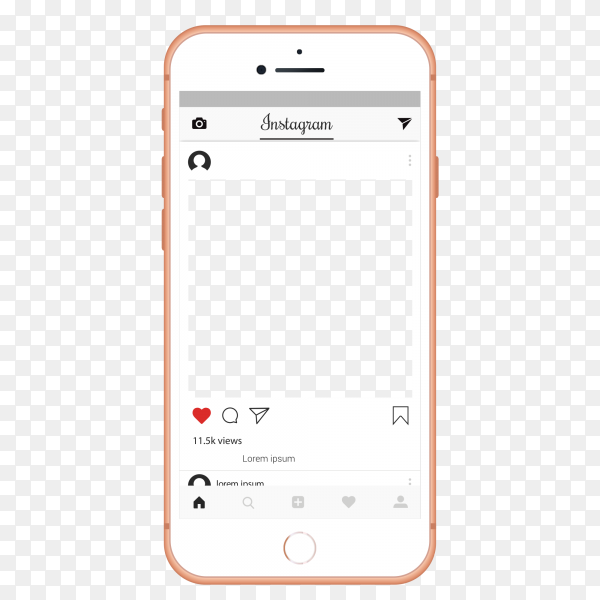
Polarr is a photo editing app with all the tools of Afterlight, but it’s free. Available on iOS and Android, it offers a wide range of playthings you can add to your toolbar, including curves, shadows, effects, vignettes, and more. You can also add a simple border.
A useful trick is that it allows you to save the final effect as an instant filter - so you only have to fiddle once.
And finally, if it's storage where you're broke, there's one option that requires no downloading at all...
5. Kapwing - Polaroid border and captionKapwing is an online studio that you can access on any browser and device. It's simple to use, includes a caption, and processes video as well as stills, making it great for Stories and Reels.
While you can’t add a border to videos, you can still play around with images using Kapwing, with a full suite of customisation options. This is a slightly more advanced tool, but great for perfectionists who want to tweak every last detail.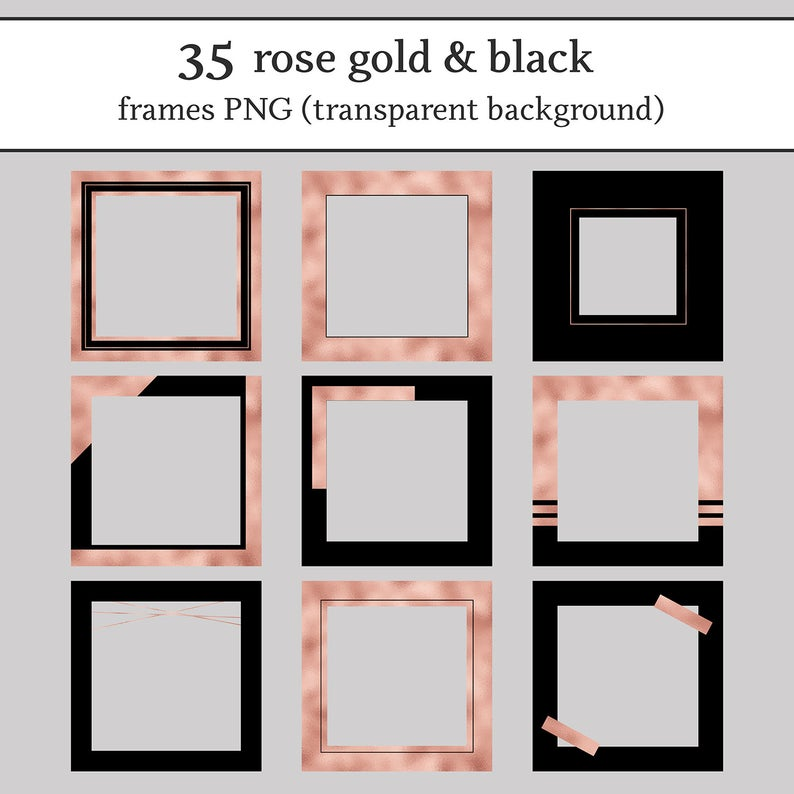
Do you want to make a post with photos on Instagram, but you have never done it before? Our small but useful guide on this topic may be useful to you.
Posting a new post on Instagram* takes a little time and is not difficult. How to add a post to Instagram* from your phone: first you need to go to your profile through the official application, then follow the steps. nine0003
 Up to 10 photos and videos can be uploaded. nine0010
 On the other hand, bathrooms may well be the same anywhere in the world, right? :–) We talked about locations and hashtags in English in the article "Popular hashtags in English: topics and examples of use." You can peep popular and not only hashtags there. nine0010
We looked at how to post on Instagram* from Android. If you have iOS, the intuitive process will be the same, just some functions will be called differently.
There is another way to post from your phone. This is very convenient, for example, when you scroll through your gallery and find a photo that you urgently need to share with other users.
Step by step how to add a post to Instagram* from your phone through the gallery:
You can also crop unwanted parts of the frame to make it more accentuated in the right place in the photo. Or do nothing, don't edit, just click on the blue arrow to go to the next block. nine0003 You can use any suitable hashtags and geotags of your choice
Our blog has many articles about the benefits of hashtags and how to use them correctly in publications. For example:
And if you just need to quickly find hashtags for publication, you can use our bot "Gennady". You give him a photo or a word for which you need to pick up hashtags, and he gives you a whole cloud of hashtags that can be attached to a post. But we digress. While we were thinking about hashtags, our post has already been published.
The post is ready, you can do other things Let's say you tried both options, but the photo still doesn't want to be added.![]() What to do in this case? Determine the cause and try to fix it:
What to do in this case? Determine the cause and try to fix it:
 If you are far away from Wi-Fi or there are too many people using the network, for example in a shopping center, it is better to switch to mobile Internet. If the photo does not load in this case, it is possible that the traffic is running out. The balance can be checked in your personal account on the website or in the application of the mobile operator.
 We figured out how to post to Instagram* from your phone using the Instagram* app or photo gallery. We talked about how to change settings, edit images and their number, add geotags and tag people. We studied why the photo might not be added to the post, and what to do in each of the cases. You can find more information about Instagram*, posts and promotion in our blog.
June 25, 2022
Instagram is a great platform for promotion. And here a lot depends on what impression the profile makes: what is the general mood, color palette and combination of photos. We have put together a few tips to help you make a beautiful ribbon and develop a special brand aesthetic.
A single style is those details that unite the entire visual. For example, it can be a photo style - dark deep, airy light photos. Or the paraphernalia of the frame - rustic, vintage, kinfolk and others. Even some common character or object. However, in search of your own style, it is not at all necessary to drive yourself into rigid frames and lock yourself in one direction. You can combine completely different photos if you follow a few rules. nine0003
The account itself does not affect sales. For visitors to turn into potential customers, they need to be impressed. Think about what emotions you want to evoke in subscribers? The style of your feed and the choice of photos will depend on this.
For example, if you are selling home decor, a hygge aesthetic would be appropriate: photographs of candles and cozy blankets, warm colors and soft shadows in processing. And for premium leather goods, you can try shooting with gloomy light and deep hues - if you place all the accents correctly, such shots will be filled with a special atmosphere. nine0003
Accounts of photographers can also be different: on the left - conciseness and rigor, on the right - brightness and audacity. For example, photos of @neekmason and @kavalerchikyana are used
When one color is used in the profile - everything is light and airy or vice versa dark - it looks very stylish and beautiful. But after a while, when you see the fifth, tenth or hundredth such photo, you stop seeing the difference. Therefore, we recommend leaving the stereotype that it is enough to choose one filter for all photos in the past. nine0003
It's much better not to lock up your creativity in some kind of filter, but simply choose your favorite shades of base colors and make sure that they are regularly in photographs. If you are shooting portraits, ensure that the skin is the same color throughout. If you publish landscapes, the shades of the sky and greenery should also be the same. Then the shots taken in different conditions will remain natural and look harmonious.
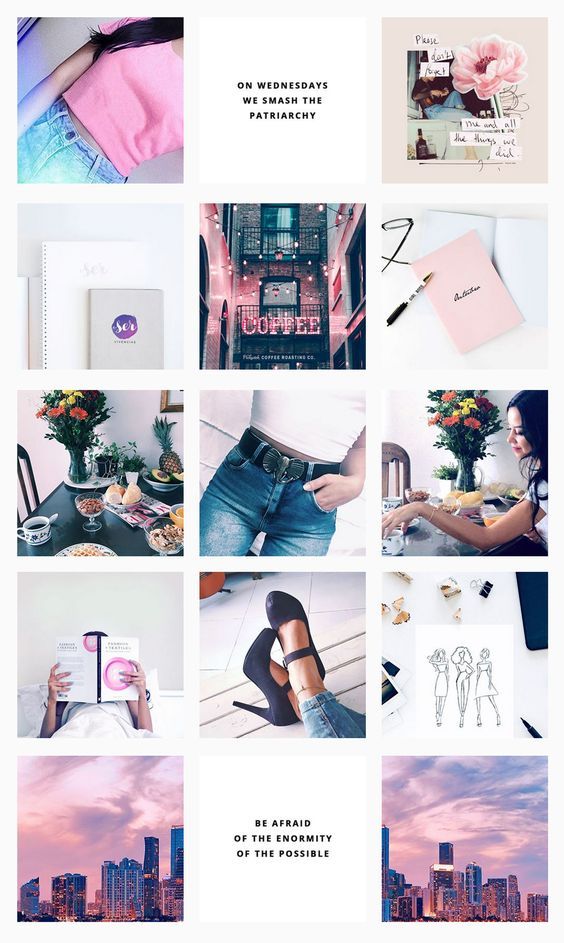
On the left is an example of a tape in which each photo is very beautiful individually, but together they look very similar. And on the right is a tape in which the frames are very different, but thanks to the primary colors that are repeated from frame to frame, the tape looks harmonious. For example, photos of @meghan_faulk and @prostokrasivo.wear are used
You can combine dark and light, warm and cold shots in one profile - just make smooth transitions. For example, if you had three light shots and now you want to post a dark photo, post a light photo with dark accents first. Then it turns out that some shades seem to flow into others. Such a “gradient” looks beautiful in the feed and will help to fit photos of your customers into it.
Instagram Kinfolk is a great example of a harmonious feed without a single filter. This is achieved by smooth transitions and playing with color. Photos used as an example @kinfolk
Color brings zest to photos and encourages you to come in and see the details. This is due to the fact that our eye easily picks up bright spots, especially when looking at photos from the phone.
Therefore, for profiles in neutral tones, such as gray or beige, we recommend adding bright details so that the tape does not look boring. And if your frames are bright and colorful, on the contrary, it is better to add calm objects - this way there will be no extra variegation when looking at the feed. nine0003
Color attracts the eye, the main thing is to use it in doses. For example, on a neutral background - white, black, beige.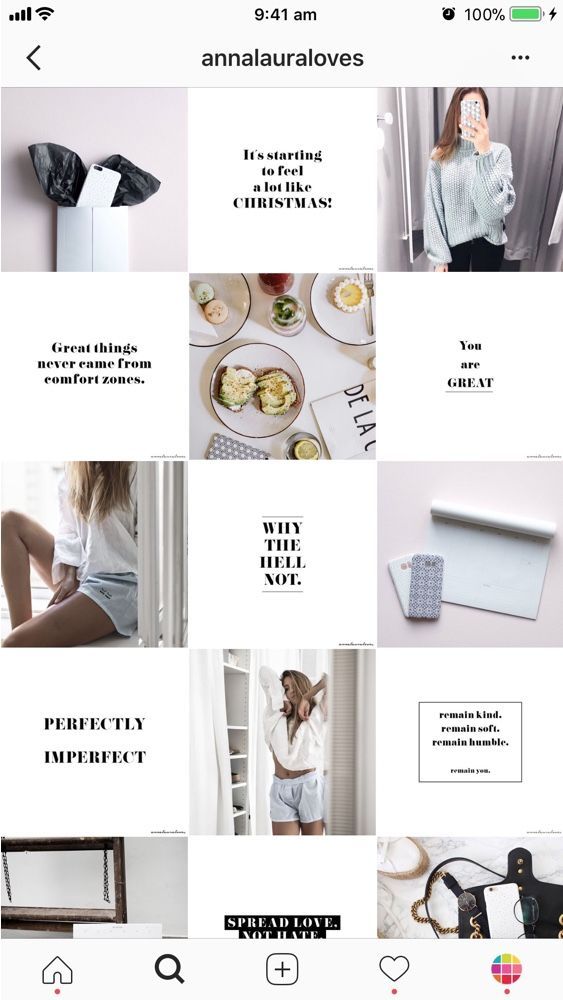 Photographs @la_maison.n and @gkstories were used as an example
The feed looks more harmonious when photos with different scales are published side by side. For example, if you have an online clothing store, you can first post a photo of a girl in a full-length dress, then a waist-length portrait, and then a large photo with a dress back or a beautiful clasp. So there will be no feeling that you are repeating yourself. nine0003
The alternation of plans helps to make the tape varied and lively. The characters in the photographs change, the surrounding world changes - then the tape looks eventful.
Cozymoss Instagram photos at different scales. This is another reason why the goats in the profile are so lively and active. @cozymoss photos used as an example
Use apps to plan your Instagram content in advance. They are convenient to upload photos, combine them and choose the perfect sequence.