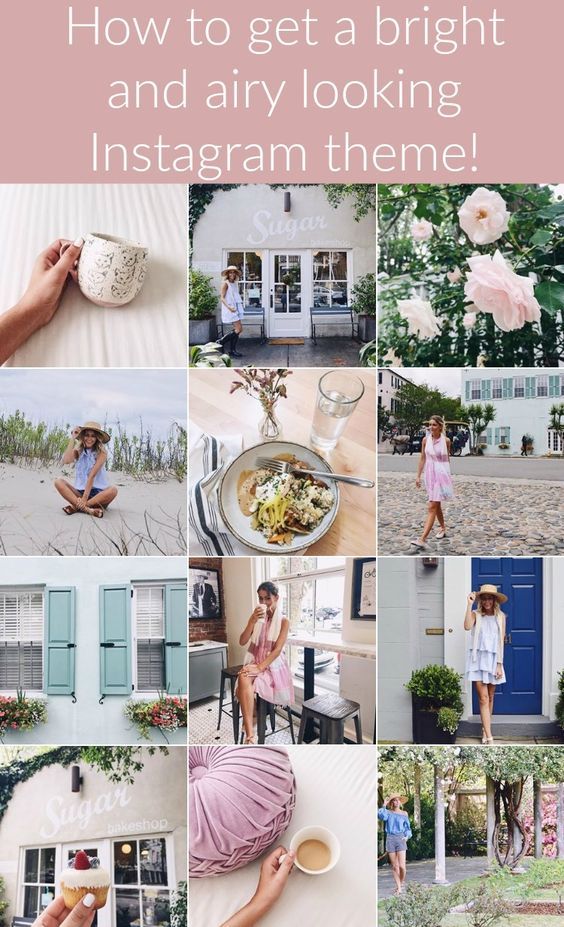
Want to have fun and give your Instagram account a creative and unique look? Then, try to split photos into a grid. You’ve seen this technique used on other accounts, and now we’ll show you how to do it for yourself. Who knows – maybe this could help you get out of your engagement slump and attract new followers.
You could split your photos into a variety of formats:
To get more creative, you can also tell a running story through your images.
First, find the image that you would use and cut it into equal square sizes using the Instagram photo editing tools we provide further below.
It’s important to make sure every image looks good individually when splitting because people will see each image separately while scrolling through their feed.
After you’ve split all the images, it’s best to upload the photos one at a time. You should wait for the first one to finish uploading before uploading the next one to avoid mishaps.
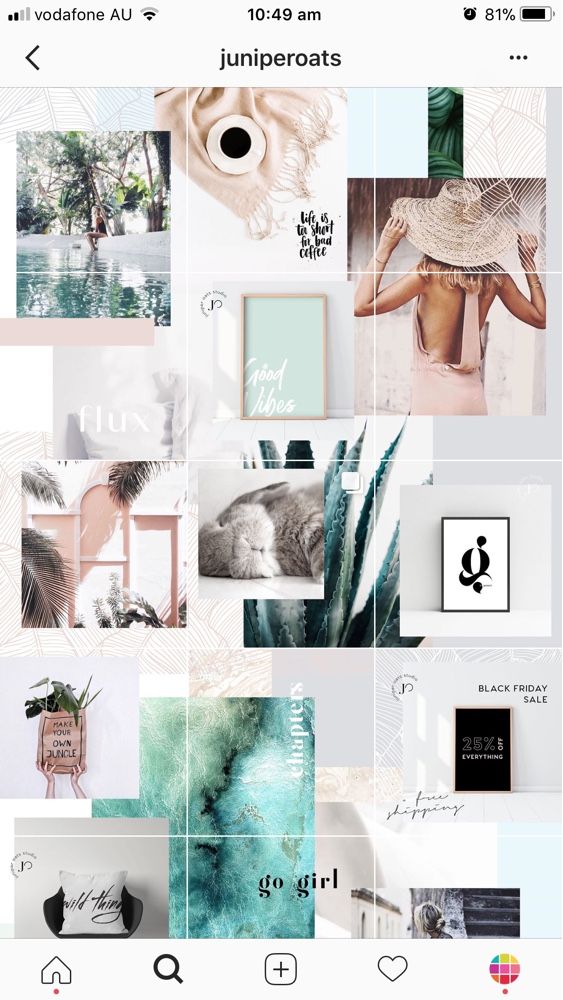
Below is an example of our attempt at having some fun with photo tiles.
Book Your Free Instagram Consultation
Below are some apps and websites to split photos into a grid for Instagram.
Turn your pictures into big tiled banners to share on Instagram and make your profile stand out from the crowd!
The app is fun and simple to use. First select the size you would like the banner to be. Then add your photo and scale or move if necessary. Once you’re satisfied, hit save and the app will then cut your photo into tiles and save it to your photo album. You can then upload all those photos to Instagram and enjoy!
Tile Pic on Apple Store (iOS devices)
Cost: Free (In-App Purchases)
 Pic Splitter
Use Pic Splitter to split your photos into grids for Instagram. This is an essential photo app for your collection and will give your Instagram profile a professional look!
This pro version has no ads whatsoever, so you can create your photos uninterrupted.
Pic Splitter on Apple Store (iOS devices)
Pic Splitter on Google Play (Android devices)
Cost: $1.99 for iOS devices or $1.99 for Android devices
The #1 best free app to crop your pictures into 3×1, 3×2, 3×3, 3×4, 3×5 grids and upload directly to Instagram. Impress all your Instagram followers with high resolution grids that you can create from your personal pictures! Gain more followers and attention by having the best looking grids on Instagram.
9 Square for Instagram on Google Play (Android devices)
Cost: Free
Book Your Free Instagram Consultation
The complete solution of square formats on Instagram. Post your photo beyond square boundary on Instagram.
By nSquares, you can freely choose to post your photo with different square formats:
With n-Squares, you can also post your photo in Banner or Photo Grid format. We provide a variety of banner and grid patterns for you to post your large photo and composite your multiple photos into a photo grid to tell your story.
nSquares on Apple Store (iOS devices)
Cost: Free
Break your large rectangular photos or panoramas into a number of square pics and upload them to Instagram to awe your friends and impress your profile page visitors!
Watch separate tiles combine into one mind blowing image allowing for unparalleled level of detailing and flexible scaling options! Be it a casual selfshot, a city skyline or a mountain landscape, with Grids they will look amazing on your profile page. You won’t have to shrink or resize your creations ever again.
Take a new picture right from within the app or upload an existing one from your Library, choose a suitable sizing option among the 6 available options, and let Grids crop the image for you! All you have to do is to submit the resulting pics to your Instagram in the order suggested by the app. You don’t even have to save the tiles to your device as sharing to Instagram is embedded in the application!
You are not limited to solid grids with three rows.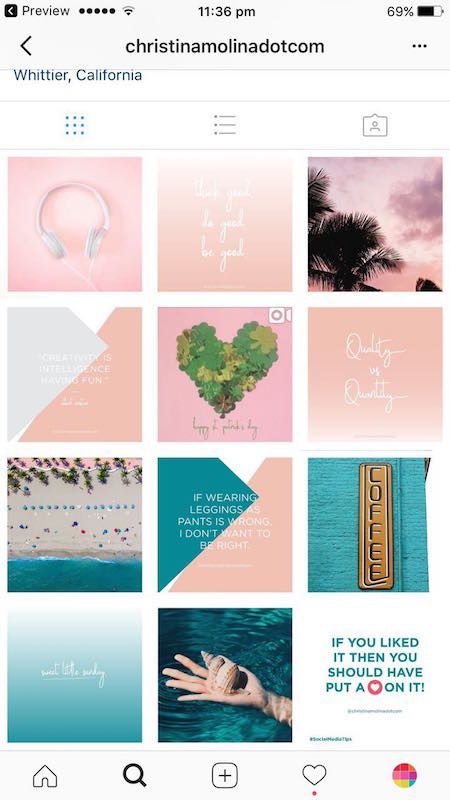 Choose one of the more intricate styles with the possibility to substitute certain squares with color or gradient for amazing results!
Grids introduces a totally new way of using your Instagram, wrapped in simple and beautiful design. Don’t miss the chance to express yourself by embellishing your profile page and posting breathtaking large scale images in their full glory!
Grids – Feed Banner Pics on Apple Store
Cost: Free – Offers In-App Purchases
PhotoTiling is an app that enables you to crop your photos into multiple squares (tiles), then arrange them on your Instagram profile page to create Banners and Photo Grids. PhotoTiling not only enables you to easily and quickly make banners, but also provides you the maximum flexibility to tile your photos into any grid pattern you want. Besides uploading to Instagram, you can also save your Banner/PhotoGrid as a single photo.
Phototiling on Apple Store
Cost: $0.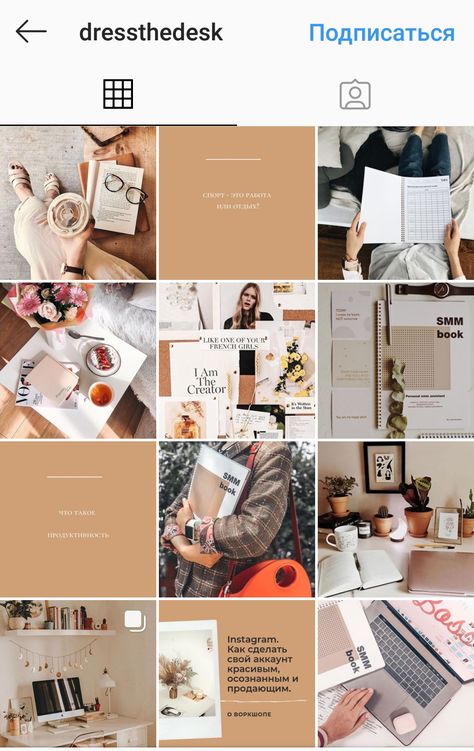 99
99
Book Your Free Instagram Consultation
Instant Squares let’s you split/splice your pictures into multiple squares and upload them directly to Instagram to create a big square/banner/carousel/album and amaze all your Instagram followers. Take your Instagram to the next level, by creating an amazing Instagram profile grid and increase your followers for organic Instagram growth.
Instant Squares on Google Play (Android devices)
Cost: Free
The Giant Square cuts up your pictures into several pieces that are perfectly aligned for you to upload to your Instagram gallery – in any size and combination you want!
You can make vertical, horizontal and even diagonal panorama pictures and banner pictures in your Instagram gallery. You can also create what they call the GIANT SQUARE which is 9 square pictures that make up one big square picture in your Instagram gallery.
Giant Square on Apple Store
Giant Square on Google Play (Android devices)
Cost: Free
If you have an interesting account that uses this style of photo tiles, or have split photos into a grid for Instagram that we should feature, please drop your handle in the comments.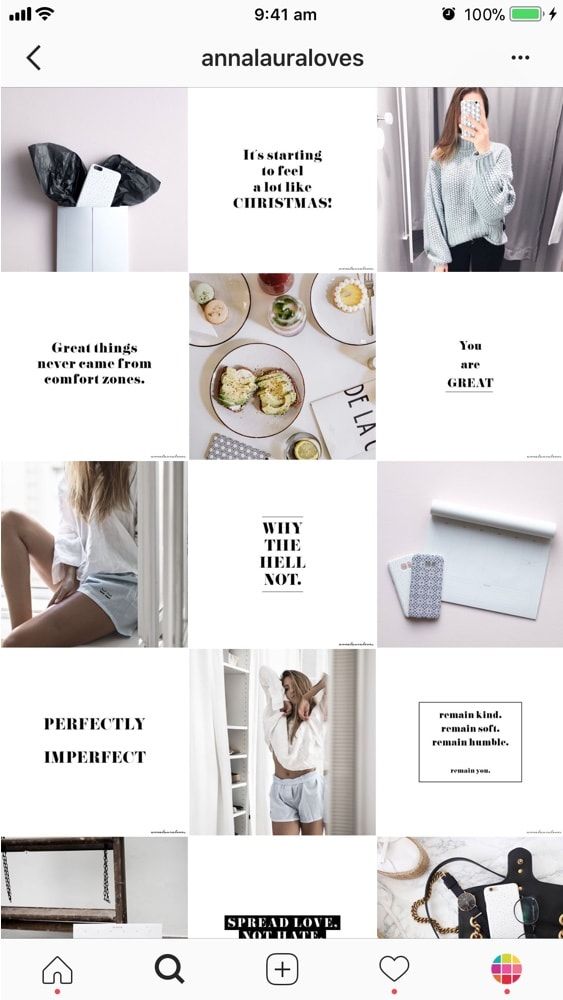 We’re looking for inspiration for a future blog post that will feature such accounts.
Alexandra | May 11, 2021
Splitting a photo can make your Instagram feed look more unique, very quickly.
And it doesn’t have to be complicated. It can be as simple as splitting a photo in 2 pieces. Your grid will look more aesthetic instantly.
You can use Preview app to split images. It’s super easy and fast to do. And you have a lot of different grid options.
I’m going to show you:
Let’s start!
Preview has an Image Splitter tool within the app.
Here is how to split a photo with Preview:

Your picture will be split into pieces.
Each individual post will appear into your Preview grid.
Click here to use it
You can auto-post to Instagram, or you can post manually.
To post manually:
Done.
Tip: Post individual images in the right order. Start posting from the bottom right corner of your screen and move your way left, and up.
Here are 3 useful features in Preview.
If your posts are not in the right order, you can move them.
You have 2 options:
 Prepare the captions for your posts.
Want to write a caption?
Press on “Find Captions” if you want caption ideas.
Press on “Find Hashtags” to find hashtags.
Caption tip: Want your followers to know that the post is part of a bigger picture? Annotate the image. For example, if you split your big picture into 3 images, you can write “1/3” or “1 out of 3” in the caption of the first image you share.
Want to post later?
Press on “Schedule Post”.
You can choose to:
Now that you know how to use the Instagram Grid Splitter, let’s look at creative Instagram grid ideas.
Let’s look at 5 grid ideas.
Split a photo in 9 parts, to create a square.
Ideal to create a suspense, photo reveal, product reveal, new campaign launch, or the launch a new Instagram page.
Want to split photos vertically? You can split the photo in 2 or 3 posts.
Recommended for a simple and unique feed.
Split a photo into 3 pictures in a row (horizontal). You can also choose to split in 2 pictures in a row.
Mix different grids to create your own unique feed. For example, I used 3 different grid splits for the feed below: “Square“, “1 column” and “2 Columns“
And now, my personal favorite way to use the image splitter tool: to create a Puzzle Feed.
Use the last two grid options in Preview to split your image into 12 or 15 smaller posts.
Why 12 or 15 posts? Because it’s the perfect number of posts to create a full screen seamless feed effect.
In seconds, Preview will split your images into smaller posts.
Here are Puzzle Feed ideas with 5 rows:
Tip: Make your big image the perfect size. This way each individual image will be high quality.
There are more image splitting options in Preview.
So have fun splitting your photos to create your own unique feed!
Let me know if you have any questions about this feature!
More tips:
Click here to use it
October 27, 2017 Web Services
Turning your Instagram* into a work of art is easy. It is enough to evenly cut the photo you have taken.
Look at what @micahnotfound or @c.syresmith are doing with their accounts. You can do the same.
You can cut a photo into equal parts in any graphics editor such as Photoshop or GIMP. Just open the photo in the editor, divide it into equal square parts and save each part as a separate file. nine0003
From the View menu, choose Show→Grid. Go to the Edit menu and open Preferences → Guides, Grid and Slices.
You can divide the image into parts depending on the panorama you want to create. Just enter the desired value in the "Internal division by" field.
Now that your image is divided into parts, select and copy the desired fragments into separate files.
Go to the View menu and enable the Show Grid and Snap to Grid options. Then click on "Image", select "Adjust Grid" and split the image into parts. nine0003
Select parts of the image one by one, copy and save to separate files using "File" → "Create" → "From Clipboard". Use the hotkeys Ctrl + C and Shift + Ctrl + V to speed up the process.
Divide a photo into equal parts using web services such as Griddrawingtool.com and Imgonline.com. It's faster and easier.
When the image is cut, you can start uploading. Just remember to upload the bottom right piece of the photo first and the top left piece last. nine0003
There are many mobile apps that create and upload mosaics to Instagram*. With them, you do not have to bother working in graphic editors.
Grid-it
This application can cut apart photos you have taken or images in your gallery. True, you will have to upload fragments to Instagram * one at a time.
Application not found
Grids
Another application for splitting photos into parts. You won't need to save each snip individually as the app has the built-in ability to send snippets directly to Instagram*. You can choose colors and gradients for the tiles to add variety to your mosaic.
App not found
9square
A very simple app to crop photos and upload to Instagram*. You can choose from 3×1, 3×2, 3×3, 3×4, or 3×5 grid sizes.
Download
Price: Free
9Cut
Similar to 9square, absolutely identical in functionality.
Application not found
*Activity of Meta Platforms Inc. and its social networks Facebook and Instagram are prohibited in the territory of the Russian Federation.
January 29, 2018 Photo iOS nine0003
How to get attention on Instagram* and become popular.
Over the past few years, Instagram* has become the most famous visual social network in the world. In Russia, every tenth person uses the application, updating the feed on average 15 times a day. Such engagement is an ideal condition for advertising.
Instead of banners outside the window and advertising on TV, a person can be shown a picture on Instagram* so that he clicks on it, and then buys what is shown on it.
You can earn on subscribers only by posting interesting photos. The main thing is to beautifully design the profile and promote it. This is used by companies, bloggers and generally everyone who creates something. nine0003
The person who sees your account or photo in the feed has a few seconds to decide whether to follow the profile or not. So make it noticeable and interesting.
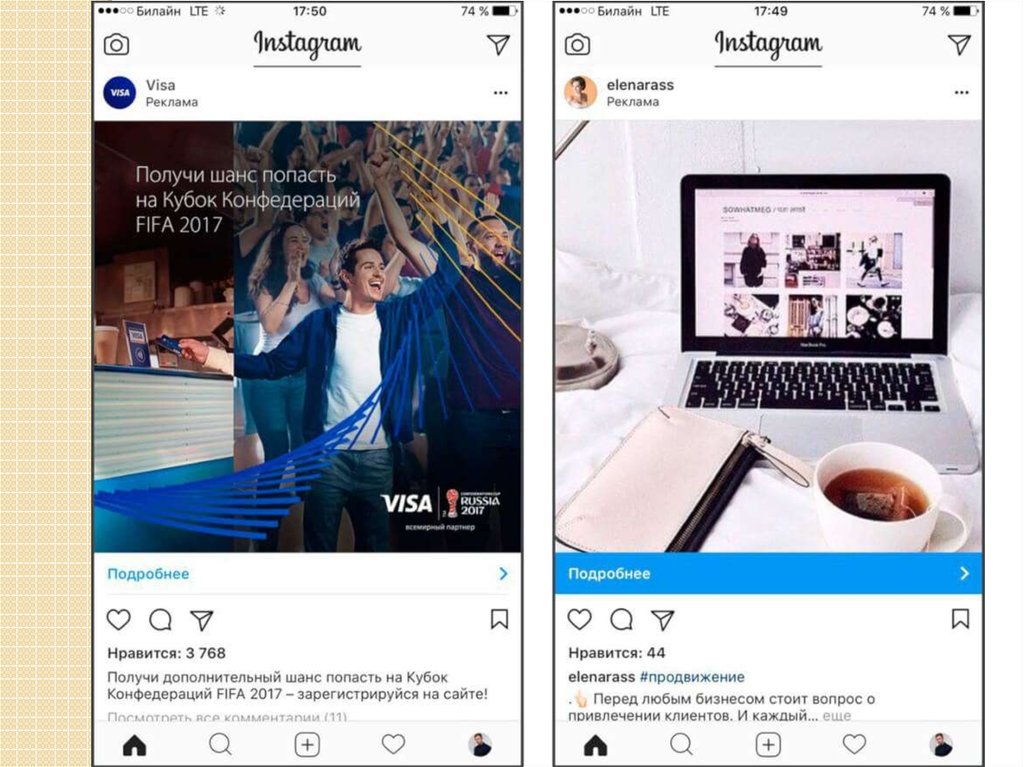
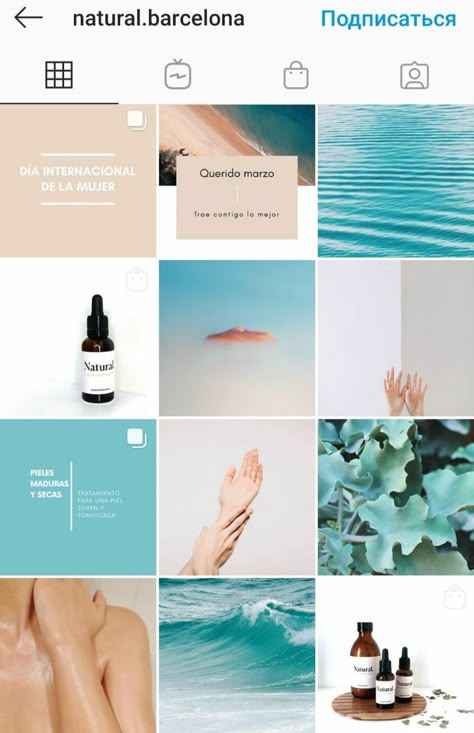
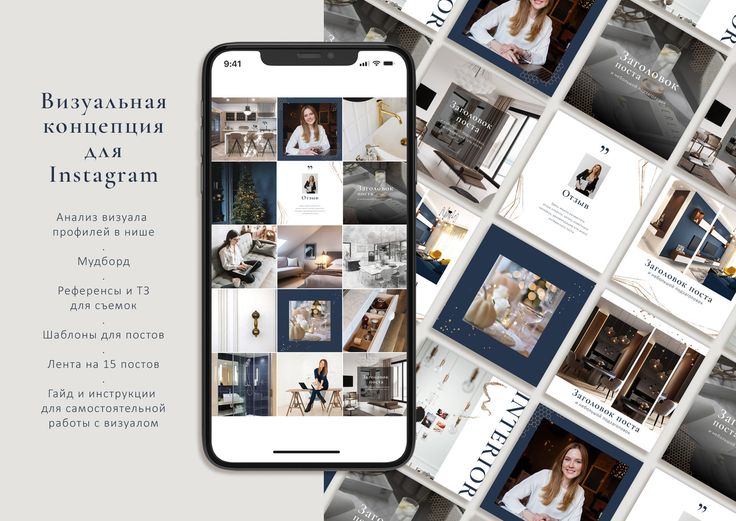
A good way to draw attention to your account is to post photos in the form of a banner (mosaic). Well-known brands have armed themselves with this technique. So the page becomes more interesting to look at, but at the same time it remains consistent in the same style.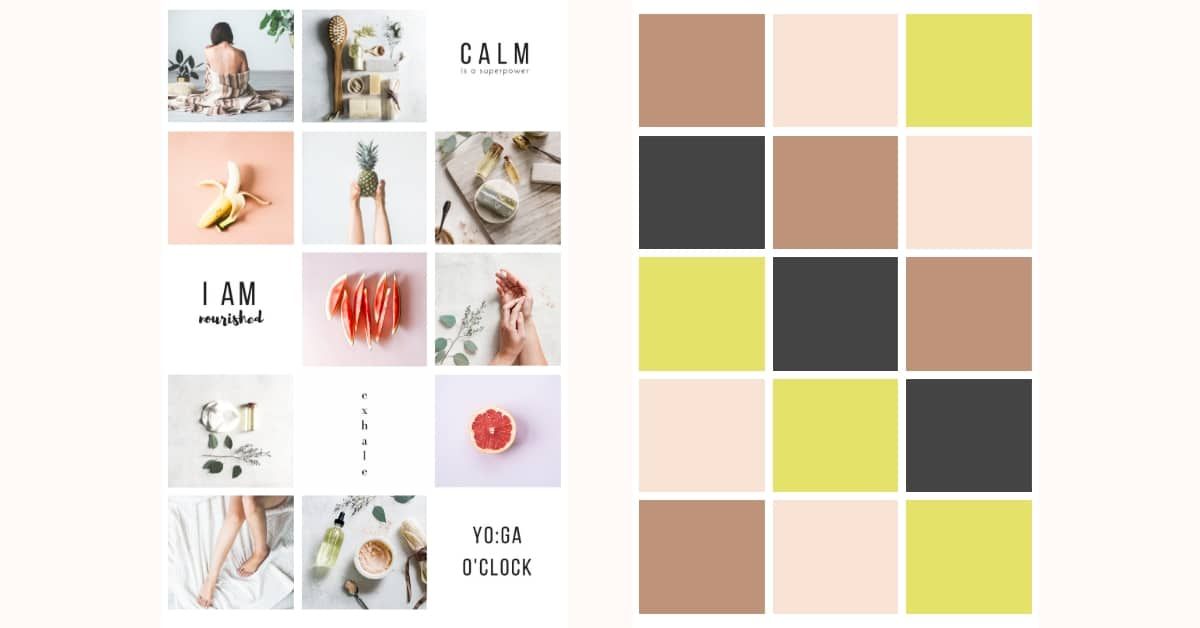
Instagram banners* are published by artists and photographers, cosmetics and perfume manufacturers, fashion brands. Here are a couple more examples:
With the help of a mosaic, you can announce the release of a new product or a long-awaited promotion, focus on details. The banner catches the attention of a potential subscriber: they want to look at the photo better and at least look through the profile more. nine0003
You can cut a photo into several squares using desktop photo editors, but this is long and inconvenient. In addition, not everyone has the necessary program on their computer. It is more convenient to make a banner in a mobile application. Simple and good - UCROP.
Download
Price: Free
No special skills are needed to make a banner. Upload an image, choose how many parts to cut it into, and get a finished collage. nine0003
The trick of the app is that it mimics your Instagram account*.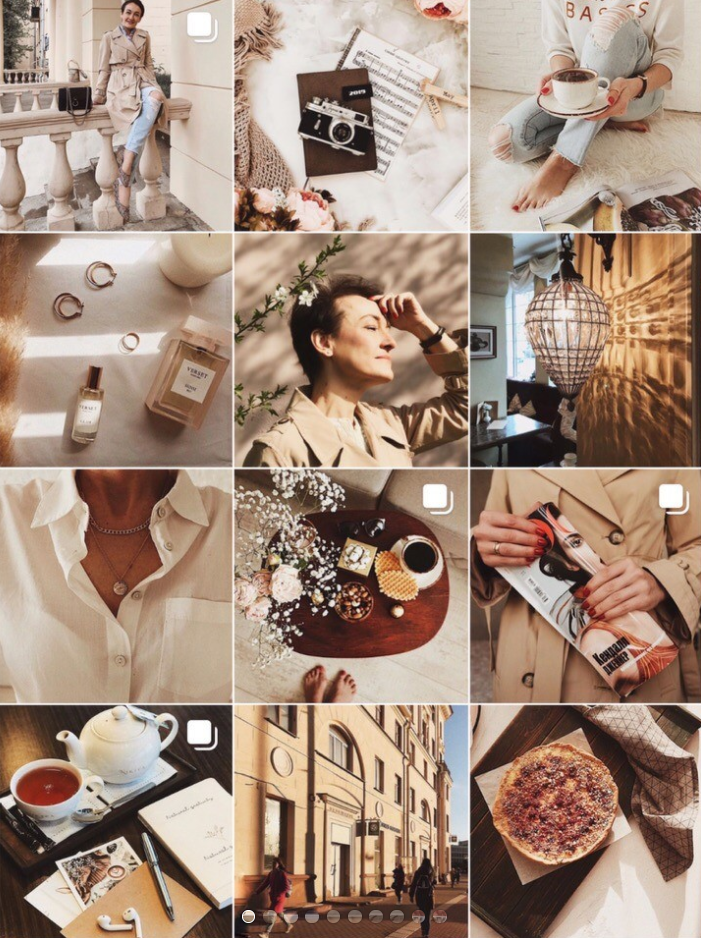 You see how the collage will look like among the existing publications, and, if necessary, you can swap the photos so that the banner fits into the overall concept of the profile and looks organic.