“I have a problem with the Viber app. Viber keeps crashing all the time. I have uninstalled it and reinstalled it, but nothing. Still crushing. What should I do? ” - From Anonymous
Viber is one of the most widely used cross-platform messaging apps to send messages and make a video or phone calls. You can chat individually or in a group which makes chatting more interesting. In addition, it supports end-end encryption to protect your conversations with third parties.
Although it's one of the most popular messaging apps, Viber, like many smartphone apps, can begin to act strangely. Users have reported crashing and freezing, yet these are only some issues you may encounter. A feature-rich app such as comes with its array of problems.
Free DownloadFree Download
safe & secure
Luckily, all of these problems can be fixed. In this article, we will look at ways to fix some common Viber issues. We’ve counted seventeen common problems that can easily be fixed in a few minutes. So, if you're ready to start enjoying your Viber conversations again, let's see how to fix the common issues.
Before you're trying to fix your Viber issues, back up your Viber chat history will be a wise choice if you lose all your essential data in your app. MobileTrans - Backup & Restore can also backup Viber chat history to the computer and restore the chats to another device when you need it.
Backup Viber Chat History to Computer with 1 Click!
Free download Free download
4,085,556 people have downloaded it
You can learn how to backup Viber chats with step by step tutorial below:
Free DownloadFree Download
safe & secure
Initial steps
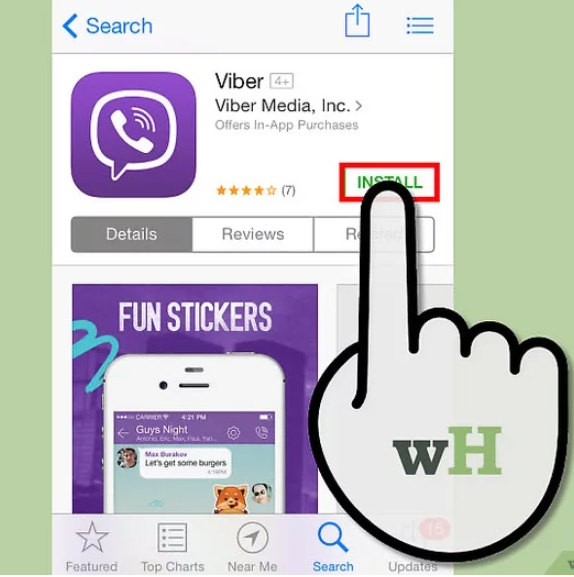
First, you need to restart your phone and check if you are running the latest version of Viber. Then check if your phone has a good internet connection.
Now follow the below steps:
Clear cache

Hopefully, the issue will be resolved.
Tip: before fixing Viber crashing issue, please backup your Viber data using mobitrans. You can also find more information on securely backing up your Viber data on a computer.
Updating Viber shouldn't be a problem if you have enough memory or are connected to the internet. However, many users experience this issue even if the conditions mentioned above are fulfilled.
The easiest way to fix this issue is to clear the cache and data.
If this doesn’t help, repeat the steps but only click on Clear Data instead of Clear Cache, and see if it works.
Tips for mobile users: Learn how to clear the WhatsApp cache from your iPhone, Samsung, or any other Android phone with this easy step-by-step guide.
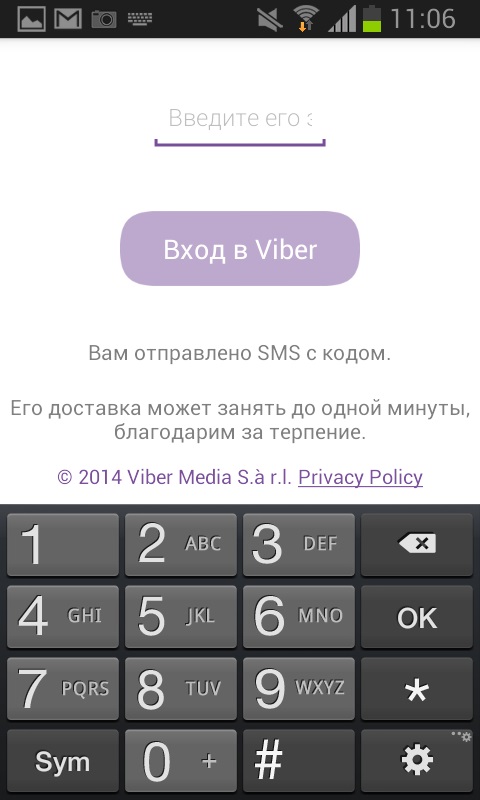
Activating Viber seems like an easy thing to do. However, many users report problems with this first initial step. To activate Viber, you need to enter your phone number, and you should get an SMS with the activation code.
But, many users fail this step, and there are a couple of reasons for that.
If you don’t have access to the internet, you’ll get the message saying that it's required. However, when you have access to the internet and your SIM card is valid, you should be able to receive your six-digit code via SMS. You can even get it via phone call, which is great.
It's an automatic callback feature that will activate Viber when you answer the call. If you’ve requested your code 3+ times, your account will be blocked. You’ll then need to reinstall Viber and make a new account.
Recommended reading: How to Transfer Viber Messages to New Phone?
You will start receiving pop-up notifications on your screen.
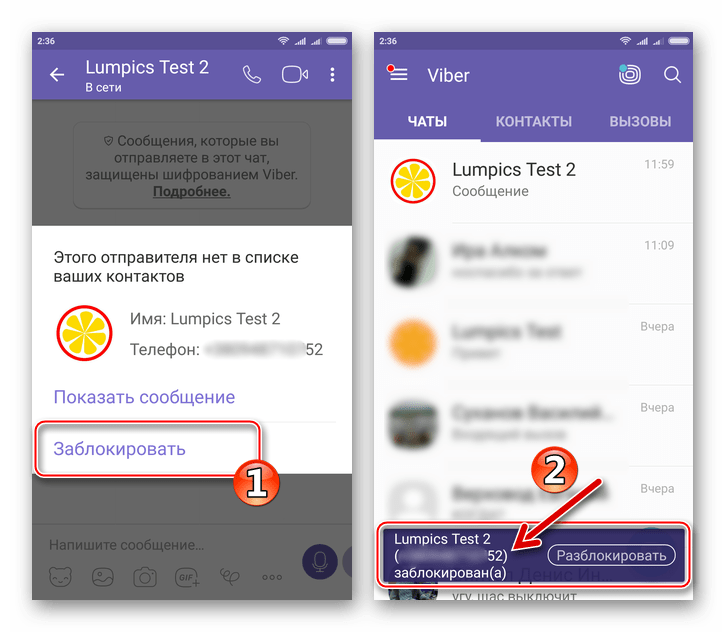
Viber may block your account if it considers you spam, suspects your behavior, or suspects you violate Viber's t&c ( Viber Terms of Service and the Viber Out Fair Usage Principles). As a result, you may question why it isn't Viber working. To fix it, you need to contact the viber support team, open a "request to unblock" ticket, and submit it for approval. In most cases, the number is unblocked.
Tips: Getting blocked on Viber by someone is annoying, especially when you are unaware of being blocked. These fool-proof step-wise tips will help you find out if you are really blocked on Viber.
If you are an Android user and can't back up your important Viber messages and media, follow the below guidelines:
If you are an iPhone user and facing Viber iCloud backup error, here is how you to fix the problem:
Tip: If the above method is still invalid or the backup speed is very slow, and you want a quicker and easier method, it is recommended that you use a third-party backup tool - MobileTrans - Backup & Restore.
Free DownloadFree Download
safe & secure
You can visit the MobileTrans website to learn how to backup Viber data on your pc.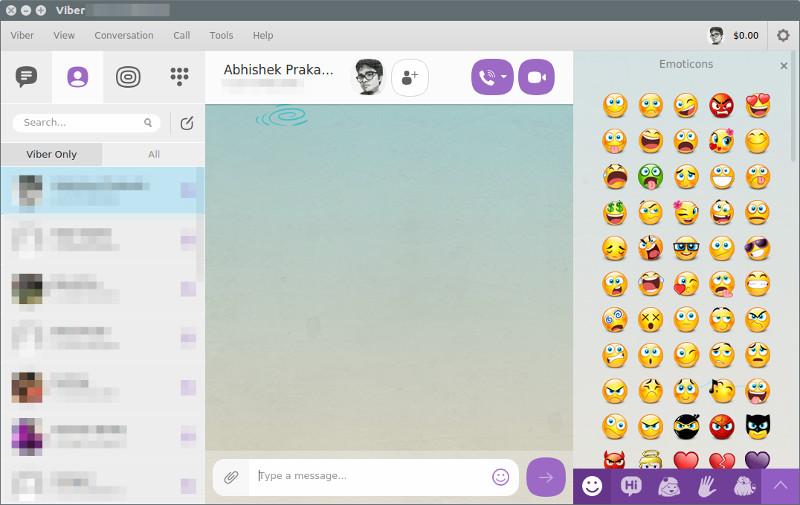
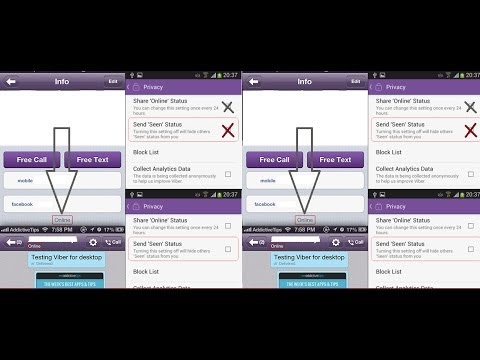
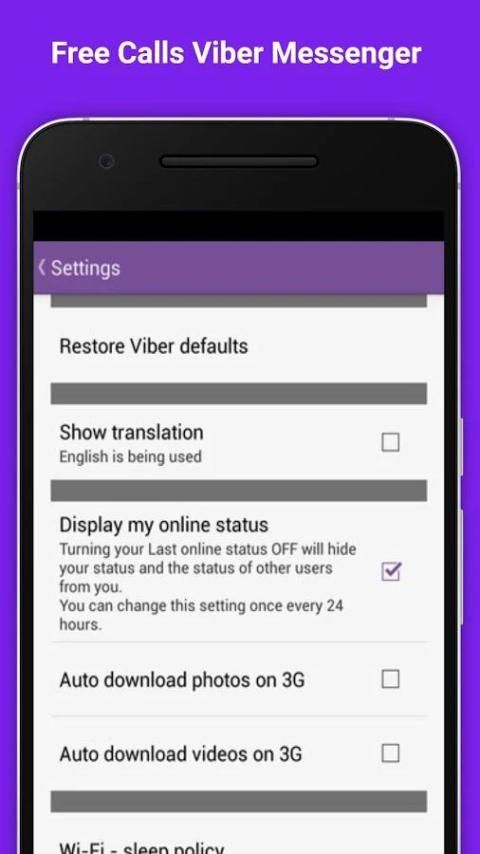
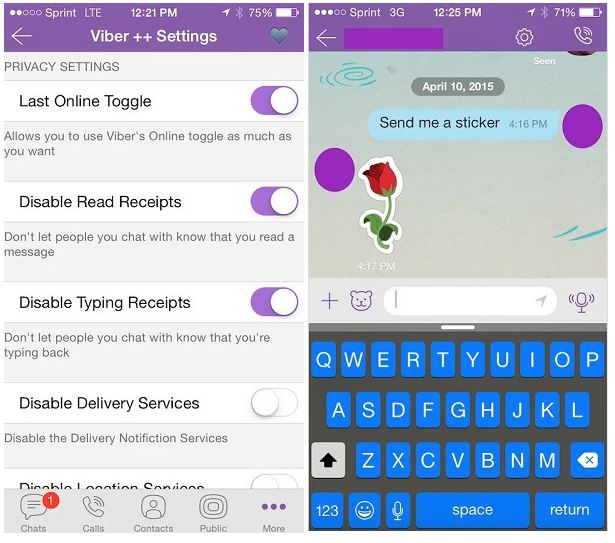
The Viber app shows you online even if you exit the app because it runs in the background. However, if you want Viber to show you offline for some reason, here is how you can do it.
One of the many Viber app problems is that the app may disconnect unexpectedly. It is due to various reasons. So, here's what to do:
There’s a strange Viber Sleep Policy that the app sets by default.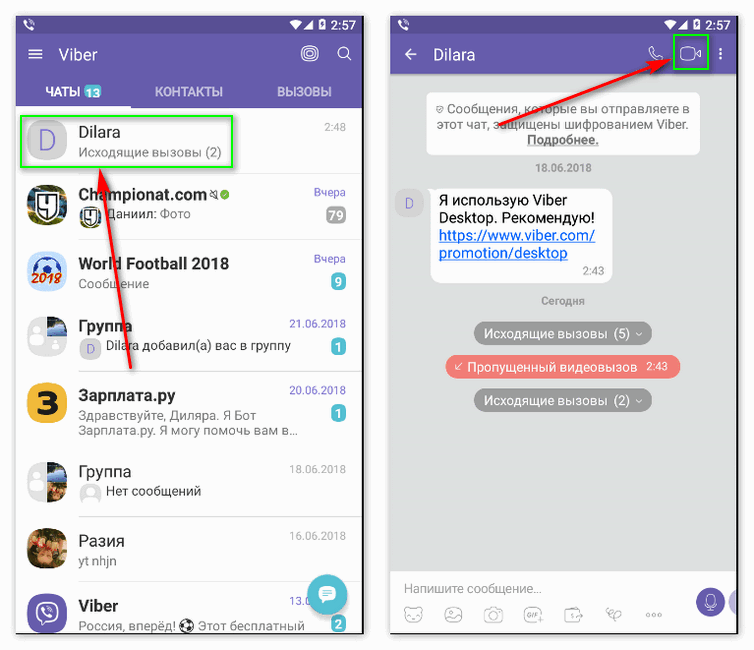 This doesn’t allow the app to connect to Wi-Fi unless you wake up your phone. We mentioned a setting similar to this just a minute ago, but this one applies only to Viber, making these two completely independent.
To fix this issue, open Viber on your phone, tap on three horizontal lines at the bottom right side, and you’ll see the menu. There, tap Settings and then General. Next, you should see the “Wi-Fi Sleep Policy” option.
Choose Always Connected, which is the first one. The second one is the device's Wi-Fi Sleep Policy, which you don't want to use. So now, your app should work correctly.
Viber users often complain that Viber can't save a contact or are unable to find their contacts. Follow the below steps:
 "
"Viber takes advantage of your internet when sending or receiving messages. Unfortunately, many users have experienced that they can’t send or receive messages or images because their internet isn’t functioning.
You’re probably using your local Wi-Fi network when you're inside your house. But when you go outside, it's necessary to use your cellular data. If your internet is working flawlessly, you should be able to send messages.
Other issues include your recipient deleting the app, so you can’t contact him through Viber. Also, there’s one more solution to this problem that works mainly for iPhone users. You need to go to Settings and then tap on Privacy. Next, find the Collect Analytics button and click Disable. Now, you should be able to receive and send messages freely.
Recommended reading: How to Sync Viber Messages?
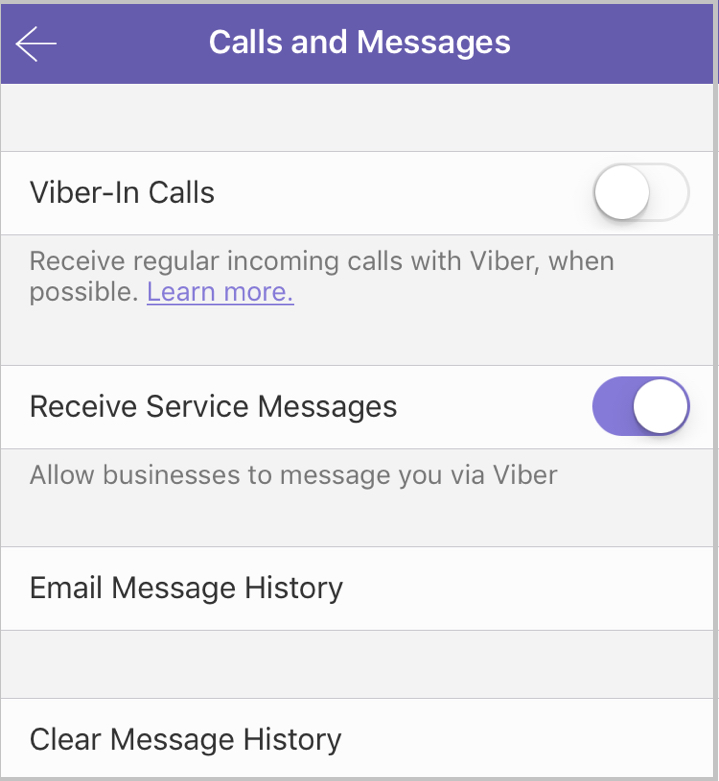
Issues with incoming and outgoing Viber calls are not that rare, too. If you can't make or receive calls on your iPhone, this will solve your problem:
You can also allow Video Calls by tapping on the homonymous button and choosing On. Now, you should be able to call or receive both video and audio calls. Sometimes, Viber tends to mess up the Settings, so you must take your time to inspect them before using them.
While making a video call, the Viber sometime shows an error message that the video call is not working. Here is how to fix the issue:
Hopefully, you will start making video calls.
Sometimes Viber crashes temporarily, and it does not open the camera. So the first thing you can do is restart the application. In most cases, it will solve the issue. Otherwise, try one of these steps below:
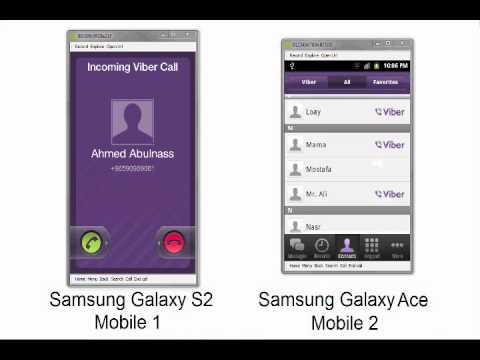
Viber not ringing is perhaps one of the most persistent issues on iOS and Android platforms. This doesn't always have to be about your phone. Sure, you might have your ringtones disabled or use a do-not-disturb profile, but this isn't the case in many cases.
Usually, Viber doesn’t ring when your phone is locked. Instead, your display shows you the notification, but you don’t hear that ‘clicking sound. To solve this, go to your Wi-Fi Settings, choose Advanced, and check Keep Wi-Fi on When Screen Times Out.
When it's locked, your phone may not be using the internet, meaning that you don't receive notifications unless you unlock it. Alternatively, you can choose a notification type in your iPhone Settings app if you use an iPhone.
In this app, click on Notifications, go to Alert Style, and choose either Alerts or Banner. This will allow you to hear your Viber messages.
For Viber Desktop to work, you need the following ports for TCP and UDP:
These ports can be opened if you go to Control Panel and find Windows Firewall.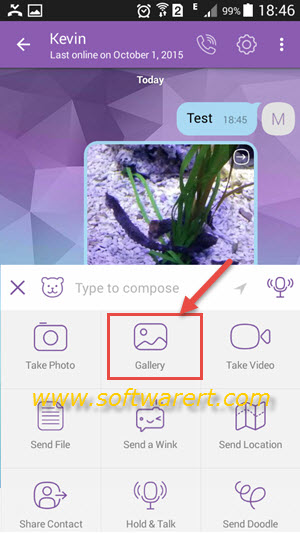 There, click on Advanced Settings, and on the left, there's the Inbound Rules table. Inside, click on New Rule, and the wizard will open.
In the New Inbound Rule Wizard, click Port and Next. Next, select TCP and enter the ports we’ve mentioned above. Click on Next, and then Allow the Connection. Proceed until the end of the New Inbound Rule Wizard and name it Viber. Click "Finish", and your ports will be opened. The same procedure is for UDP, so you’ll only need to choose it in the NIRL (New Inbound Rule Wizard).
Fixing any Viber issues shouldn’t be a problem if you follow our steps. But, of course, if you have any uncommon issues, you can always contact Viber’s customer support and resolve them. So, now that your favorite messaging app is functioning, it's time to enjoy its premium features!
Recommended reading: 12 Amazing Features You Can Use on Viber
Enabling Viber for your configuration involves gaining approval from Viber to use your channel for business messages, and registration in the Infobip back-end to be able to use it in the web interface and over API.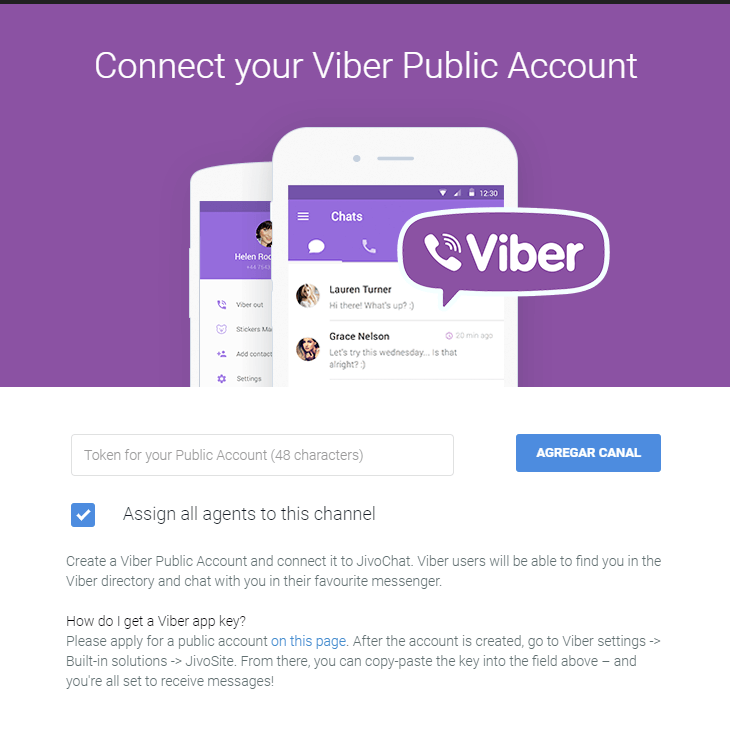
Here you can see the registration and enablement procedure when adding Viber as a communication channel:
To request Viber enablement, in the web interface navigate to Channels and Numbers > Viber > Overview and use the Send Request option. Provide your email address on which Infobip support can contact you to initiate Viber activation.
In the meantime, make sure to download the Warranty letter and Service Qualification Form ready to be completed and submitted. You can then familiarize yourself with business message Guidelines and Compliance.
Provide the completed warranty letter and service qualification form to Infobip.
You can choose the communication type (one-way, two-way) through the service qualification form. To modify the communication type later, refer to the Update Communication Type section.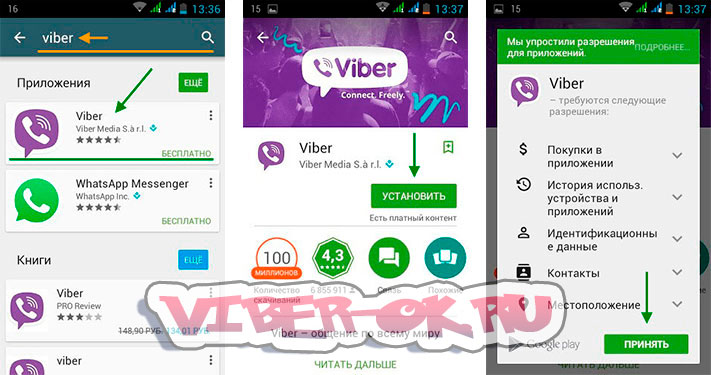
Viber will review the application and approve it within 2-3 days, and will assign you a unique ServiceID number.
In addition to the forms, the following provisions are also required to gain approval:
*Introductory messages towards customers cannot be promotional.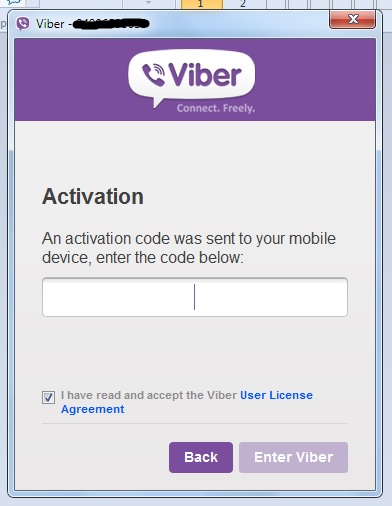 Below you can see examples of what are considered promotional messages and what are not.
| One-way Message | Two-Way Message | |
| Transactional | Dear Miss {name}, your order has now arrived at our shop and is ready for you to collect. | Dear Mr. {name}, your appointment to Dr. Smith has been scheduled for January 10th at 12:00 AM at our clinic on 125th Lincoln Street. Please make sure to bring all relevant documents with you. To change the time of your appointment or cancel, please reply to this message to contact the appointment center. |
| Promotional | Dear Ms. {name}, thank you for choosing to fly with {company name}. We have a mileage program that you might be interested in. Find out more (link or button). | Last day of our special summer sale! Discounts for all online store purchases! Reply with a #SummerSale to receive a coupon code.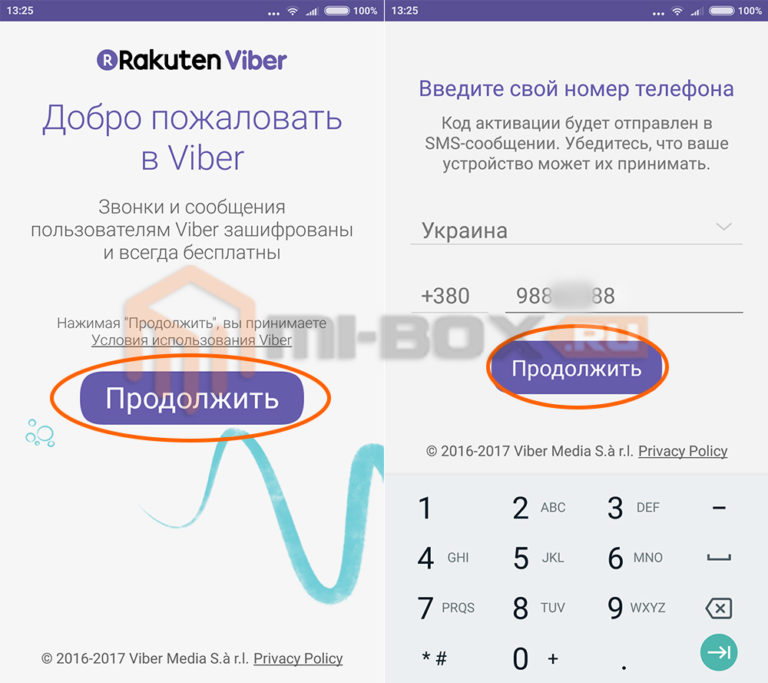 |
If it’s necessary to set DLR-forwarding to your system via HTTP, provide the URL with information for the Service Qualification Form.
While waiting for Viber's approval, you can use the demo sender to test the service in Broadcast. To create the test broadcast, carry out the instructions in one of the following sections:
You can import the data for the test broadcast from either a file or an existing broadcast.

 For more information, refer to the URL Shortening and Tracking section.
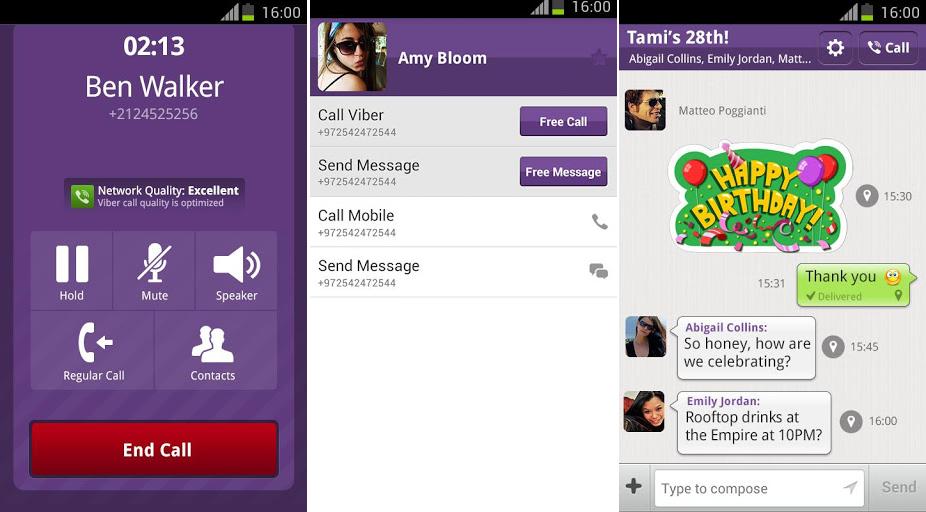
 If you enable URL tracking, URL shortening is enabled automatically. If you deactivate URL shortening, URL tracking is disabled automatically. For more information, refer to the URL Shortening and Tracking section.
Once approved by Viber, you'll need to sign our Messaging Services Agreement (MSA), or the MSA Addendum to include Viber if you are already using our other services. Infobip then completes the integration process and enables the service.
You can now use the approved sender.
Among all the well-known cross-platform messengers, Viber stands out for its huge popularity. It allows you to make internet calls and send short text messages. Some people want to know the details of the private lives of certain users of this program. Therefore, they are trying to figure out how to read someone else's correspondence in Viber.
Viber is a fairly secure messenger, but the ability to read someone else's correspondence still exists
Of course, if you really want to, then you can access the messages of another person who uses this popular application. However, there is one main difficulty in realizing the intended goal.
It lies in the fact that the history of dialogues is not stored on servers, but directly on the mobile devices of the two interlocutors.
If both device owners delete messages, then there will be no way to find out what information they contained. Therefore, you need to try to find out all the secrets of a person only if such information is stored 100% in a smartphone. nine0005
If there is a serious reason to learn how to read other people's messages in Viber, then in this case the first thing that comes to mind is to try to gain access to a smartphone belonging to a person who is being spied on.
Having taken possession of someone else's phone, you can easily read its dialogues
All actions directly depend on the available time when the foreign phone is left unattended. If it's not too much, then you can just watch the conversations. nine0004
In most cases, this can be done, since the vast majority of people do not log out of their account.
When it becomes necessary to study the user's dialogs in detail, then they can be sent as an archive to an e-mail address to which you have access.![]()
To implement this spying method, do the following:
It may take from 1 to 2 minutes, since the time to create a backup depends on the volume of correspondence.
After the performed procedures on any digital device (computer, smartphone, tablet) you can see the sent dialogs of another user. nine0003 These spying options allow you to understand the basics of how to read someone else's Viber correspondence.
If you can get a third-party smartphone at your disposal for 15 minutes, then it makes sense to use another method of spying. It will help you understand how to open Viber using a third-party special program.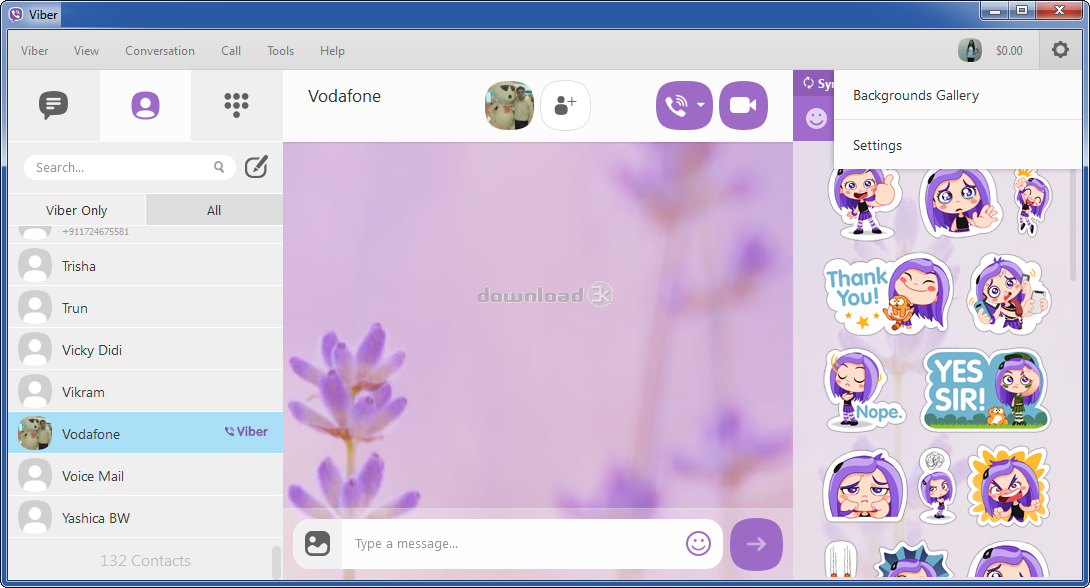 It is called Backup Text for Viber.
This utility is available to owners of Android devices for free and is distributed through Google Play. nine0005
To take advantage of this spy software, you need to install it on a phone that stores the necessary information belonging to another person. You can do this under the guise of setting the application.
After the introduction of the so-called spy, it is necessary to perform operations that allow you to create a backup copy of all short texts used to communicate between two interlocutors. nine0005
When choosing a client, you will need to specify the newly downloaded software. After that, the user will see a new window where he will have to click on "Export to SD card". This action will allow messages to be stored on the phone card.
The final step will be to search for the created file, which is dropped onto your mobile device.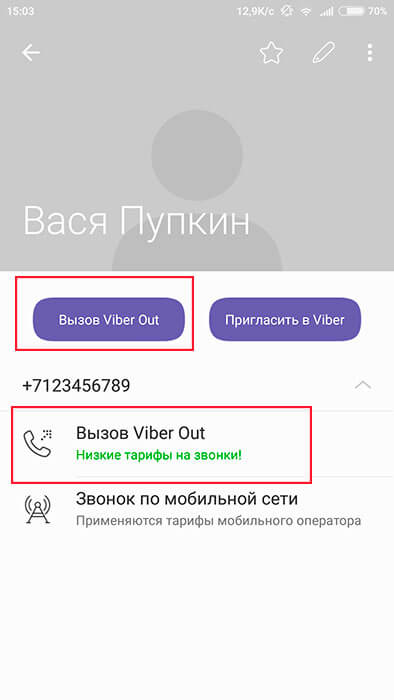 After that, the installed software is removed. Also you can use Viber cracker. All these actions clearly show how you can track correspondence in Viber. nine0005
By installing and using instant messengers, social networks, the user wants to secure his data, protect his correspondence. In addition, many are wondering if it is possible to find out who visited my profile page? How to calculate such data? nine0005
Given the confidentiality of data, the Viber messenger does not provide its users with such information. That is, you cannot find out who visited your Viber page (profile).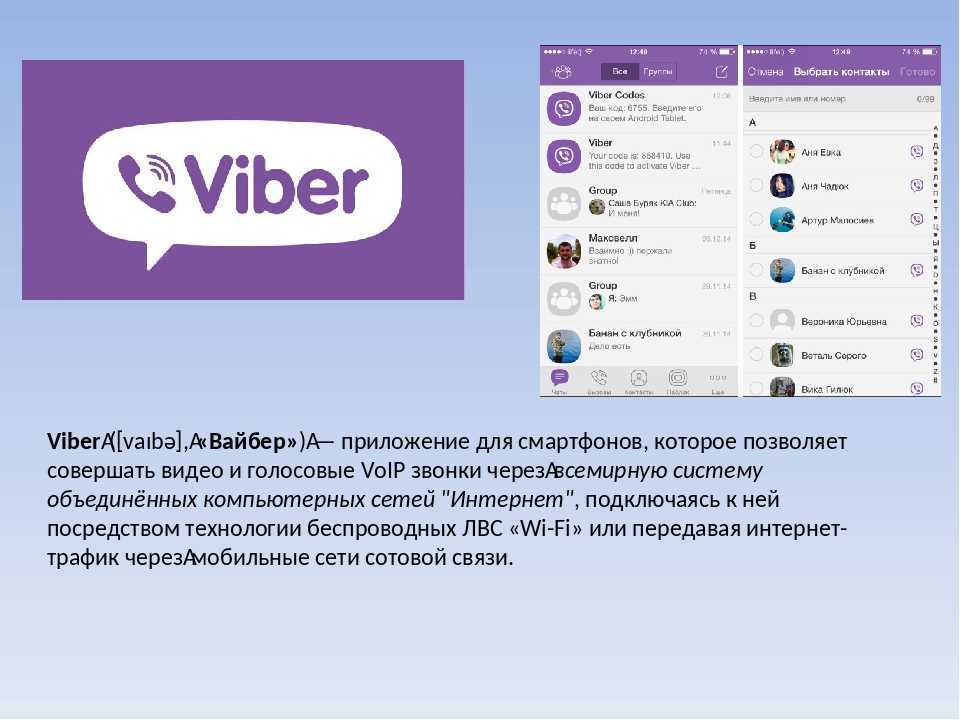 Therefore, we do not recommend installing "special applications" that claim to be able to provide you with such data. Such information will not be true.
If you want to check who from your contact list and when was the last time you logged into the messenger, you can track their status. The Viber application provides such information - for each user, the exact time spent on the network is indicated. To obtain such information, you need:
In this way, you will find out when the subscriber was online, whether he is active now, etc.
According to statistics, not all contacts from the phone book are viber users. After all, there are other messengers, social networks for communication. Therefore, if you want to check if the subscriber is using Viber, you must:
Another feature of the application - with the help of geotags, you can determine your location or the location of another subscriber (if he has this option enabled). In order to enable or disable the option, you must:
After that, you will be able to send geodata in the chat. To do this, click on 3 dots and click "Send geolocation data".
Checking synchronized devices
First of all, you should worry about protecting your phone - do not leave your phone unattended, because unfriendly people can not only enter the viber chat, but also synchronize it with their computer.