 Add filters and post it as usual.
 When Instagram first hit smartphones, every image uploaded had to be shaped like a perfect square.
This is all well and good for selfies and pictures of your kids, but for those majestic panorama shots of the Grand Canyon, Instagram's always struggled.
Nowadays, you can upload any sort of photo to Instagram. However, they don't always look so good.
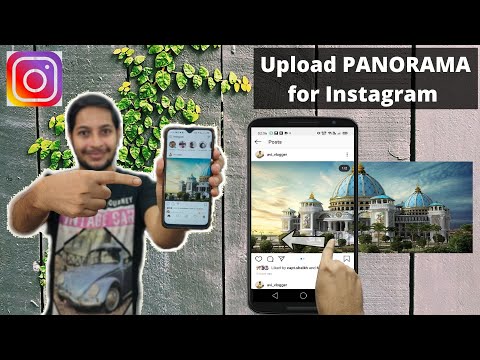
Here's the best way to post panorama shots to Instagram on your iPhone or Android device, along with an app for iPhones that will help them look better.
Check out the products mentioned in this article:The simplest way to post panoramas is:
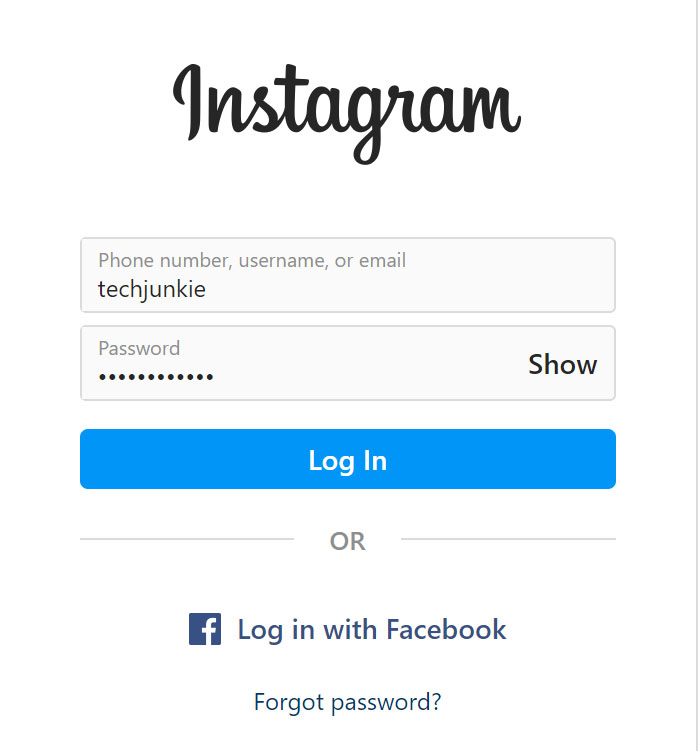
1. Open Instagram on your iPhone or Android and tap the plus icon at the bottom of the screen to upload a photo.
2. Once in your photo gallery, select the panorama shot you want to use.
3. Touch the image preview at the top with two fingers, then squeeze them together to zoom out. Zoom out until as much of the panorama as possible is visible.
Much of your longer pano shots may be lost when you use Instagram to crop them. Steven John/Business Insider4. Add filters and post it as usual.
The result here is a rectangular picture with large blank spaces on the top and bottom. This will do your photo some justice, but for full-sized panoramas, you likely still won't be able to fit the whole photo.
For the full effect, you'll need to use a program like Photoshop to cut the panorama into smaller, square images. If you have an iPhone, there's an app that will do this for you automatically: "Unsquared for Instagram."
Download the Unsquared app on the Apple App Store and give it the permissions it needs to access your photos. Then, follow these steps to cut up your photos.
1. Open the Unsquared app and tap the image of a stack of photos at bottom right.
2. Tap the pano image from your library that you want to use, then tap the blue check mark.
3. Your image will appear with the Unsquared watermark on it. Tap the blue icon that looks like a series of squares at the bottom of the screen, and you can pick how many photos you'd like the panorama shot to be split into — once you choose an option, the watermark will shrink.
Note that the more pieces you cut it into, the more of the top and bottom of the shot that will be cut off. In general, if you want to include every part of the photo, try to pick "3 Pieces."
4. Once you're satisfied, tap "Done." The split-up photos will be saved to your phone, and you can post them to Instagram.
You'll be able to post the split photos as a series to Instagram. Steven John/Business InsiderSteven John
Freelance Writer
Steven John is a freelance writer living near New York City by way of 12 years in Los Angeles, four in Boston, and the first 18 near DC.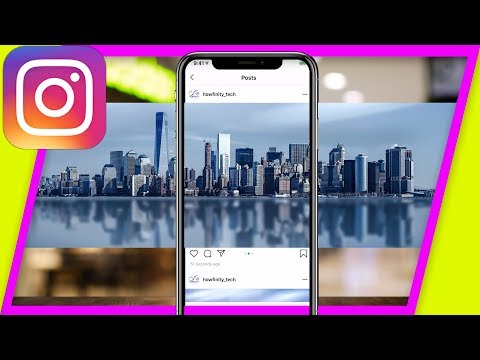 When not writing or spending time with his wife and kids, he can occasionally be found climbing mountains. His writing is spread across the web, and his books can be found at www.stevenjohnbooks.com.
Read moreRead less
Insider Inc. receives a commission when you buy through our links.
Skip to main content
The VergeThe Verge logo.The Verge homepage
The VergeThe Verge logo./
By Vjeran Pavic
|
Photo by Brennan King, animation by Vjeran Pavic / The Verge
Part of /
The Verge Guide to Instagram
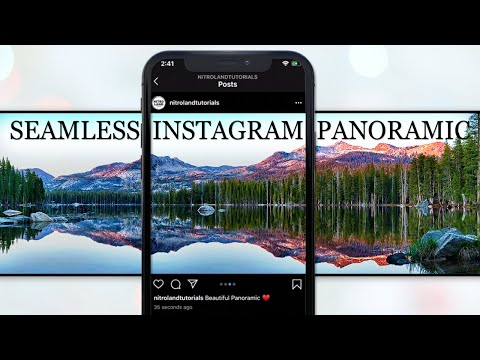
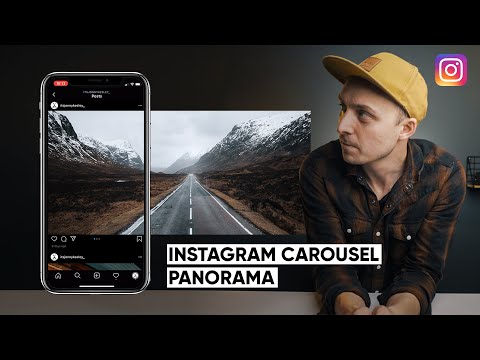
It’s already been a few years since Instagram allowed you to post multiple photos simultaneously in a single post. This small change enabled a lot of creative options. One of my favorites is creating seamless panoramas by simply slicing your photo in two — like this one.
If you want to take advantage of this neat little hack, here’s a quick, simple tutorial on how you can pull it off.
Before you start, you’ll need two things: Adobe Photoshop (or another pixel-based photo editor that lets you work with layers) and an elementary understanding of Instagram’s requirements for sizing photos.
First, about the sizing: no matter which photo you upload, Instagram will automatically resize and compress your images. For example, square photos will always end up being 1080 x 1080 and vertical ones will always be 1080 (w) x 1350 (h). So if you want to create a panorama made out of two vertical photos, you’ll need to duplicate the pixels lengthwise, while the height stays the same: 1080 x 1350 becomes 2160 x 1350. Or if you want to create a panorama made out of three images, you’ll use 3240 x 1350.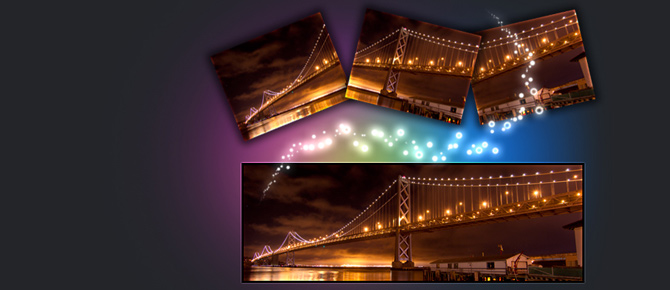 The same applies if you’re starting off with square images, which will fit into a panoramic space with twice the width (2160 x 1080).
Okay, let’s boot up Photoshop and open up two documents.
In Photoshop, you can save document sizes as presets for future edits.
Guides will help you split images in equal parts.
Now you’re ready for exporting. You can either export each layer at once using Photoshop’s “Layers to Files” option (under “File” > “Export”) or you can export each layer individually. I tend to add a few more layers to the same document, so I batch export those. In case you want to double-check your final export settings, you can use “Save for Web. ”
”
Here are all the layers I’ll batch export.
If you’re using a PC, it might be easiest to save your files to a cloud service, where you can easily access them with your phone. Or if you’re in the macOS / iOS ecosystem, simply Airdrop your exports.
Getting the photos to properly show up on Instagram should be easy enough, but let’s go through that quickly just in case, because there are some things you can easily skip by accident. On your mobile device:
Don’t forget to enable vertical photos first. Also, you can tap and hold one photo to enable multiple selections.
Vox Media has affiliate partnerships. These do not influence editorial content, though Vox Media may earn commissions for products purchased via affiliate links. For more information, see our ethics policy.
Most Popular
November 12, 2017 Web services
A little trick will allow you to bypass the Instagram* limitation on photo width.
Uploading a panoramic photo to Instagram* is easy. You can create an Instagram post* with multiple photos blending into one another. It will look something like this.
Panoramic photos on Instagram* are no different from regular posts with multiple shots. They can be made manually or using mobile applications. Here's how it's done.
 For a six-part panorama, the aspect ratio should be 6:1, and so on. Please note that you cannot insert more than ten squares into one Instagram* panorama.
 Take a panoramic photo for Instagram* with apps like Swipeable for iOS and InSwipe for Android. They are free, and with them you do not have to bother fussing in graphic editors.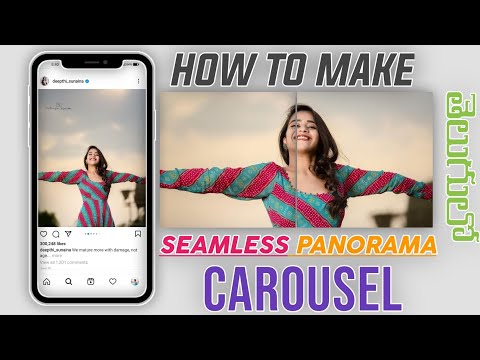
The iOS app lets you create panoramic and even 360° loop photos for Instagram*. Just select a panoramic photo, and the application will divide it into square segments and apply the necessary filters.
appbox fallback https://apps.apple.com/ru/app/id12096
Powered by Android and has similar functionality - creates seamless panoramas for Instagram*. Photos can be scaled or resized. A grid that adapts to the size of the panorama will allow you to cut images in exactly the right places.
Download
Price: Free
Panoramic shots on Instagram* look pretty impressive. In addition, in mobile applications, sliding from shot to shot in one post is quite smooth, so that several photos seem to be a single whole.
*Activities of Meta Platforms Inc. and its social networks Facebook and Instagram are prohibited in the territory of the Russian Federation.
Menu
Contents
Do you like panoramic shots or cityscapes? Don't know how to share them on Instagram? Let's talk about useful applications that will help you create an attractive visual for your feed.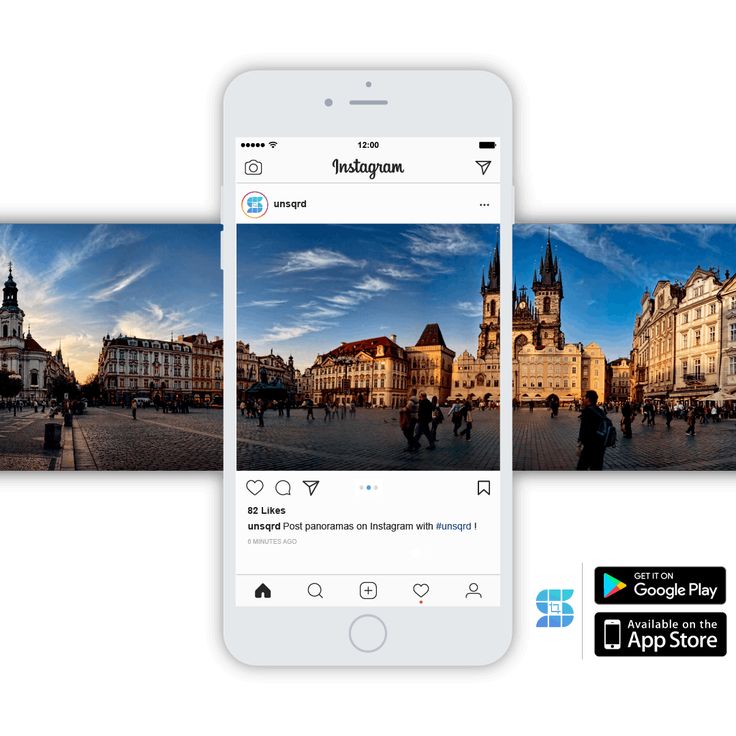
First you need to take a photo in panorama mode. Use digital cameras or phone. Many modern smartphones have this feature in their cameras.
Use a tripod to get the perfect picture. Next, you will need the help of programs to create spectacular material for Instagram.
You will be interested: how to take cool photos for Instagram.
Developers love to make life easier for users, so they are constantly working on creating new content features. We will introduce you to useful applications for automatically uploading large-format photos to Instagram.
Try some of the programs presented and choose the one that suits you.
 Works with any ring shots. Upload the desired frame to the application. Apply the desired filters.