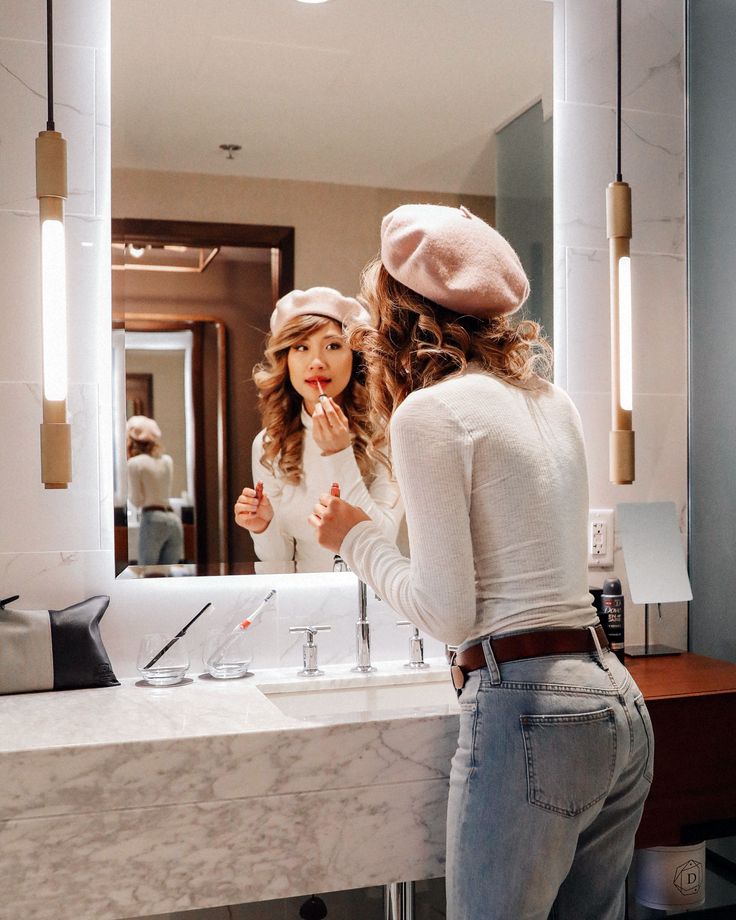
Instagram is a visual platform — so having great photos is key to a successful Instagram strategy. In other words: quality images result in quality engagement.
Thankfully, you don’t need to be a pro photographer to post beautiful content to your Instagram accounts.
All you need is your smartphone camera, a few editing tools and tricks… and a little practice.
Watch this video if you want to learn how to edit your photos for Instagram using Adobe Lightroom:
Or, read on to learn how to edit Instagram photos to grow your audience and establish a compelling brand aesthetic. You’ll also get a breakdown of some of the best photo-editing apps that can take your images (and engagement) to new heights.
Save time editing photos and download your free pack of 10 customizable Instagram presets now.
Instagram has built-in editing tools and filters, so this is a great place to start if you’re just starting to dabble in the world of image manipulation.
Even the best filter can’t disguise a bad picture, so make sure you’re starting with a quality photo.
Natural light is always the best option but use the HDR mode on your smartphone camera when shooting in dim light, close up, or outdoor portraits for best results.
Another pro tip? Snap a bunch of shots to make sure you’ve got options when posting time rolls around.
If you’re strapped for time or inspiration, try customizing stock photography. There’s a whole wide world of free, quality stock photography out there to choose from.
Pro tip: Start with a photo that’s sized for Instagram. If your photo or video is too small, it may appear blurry or grainy, no matter how much you edit it. And you can’t edit your photo after posting. Photos that are at least 1080 pixels wide will look best. Instagram will crop your photo as a square by default, but you can adjust it to its full width or height if you prefer.
Open up the Instagram app and select the plus-sign icon in the top right.
This will open up a menu of posting options. Select post and then pick your photo from your image gallery. Tap next.
Here, you’ll find a variety of filters, which will adjust the lighting, colors, contrast, and sharpness of the image in different ways.
“Gingham” for instance, creates a flat and muted look, while “Inkwell” turns your photo black and white. Tap each filter to preview how it will look on your particular photo.
“Claredon” is the most popular filter in the world, according to Lifewire, for a cooler look that pumps up the contrast in a natural way.
Pro tip: You can adjust the intensity of any filter by tapping it a second time and adjusting the sliding scale from 0 (no effect) to 100 (full effect).
But in 2021, most pro Instagram users tend to skip the filter step all together in favor of customizing their own visual balance. Which brings us to the “edit” function in the Instagram app…
At the bottom of the screen, you’ll see an “Edit” tab on the right. Tap that to access a menu of editing options:
 (What’s the difference between this and structure? Unclear.)
Pro tip: At the top of the screen, you’ll see a magic wand icon. Tap that to open the Lux tool, which allows you to tweak the exposure and brightness on a sliding scale.
When you’re done making your edits, tap Next in the top right corner.
If you’re sharing multiple photos in a single post (also called a carousel), you can edit each one separately. Tap the Venn diagram icon in the bottom-right corner of the photo to bring up individual editing options.
If you don’t do this, Instagram will apply your edits to every photo the same way. If your photos were taken in different conditions, or feature different subjects, editing them individually is worthwhile.
6. Post your photo (or save it for later)Write your caption and tag any people or locations, then tap share to get your masterpiece out into the world.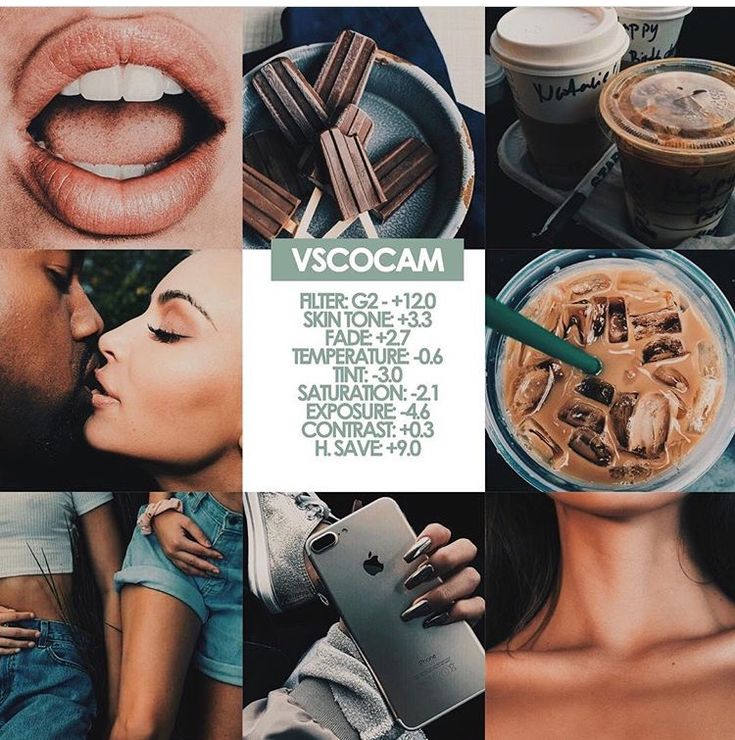
You did it! You edited an Instagram photo! And now everyone will see!
… or if you’re feeling shy and want to wait, just tap the back arrow twice and you’ll be prompted to save your image and edits as a draft.
Instagram photo editing tips: beyond the basicsIf you want to take your Instagram photos to the next level, though, you’ll need to spend a little time working on your images before you even open them in the app.
Here are a few ways to go beyond the bare minimum to make those pics pop.
Straighten up and focusYou’ve done your best in the shooting stage to create a great composition, but in case your camera wasn’t perfectly level, or if a stray piece of litter has crept into the shot at the edges, the straighten and crop tool is here to help.
This tool is the easiest way to improve your composition when it’s too late to retake the shot. A good rule of thumb? If the horizon in your photo is straight, you’re golden.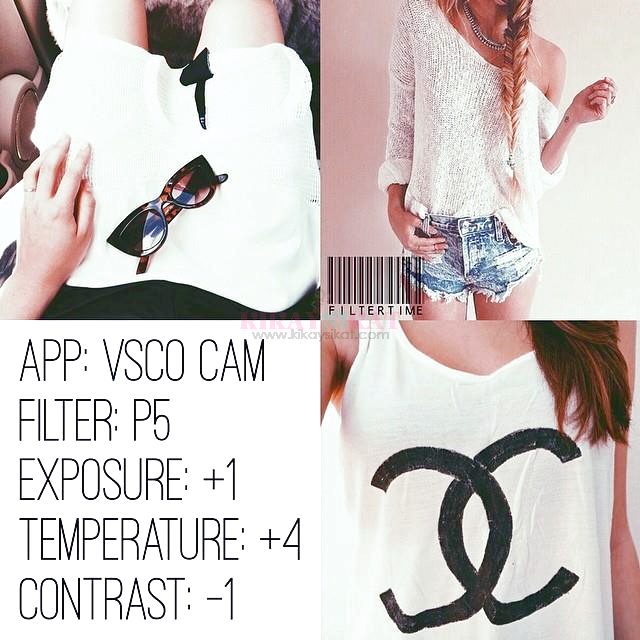
Use the spot-removing tool in your favorite editing app to clean up your images before you get to the color correction stage.
Whether that’s removing stray crumbs from the table of your food shot or discretely erasing a zit from your model’s face, cleaning up those distracting details will ultimately make your shot look more polished.
Consider the gridWant to create a grid with a consistent, on-brand vibe? Keep your tones uniform, whether that’s warm and vintage-y, vibrant and neon or pretty in pastel.
Find some grid-spiration here, with our countdown of 7 creative ways to design an Instagram grid layout.
Mix and match editing toolsThis is one of our top tips.
There’s no rule saying you need to stick with one editing app. If you love the smoothing effects of one program, and the cool filters in another, use ‘em both and get your photo just right before you upload it to Instagram
How Instagram influencers edit their photosWondering how to edit Instagram photos like the pros? We watched Instagram influencers’ how-to videos so you don’t have to!
You’re welcome.
TLDR: Most professional Instagram posters use multiple editing apps to get the look they want — Facetune and Lightroom are particularly popular.
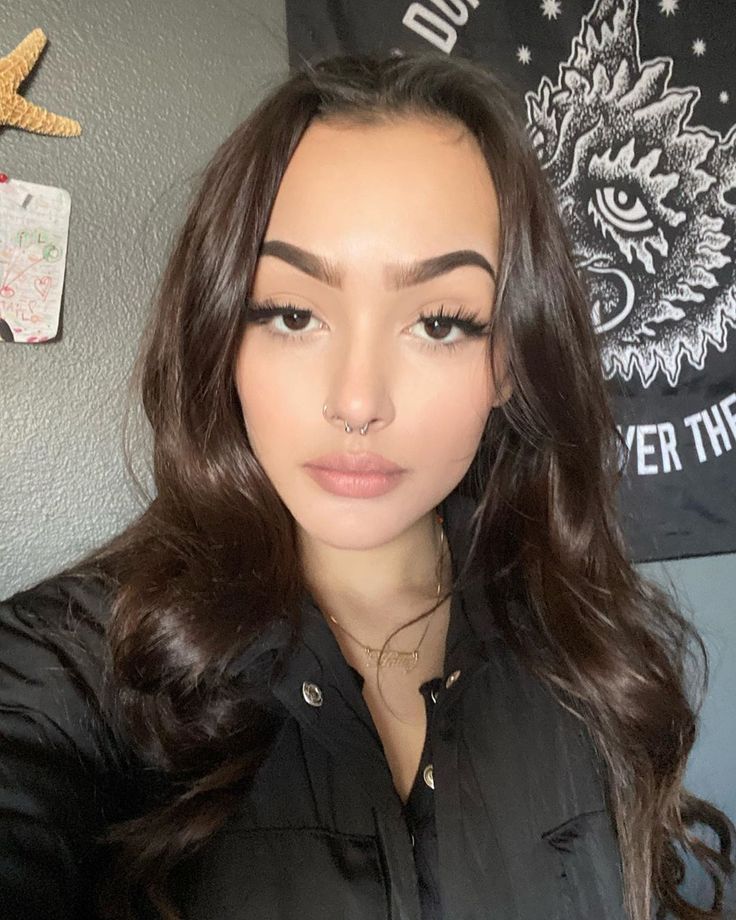
For instance, Instagram influencer Mia Randria smoothes out her skin with Facetune, zooming in to even out the area under her eyebrows or rough skin. She uses the patch tool for bigger bits, and the push tool to adjust details like her lip line.
Once that’s done, she uses presets in Lightform to adjust the lighting, contrast and color. (If you want to experiment with presets, we’ve got 10 free Instagram presets to download right here!)
While there are tons of great apps out there to help you make your posts for Instagram the best they can be, these are some of our favorite photo-editing tools.
If you want to edit your photos in the same platform you’re scheduling posts and planning your content calendar, look no further than Hootsuite.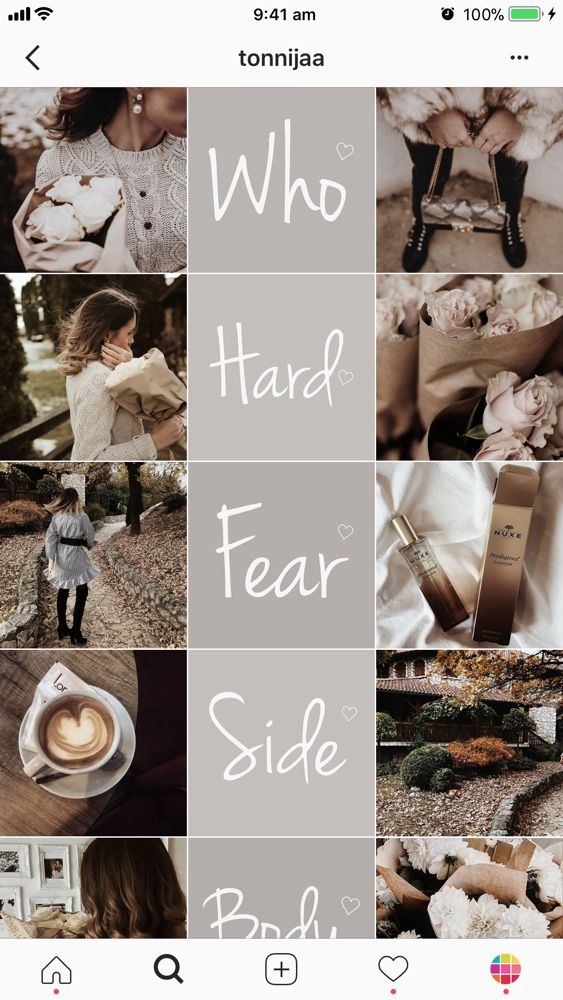
With Hootsuite image editor, you can resize your photos according to preset social media network requirements, including Instagram. You can also adjust lighting and saturation, apply filters and focus points, apply text, and more.
Here’s a full list of all the image editing features available in Hootsuite for Professional users and above.
Try it for Free
2. VSCOThe app comes with 10 free preset filters (pay to upgrade your account and you’ll access 200-plus others), and features sophisticated editing tools that help adjust contrast, saturation, grain, and fade. The “recipes” tool allows you to save your favorite combo of edits.
Save time editing photos and download your free pack of 10 customizable Instagram presets now.
Get the free presets right now!
Source: VSCO
3. A Color StoryFilters galore (choose bright whites or moody hues to suit your style), 120-plus effects and high-level editing tools that go into photography-nerd detail (in case you wanted to tweak your “functioning curves and HSL”).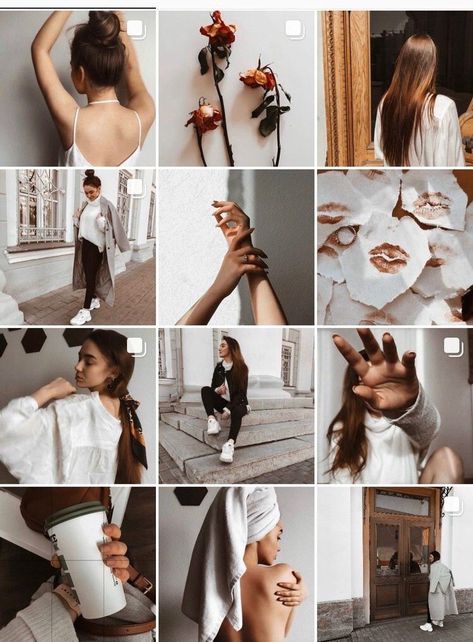
For those of us with more “big picture” brains, A Color Story also features a preview of your grid so you can workshop a cohesive look.
Souce: A Color Story
4. Avatan Photo EditorWhile there’s a robust library of effects, stickers, textures, and frames in the Avatan photo editor, the retouching tools might be most useful. Smooth out skin, brighten dark spots, and patch distracting details easily.
Source: Avatan
Developed by Google, Snapseed is a robust toolkit for photo editing that lives conveniently on your phone. The brush tool allows you to easily retouch saturation, brightness and warmth; the details tool enhances surface structure to layer in texture.
Source: Snapseed
6. Adobe LightroomWondering how to edit Instagram photos fast? Presets are the answer.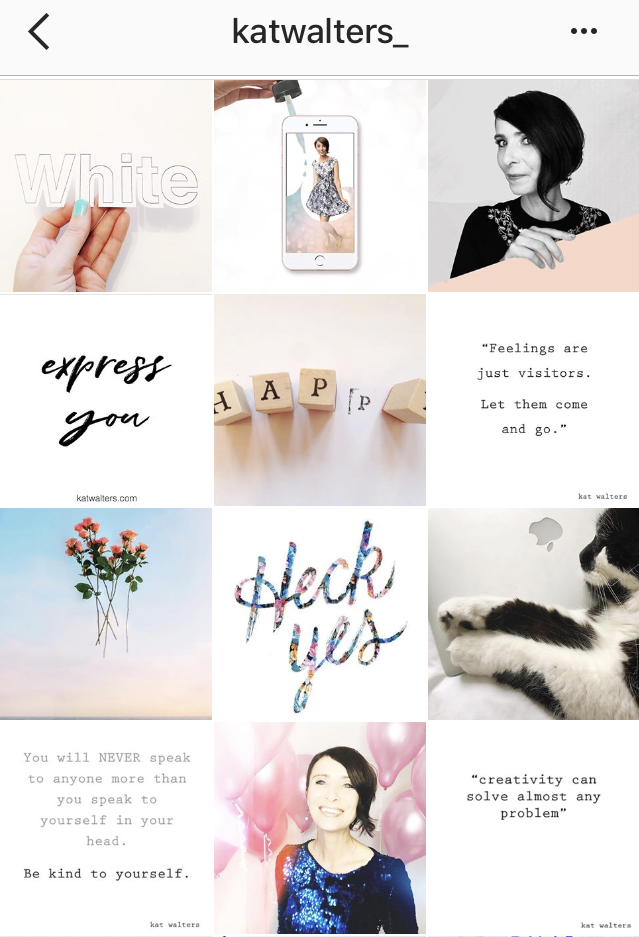
And this cloud-based photo tool not only makes it easy to edit your pics on your phone or your desktop, but it’s also the editing app of choice for people using presets as filters.
The intelligent highlight tool makes it easy to edit just the photo subject or just the backdrop with a single click or tap… but the downside is that to access the most robust tools, it’s a paid subscription.
Source: Adobe
PS: Interested in trying presets? Most influencers will sell you theirs for a small fee, but we’re offering a pack of 10, created by our amazing designer Hillary, for free.
Save time editing photos and download your free pack of 10 customizable Instagram presets now.
7. AfterlightThe filter library is populated by custom filters by photographers, so you know you’ve got a ton of great options to sift through. Advanced tools and interesting overlays (dust texture, anyone?) give photos a real film-like quality.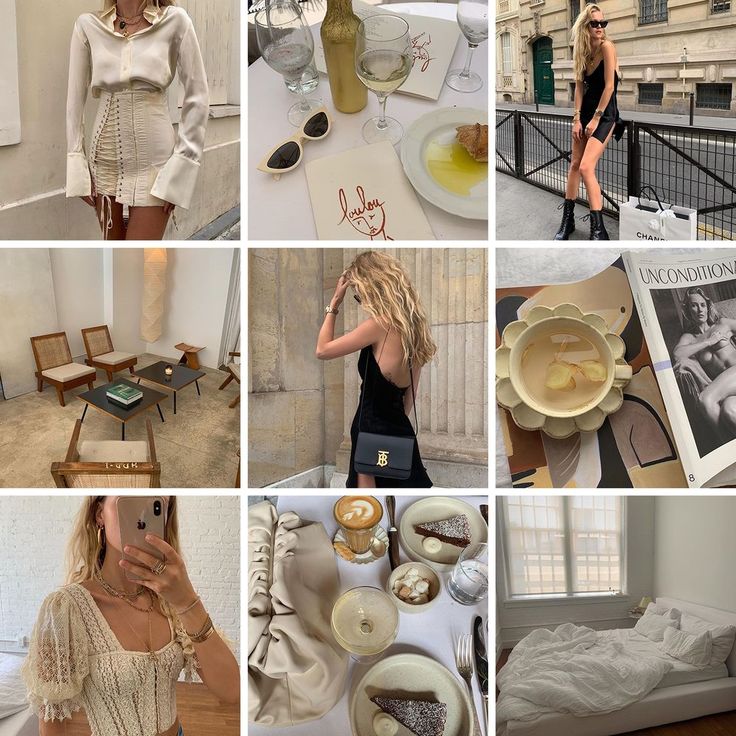
Source: Afterlight
This is the quick and dirty mobile edition of Photoshop, and takes advantage of AI technology to intelligently handle noise reduction, retouching, cutouts and more to clean things up with a few taps.
Source: Adobe
9. TouchRetouchTouchRetouch is sort of a magic wand to fix any awkward moments in your photo: a few taps and — abracadabra! — that distracting powerline or photobomber in the background disappears. It costs $2.79, but once you’ve got this bad boy in your arsenal, blemishes will have nowhere to hide.
Source: The App Store
10. FacetuneThis spooky-realistic face editing tool has been downloaded by over 100 million users. Smooth out rough patches subtly, amp up your best features, and generally ignore the true meaning of #IWokeUpLikeThis.
But don’t go overboard with the editing features.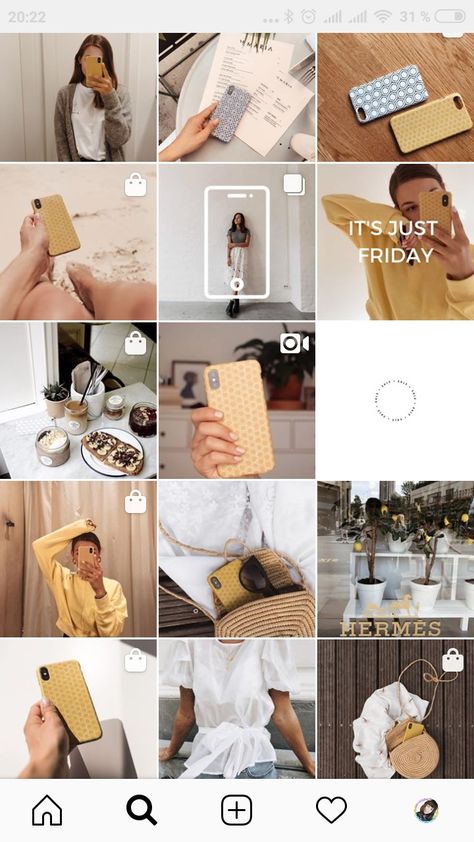 Many Instagram users are savvy enough to recognize when their favorite influencers are tuning their faces too much and may be turned off by your lack of authenticity.
Source: Facetune
These are just a few of the Instagram photo editing tools out there. There are plenty more Instagram apps—for editing or otherwise—to discover.
Now that you know how to edit Instagram photos, the key is to find a few apps that work for you and use them regularly to refine and enhance your posts.
From there, you can build an inspiring and engaging Instagram presence, one stunning photo at a time. Trust us—your followers will notice.
Save time and manage your entire Instagram marketing strategy in one place using Hootsuite. Edit photos and compose captions, schedule posts for the best time, respond to comments and DMs, and analyze your performance with easy-to-understand data. Try it free today.
Start Editing
Grow on Instagram
Easily create, analyze, and schedule Instagram posts, Stories, and Reels with Hootsuite.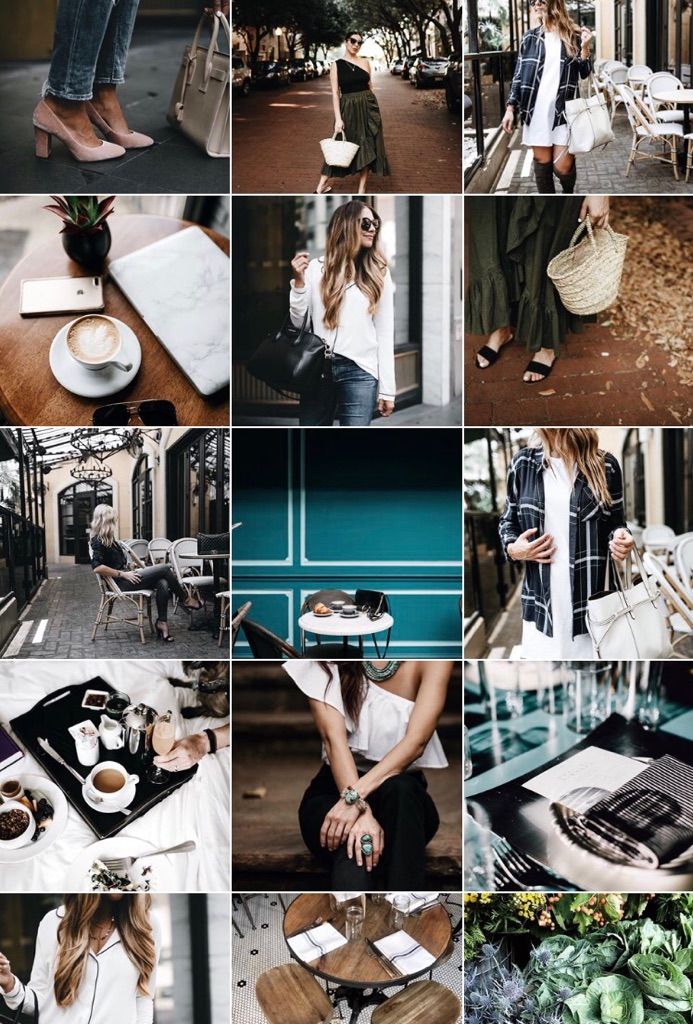 Save time and get results.
Free 30-Day Trial
Is your Instagram engagement rate stagnating or decreasing?
Not good!
What's the secret to increasing your engagement rate on Instagram?
Posting attractive photos, of course!
But how do you do that??
How do you make your Instagram content stand out and entertain?
Good question!
Read the 10 expert tips below to learn the answer.
In this post, we’ll look at 10 of the BEST ways to make attractive Instagram photos.
If you follow these tips, you will create content SO good that even your competitors won't be able to resist Liking your posts!
When people can't resist Liking your posts, your engagement rate will rise!
In this post, we'll cover these topics:
There are about 300 million photos uploaded to Instagram EVERY DAY.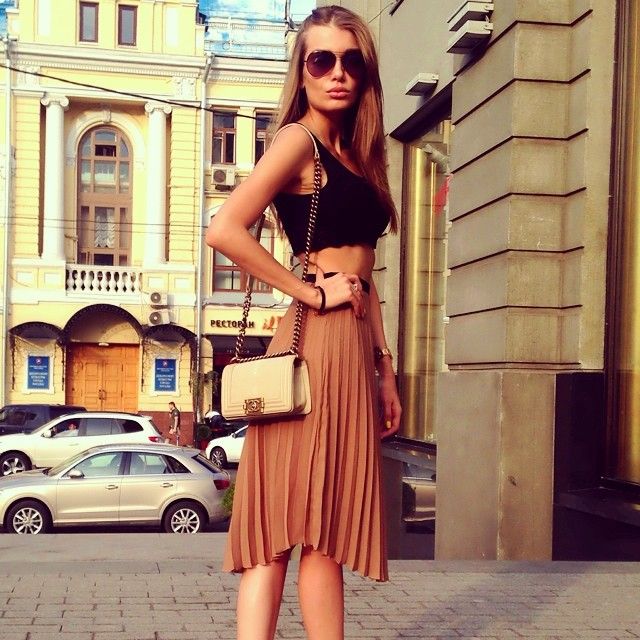
How can you POSSIBLY compete with all those photos?
Start by imagining this:
Dave, one of your page followers, is scrolling down his feed while at a doctor's appointment.
He comes across your IG post of a beautiful shell you found on the beach.
He thinks, "That looks nice."
Then he keeps scrolling.
Nice isn’t always unique or INTERESTING.
A unique twist on the pic may have led to more engagement.
For example, an extreme close-up of the shell with a caption asking viewers to guess what the photo is could pique curiosity.
If you want to take the funny route, you could capture something funny in the background.
Say, an awkwardly standing person or crazy-looking seagull.
The point is to post something that stops the scroll.
Unique photos make viewers "present with your photo."
The example above is a "scroll stopping" photo.
Why?
It’s "outside-the-box" enough to MAKE you stop long enough to react to it.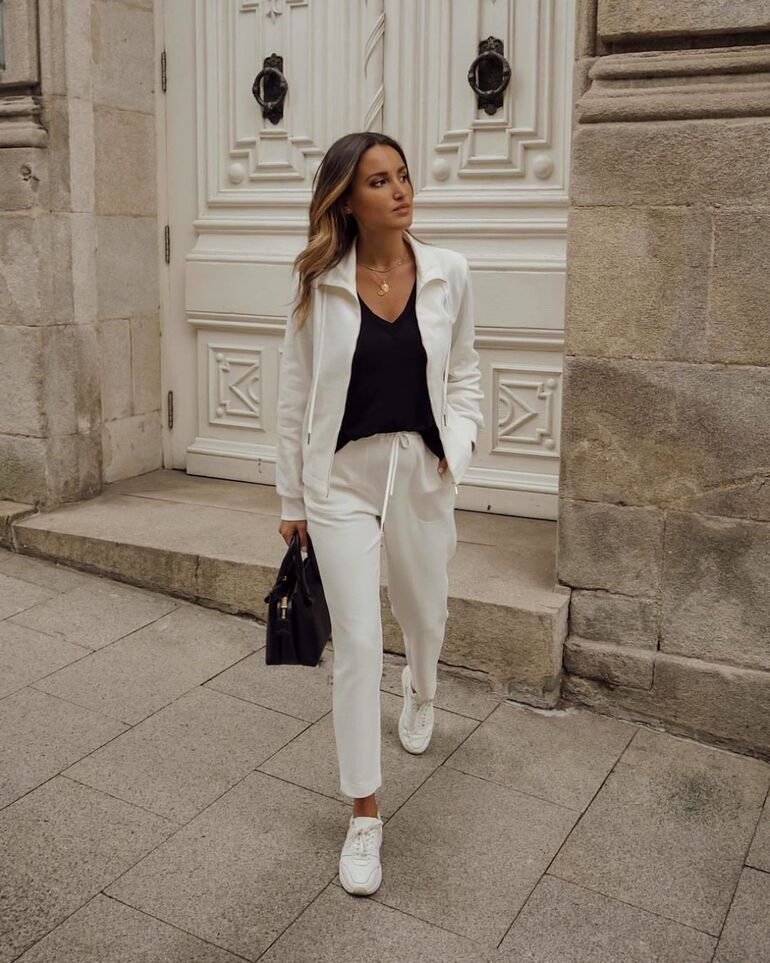
I mean, have YOU ever seen a staircase like that?
Colors, photo depth, patterns, portraits, or shapes are all aspects that can stop the scroll.
Everyone has preferences.
That includes YOUR IG followers (people who prefer to see a certain type of photo).
The truth is uniqueness is a bit subjective.
That said, target your Instagram content at people who are into it.
To do that, you have to know your audience.
You can learn more about your audience by browsing the following IG content in your niche:
Once you view the posts, read the comments!
You can learn a LOT about your audience by reading their reactions to posts.
This "scouting" will let you know things people like and give you great photo ideas.
Focusing on a niche audience can take you a lot further than posting generic types of content.
When you couple the photo ideas you picked up with these 10 Instagram photo tips, your engagement will take on a life of its own!
Ok, let's do this!
Follow the 10 tips below to take the engagement rate on your Instagram posts to another level.
To take amazing Instagram photos, you want to hone in on (phone) photography basics.
Test out the photo features built into your phone’s camera, including the following:
Specifically, avoid relying on autofocus, overexposed photos, and flash.
If you’re taking quick in-the-moment snaps, it's okay to rely on autofocus.
But it's always better to LEARN how to control the focus manually.
When taking multiple photos, manually focusing can even be quicker than autofocus.
It's pretty simple to learn the manual focus feature.
Tap on the point of the image you want to highlight, and then take the photo.
For iPhones, a yellow box should appear.
You will get a nice, clean, and focused shot of your subject.
Overexposure = Too BRIGHT
Underexposure = Too DARK
Many amateur photographers make the mistake of taking a photo with full exposure.
What happens?
The details and highlights of the picture get LOST!
Instead, aim for a photo that's just bright and dark enough.
That method allows the highlights and shadows to make the image look natural.
Learning how to leverage exposure takes practice (which can be pretty fun!).
If photos come out too one-sided (too dark or too light), you can always adjust for brightness.
Just tap on the image (for iPhones, a yellow box should appear).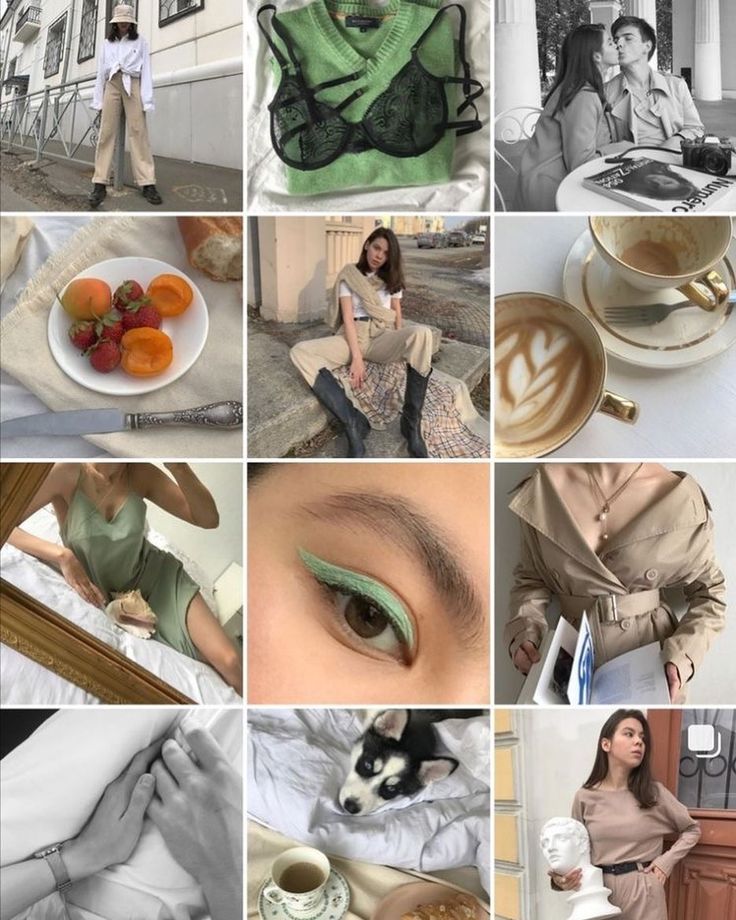
Then use the slider to swipe up (for more exposure) or down (for less exposure).
You can also adjust the exposure of your photo during post-production editing.
Flash CAN be useful.
BUT it can also ruin the overall quality of your photo.
Why?
Flash blows out the picture's lighting.
What you get is an image that looks like it was captured on a disposable camera from 1999.
Great photos on Instagram typically use natural lighting and light photo editing.
Depth of field is a terrific way of standing out on Instagram.
This is essentially when the main subject of your photo is focused on more than its environment.
Here's a good example from a user taking a photo of the Space Needle in Seattle, WA:
Notice how the Space Needle is far away yet still in focus?
To get a good depth of field, practice using your camera’s focus features.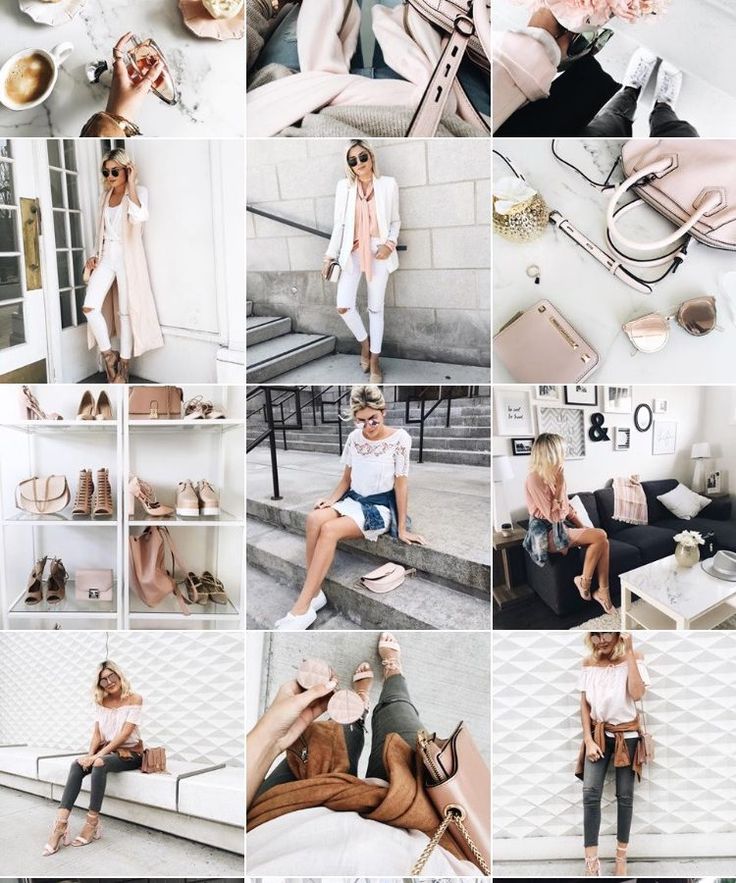
Tap the object you would like to focus on.
Then, move the camera around so that surrounding objects lose focus.
You've now accomplished an incredible depth of field!
Hear that?
Oh... It's just your Instagram followers liking and commenting on your new depth of field post!
Proper lighting is KEY to great photography.
Your lighting source can come from the following:
Lighting can really make or break a photo...even if you edit things very nicely.
Here's an example Instagram post with great natural lighting:
Playing with angles is a powerful technique for impacting the way people see your post.
Think about your subject and the combinations of ways you can view it.
Angle your camera from the top, middle, or bottom of the frame.
You can even turn your phone upside down to create a foreground element.
Taylor Rees, a well-known photographer with 126K Instagram followers, suggests flipping the mobile upside down and taking pictures of your subject from the ground.
According to Taylor, this is the best way to add the ground as a foreground element.
This tactic works for all kinds of objects:
Ground, a table, railing, or desk.
Complementary colors increase your chances of stopping your followers’ scrolling.
So what are some colors that go well together?
According to Design Wizard, these complementary color combos make MAGIC:
Test these combos and try to take photographs that naturally contain them.
Remember: the color shades don't have to be EXACT.
Use this list as inspiration, not a rule book.
Have you ever wanted to take a picture of a fast-moving object?
Then (after trying a few times) you gave up because of all the blurry results?
There's a way around this.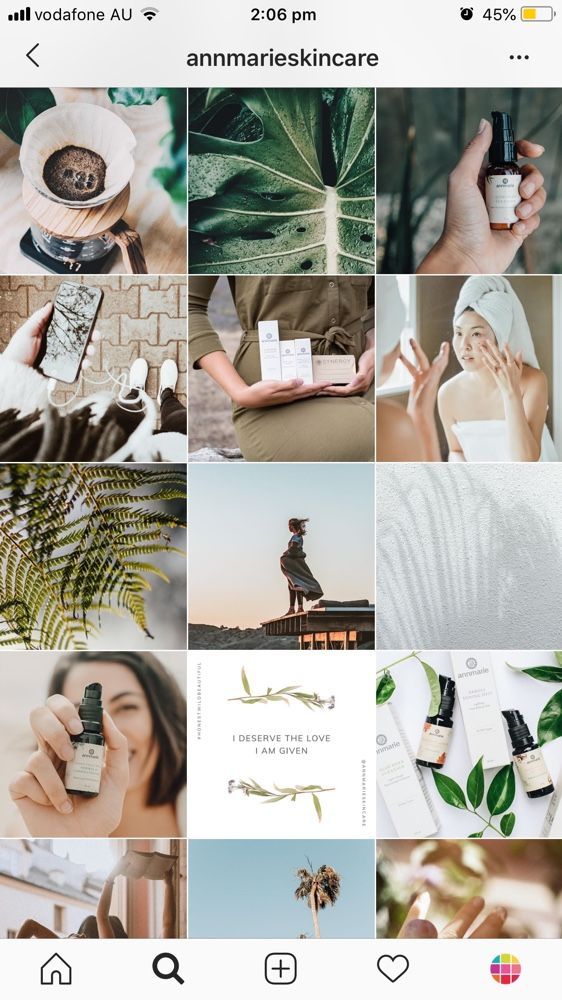
The "Burst Mode" feature can help you take great still photos of moving objects.
This camera setting takes about 10 photos a second (yeah — whoa).
This volume of photos increases your chances of capturing the perfect shot.
Activating burst mode is super easy.
Here's how to do it:
1. Open your camera app.
2. If you have an iPhone XS/XR or older, hold down the button that takes pictures (the shutter button).
3. For iPhones 11 and up, slide the shutter button to your left.
Source: 9to5Mac
4. When you're done shooting your burst photos, they'll be grouped in your camera roll, and you can pick the best one.
If you ever see a UFO one day, now you know what to do!
Your smartphone's camera likely has a grid feature you can activate.
Grids can help you center your subject precisely in the middle of the frame.
You can also follow the rule of thirds to enhance your picture composition.
Check your camera settings to make sure that your grid feature is enabled:
Using grids will also help you maintain consistency when cropping your pictures.
White space can guide the viewer's eyes to focus on the subject.
Using white space is an excellent way of having a singular focus on your photo.
Too much going on in one picture can be distracting for the viewer.
Here's an example of an Instagram photo effectively using white space:
Here’s another example of using white space to highlight the photo subject:
Today’s smartphone cameras are becoming increasingly savvy.
But you want to make sure you’re using your powerful camera correctly.
When taking your Instagram photos, be mindful of the photo mode you are in.
Photo modes are different from camera settings.
Photo modes are designed to take certain types of pictures.
For example, portrait mode is a great option for a close-up picture of your friend.
Panorama works well for capturing vast scenery:
The best way to learn how to use your photo modes?
Experiment with all of them!
You might be surprised by what you find.
You can embed graphics into your photos to announce giveaways, events, or products.
Canva is an EXCELLENT graphics and photo editing tool!
Check out the following examples for some graphics inspiration:
Filters are probably one of the first things you think of when you hear "Instagram photos."
But there’s an entire WORLD of amazing filter tools in addition to (and maybe even better than) Instagram.
Some great photo filter applications include the following:
 Easily edit photos and videos using beautiful effects and filters.
 Filters let you choose from a wide range of presets or modify your photo based on what you want to accentuate.
Here are 3 tips when it comes to filtering photo editing:
You now have a war chest of amazing IG photo hacks to increase your engagement rate.
Now what?
Apply what you’ve learned to spark engagement with these Instagram photo ideas!
It’s hard to NOT to like a fantastic Instagram weather photo.
Practice your filters, angles, lighting with unique weather pics.
Post your best weather shots on Instagram!
Make sure to engage in the comments (people love their clouds)!
Flat lay photos work well to show off a product.
Use white space to emphasize the subjects of your flat lay pics.
Ask your followers to pick out their favorite items in the photo!
Then reply to their comments to keep the conversation going.
There are few photos people love more than pet and animal pics.
Play with depth of field to emphasize a pup in the foreground (like in the pic above).
Got a spunky fur baby you want to show off?
Use burst mode to catch them in action!
Location photos have the potential to be STUNNING. But they can also be boring (especially if you’re capturing someplace famous).
Use unique angles to showcase a location in an interesting way.
You can also play around with depth of field (like in the example above).
Remember, your goal is to stand out.
Help your followers see the same old location with fresh eyes!
Don’t underestimate the power of a good portrait shot.
Believe it or not, people want to see YOU (at least every once in a while).
In fact, your followers want to know that your brand is HUMAN.
Use portrait shots to introduce yourself, your team, or customers who love your brand!
Food photos are fan favorites.
But that’s if you can master at LEAST these 3 photography elements in your pics:
In the pic above, your eyes are drawn to the vibrant colors on the pie.
Those colors pop because the background is “white space.”
I know, I know.
It’s technically brown. But it’s plain (so it emphasizes the ingredients).
And all of that is made possible because of excellent lighting.
The lighting appears natural — there aren’t any glares (not even in the glass).
The photog likely used SOME kind of external light source, but the outcome is what counts!
Ever notice that you can just TELL when the purpose of a photo is to emphasize clothing?
How do photographers do that?
Consider the example above.
The background is not QUITE white space.
But it’s close to it!
The only color that stands out in the photo is the blue on the subject’s shirt.
How do we know what to pay attention to?
Well, the man in the photo is wearing sunglasses.
Plus, the shot captures the whole outfit rather than focusing on his face.
In combination, those aspects tell us that his apparel is the REAL point of the pic.
A by-product of a great Instagram feed is more followers.
Apply Post Planner's hashtag tips to maintain a successful Instagram feed.
People are likely to engage with an attractive Instagram feed because it grabs their attention.
Hold someone’s attention for long enough, and you’ll get more likes and comments.
Some people may even use Instagram's "save" feature on your best posts.
Engagement gets even BETTER when you post your Instagram pictures at the right time!
Here’s what I mean:
There are peak hours when your followers are online.
Posting during those times is one of the best ways to get your post seen.
But what if your peak hours happen at a time that’s not convenient for you?
Do what countless Instagram users do and use a post-scheduling tool!
For example, Post Planner lets you schedule posts in advance and automatically publishes them for you.
So enjoy your coffee and read a book while your posts go live at the PERFECT time!
Out of creative ideas for Instagram photos?
You can browse Post Planner’s MASSIVE content library for beautiful images!
You can even save profiles that post great content into groups called Content Streams!
An outstanding Instagram feed adds authority to your brand.
Why?
Because you appear above-average compared to most profiles.
Think about it.
You can tell when an influencer puts a lot of thought into their photos.
In fact, that’s what makes an influencer’s page unforgettable.
That type of impression makes you seem trustworthy.
If you’re selling a product or service, that trust can grow your business.
As your following grows, brands will reach out wanting to collaborate with you.
If forming brand partnerships is one of your business goals, post STUNNING photos.
The better your IG feed looks, the more followers you get.
The more followers you get, the more influential you become in your niche.
The more influence you hold, the more people will want to work with you!
Creating Instagram photos that look good comes down to 4 principles:
A post-scheduling tool can go a LONG way and helping you practice most of these principles.
Why?
Post scheduling makes your IG marketing strategy SUSTAINABLE and EFFICIENT!
Ready to save time and money and boost Instagram engagement at the same time?
Create a free account with Post Planner today!
Got other photography tips for increasing engagement?
Drop them in the comments below!
Many people say that Instagram compresses photos and degrades the original quality of images.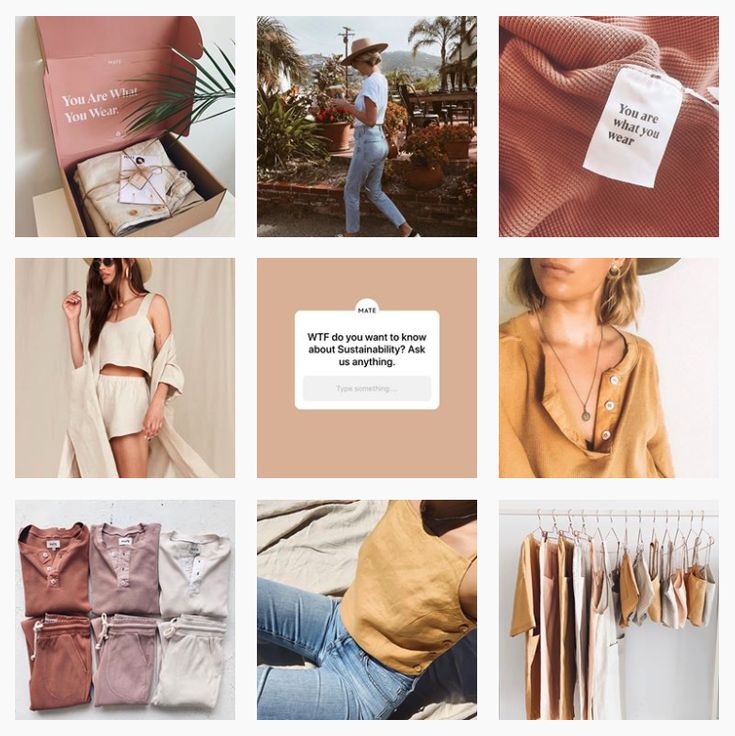 If you use the platform only to chat with friends, then the decrease in clarity may not interfere with the publication of frames. However, detail is important when you are promoting a brand and business, posting photos from photo shoots, and creating a beautiful feed. Today we will tell you what determines the clarity of the picture and how to upload a photo to Instagram without losing quality.
In order for photos to be displayed without cropping or compression, you must set the appropriate photo format and size. The rules of the social network spell out the required frame proportions and resolution for posts, stories, and even profile photos.
You can post photos in different orientations in the feed. You can upload a vertical, horizontal or square image. In the profile, all content will be displayed in the form of a square, but when you open a picture, Instagram will show the original frame without cropping.
To ensure that images do not lose quality, you need to set the correct aspect ratio:
What happens if I upload an image "as is" without setting the resolution? When posting photos with a width of less than 320 pixels, Instagram will automatically increase the image resolution. Because of this, digital noise and pixelated areas will appear in the photo.
When uploading large photos, the social network will reduce the width to 1080 pixels. In this case, the detail and contrast of the photo may decrease.
How publications will look in different layouts
In Stories, for the correct display of the image, you need to publish content with a vertical orientation. Horizontal or square footage will either be framed with black borders, or they will adjust to the predominant color of the image.
Required properties for stories:
And by the way, photos will be displayed in stories for 5 seconds. You won't be able to change the media duration.
How pictures look in different positions in Stories
The profile avatar in the social network is displayed as a circle, but a square picture is uploaded to the server itself. It's best to crop the shot yourself, as the platform automatically removes the edges of the image and can cut off important parts of the frame.
The size of the avatar depends on where the profile is opened:
Automatic cropping of photos with different aspect ratios
Basically, the quality depends on the original resolution of the image.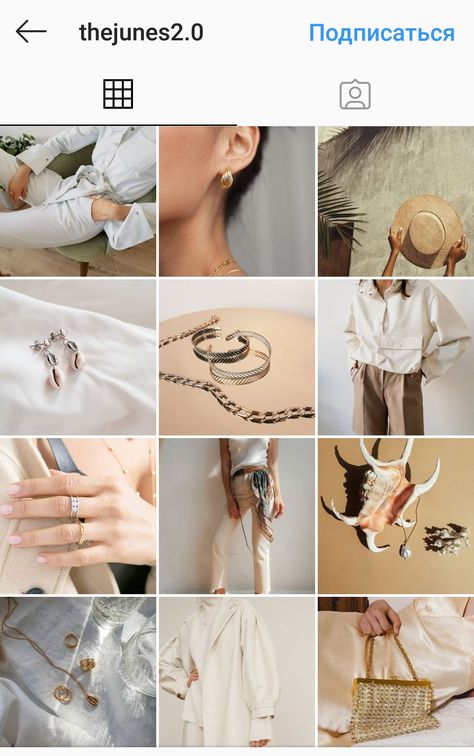 Also, the following criteria affect the clarity of the photo:
To optimize the image from your phone, you can use special applications. Good options for Android and iPhone would be InstaSize and NoCrop . For Android users, there is also a good software A Better Camera . All these utilities allow you to maintain the original proportions and upload pictures without white borders, help you avoid blurring the picture and scale the photo correctly.
We will look at how to post photos on Instagram without losing quality, using the example of the application A Better Camera .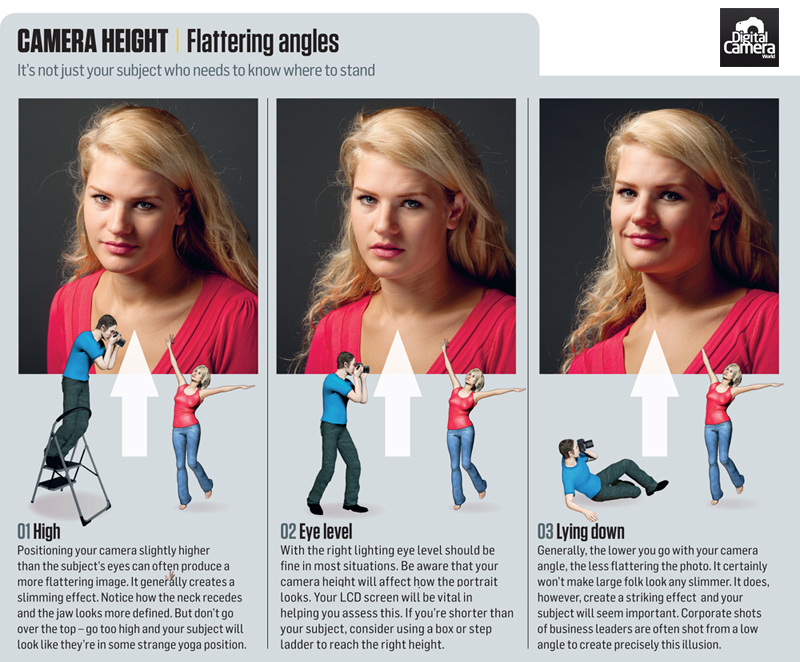 It will allow you to expand the standard capabilities of the main camera, set the appropriate aspect ratio and get high detail.
You can download the application for free from the Google Play Market. Then we act according to the algorithm:
1. You need to launch the application and swipe from top to bottom. In the menu that opens, select "Settings" and go to the "General settings" - "Shot size" section. Here you can choose the appropriate resolution for Instagram.
The higher the Mpix value, the higher the resolution.
2. Next, you need to go back and open the Screen Settings tab. You can display additional items in the start menu: battery power, grid, various modes, etc.
Options will allow you to control the quality of the photo
3. Then you need to exit the settings and swipe down again. Open the "Scenes" tab and specify the desired option: portrait, landscape, sports, etc. The software will automatically set the appropriate exposure, contrast and exposure settings. In fact, you need to choose a thematic filter in order to better convey the atmosphere of the frame and avoid graphical defects.
Available scenes
4. Click on the "Focus" option. If you need to shoot small objects, it is better to switch to the "Macro" mode. For other situations, "Auto" is suitable.
Available options
5. Next, you need to return to the start menu and click on the modes icon in the lower right corner. Here you can select automatic shooting, create a panorama, a tool for removing unwanted objects, applying an HDR effect, or night mode.
The option is marked on the picture
6. After saving all the settings, you need to tap on the screen in the place where the lens should be focused. Click on the camera icon to take a photo. The result will be saved to the gallery. Now you can upload it to the platform through the Instagram mobile app.
Now it's clearer how to upload photos to Instagram without quality loss.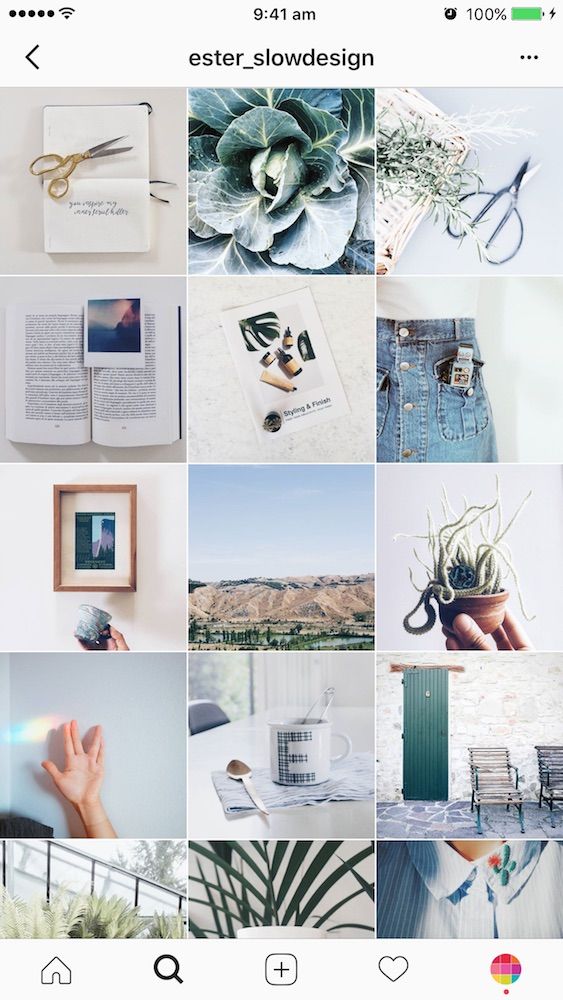 The original low resolution affects the clarity of the pictures. In such cases, Instagram will automatically enlarge the image and make it blurry and pixelated. A large image will in turn be reduced, and this can reduce the detail and contrast of the photo.
Before publishing, be sure to adjust the aspect ratio in the software, otherwise the frame will not be displayed correctly in the feed. You can use InstaSize, NoCrop and A Better Camera. To find other useful applications for working with photos and not only, it is necessary to read reviews of programs. So you can find the best solution for various tasks and get acquainted with all the features of the software.
If you follow the requirements of the social network, use special applications for optimization, you can guarantee a perfect image in the feed.
Android I/O Instagram iPhone As an advertisement
InstagramProduct belongs to an organization recognized as extremist in the Russian Federation.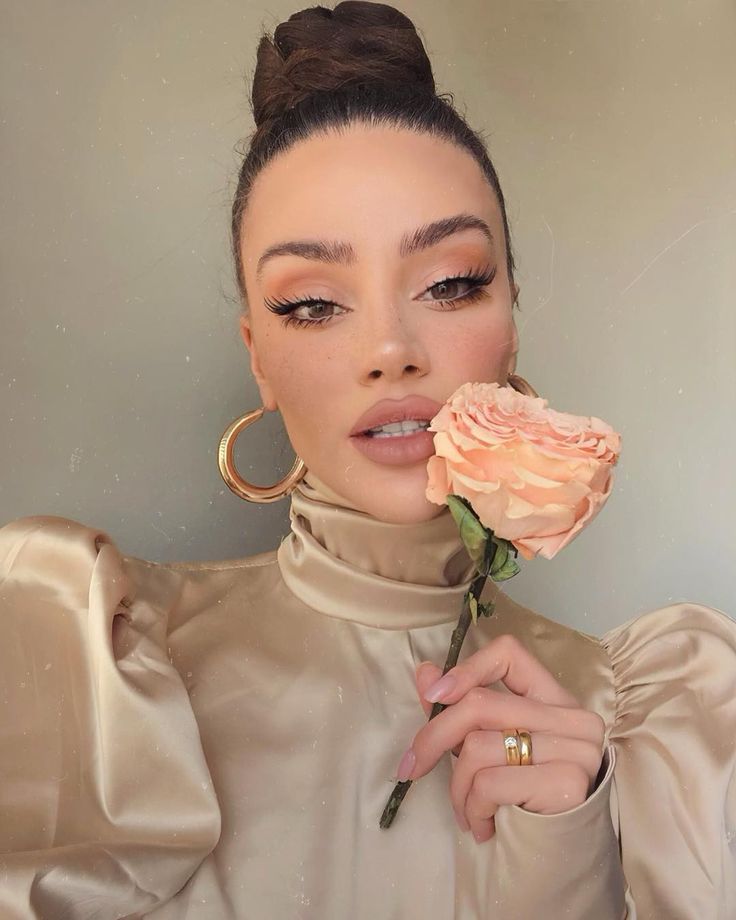
remains a social network about beautiful photos, so you can't do without good shots. Amplifer support manager and InstagramThe product belongs to an organization recognized as extremist in the Russian Federation. - Blogger Anastasia Chernykh has already told how to blog in InstagramThe product belongs to an organization recognized as extremist in the Russian Federation, and now explains how to learn how to take cool photos, find your own style and make publications more attractive.
You don't have to use a camera to take beautiful photos for Instagram* - your phone's camera will often suffice. But getting basic knowledge about photography is still worth it.
First, get familiar with the basic concepts:
This knowledge will help you avoid mistakes at the very beginning.
20% discount for the first two months in Amplifer using the promo code AMPLI20
The composition is responsible for how the objects in the photo are located - this helps to make the frame harmonious and interesting. If you are not going to do photography professionally, then basic knowledge will be enough for you. I'll tell you about two options for arranging objects in the frame that I use:
Rule of thirds . Divide the frame into 3 equal parts horizontally and vertically so that the main objects are located at or along the intersections of the lines.
The subject is at the intersection of lines
Diagonal rule . Draw a diagonal from one corner of the photo to the other. The diagonal from the lower left corner to the upper right is more “calm” and is called descending , and the opposite, from the lower right corner to the upper left - ascending , it is more "active".
An example of a composition with a descending diagonal
This means that if you arrange objects along an ascending diagonal, the frame will be more dynamic, and if you place it diagonally downward, it will be harmonious and peaceful.
An example of a composition with an ascending diagonal
You can turn on the grid in the camera settings on your smartphone - turn it on and it will be easier to deal with the composition.
A photo in good light is good for an avatar - it's an important part of your profile. Light is the basis of everything.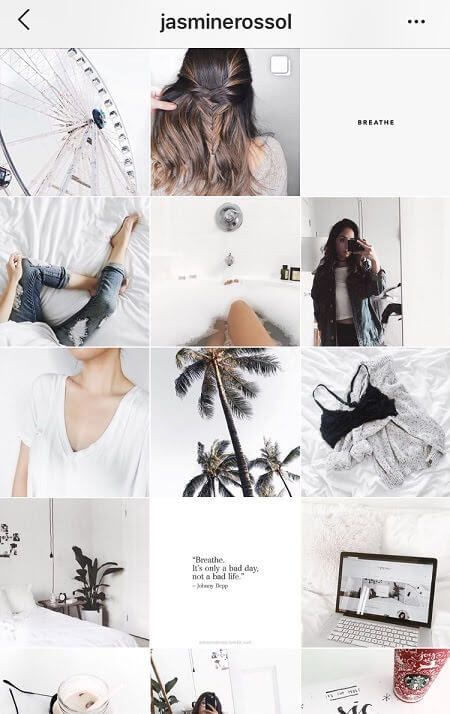 When it is good, the photo does not require additional processing.
Good lighting on the left vs bad on the right
For beginner photographers, daylight will be a real help and will do most of the work - the frame will be rich, with natural light and shadows.
In winter it is better to take pictures from 10 am to 3 pm in clear weather, and in summer there is much more time - suitable light from 7 am to 9 pm. These recommendations are suitable for most residents of the European part of Russia.
Photographers have the concept of "golden hour" (Golden Hour) - this is the hour after sunrise and the hour before sunset. At this time, the light is soft and especially suitable for shooting.
Photos taken during the golden hour
Important: You can shoot during the daytime and when there is no sun. Moreover, taking pictures in bright sunny weather is much more difficult than in cloudy weather - extra shadows and sharpness appear.
And it is better to publish beautiful photos on Instagram* through Amplifer. Add a description, hashtags, and tags so you don't forget anything. Try 7 days free trial
Often your smartphone can do more than you think - be sure to explore the camera's settings and features and see what it has to offer. Portrait mode, stabilization, optical zoom, reticle or HDR will all help you when shooting.
For example, HDR is available on almost all smartphones - it creates several frames with different exposures and combines them into one shot, so the photo is clearer and more contrasty.
On the left is a photo without HDR, on the right is with HDR
Be sure to wipe the camera before shooting - such a trifle, but the frame will definitely be better 🙂
And to decorate your photo, try using apps to create beautiful "Stories" in InstagramThe product belongs to an organization recognized as extremist in the Russian Federation.
Applications help you correct light, remove excess, make your photo brighter, emphasize details and bring frames to a unified style. Here are my favorite apps and why:
VSCO is the most popular and easiest photo editing app. It has 15 free and more than 100 paid filters, you can edit the exposure, contrast, sharpness, saturation, add graininess.
Snapseed is a simple application for editing basic parameters with filters (“styles”). From interesting:
Lightroom is one of the coolest light and color correction applications that doesn't spoil the quality of the original. There are curves for editing here - they help distribute the brightness of each pixel in the photo.
In Photoshop Fix , you can not only edit light, colors, brightness, temperature, but also remove unnecessary details from photos using the Recovery tools.
Here you can choose point restoration or the stamp function - in the first case, you just need to swipe over the object and the program will delete it for you, and in the second case, you yourself choose from which part of the photo you will take the part for replacement.
Also in this application there is a Liquify function that will help you adjust the shape of objects and add volume. Do not abuse, please - real photos always look more interesting than retouched ones to the ideal.
Remove silhouettes of people in the background in Photoshop Fix
To maintain an account on Instagram*, try Amplifier: it publishes photos, videos and carousels to the feed, collects statistics and suggests the best time to post. 7 days free
It's important to find your style - then your photos will catch on. Think about what profiles you enjoy looking at? Through which photos would you like to present yourself? What do you like to photograph?
And go in search of inspiration in InstagramThe product belongs to an organization recognized as extremist in the Russian Federation. and on Pinterest - find a few blogs whose style is close to you, save photos and take note of interesting ideas. Then try to repeat and turn on your fantasy. You should not get an exact copy, because each author brings something of his own to the frame 🙂
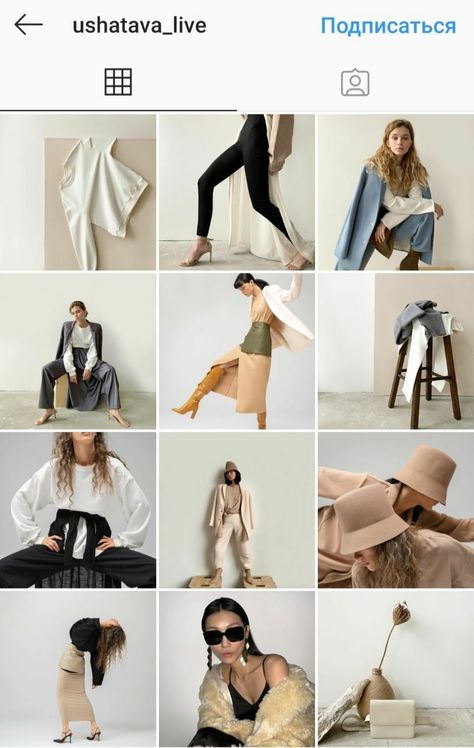
For example, I really like the profiles snova_nastia, vicky_od, kate_voina - sometimes I take note of ideas for a photo from them.
Publications snova_nastia
Another way to develop your style is to shoot everything that seems beautiful to you. Take 10-15 frames, process them and evaluate the result. What photos came out? What color is dominant? Is it possible to group them and get a beautiful picture?
Through the search for inspiration and daily practice, you will find what you can call your style 🙂
Nowadays, a person photographing food, the city or himself does not surprise anyone. There is nothing like stopping, taking a picture, setting the timer on your phone, or asking passers-by to take a picture of you.
Get ready to experiment and look for unusual angles in pursuit of a beautiful photo.
Feel free to ask friends or passers-by to take a photo. The main thing is to explain what you want to see in the frame - then everyone will be satisfied.
Try different styles and don't get stuck on one thing - shoot portraits, food layouts, selfies, architecture, landscapes. Don't be afraid to shoot close-ups - this way you can get more interesting angles.
The more diverse your content, the more interesting the feed looks, and the higher the engagement of readers will be - everyone will want to go to your feed, view an interesting frame and leave a comment.
InstagramProduct belongs to an organization recognized as extremist on the territory of the Russian Federation. and other popular social networks are conveniently managed in Amplifer. Make posts for all platforms in a convenient editor and schedule posts directly from your computer. Try a trial period of 7 days, no card needed
InstagramThe product belongs to an organization recognized as extremist in the territory of the Russian Federation.: