Update February 18, 2022: We recently announced updates to Profile frames. Visit our latest blog for more information.
Profile frames are a great way to inspire the world around you. A simple and powerful tool, they can enable government, political and nonprofit organizations to creatively make a statement, celebrate important moments, show support for special causes or rally people around important public service announcements, such as wearing a mask or considering getting vaccinated.
You can easily create a profile frame using Facebook Frame Studio - all you need is a Facebook Page or profile. Before you get started, please review our guidelines, terms and policies for creating a profile frame.
How to create a profile frame
Tip: When designing the frame, keep in mind that profile pictures on Facebook appear mostly as a circle, and in some instances, as the original square picture. Therefore, keep the artwork placed around the edges of the frame, and place any text along the top, bottom or sides, rather than in the center of the frame.
Encouraging your community to use your profile frame
Once published, your profile frame will appear as an option to select in people’s profile picture settings. Keep in mind that anyone on Facebook will be able to look up your profile frame and use it independently by visiting facebook. com/profilepicframes or by clicking “Add Frame” through their profile picture settings. You can also use this link to browse other available profile frames for inspiration.
To share your new profile frame with your community, copy the link to the frame and create a post announcing the new frame. When published, the post will automatically include a call-to-action button, encouraging people to try your new frames on their profile. Consider boosting your announcement post to reach more people. Learn more about advertising best practices here.
Creating a Facebook profile frame is a quick and easy way to drive action and behavior change in your community. Explore how government organizations have used profile frames to engage the public on important COVID-19 messages.
Visit Facebook Frame Studio to start creating your own Profile Frames.
Search and add frames to your social media profile picture with our new Frame Studio!
CREATE FRAME
How does the Frame Studio work?
1. Check out the Frame Studio
2. Click on CHOOSE FILE to select your photo.
3. Choose/search and select the frame you want to use.
4. Position the photo and frame or zoom in by clicking on the photo.
5. Click on UPLOAD FRAME
Brands can get started with creating their own Facebook Frames by going to the Camera Effect Frame and clicking the big blue “Get Started” button.
You are greeted with this window.
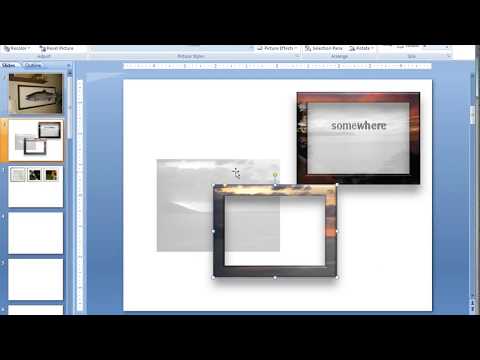
Once you get started, you’ll be taken to a screen that looks like the below image. Click the “Create Frame” button to start designing your frame.
The main Facebook Frames interface.
An overlay will appear, where you can start inserting images and categorizing your frame. I recommend clicking the “Download a Template” link to download a sample Photoshop PSD file that has all the instructions you need, and a template for creating your frame. You can see some of the instructions included in the PSD below:
The Frame editor
Step 1 in the PSD template
Step 2 in the PSD template
Step 3 in the PSD template
As you design your frame you’ll want to be sure to separate out the images, as specified in the template steps above. Save each individual image, and then you can start adding them to your frame. Facebook recommends adding them separately so that as the user uses your frame on a phone in portrait or landscape, or on a desktop, the frame can expand and contract as necessary, not interrupting the beautiful statement you just created for your users. Once you upload all your images this is what it looks like:
Under “Keyword Tags” you can also specify some tags you want your frame to appear under if people search. This will be particularly useful the bigger the Frames database gets. In addition, you can set a start and end date, or have the Frame go live immediately after it’s approved. This will allow for temporary campaigns where people can share their pride for just a day, a week, or a month, for instance. It’s unclear how to make Frames available just to a local area, but my guess is this will be available to Pages that have a location attached to them. None of the Facebook Pages I had access to used this feature so I’m not sure if that’s how it works.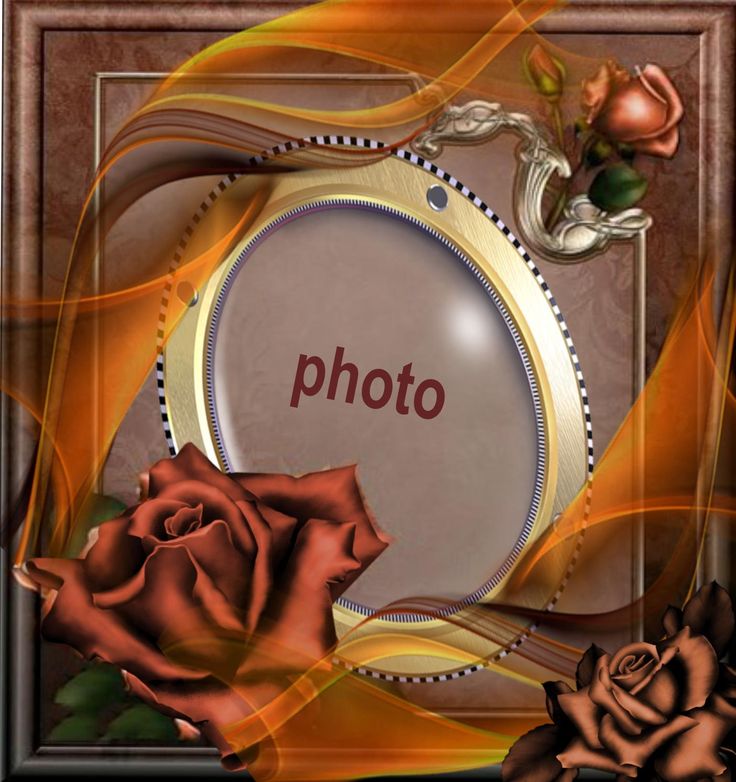 Comment below if yours has this feature!
Lastly, click “Submit” and your frame will be ready and submitted for review. Facebook says it can take up to a week to get approved, so stay patient. I anticipate you’ll get a notification when this goes live. Then, once it’s live notify your Page fans that they can start using it and now all of your brand’s audience can show their enthusiasm using the Frame or Frames you just created!
And that’s it! I’m sure Facebook will be expanding on this feature in the future – I’d love to see it integrated into Facebook advertising, for instance. Perhaps an advertiser could target an audience to start implementing the Frame as their profile picture. There are so many possibilities for this and I’m really excited to start getting my clients using it.
#flower #flowers
Sometimes, looking at the profiles of friends or relatives, you will notice that their Facebook photo is enclosed in a frame.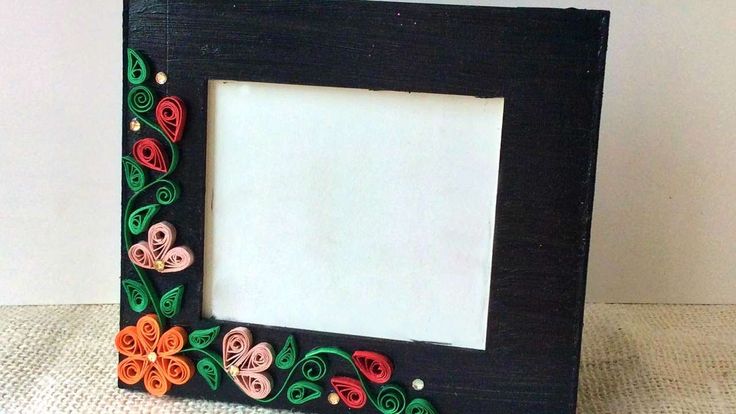 So they express support for some cause or event. These frames can be easily created in Facebook Frame Studio. Today we'll see how to do it.
Content:
In order for the frame to be approved and uploaded by the platform, you must follow a few rules:
This is easy to do in any image editor. Most often, a frame is created in Adobe Photoshop or Illustrator.
The file is then saved in PNG format to meet Facebook's requirements.
 In the second case, the program will ask if everything suits you in the frame. Click OK to publish or Cancel to make corrections.
If Facebook rejected the frame, either it doesn't meet community standards or the wrong format was selected. After making adjustments, you can repeat the request.
After customizing and placing the frame on the avatar, the user can share it with other people. There are two ways to do this:
Let's consider the second option:
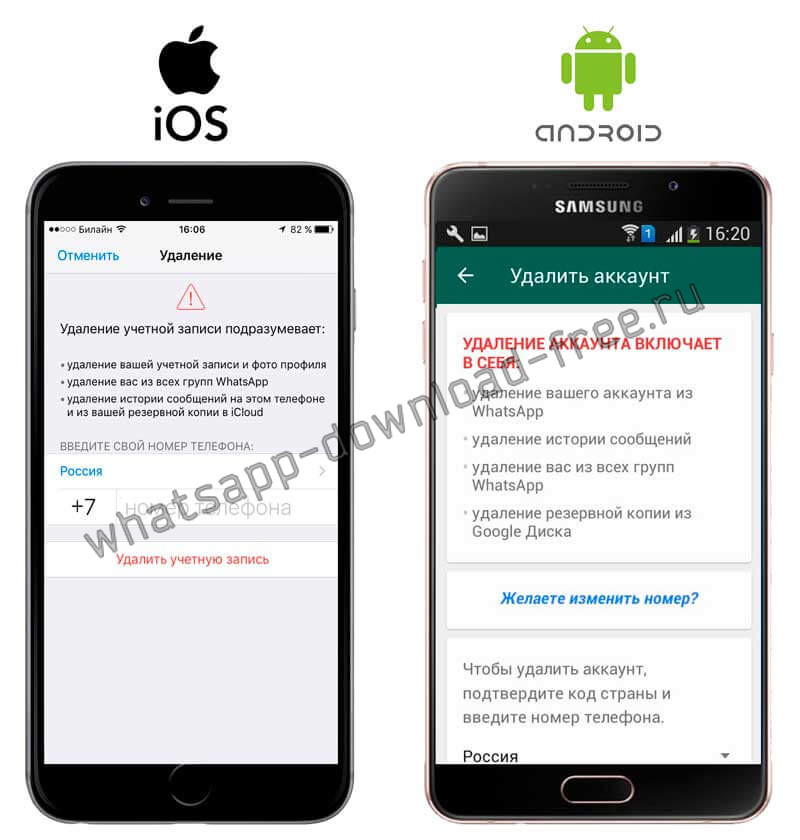
If you change your mind and want to remove the frame from your avatar, follow these instructions:
Every person has a need to communicate, by letter, phone, mail or social network.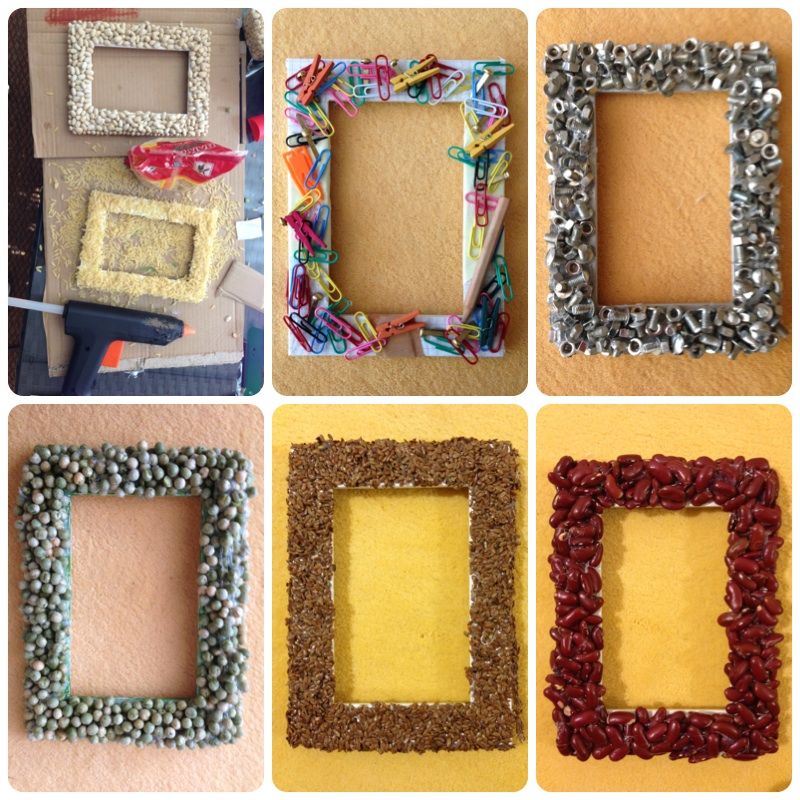 The boom in social media usage is such that, according to surveys conducted in 2019, over 7.7 billion people use social media.
It can be said that almost half of the world, or 52%, uses Facebook, YouTube, LinkedIn or Instagram to find information, communicate or publish their business proposals. And if you don't have an account yet, you can create and set up a Facebook account
But what is a social network? It is a tool through which groups of people connect and connect with each other on the Internet through platforms that are nothing but social networks that give you the opportunity to achieve this interaction.
In these social networks, you can chat and interact with people you know or want to add people you want to know with similar interests, goals, objectives or activities. However, there is a danger for the little ones in the house as well, which is why it is sometimes necessary to block access to the Facebook application.
You can find varied and great content in social networks. Logging into a social network is not difficult at all, you just need to fill out the conditions or a form with your personal details and provide a code or password, ensuring that only you can open this social network.
Its beginning was began in the 90s, when the Internet first appeared, which allowed many people to access the Internet.
The first was created by Randy Konrads called Odnoklassniki, whose goal was to allow scientific colleagues to virtually connect with each other, with great success, which led to the creation of other networks to communicate with the family. friends and acquaintances.
Then in 1997 SixDegrees was created, this network allowed you to connect with other people on the network, create your own profile and even create a list that you include your friends on.
Then, in 2003, Friendster was born, with which you could communicate with other people on the Internet and share photos, links, content, even videos.
In 2003, MySpace was born with technology and music in mind. But in 2004, Facebook appears, which is still the favorite.
Facebook is a social network that helps people connect, learn and share news, information, videos, memories, and more. Facebook was founded in 2004 by Mark Zuckerberg and his colleagues from Harvard University, who lived in the same room .
Over time, until today, other students from nearby universities have been admitted, as well as millions of users.
Personally, you can use Facebook for to display photos, news, videos, moods, and news that tag you the most. You can also use Facebook to promote a service or product to promote your business or organization.
In addition, you have the ability to create new groups of friends or acquaintances, create events, pages, create videos directly and chat with anyone. In addition to other more advanced options such as disabling or blocking comments on photos or images on Facebook
Every day you live, you get new experiences and new knowledge, important moments that you would like to show to your family or friends.