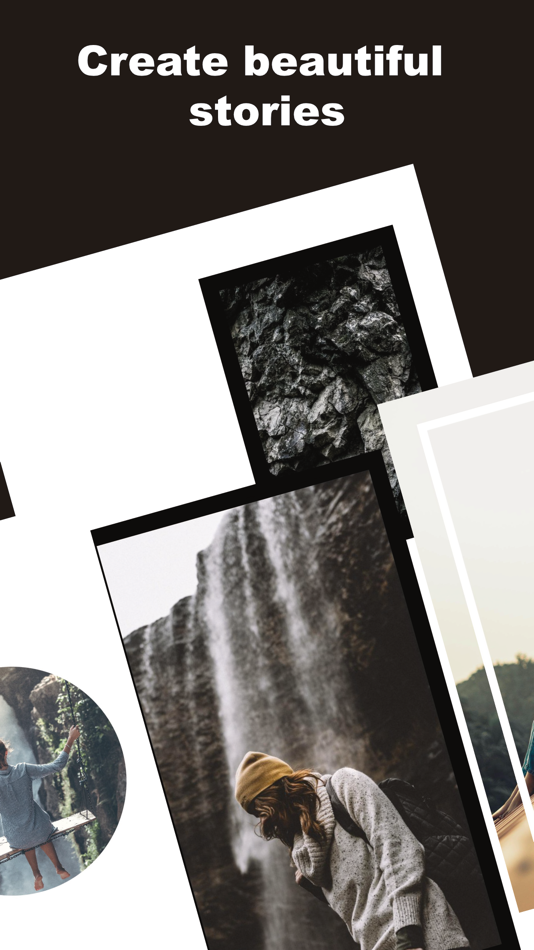
Instagram Stories have become a staple on the social media app since the feature's launch in 2016. Instead of posting carefully curated photos that will stay on your feed indefinitely (unless you delete them), Stories lets you post several images that play like a slideshow and disappear at the end of the day.
You can upload photos, videos, text or posts from other accounts to your Story. Since Stories don't show up on your main grid of photos, they're perfect for an image or message you want to share with your followers without having to commit to making a full, captioned post.
Stories function as an alternative way to see the most current activity from the people you follow (though you can now bring back chronological feeds). Stories are placed in a horizontal line directly above your feed: If someone you follow has posted a Story in the past 24 hours, their profile image will appear with a colored circle around it. Tap the image, and you'll see that account's Story. Keep tapping, and you'll see all of the day's Stories posted by accounts you follow.
Navigating through Stories is simple. While browsing the Stories of your friends, swipe right to go to the previous one, left to go to the next one and tap to skip the current photo or video. If you want to linger on one photo, you can pause a story by tapping and pressing the screen. To start the story again, just lift your finger. This also works for video. You can swipe up on a Story to react to it, or you can simply press the heart on the bottom right corner to Like it.
Here's everything you need to know about Instagram Stories.
Stories are temporary videos, photos or text that are strung together to form a slideshow gallery that, well, tells a story.
You can save your photo, send it to friends or add it to your Story.
Screenshot by Mary King/CNETThere are a few ways you can start an Instagram Story: You can swipe right or hit the blue plus sign on your profile picture, or go to the top right side of the screen and hit the plus sign there. Once you've done one of these, follow the steps below.
1. Tap the circle button at the bottom of the screen to take photos or tap and hold to record a video. To add photos or videos from your gallery, swipe up on the screen or tap the photo icon in the lower-left side of the screen.
2. Edit the photos or videos with text (the Aa button) or add a drawing (the button with three dots).
3. Tap Done to save your Story.
4. Tap the Your Story button to share it to your Story, or the Close Friends button to share with a customized list of accounts.
I used the color picker (a little eyedropper that shows up next to the color options) to make the text and star match other colors found in the photo.
Screenshot/Mary KingIf you click the Arrow icon, you can shoot your image or video to one of your friends at the same time as it posts to your Story.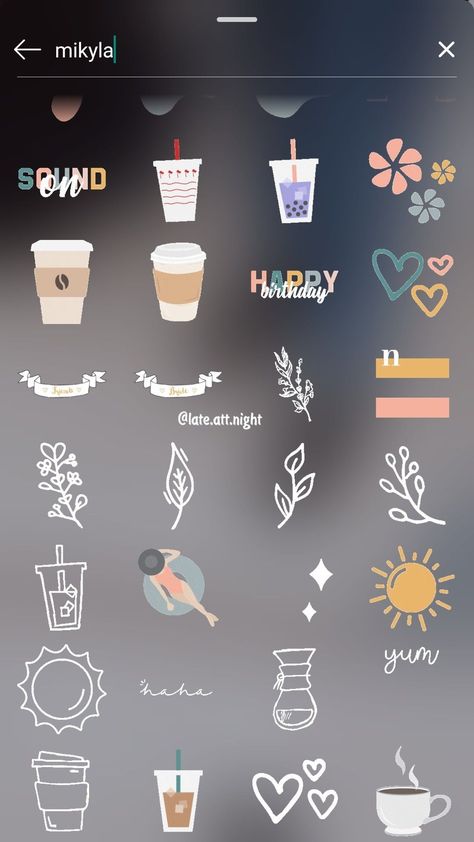 Just tick the bubble by Your Story, then Message and the person you want to share with. The image will disappear after your friend sees it.
Repeat these steps if you want to add more than one photo or video to your Story. Each photo you add within a 24-hour period will be placed in your Story.
You can select up to 10 photos at a time from your gallery or use the multi-capture feature (Go to the camera screen, hit the downward carrot on the left).
After you share your new Story, a colorful circle will appear around your profile photo to let your followers know you've posted new content. Your profile picture will also pop up at the top of your followers' Feeds. All they need to do is tap your face to see your Story.
If you have a habit of adding things to your social media accounts that you later regret, good news! Stories can be removed. Tap on the three dots at the bottom right of the photo or video you'd like to delete and hit Delete.
Aside from regular photography and videography, Instagram provides several options to mix things up on your Story.
Boomerangs are fun, short videos that play forward and backward.
1. To start a Boomerang, swipe right from your feed. This will take you to the Stories camera.
2. Select Boomerang on the left.
3. Tap record to shoot a short burst of photos.
No need to press and hold to make a video anymore. The Hands-Free option in the left menu lets you record a video without, well, hands.
1. Swipe right from your feed to open the Stories camera.
2. Hit the downward carrot on the left.
3. Tap the Hands-Free button.
You can make live videos in your Stories, too. It works a lot like Facebook's live video feature.
1. Swipe right from your feed to open the Stories camera.
2. Scroll among the options on the bottom and select the Live option.
3. Options on the left let you title your Live video, schedule it and set it to public or private.
When you go live, a Live tag will pop up on your Instagram Stories bubble to alert followers.
One of the best things about Snapchat is the ability to add fun and flair to your photos. Instagram Stories have a bevy of customization features, too. After shooting a photo or video, swipe across it to add a filter. You can choose from options like Lagos, Los Angeles and Abu Dhabi.
If you see someone else using a filter on their Story and you want to give it a try, tap the name of the filter (below their username). A menu will pop up allowing you to try it instantly or save it for later.
Stories also let you add augmented reality filters to your pictures, just like Snapchat. Here's how to try them out.
1. Go to the Stories camera.
2. On the bottom, scroll across the different filter options. (Scroll to the end and tap the magnifying glass to browse even more effects.)
3. Tap the filters to try them on.
4. When you find a filter you like, snap a photo or take a video. These filters also work on Instagram Live.
Add entertaining filters to your photos and videos.
Screenshot/Mary KingOnce you've picked your filter, add some stickers. You'll find a stickers button with a smiley face on it in the top right corner next to the text tool. Tap the button, and you'll be able to jazz up your Story with customizable stickers. Some options include the weather, the day of the week, holidays, quizzes and polls. Once you add a sticker, you can add another, move it around and resize it.
You can also make your own stickers from images in your gallery. Here's how:
1. Take a photo or video, then tap the stickers button.
2. Scroll until you find a circular icon showing your most recent camera roll photo.
3. Tap that icon, and select one of your images to use as a custom sticker.
4. Once the custom sticker is on your story, tap the sticker and it will transform into shapes like hearts and stars.
Hashtag stickers are another customization option. Just tap on the sticker that says Hashtag and customize it with your own hashtag. Other people will be able to tap on the sticker and find other photos with the same hashtag. You can also add a hashtag to regular text on your Story and it will be clickable, too.
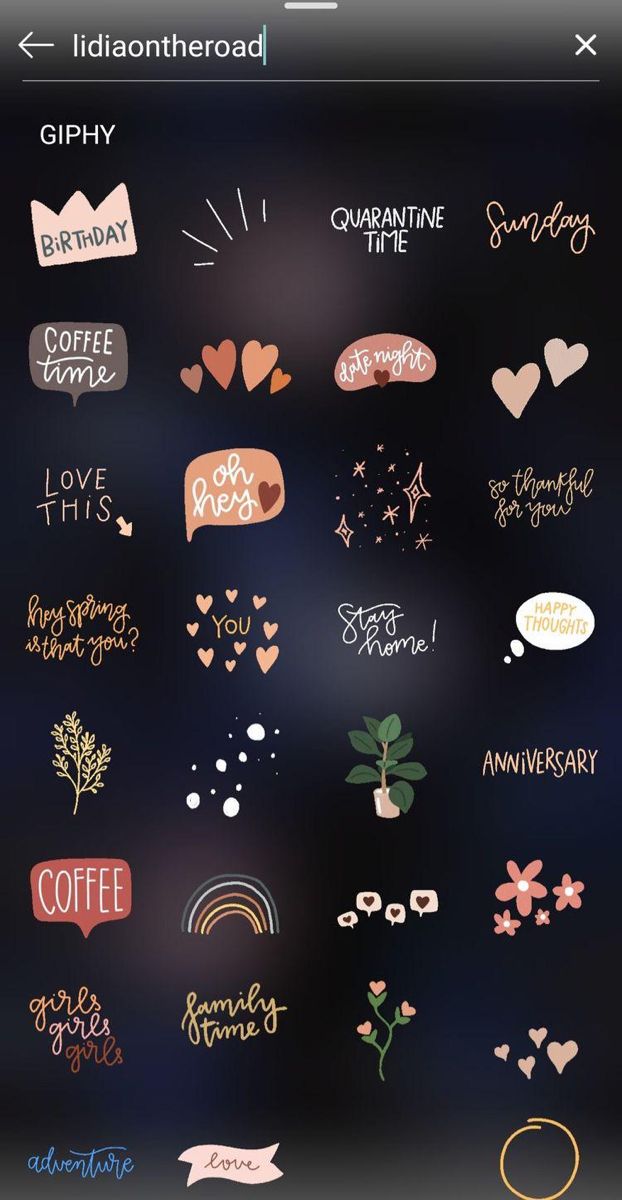
If you want a sticker for something specific -- like, say, cats -- search "cat" and you'll be presented with both emoji options and gifs. To add a GIF sticker to your post, go to the sticker option and tap on the GIF icon. A library of the moving photos will open, provided by Giphy. When you find one that you like, just add it like you would any other sticker. Searching the word "Effects" will get you sparkles, hearts and other fun additions for your subject's environment.
Once you have your stickers added, go crazy with some snappy text. To add text simply tap on the text icon in the upper right side of the screen and tap on your color of choice. If the colors just aren't right, don't despair. Swipe left on the color palette to reveal more options, or tap the eyedropper icon to pick a color from the image.
Don't want to share a photo at all and just need a blank canvas for text? Go to the Story camera and hit the Aa button on the left. Tap the colorful button on the bottom right to change the color of the canvas.
Swipe through the icons on the bottom to see options for gifs, countdown widgets, quizzes, question prompts your followers can answer, and more.
The results may be frightening.
InstagramWhen adding text to a Story, all you have to do is include the @ symbol followed by the username to tag someone. The tag is a live link to the person's profile and you can tag up to 10 people.
You can share other people's Stories by tapping the Direct icon (it looks like a flying paper airplane) on the bottom right of the Stories' screen, choose the friend you want to share with, write a message and tap Send.
When you get a Story sent to you, it will come to your Direct inbox. Be quick, though. When the story disappears after 24 hours, you won't be able to look at it.
If you don't want people to share your Stories, just turn off the sharing ability. Go to your Story camera > Settings icon > Story and toggle Allow Sharing to Messages off.
Navigating through Stories is super simple. While browsing the Stories of your friends, swipe right to go to the previous one, left to go to the next one and tap to skip a photo or video.
If you want to linger on one photo, you can pause a story by tapping and holding your finger on the photo. To start the story again, just lift your finger. This also works for video.
If you cringe every time you see a certain someone's Story in the lineup, you can mute it. Simply tap and hold on that person's Story icon when it appears in your Story lineup. A window will pop up that will give you the option to mute this person's stories.
Muting doesn't hide the Story totally. It just moves it to the last of the lineup and it won't automatically open while you're playing Stories. You'll need to manually unmute people to get their stories back in the normal mix.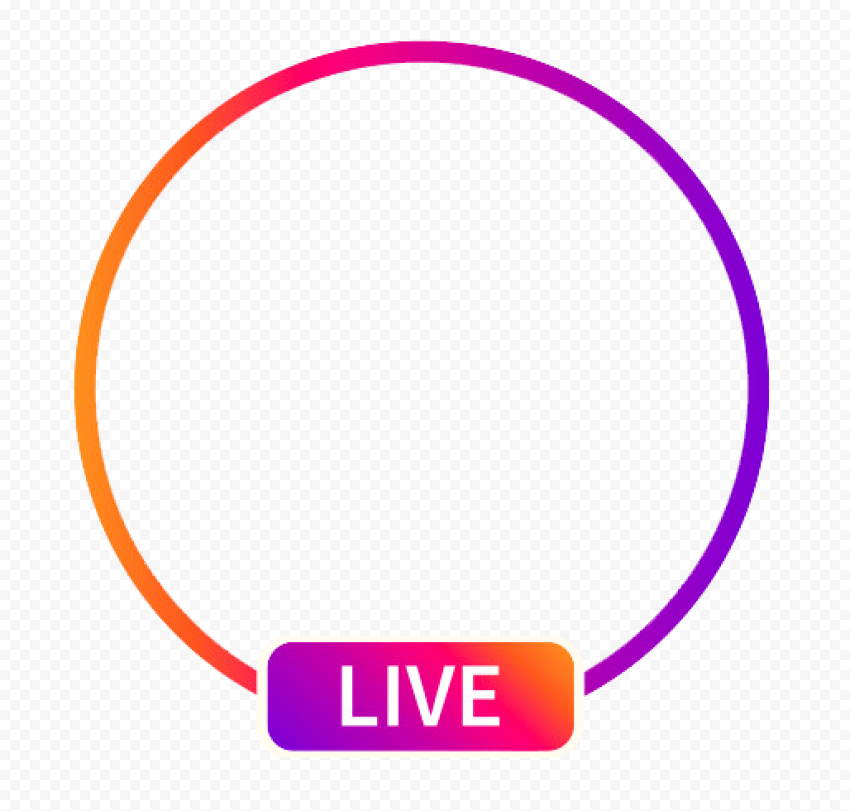 Just tap and hold on that person's Story icon and tap the unmute option.
You can also choose who gets to see your Stories and who doesn't. Want to prevent your parents from seeing that epic Friday night out, for example?
1. Go to your Story camera.
2. Tap the Settings icon.
3. Choose Story.
4. Tap Hide My Story From. Select your parents (or whoever else you want) from the list and tap Done. They will still be able to see your posts and profile, but they won't see your Story.
You can prevent certain people from sending you messages from your Story, too. In your Story settings, select an option from the Allow message replies list. You can choose Your followers, Followers you follow back or just Off to prevent anyone from commenting.
Curious to see who's looking at your story? Open your story and swipe up on the screen. At the bottom of the screen will be a view counter and the names of the people who viewed it, plus a heart next to the people who Liked it. Only you can see this information.
If you've become attached to your Story and don't want it to lose it forever, you can download it to your phone. Open your Story and tap the More icon bottom right of the photo or video. Then tap Save.
You can easily save your Stories to your camera roll, automatically, too. Go to your Story camera, find your Story settings and slide the Save story to Camera Roll option on. Every time you create a Story, the videos and images will be automatically saved to your camera roll on your phone.
If you decide you want everyone to see your photos or videos more permanently, you can add them to your profile grid. Simply open your Story, tap the three dots at the bottom right of the photo or video and tap Share as Post. The photo or video will appear in your profile grid. Just beware, whoever can see your profile grid will be able to see the photo or video. It will no longer have special protections that you can add to Stories.
Looking for more Instagram tips? Check out these six hidden features on Instagram's in-app photo editor.
Instagram Stories let users post temporary updates to their profile that disappear after a day.
Snap a pic at a cool restaurant? Add it to your Story. Hanging inside watching movies on a rainy day? Add it to your Story. Take a really shaky video at a concert with incomprehensible audio? Add it to your Story *forces a smile.* That's the kind of content we love to see *forced smile intensifies.*
Many people use Stories to post minor updates to their day or life that they don't necessarily feel the need to commemorate with a permanent post. Followers can view the Story to check in, see what's up, and then be on their way.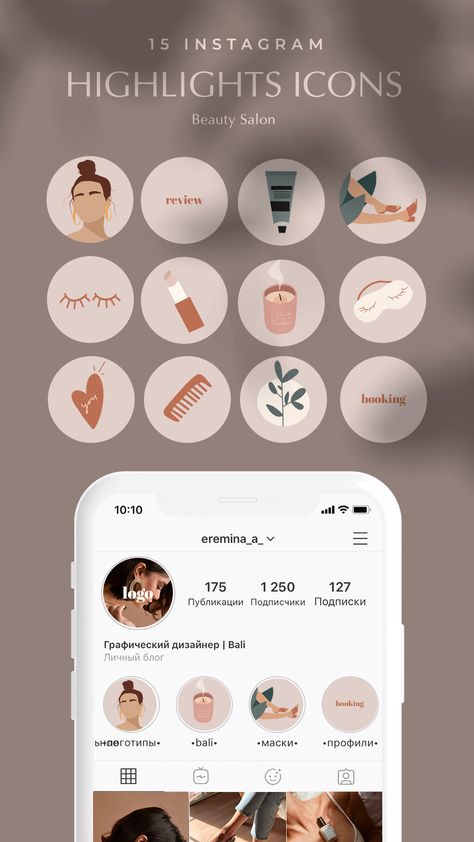
There's probably a million other reasons people use Insta Stories. We could try to list them all, but you probably just want to know how to make one, right? So without further ado...
There are a bunch of different ways you can start. All will get you to the same place.
1. From the home page (where your feed is), tap your profile picture in the top left where it says "Your Story" with a little plus sign next to it.
Tap "Your Story" to create a Story. Also, enjoy the Cats of Instagram post Credit: screenshot: instagram
OR
2. From the home page, tap the "+" icon at the top (to the left of the heart icon).
OR
3. From your profile page, tap the "+" icon in the top right corner, then select "Story" in the menu that pops up.
You can also get to your Story from your profile page. Credit: screenshot: instagram
OR
4. From the home page, simply swipe across your screen from left to right.
Any of those options should get you to your camera feed. Just make sure "Story" is selected at the bottom.
This is where you ultimately want to be to create your Story. Credit: screenshot: instagram
Now that you're here, this where the fun begins. You have access to a multitude of tools and features you can play around with to create your story. We'll give you the most important three steps and some basic info about the features in between. You'll have to play around with everything to create the specific Story you want.
1. Generally, you'd start by snapping a pic or a video.But you don't have to. You can scroll across the bottom to pick out a fun filter. You could also tap any of the features on the left to start. Here's a quick guide on what they can do.
Tools will help you create the kind of Story you want. Credit: screenshot: instagram
CreateAdd text with a background
Create a special occasion/shoutout post for someone (birthday, anniversary, etc. )
)
Add a GIF
Example of a "shoutout" post Credit: screenshot: instagram
BoomerangLayoutExample of the Layout feature Credit: screenshot: instagram
Hands-FreeMulti-CaptureLevel2. Once you have your picture or video, use the features at the top to edit it.Use these tools to edit/customize your Story pics and vids. Credit: screenshot: instagram
Symbols from left to right:
Save
Add music
Search for a song you want on your Story
Choose which 15-second segment of the song you want
Include lyrics in different fonts/colors or display the album artwork
Add music and show everybody what you're listening to.![]() Credit: screenshot: instagram
Credit: screenshot: instagram
Add stickers
Draw/paint:
We may have messed around a bit with the free-draw feature. Credit: screenshot: instagram
Add text
Type custom text to overlay on your Story
Apply background
Use different colors
Center or align however you want
You can also choose to send it directly to somebody you follow. But otherwise, it's up on your Story for your followers to view for the next 24 hours.
The story is live! At least until I delete it in about five minutes. Credit: screenshot: instagram
Life is always in full swing on the Internet, and especially on Instagram*.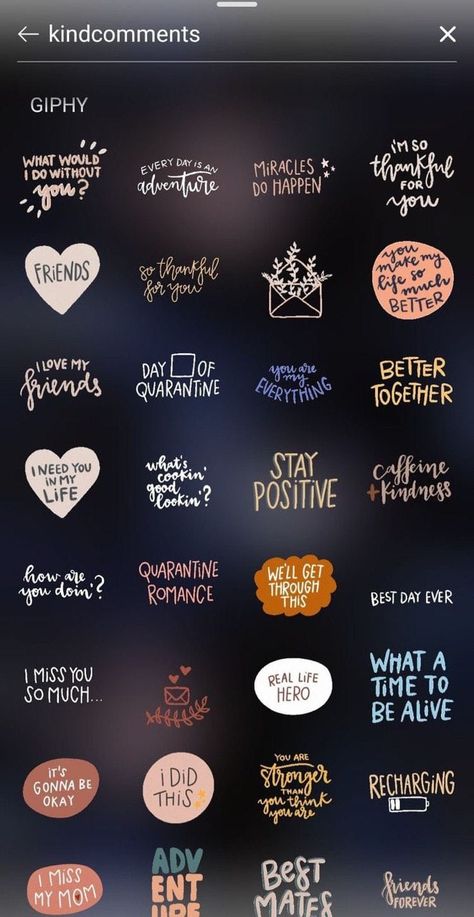 And the busiest place on Instagram* is stories. This is a separate feed of photos and videos that disappear after 24 hours from the moment they are uploaded.
One of the most popular storytelling formats - it helps to establish an online presence without overloading the main feed. In Stories, you can upload tons of vacation shots, broadcast live from festivals, report or conduct polls. If you haven’t done anything like this yet, but would like to, our beginner’s guide will come in handy.
You can access the story photo editor by swiping your Instagram feed* to the right. There are two ways to upload a photo:
- use photos from the phone's gallery - click on the thumbnail of the last photo taken by the phone, it is located in the lower left corner of the screen;
- take a picture directly in the application - for this, the developers have come up with several modes.
Regular photo .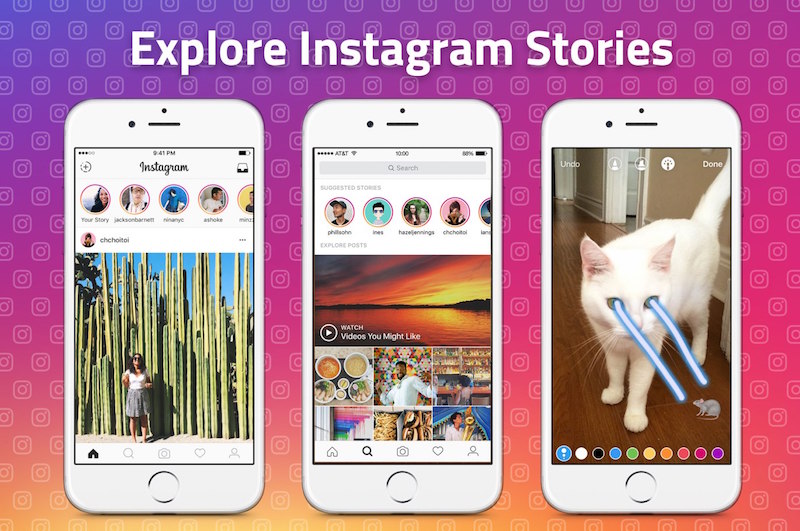 This mode is enabled first by default. One press takes a photo, a long press switches to a 15-second video mode. You can apply a filter on a photo with some romantic name like Tokyo or Rio De Janeiro - swipe right or left on the photo to apply effects
To send a photo to the feed, click the "Your Story" button at the bottom center of the frame. The "Save" button at the bottom left uploads the photo from Instagram* to your phone along with all the changes you made in the editor: pictures, text and stickers - this photo can, for example, be placed in the main Instagram feed*, from where nothing disappears, or send to friends. The "Recipients" button helps to organize the list of recipients of the frame, if you do not want to share it with everyone in a row - then the application will send the photo to Direct only to the selected ones.
Tooltip : Stories privacy can also be adjusted in the settings (cog icon in the upper left corner of the screen).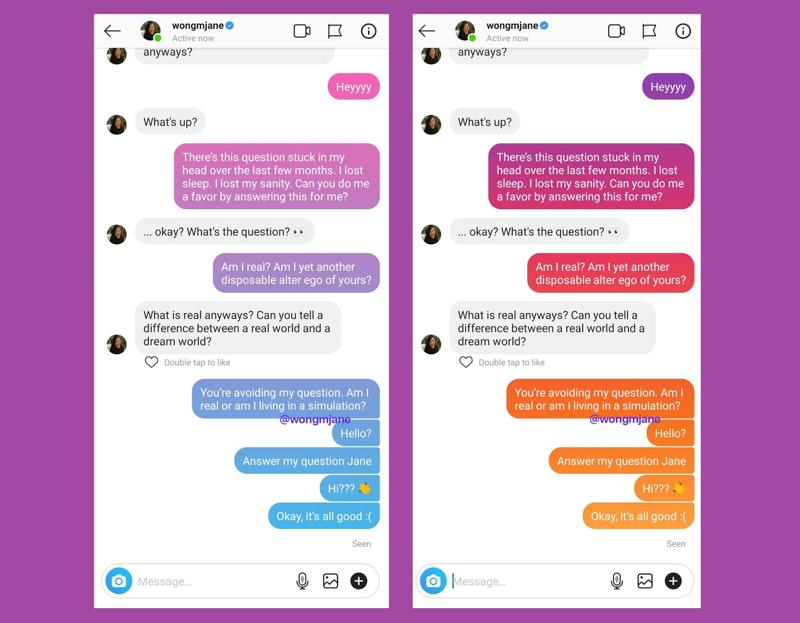
If you have selected a photo from the gallery and it was taken more than a day ago, you will see a sticker with the date in large print on it. To remove it, hold the date with your finger - a trash can will appear where you can drag this sticker.
Screen text . Sometimes there is too much text in the story for a short note on the photo - all the letters can be put on separate screens. In this case, there is a "Text" mode. You can change the background color (the colored ball to the left of the main button) and the font. The font settings are hidden behind a button at the top center. The background for the text can also be a photograph — to do this, click on the camera icon in the lower right. To make a colored background appear under the text, click on the icon with the letter "A" and stars in the upper left corner of the screen.
Prompt : You can select this mode to tell what's going on in the photo or video you upload next.
Live . In this mode, the video will be immediately broadcast to the Stories feed. You can invite people to watch your live broadcast, but even after it ends, the video will be available for another 24 hours if you click the corresponding button after the broadcast ends.
Tip : This mode is great for filming at public events, but mobile internet in such places tends to be poor. Provide yourself with a backup link, such as stable Wi-Fi from a friendly cafe next door.
Boomerang . Boomerang is a two-second looped video that captures a single movement. Swings, fountains, flowing hair, printing presses - they will all be happy to play in your creative boomerangs.
Superzoom . Allows you to shoot a three-second video with an increase in some part of the frame and accompanying music. There are several options for superzoom: drama, TV show, pendulum and disco beat. To select one of these options, you need to successively click on the icon with the treble clef.
Hint : to keep the music from disappearing from the video, you need to follow the sound speaker indicator in the upper left corner of the frame - there should not be a cross.
Reverse shooting . You shoot the video as usual, and Instagram* shows it in reverse order.
Hint : It is especially cool with those movements that in the usual version you will not see in the reverse - squeezing paste out of a tube, blowing soap bubbles or jumping into the water from a cliff.
Hands free . In this mode, pressing will start a 15-second recording, and you do not have to hold the record button with your finger. It will come in handy, for example, if you need to record your incendiary full-length dance on video.
Instagram Stories* opens up new possibilities for selfie lovers: you can apply virtual make-up, fan coloring or bunny ears to your photo or video. To turn on the front camera, click on the icon of two arrows in a circle, and then the adjacent button with a smiley. A set of masks will appear below - have fun! A single press will take a photo, and a long press of the button will record a video.
You can easily add a geotag, local temperature and time, a hashtag, your companion's Instagram* account to your photo. To access these buttons, tap the square smiley icon at the top of the screen.
You can also choose stickers or gifs there.
The Poll button lets you ask a two-choice question, while the moving emoji button invites your readers to rate it.
To add text to the photo, click the "A" icon at the top of the screen. In this editor, you can change the font and background under the text - the buttons are located at the top, and the color palette is at the bottom.
By the way, you can write something in another editor designed for drawing. It is activated by the pencil icon at the top of the screen.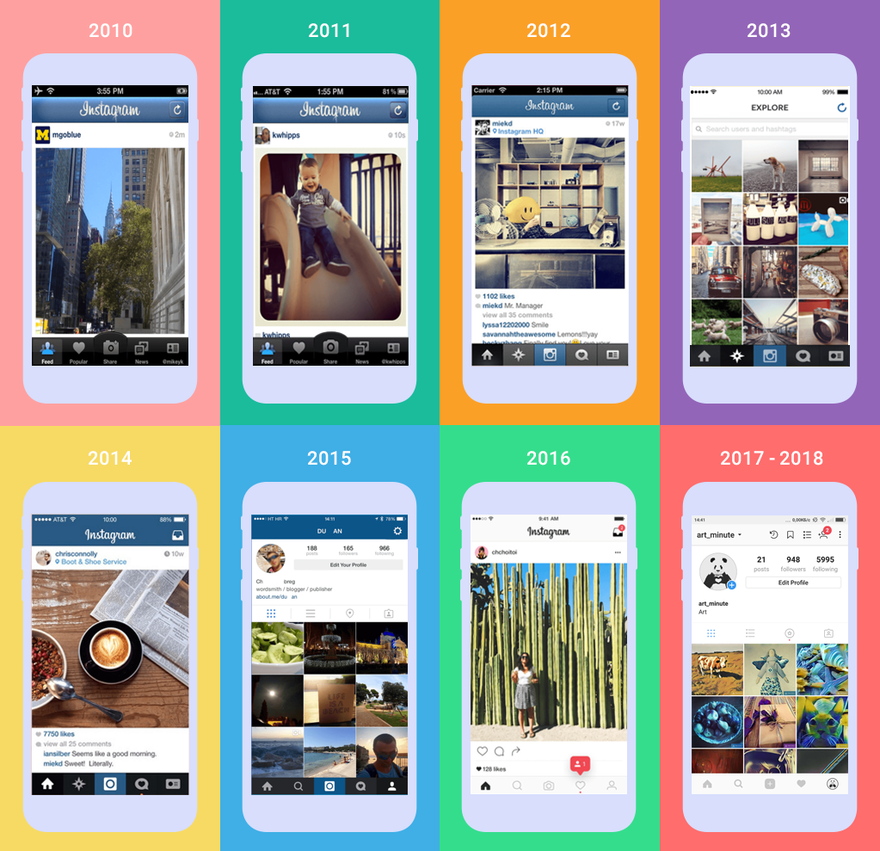 The slider on the side will help you adjust the thickness of the brush, and you can choose the type of brush on the top line: a simple pencil, a marker, a neon brush, and something like graffiti spray. There is also an eraser and an "Undo" button with an arrow.
Drawing is a very useful tool to help mask parts of a photo that don't need to be disclosed.
The maximum video length for Stories is 15 seconds. If your story doesn't fit within these limits, use the CutStory app, which will cut your long video into the desired segments. To add music to a video, you can use the Storybeat app - you can select a song from your library and attach it to a video or photo slideshow. But sometimes you would like to use a video clip without any sounds at all - in this case, click the speaker and cross icon at the top of the screen when preparing the video for uploading to stories.
The main thing to remember for a beginner is to press all the buttons in a row, even if you don't know what they are for.
You won't break anything there! Good luck and good stories.
Stories took the attention away from the feed of publications. In 2020, not using Stories means losing 50% of the engagement that could be in the profile. And the popularity of Stories continues to grow - more than 3 million Instagram stories are published daily in the world *.
In this article, we will tell and show you how to make stories on Instagram*, how businesses can use stories, and provide a sea of cool ideas on what to post in stories to engage and retain followers.
What is Stories?
Why you should use stories
How to make your story
Do businesses need Stories?
TOP 9 third-party services for creating stories
Ideas for creating Stories
Life hacks and story tricks
Privacy settings
Stories and Instagram*.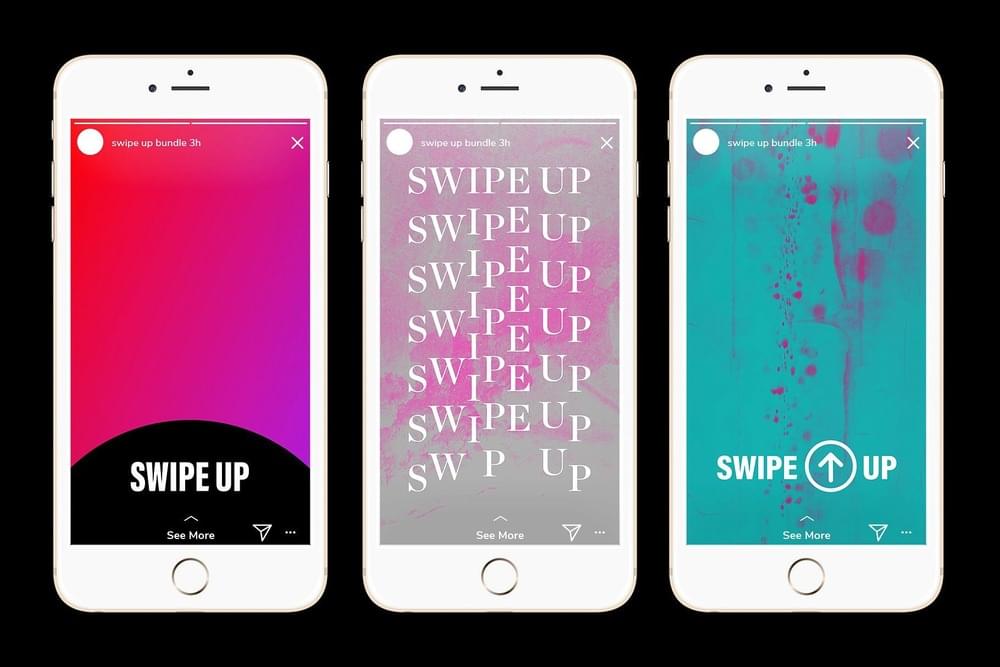 Stories are the most popular Instagram* format. It was launched on August 2, 2016 and became extremely popular with users.
Stories are photos and videos that sit in a separate section at the top of your news feed and disappear after 24 hours.
Stories in the Instagram feed*.
The developers of the social network are actively developing it and constantly improving it. That is why recently in some accounts (so far in test mode) a story feed has appeared.
This is what the story feed looks like
The duration of stories is 15 seconds, however, developers are testing the format of longer stories, increasing the time to 30-60 seconds.
At the moment, the entire Instagram* ecosystem. divided into 2 camps:
Location of stories in the order they were published
Opening our story:
Opening history
Then he clicks on the thumbnails of avatars with the inscription “Viewed”.
History from a personal account
And here we can see those people who viewed this story:
List of those who viewed stories
You can also see the list of those who have watched the story in the archive.
In order to access the archive, go to your profile and click on the three bars in the upper right corner - this is your profile menu.
Profile menu
Next, click on "Archive":
Archive button
And voila, we are in the archive:
Stories archive
To see who viewed the story, we do the same manipulations as described above: click on the desired story - then click on the thumbnails of the avatars and get to the "Viewed" section.
Viewed button
Users who viewed history
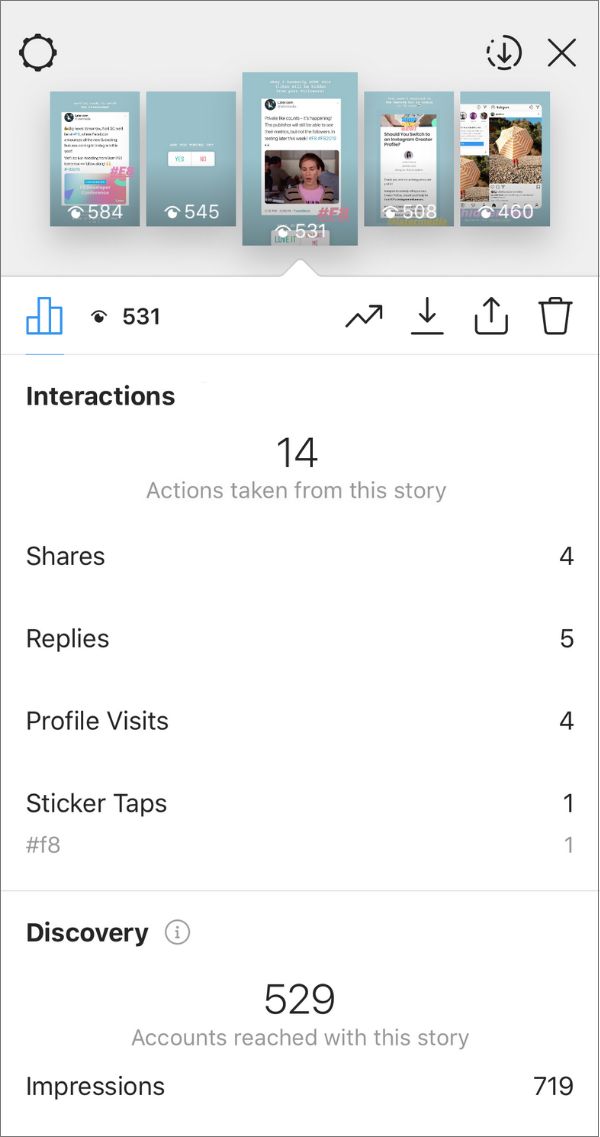
Just like for normal posts, we can see the story statistics. To do this, go to the profile menu:
Profile menu
Open the "Statistics" tab:
Statistics section
Next, scroll down and find the "Stories" section and click the "All" button:
Press the "All" button
We get into the statistics of stories:
History statistics
By the way, since recently, stories statistics can only be viewed for 24 hours, 7 days and 14 days.
Time period for which you can view history statistics
And in this tab we can see the statistics of the indicator that we need:
History metrics tab
Here we can see reach, website clicks, button clicks, and more.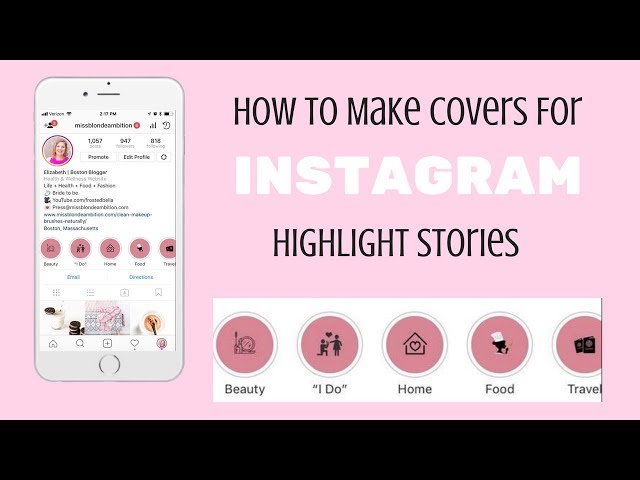
History indicators
Why is it useful to know who is watching your stories? If your account is not promoted, then in this way you can identify a “hot audience”, and also make sure that these are not bots. If your account is promoted and followed by, for example, an opinion leader you follow or some celebrity.
See also How to promote Instagram*. independently from scratch: detailed instructions
For example, recently the singer Drake signed up for the account of a Moscow tiler. You can read about it here. If the singer watches the story of this tiler, then you can release a video with an appeal directly to the singer (for example, on behalf of the brand) with a proposal for cooperation.

Hightlights (highlights)
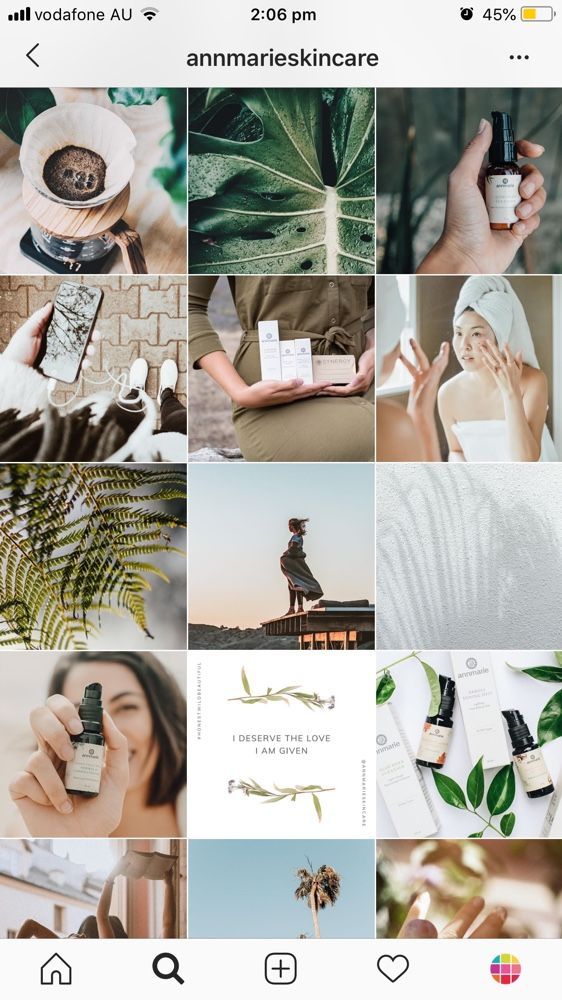
In this case, when a person enters your account, he sees not only your publications, but also a list of stories above the feed. This will help to identify not only the hottest users, but also those who specifically went to your profile and viewed the section with stories: these are potential leads, customers, potential fans, positive people and brand advocates.

An example of polls on Instagram *.
To make a story for your Instagram, you need:
 and click on your avatar. If during the day you did not have a single story, then next to the profile picture there will be a “+” icon. If you already have a story, then scroll down the article, because you already know how to do it :)
Click on avatar
Capture button
We can immediately apply a mask or effect:
Effects and Masks
Or we can launch a live broadcast to communicate with our audience online.
Live button
You can also add photos and videos from your library on your mobile device:
Library button
Mobile photo
And we can also apply the effect. To do this, click on the smiley with sparkles:
Selecting an effect for the finished photo
And choose the effect or mask you like:
Effects and Masks
So, back to the camera. On the right we see the shooting modes. Click on the arrow:
Expanding the list of shooting modes
And open the full list of modes:
Complete list of shooting modes
Boomerang is a looped video.
Stories Boomerang Example
Collage - a composition from a photo.
Sample collage for story
Superzoom - zooms in on the frame with music overlay.
Example of superzoom for Stories
Hands free mode - you can record video without long pressing the "record" button.
Branded Content Tag
When we mark a business partner in the history, the inscription "Sponsor of the publication" and the name / name of the partner company appear.
"Publication Sponsor" inscription
The business partner will be able to view the metrics of this story, we will be able to see our story in the "Ad Library" section, and the ability to edit this story will be limited.
Saving a photo
Adding stickers
Adding text
Recently Instagram*. expanded the number of fonts that can be used. This gives a new impetus to creativity :)
Drawing mode
Publish stories
Ready. Now your story is uploading and all your followers will see it.
Congratulations, you have learned how to make stories on Instagram*.
By the way, for stories there is a category “Close friends”. This means that only the people you want to show your story to will see your story. To post stories only for a certain circle of people, when publishing, click the "Close friends" button.
"Close Friends"
Also Instagram*. started testing the function of automatically generated subtitles in stories. Now it will be possible to understand what bloggers are saying, even without sound.
There is an unequivocal answer to this question: absolutely necessary. And that's why:
Example of Audience Engagement with a Survey
Wondering how to make stories on Instagram *. unusual and bright? If you don’t have enough built-in visual content creation tools to create stories, you can use third-party services. Below I will tell and show about the TOP 9 third-party story creation apps that we use in our work.
An application for lovers of bright and unusual Stories. The templates are grouped into the Popular, Colors, Free Templates collections. Each collection has several design options in the same style. All collections of templates are distinguished by non-standard frames, play of shapes and contours, as well as elements (icons, substrates, backgrounds).
StoryPic App
You can work for free, there is paid content.
A large set of templates for every taste, divided into categories. More than 1,000 design options are available. You can create covers for Hightlights - more than 200 templates are available.
StoryArt App
You can work for free, but there is paid content.
Application for creating regular and animated stories, as well as short videos. There are 48 static story templates, 34 video templates and 19for animated.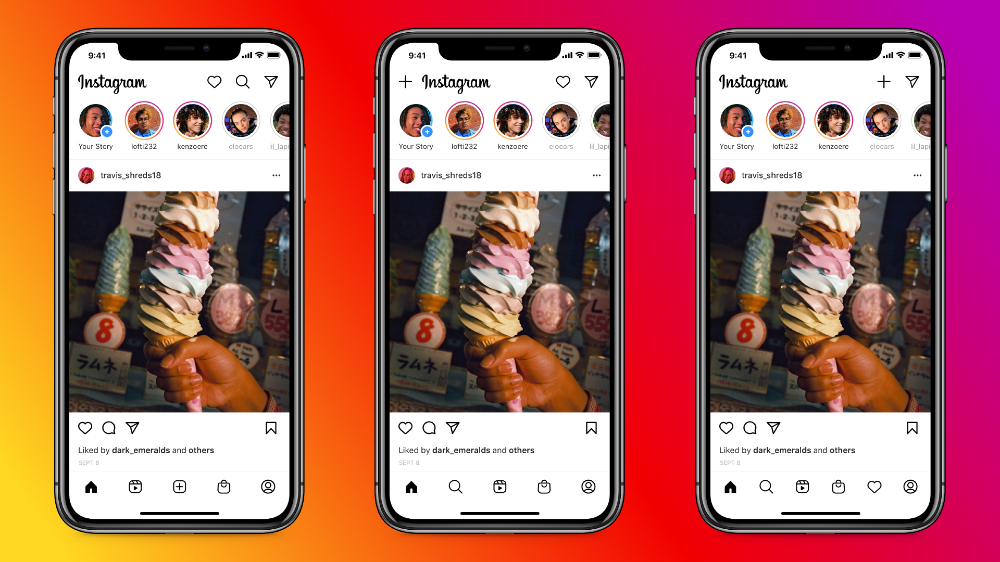 The application is constantly updated and new templates are added.
Mojito application
Completely free.
See also TOP 8 major mistakes when promoting on Instagram*.
A large number of templates, divided into collections: by holidays, by style, by purpose (for advertising, regular stories, etc.). The image editing kit is minimal: you can overlay text, a sticker, and add your own photo.
Story Maker App
You can work for free.
The app creates slideshows of photos in stories. With the help of effects, photos move around the screen, change places, increase or decrease in size. Animation can be superimposed on text: add glowing and moving effects.
Mojo App
You can work for free, but there is paid content.
Application exclusively for working with text. Able to create animated titles. The background can only be selected from the directory of the application itself.
Hype Text App
You can work for free, but there are paid options.
Video editing application. Allows you to process video fragments and glue them into full-fledged clips. You can overlay music, text, special effects and filters. You don’t need any special skills to use the application, it’s easy to deal with it.
InShot Application
You can work for free, but there is paid content.
Application for animated stories. Allows you to overlay text, stickers. You can overlay music, but it is added from a mobile device. Works only with photos.
Animated Stories App
 Nichi is a cool app for creative ideas
 Another app that creates layered stories. There are collections of stickers, filters, backgrounds, fonts. The application is easy to use and has wide functionality.
Application Nichi
You can work for free, but there is paid content.
People love live content. They love to watch the development and events that the brand hosts. If you upload beautiful staged photos to the feed, subscribers will be interested in how everything looked live. For example, here are a couple of shots from life inside our agency: the birthday of the Web Center and the shooting of a new video for our YouTube channel.
Sample behind-the-scenes video from the Web Center
Reviews are great proof that people love what a brand does: product, content, service. This is useful content that will help you improve and consolidate the reputation of your company without any effort or investment. If you received a notification that a user tagged you in a post or story, just share it on your profile. Reviews worth adding highlights.
An example of reviews about the Web Center Academy
For example, we post testimonials from our clients and Academy interns in the “Reviews” highlight.
If you want to know the opinion of your subscribers, then ask it using the Poll or Quiz sticker.
Create a poll and set the time when voting ends. You will have 2 possible answers. After the subscribers vote, you can publish the results in stories. So people will see the percentage of votes.
By the way, when the user clicks one of the two buttons, you will see the number of voters, profile names and percentage.
Poll example
Create a quiz. And here are 2 options:
Sample surveys
You can ask subscribers for advice or find out what their experience was. You can ask what product they are waiting for in the assortment or what gift they are going to give their loved ones for any holiday. Often, subscribers participate in surveys to find out how many people think differently.
One of the formats for communicating with subscribers. There are 2 options for how you can use open-ended questions:
Example of open questions
You can answer both in video format and write the answer over a photo or a colored background. Ask questions, answer them, ask for advice - any communication with the audience automatically increases brand loyalty.
If there is nothing to post “today”, you can remind subscribers about an interesting post that you posted a few months or a year ago. To find Memories, go to the stories archive and scroll to the end of the feed.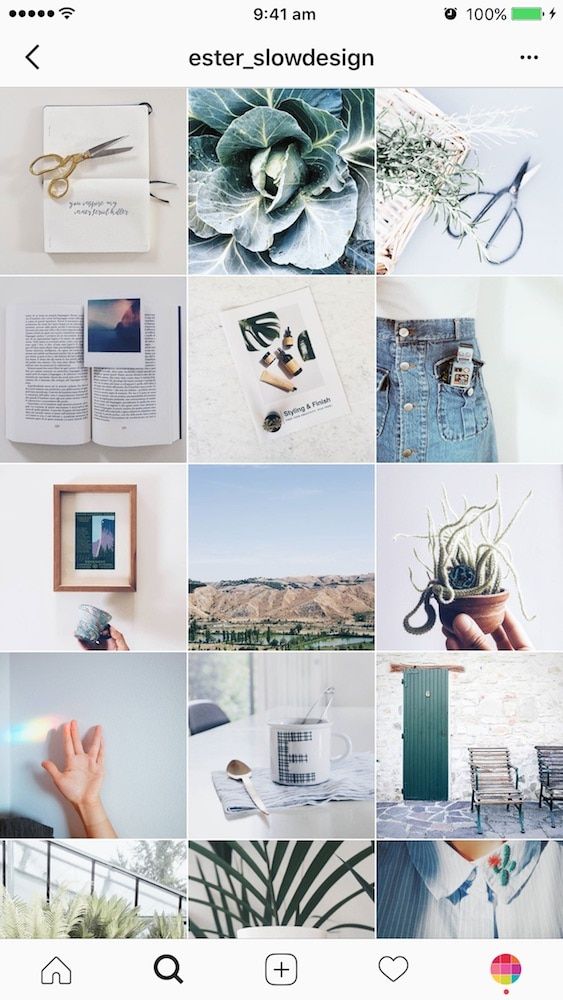 Below the feed will be posts from the feed that you posted on the same date as "today".
Memories from the history archive
Post holiday greetings for the audience, birthdays of employees or especially active subscribers, and so on. Along with congratulations, you can report promotions, opening hours or gifts in honor of this day. You can also congratulate the winners of competitions.
An example of congratulations in stories
Announce new events, new products, price changes, invitations to webinars and other useful news. As we wrote above, people are divided into two camps: some watch the feed, others watch stories. That is why all the most important things should be duplicated in stories.
Stories announcement example
People love to communicate with brands, bloggers and get feedback from them.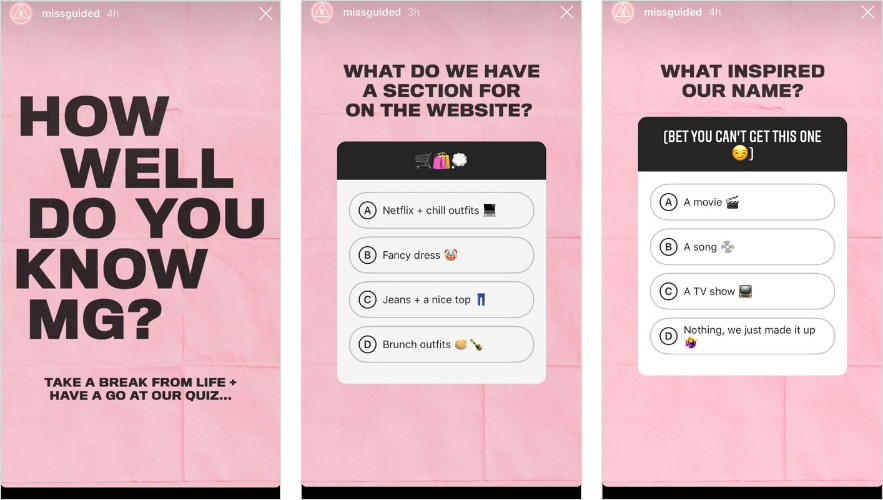 Therefore, conduct live broadcasts: in the Q&A format, just communicate with the audience.
Before starting a live broadcast, consider a few important details:
Live broadcasts can be saved to IGTV and reviewed at any time.
You can invite a guest for an interview - a specialist from your field. For example, the head of the Web Center Roman Plotnikov conducts a series of live broadcasts “Everything is online: how to enter and advance in digital”.
An example of live broadcasts from the "All in Online" series with the head of the Web Center Roman Plotnikov
This option is for the most creative. Create an animated scene with famous characters. People love creativity and will definitely respond. All you need to do for this is to choose the right stickers, and then - a flight of fancy.
Link in stories
 To do this, just press the "Text" button in the camera mode. The background can be selected by clicking on the colored circle.
Drawing mode
Select any color from the palette then long press on the screen.
See also Hashtags - why they are needed and how to use them
On a filled screen, you can draw with an eraser. If you just tap on the screen, you get circles, but you can also draw with your finger by reducing the size of the eraser.
Eraser pattern example

Color palette
If a user posts too many stories, you can hide that person's stories. To do this, make a long press on the avatar:
Pin the user's avatar
And then click the Hide button.
Hide button
You can hide only stories or posts and stories.
Buttons for hiding history
If you want to watch his stories again, then scroll through the stories to the very end, find this user there.
User whose stories we have hidden
Next, hold down his avatar again and turn on the display of his stories.
Show history button
To tag someone in history, start typing a nickname in the @webcentr format. Instagram*. he will offer options for profiles.
Profile tag
A notification about a mention in your story will be sent to the user in direct.