Struggling to find, save and add trending music to your Reels? Here’s your step-by-step-guide.
Struggling to find, save and add music to your Instagram Reels?
You’re in the right place.
Instagram recently rolled out new features that make it 100x easier to create a Reel to the music or sound you want.
Whether you’re looking for the perfect song to dance to or you’re in the mood to lip sync to an iconic Kardashian quote — this guide will help you find and add the perfect soundtrack to your Reels.
Still don’t have access to the full catalog of music for Reels, because you have a business account? There’s a hack for that! Turns out, changing your account to the ‘entrepreneur’ catalog is a workaround for getting access to all of the available music.
Watch Jenn’s walk-through here
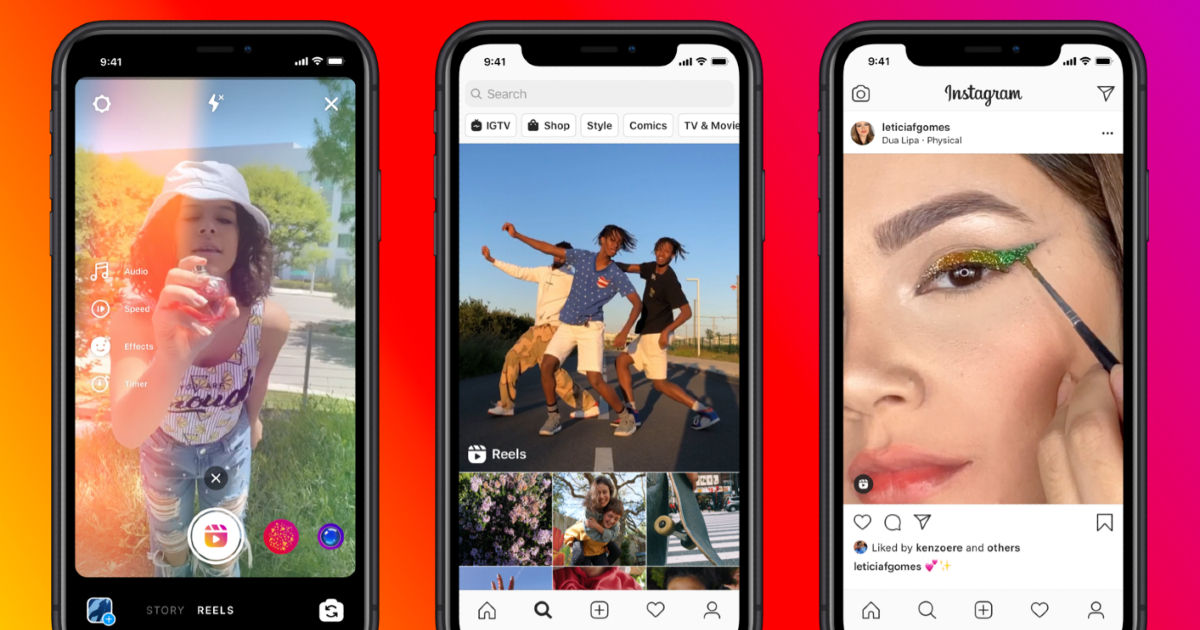
What is Instagram Reels?Instagram Reels is the newest way to create video content on Instagram. Similar to its rival TikTok, you can record and edit 15-30 second video clips to music and text and effects to your creations.
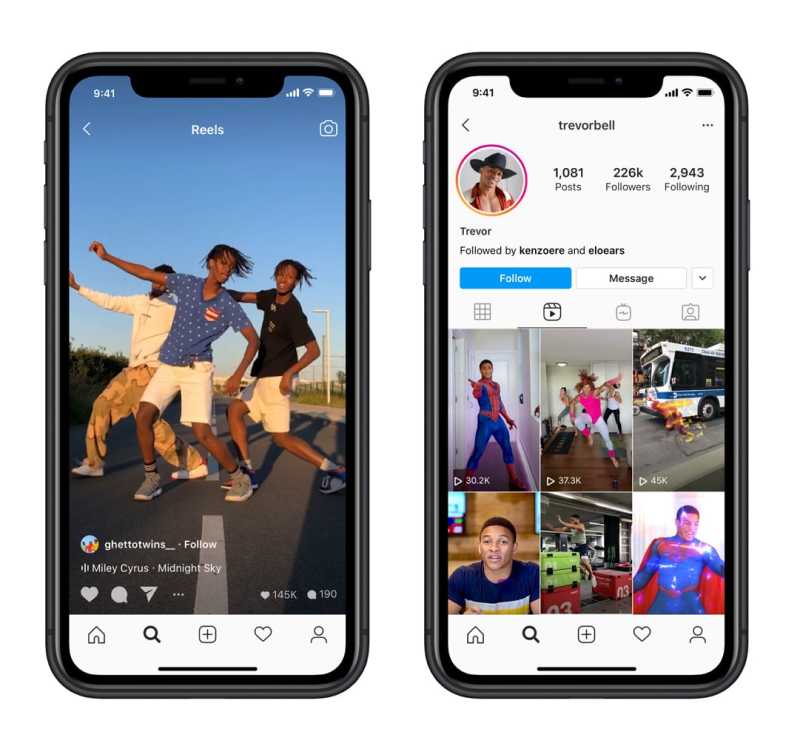
Once your Reel is live, you can share it on your Stories, publish it to your Reels tab on your profile and allow Instagram to push it out to the Explore Feed.
While the algorithm for Reels is still up for debate, it looks like the Explore Feed curates a mix of trending content as selected by their content creators and content based on who you follow, the content you like and where you’re located.
The Benefits of Adding Instagram Reels to Your Content Mix
Think of Reels like permanent high-quality (but still informal) Instagram Stories. It’s a way for you to show off your personality, make your followers laugh and deliver educational content in bite-sized pieces.
As with any new feature Instagram rolls out, the algorithm rewards early adopters. Plus, with the Reels Explore feed, it’s super easy to reach new followers and boost your engagement WITHOUT buying ads.
Shop ‘Til You DropAnd if that’s not enough to get you Reeling with excitement, Instagram announced that they’re working on a shopping integration. Much like users can shop IG Stories, Feed Posts and IGTV, brands and influencers will soon be able to tag products in Reels and make it easier than ever for followers to shop in-app.
Gain Engaged FollowersBut what makes Reels stand out from all the other features on Instagram is the fact its algorithm shows you Reels based on your interest. As a brand or influencer, this is incredibly powerful as your content is getting in front of potential leads who are most likely to buy, follow and interact.
Read More: New Instagram Reels: How to Make It Work for Your Brand
Adding music to your Reels is not only a great way to make it more engaging, but it can actually be a huge help for when you’re stuck on ideas! Because, you can actually build the theme of your Reel around the song! For example, there are many trending songs on Reels that are accompanied with certain dances or content themes (think, the ‘International Superspy’ trend, or ‘The Magic Bomb dance.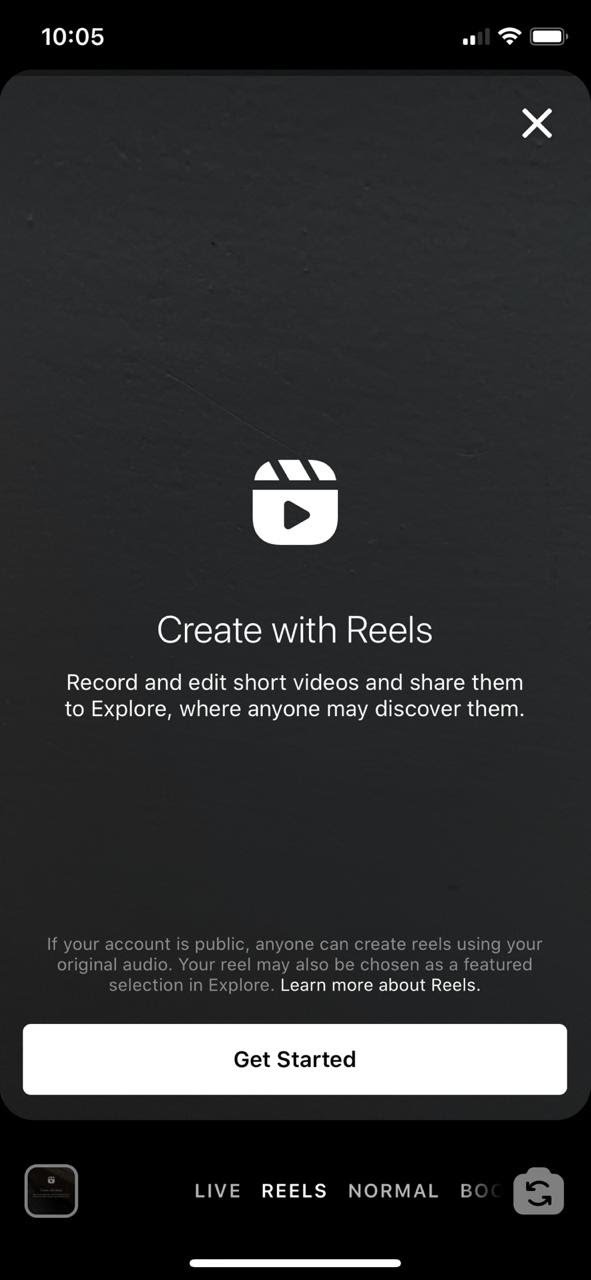 ’) By jumping some of these trends early, you can explode the reach and virality potential of your video. But, where do you go to find trending music to use in your Reels? Here are some ideas:
Peruse the explore page: The good ol’ explore tab can be a goldmine for Instagram trends on the rise, and Reels are no exception. While this section shares real estate with grid posts (so, not everything you see will be Reels), it’s an awesome starting point to find trending sounds in your niche.
Scroll through Reels: For even more video inspiration, head straight to the dedicated Reels section on the Instagram app. This is the video icon that sits in between the search button and Instagram shopping. Here, you can swipe through Reels to your heart content, and see what songs are popular right now.
Look for the arrow symbol: Okay, so how do you actually know which Reels songs are on the rise, and which ones are yesterday’s news? Well, there’s now a handy icon that shows up on trending music if you’re watching Reels on mobile. If it’s a song on the rise, you’ll see a little arrow pointing up and to the right, next to the song name.
Browse Instagram’s music catalog: When you’re creating your Reels, you’ll see a section to add audio. Here, you’ll see some music recommended for you! While these are based partially off the songs you’ve used in your previous Reels if you’ve made them before, you can also find trending music in here sometimes, too.
Snoop around on TikTok: With the effortlessly cool Gen Z kids using TikTok more than any other platform, this is often where trending songs are born! Songs will quite often hit it big on TikTok before heading over to Reels. TikTok also has a handy trending page that will sometimes pop up in your notifications if you have a business account. So, it’s worth being on TikTok if for no other reason than to lurk the trends!
Check out trending Reels and TikTok playlists on Spotify: Another hack for finding trending music on Reels that you might not have thought to? Head to Spotify! They have dedicated playlists just for songs that are popular on Reels and TikTok. These aren’t always updated regularly, but can be a good source of inspo if you’re feeling particularly stuck
When Instagram first launched Reels, there was a lot of confusion around adding music. Some people had it, and others did not. Some of the sounds people loved on TikTok were nowhere to be found, and the ability to save music to use later was non-existent.
Since then, Instagram has rolled out a bunch of new features to clear up the confusion and help them compete with TikTok.
You can now:
‣ Save audio clips to a folder and use it for a future Reel.
‣ Share audio pages via DMs.
‣ Search the audio browser to find sounds and music for your clips.
Not sure how to do it? Keep reading.
We’re breaking down the entire process to have you Reeling like a pro in no time.
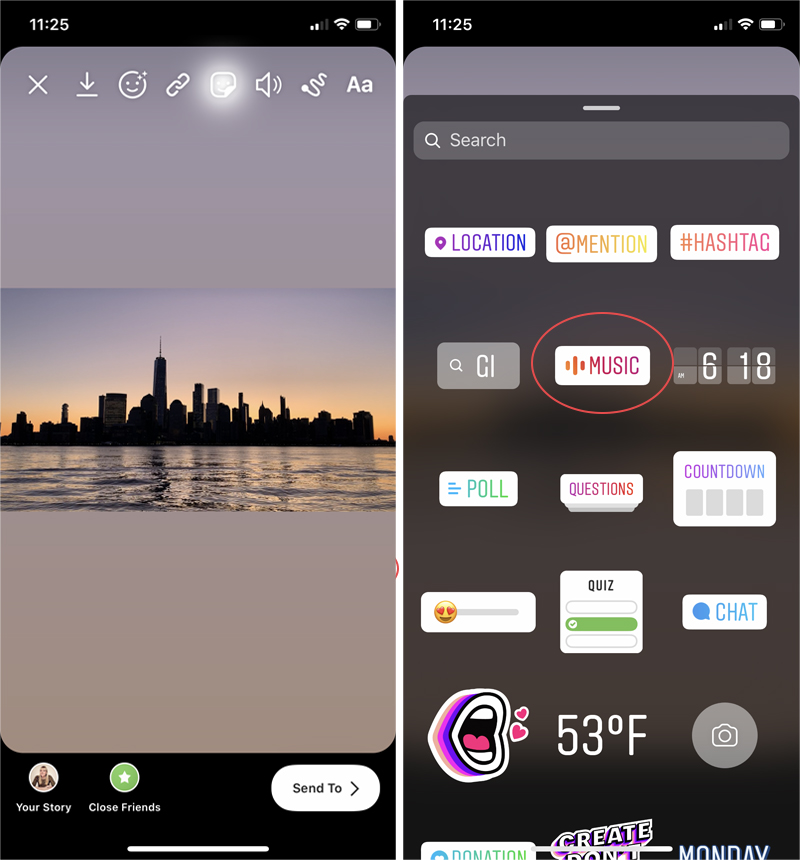
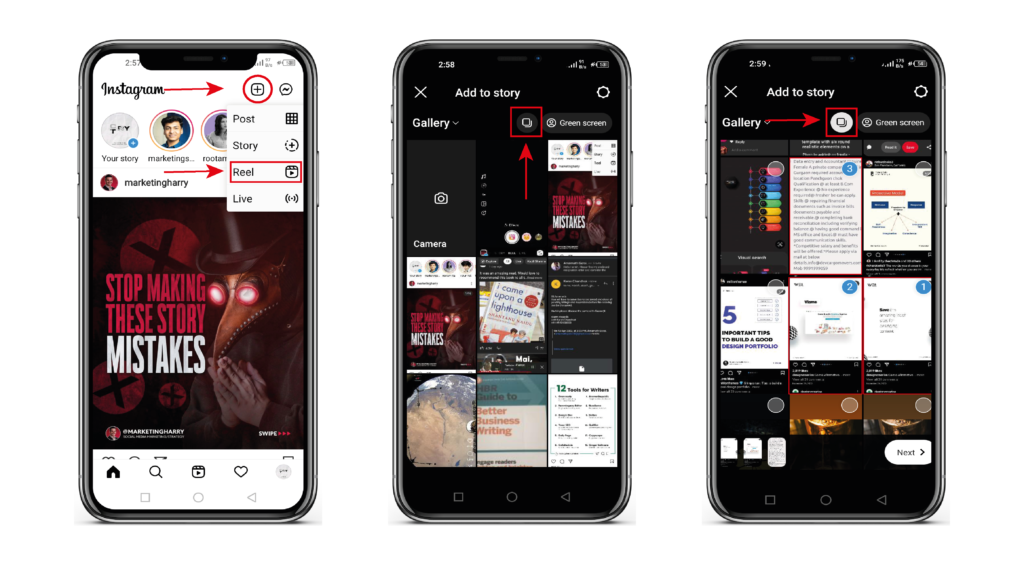
Step 1: Open Instagram on Your Phone
‣ Tap on the Instagram Stories icon in the top left corner of the screen
‣ At the bottom of the screen slide to the right to select ‘Reels’
Step 2: Search For Music
‣ When the Reels screen loads, you’ll see a bunch of new icons on the left hand side of the screen.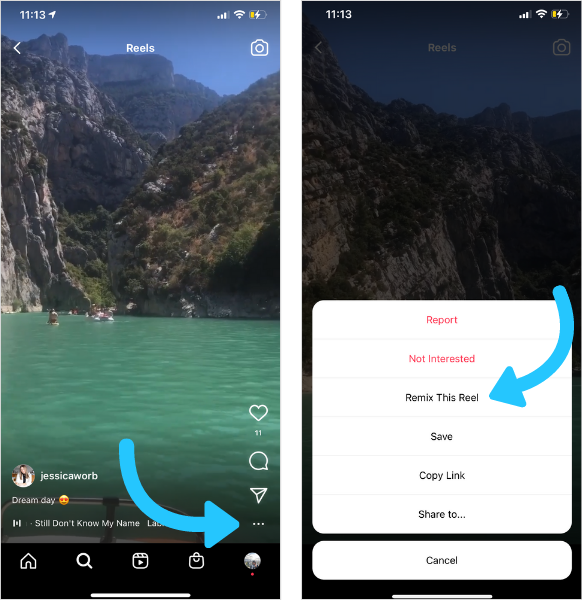 Tap on the music note to choose music or a sound for your Reel
‣ Tap the ‘Saved’ icon to view sounds you’ve added to your collection
‣ Browse songs that are trending on Instagram
‣ View songs Instagram thinks you will like in the ‘For You’ section
‣ Or tap on the ‘Search Music’ bar at the bottom screen to look for a particular song or artist
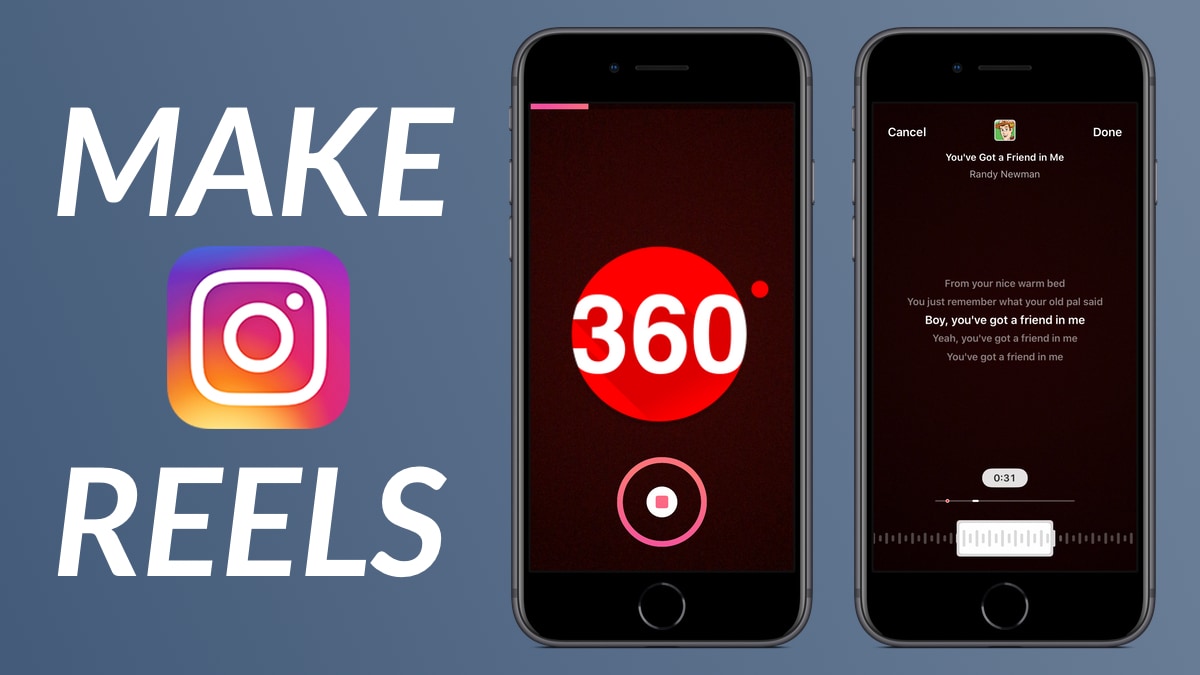
Step 3: Add Music to Your Reel
‣ Once you’ve found a song clip you like, tap on it
‣ The song page will open, and you can slide the bar at the bottom of the screen to find the part of the song you want to use
‣ A pink dot indicates the most popular segment of the song
‣ The lyrics will also show on the screen to make it easier for you to select the perfect snippet
‣ When you’re happy, tap on the ‘Done’ button in the top right-hand side of the screen and you’ve successfully added music to your Reel!
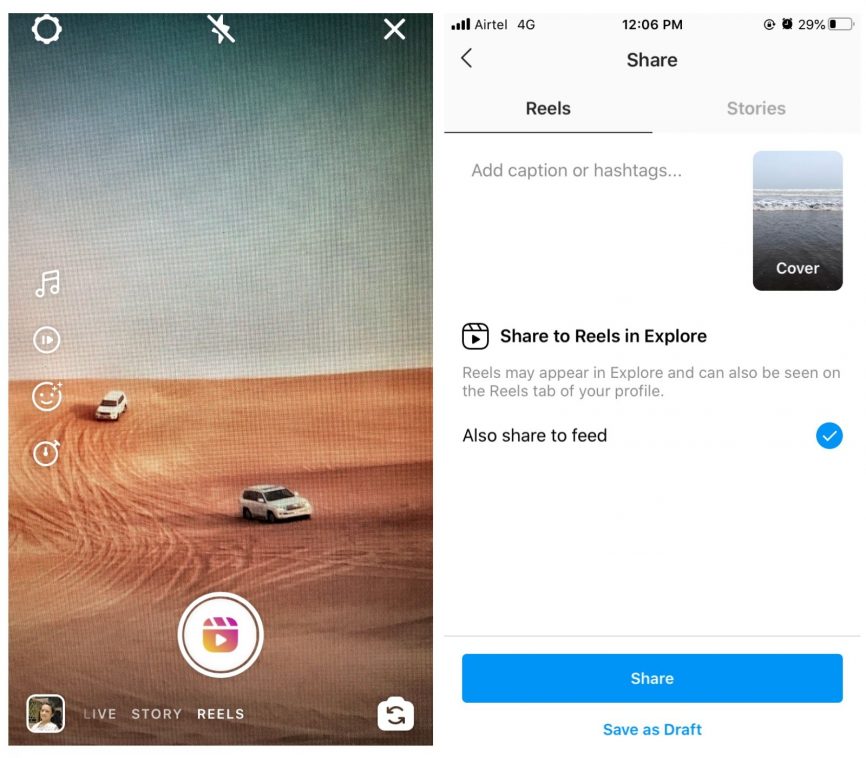
Step 4: Share Your Reel
‣ You can now film your Reel, add effects, text and everything else
‣ When you’re done creating your masterpiece, add your caption, hashtags and share it with the world!
How to Save Music From Other ReelsSo you have ZERO music in your “Saved” folder?
Whelp. Let’s fix that stat!
‣ Go to the Explore Page (or any Reel you love)
‣ Swipe around until you find a Reel with music or a sound you want to use
‣ Tap on the audio file at the bottom of the screen
‣ The audio page will load, and you can save it to your folder by tapping on the save icon in the top right hand side of the screen
Top tip: You can also choose to DM the sound to a friend by tapping on the paper plane icon. Your friend will receive a link to the audio page and can save it to their folder and see all the other Reels using the sound.
Reel in Your Followers
At a loss when it comes WHAT to post on Instagram? We’ve got you!
Sign up for a free Plann account and you can use our new content prompts *tailored to more than 50 different industries* to help you stay consistent and on-brand.
Remember, you can use Reels to expand on the content you’re creating elsewhere. Use this as a guideline to brainstorm ideas for your videos that will reel in your audience and keep them coming back for more!
Note: If you are a Business Account you don’t currently have access to Audio on your Reels which is a massive bummer, but you can use original audio from other people’s Reels – or, if you don’t want to try this trick consider switching your Business Account to a Creator Account and continue enjoying all the Plann perks like Analytics and Audio on Reels!
Level up your Instagram posting strategy with PlannStart planning, scheduling and auto-posting with Plann. Go on, redeem your 7-day free trial of Plann Plus. If you don’t like it, keep using Plann for free!
We've had many people reach out to us about not being able to use the music/audio feature, and this looks like an issue that was only occurring with business accounts.", "thumbnailUrl": "https://i.ytimg.com/vi/-CDiyQUbTNo/maxresdefault.jpg?sqp=-oaymwEmCIAKENAF8quKqQMa8AEB-AGMAoAC4AOKAgwIABABGGIgYihiMA8=&rs=AOn4CLAcFq8SFsIxhg7bORpn54FySWQHDA", "uploadDate": "2021-08-04", "duration": "PT1M5S", "contentUrl": "https://www.plannthat.com/how-to-add-music-to-your-instagram-reels/", "embedUrl": "https://youtu.be/-CDiyQUbTNo" }
Everyone is talking about how the Instagram algorithm loves Reels, and that using the format can improve engagement and reach.
But getting started with such a creative medium can be intimidating. We’re here to help with an Instagram Reels tutorial that will help you master 11 essential editing tools and skills needed to create engaging content.
Keep reading to find out how to edit your videos for best results and kickstart your growth. Or, if you prefer, watch the video version right here:
1. Add music to Reels
2. Add text to the beat
3. Make multi-scene how-to Reels
4. Record Reels hands-free
5. Find your favorite Reels filter
6. Use the Align tool
7. Make timelapse Reels
8. Add voiceover to Reels
9. Use the Remix feature
10. Use the green screen effect
11. Use Reels templates
Bonus: 14 Time-Saving Hacks for Instagram Power Users. Get the list of secret shortcuts Hootsuite’s own social media team uses to create thumb-stopping content.
1. Add music to ReelsWhen browsing the Reels tab on Instagram, you’ll notice that most videos have audio clips — most often songs or voiceover — playing over them. Adding music to Reels is one of the basic editing skills you should know if you want to create engaging content.
How to add music to Reels
Adding captions to your video content serves multiple purposes:
One common move on Reels is to have text appear and disappear on the beat — follow the step-by-step instruction below to make it happen!
How to add captions to Reels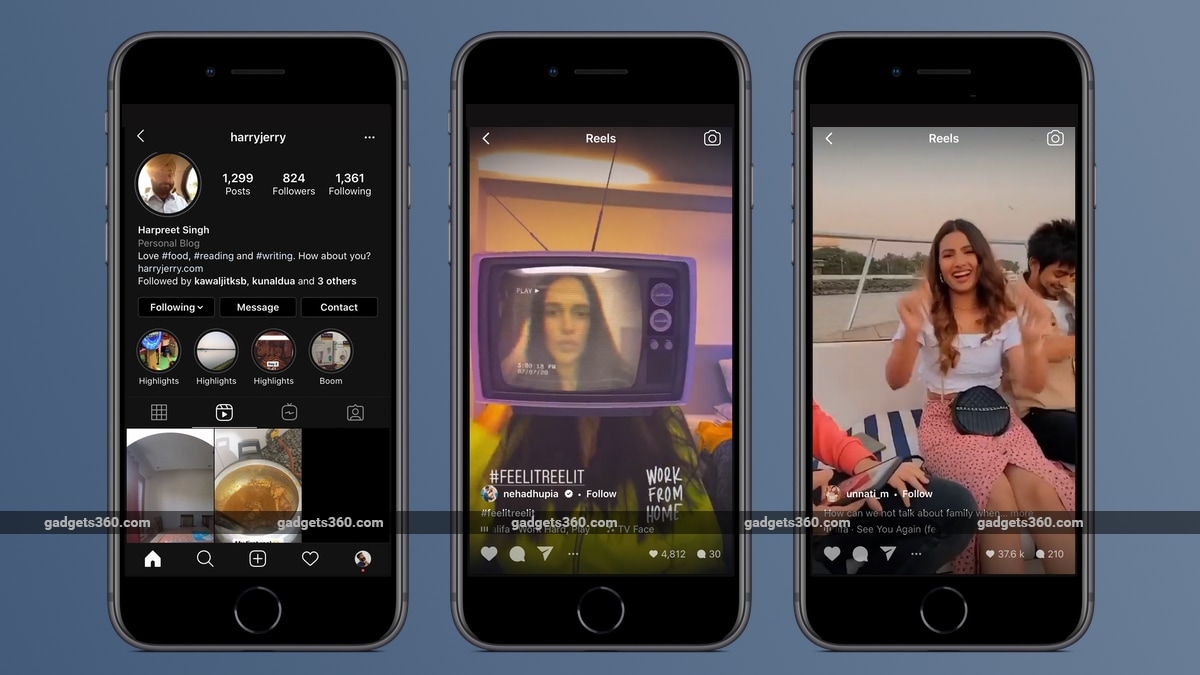 Tap that to adjust when in the video clip your text will appear, as well as the duration.
The beauty of Reels is that you can quickly stitch together clips to create a mini movie. You can use your Instagram camera to record fresh content or start with pre-recorded video clips.
Combining multiple clips will allow you to create engaging how-to videos and share some of your expertise with your Instagram audience.
How to make multi-scene Reels
No need to hold down the record button for the duration of your recording. The hands-free function allows for you to capture a moment from further than an arms-length away.
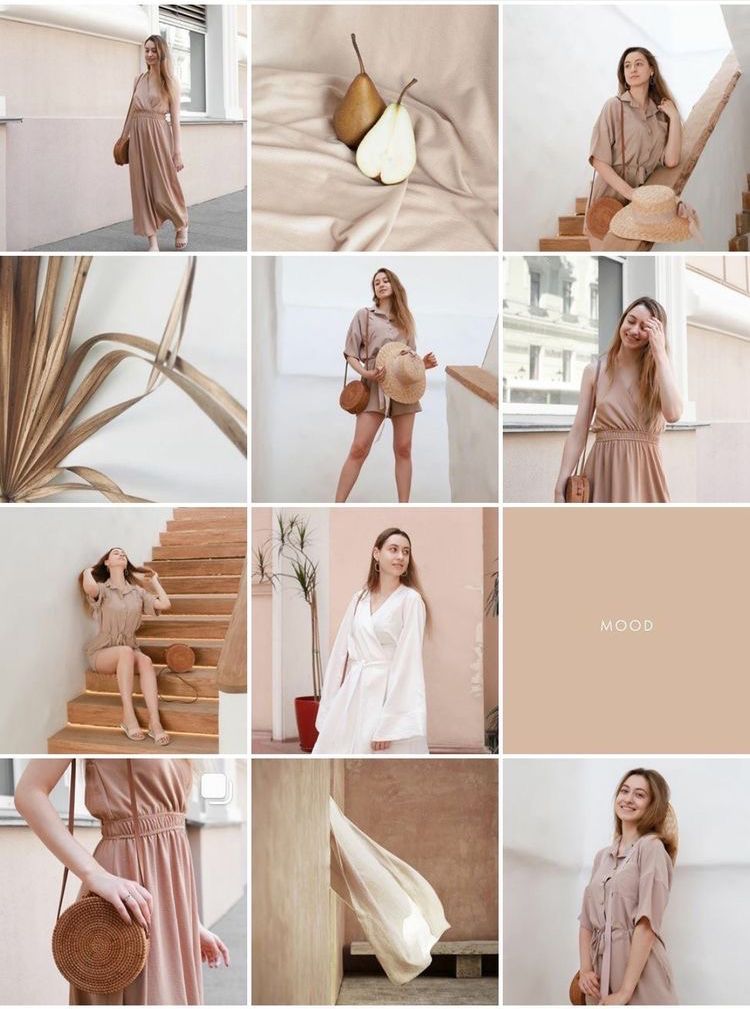
If you’ve got a fashion brand and want to show off your latest outfits in a full-body shot, or offer a mural-painting service and want to capture a moment of your production process, give hands-free recording a whirl!
Bonus: 14 Time-Saving Hacks for Instagram Power Users. Get the list of secret shortcuts Hootsuite’s own social media team uses to create thumb-stopping content.
Download now
How to record Reels hands-freeOne of Instagram’s coolest features is its huge library of filters and AR effects. And with Reels, you’ve got access to them all.
When creating Reels, don’t be afraid to get a little silly and use effects that capture the spirit of your brand, whether that’s an over-the-top beauty filter or an avant-garde blur effect.
How to add filters to Reels Tap Share To when you’re ready to post.
The Align tool will allow you to add (or remove!) an object or person between scenes of your Real to create a fun appearing (or disappearing!) effect.
By starting a scene exactly where the previous scene ended, it’ll appear as if your outfit change (or begrudging boyfriend or statement hat) has magically popped into frame.
How to use the Align tool When your two clips play together, any additional items will appear to have magically popped into frame.
Have something longer than 60 seconds to share? With timelapse recordings, you can squeeze more into your Reels.
Use timelapse videos to demonstrate a process, whether it’s pulling together an easy smoothie recipe or sharing your oh-so-Marie-Kondo folding technique.
How to do the challenge Tap Share To when you’re ready to post.
The voiceover feature allows you to record voice overtop of a fully recorded video — a nice way to add an overarching narrative to a compilation of clips.
Maybe you’re explaining some more background info about a new makeup line you just launched, or sharing details about a sale overtop of cute shots of your boutique: if you’ve got something to say, this is your time to shine!
How to do the challenge )
)Instagram recently added a Remix feature to Reels… so now’s your chance to record a video side-by-side with another Reel. Browse other Reels to find something that inspires you to comment, contribute or react, and start your beautiful duet.
How to Remix another creator’s Reel
The green screen effect in Reels is a game-changer. Get playful with the background of your choosing — video or photo! — to add a fun, faraway locale or a branded graphic behind you.
How to do the challenge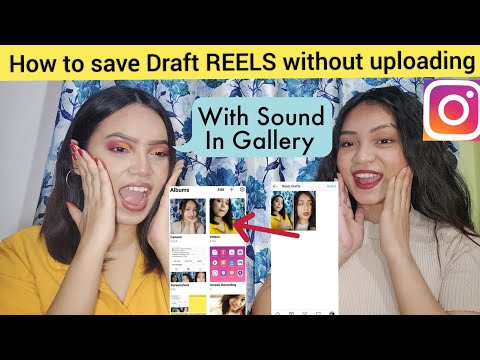 Tap Add Media to select a video or photo to use as your backdrop.
Instagram Reels templates allow you to create a Reel using pre-set music and clip durations from existing Reels. You can use templates from any Reels that have music and at least three clips. Reels templates mean you can jump on trends faster than ever — no more wasting time editing clips or selecting music to match!
How to use Reels templates You can’t change the length of the clip, but you can change which portion is shown.
Easily schedule and manage Reels alongside all your other content from Hootsuite’s super simple dashboard. Schedule Reels to go live while you’re OOO, post at the best possible time (even if you’re fast asleep), and monitor your reach, likes, shares, and more.
Get Started
Save time and stress less with easy Reels scheduling and performance monitoring from Hootsuite. Trust us, it’s reely easy.
Free 30-Day Trial
Instagram has announced the launch of new features in Russia. Users will have access to a TikTok-like Reels video service and a music sticker in Stories. With it, you can add music to your stories and answer questions with songs. Russian Facebook users will be able to pin it in the profile header so that it plays when the page is opened nine0019
Starting June 23, Russian Instagram users will begin accessing Reels, a platform for short videos, the company said.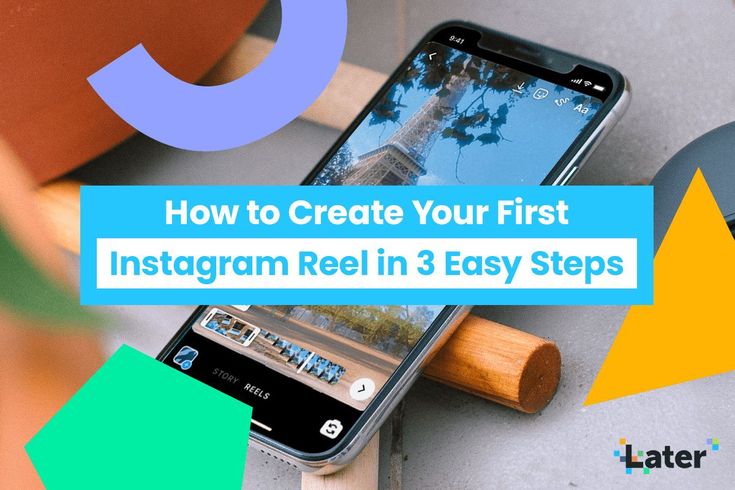
Finished reading here
With Reels, you can shoot and edit videos up to 30 seconds long, apply AR effects to them, and use the green screen effect to change the background. In Reels, you can add music from the app's library or choose from trends or recommendations. Users will also be able to create their own original audio, and if their account is public, other users will be able to use this audio in their videos. nine0005
Videos created with the new feature can be shared as Stories or Posts, limiting the audience if desired.
The battle for buzzers: how Instagram wants to take over the TikTok audience
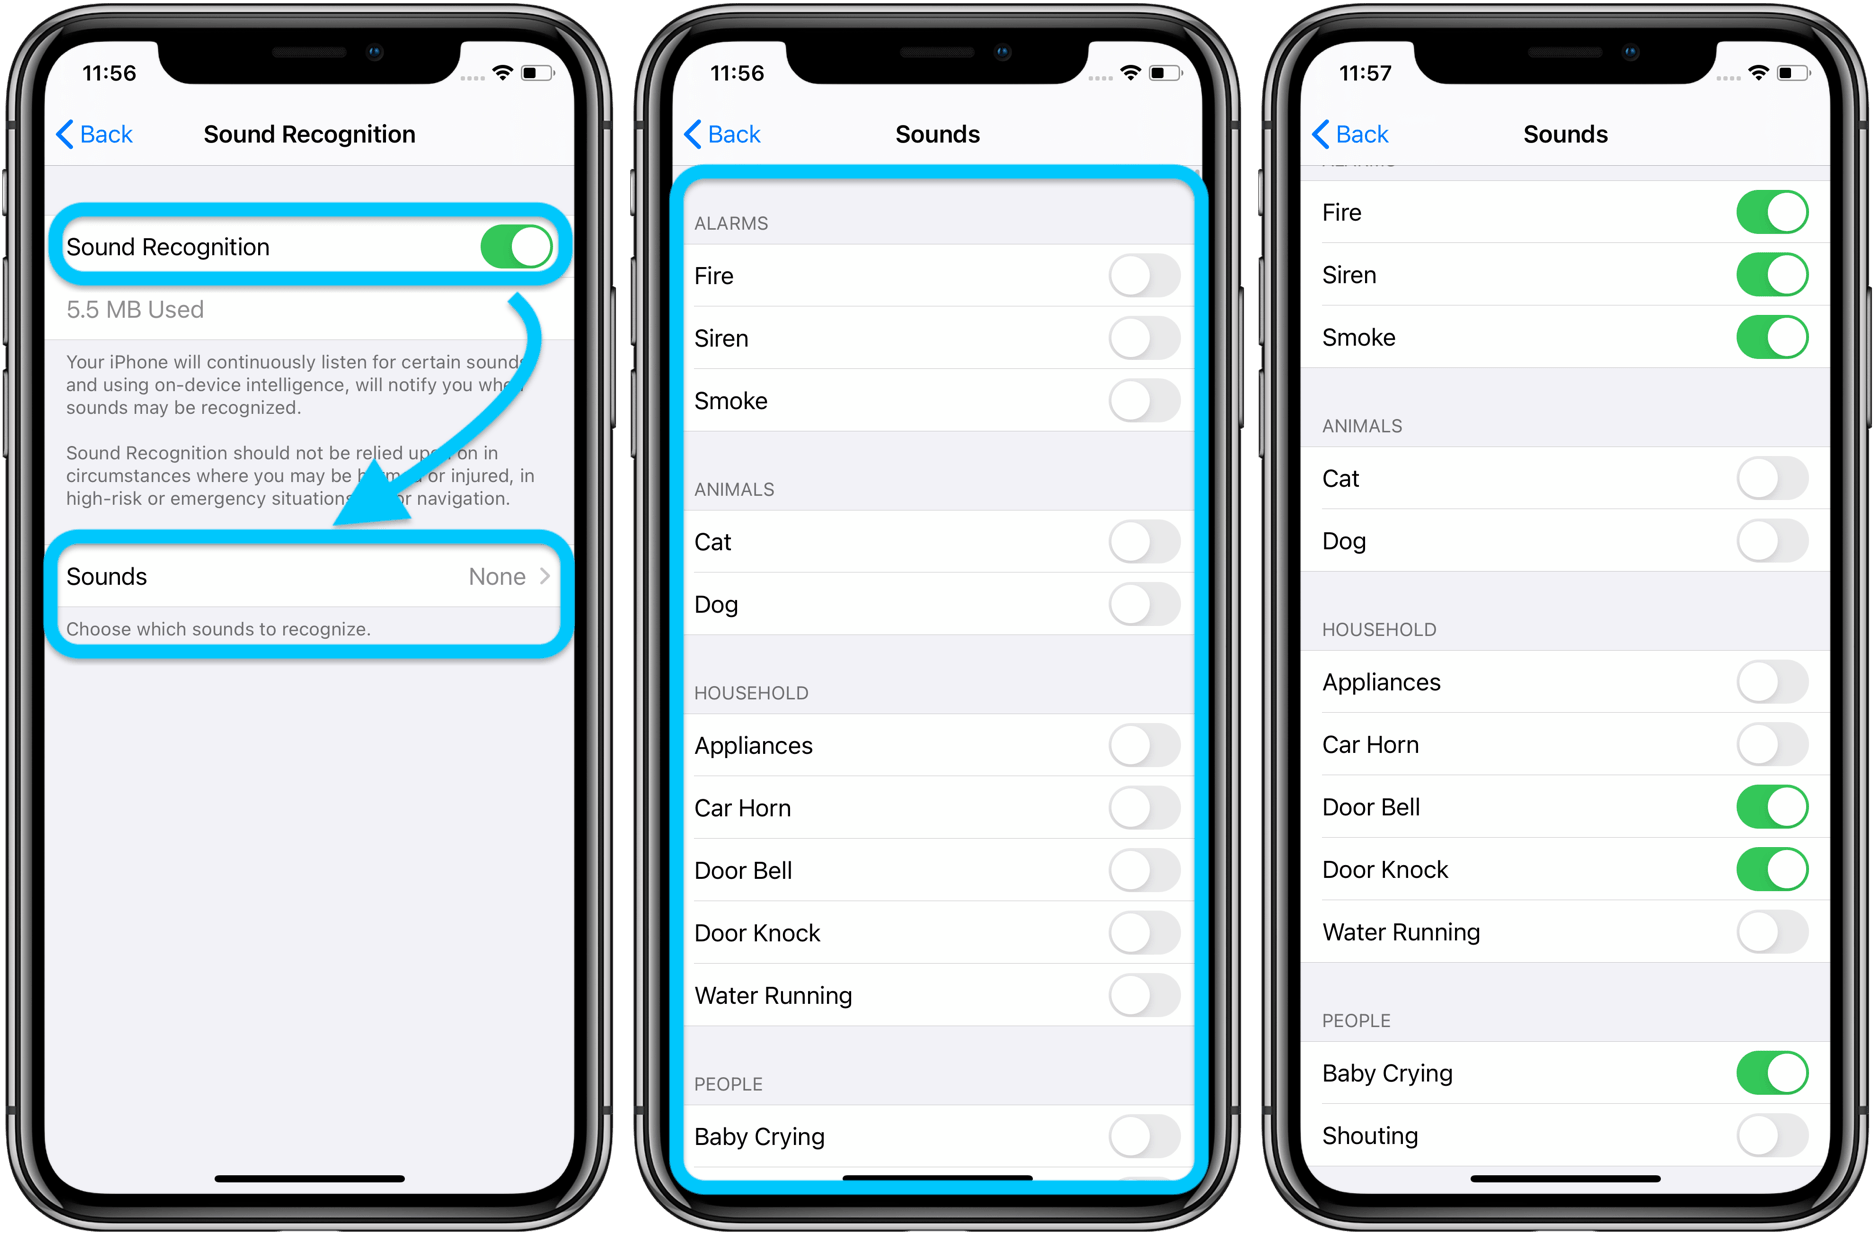
In addition, Facebook and Instagram are also launching a new music sticker in Stories. To add music to your Stories, you will need to follow these steps:
With the release of the music sticker, Instagram and Facebook users will be able to answer questions in Stories with songs. In addition, Facebook users will be able to add their favorite track to the Hobbies / Interests section and pin it to the profile header - it will be played every time someone decides to visit this user's profile. nine0005
“Reinventing TikTok is unlikely to succeed”: what’s wrong with YouTube and Facebook’s short video services
Instagram began to roll out the Reels feature around the world in an attempt to attract the TikTok audience.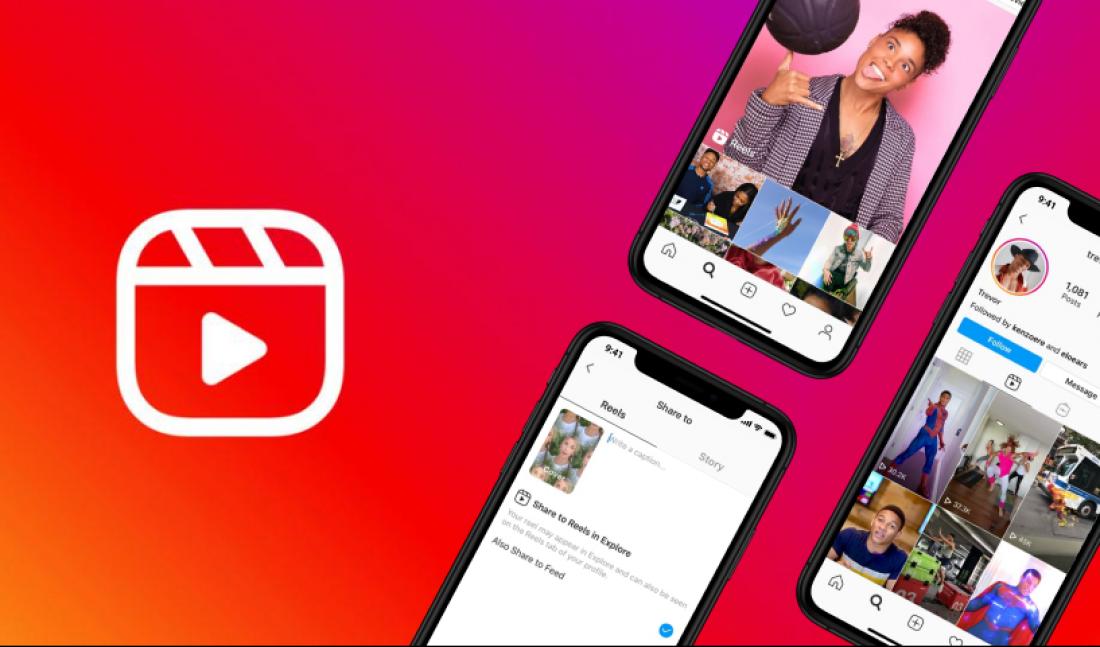 In Russia, the short video format is gaining popularity - VKontakte is already developing its own clone of TikTok - the service is called Clips. In addition, in the fall of 2020, the head of the Ministry of Education, Sergey Kravtsov, announced joint plans with Mail.ru Group to develop an educational network for Russian schoolchildren, similar to TikTok. nine0005
30 most expensive Runet companies. Forbes rating
30 photos
Marina Dulneva
Author
Anastasia Skrynnikova
Editorial Forbes
#Instagram #reels #Facebook #the Internet #tiktok #video
Forbes Newsletter
The most important thing about finance, investment, business and technology
Today, Instagram has become for one part of the users a means to publish their personal videos and photos, and for another - a way to extract commercial benefits.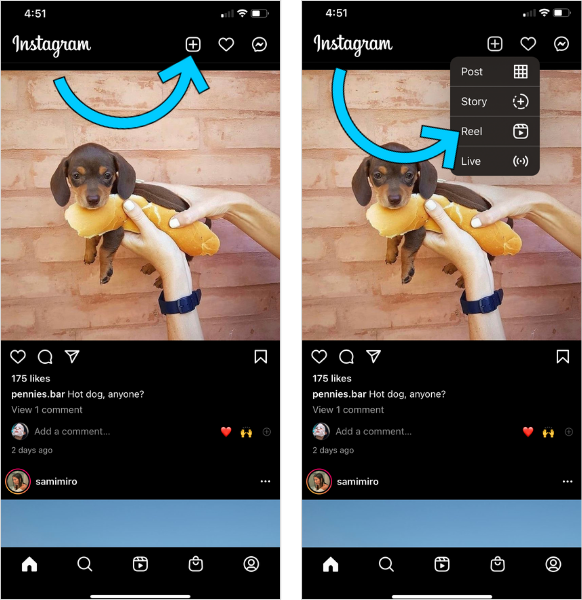 Whatever option you use Instagram, one thing is important - the quality of the published photos and videos should be at the level. For example, before a video is published on Instagram, it is desirable to subject it to an editing procedure, for example, by overlaying music on the video. nine0005
Any video posted on Instagram can become several times more interesting if you add a suitable music track to it. It is easy to perform this procedure from any mobile device for which the Instagram application is supported, or a computer.
This is a versatile and very powerful video editing tool. It supports over 100 different video formats. There is the ability to quickly trim and crop, connect all parts of the video, improve video quality, change speed, add text, overlay music and many more useful features. nine0005
 You can upload a single file, or a whole folder of video files, or a recording from a webcam. On the PRO version, you can download videos from any sites through the program.
You can overdub multiple music tracks at once, trimming them as needed. It is also possible to overdub a recording of your voice. To do this, click: Video settings > Audio track > Microphone recording.
When it comes to overlaying music on video from your smartphone, you should immediately take care of the presence of an application that will allow you to complete the task. nine0005
Today there is a fairly extensive list of applications aimed at video editing or simple processing specifically for Instagram. More specifically, iMovie for iOS, PowerDirector for Android, and VivaVideo for both mobile platforms are recommended. It is on the example of the last application that we will cope with the task.
 When finished, tap on the button "Confirm" .
 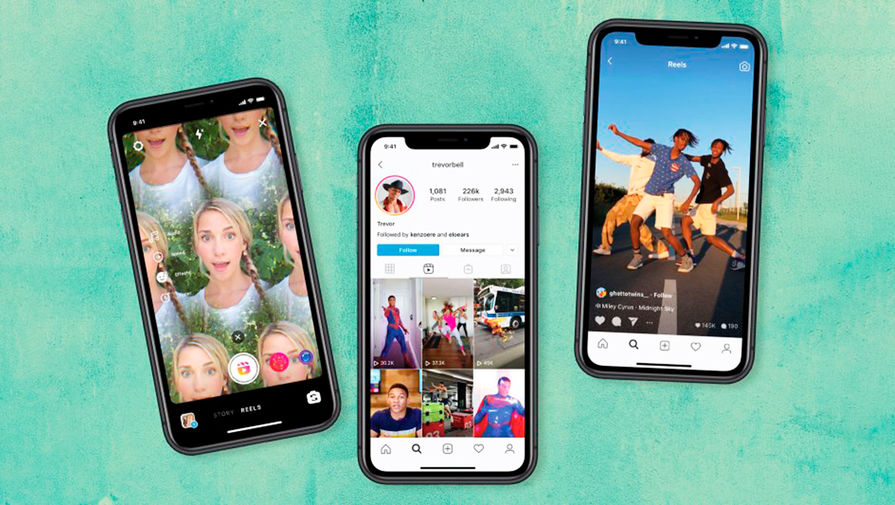 When finished editing the video, click on the button "Submit" .
 A computer is the ideal video editing solution if you need to add quality music to video with a powerful program.
Today there is a great variety of video editing software, among which are Adobe Premiere, CyberLink PowerDirector, Movavi Video Editor and many other great solutions. But since we are considering such a simple procedure as adding music to a video, which can be done literally in any video editor, then below we will consider this process using the example of a simple and completely free program - Windows Live Movie Maker. nine0005
 To do this, in the upper area of the window, select the button "Add videos and photos" .
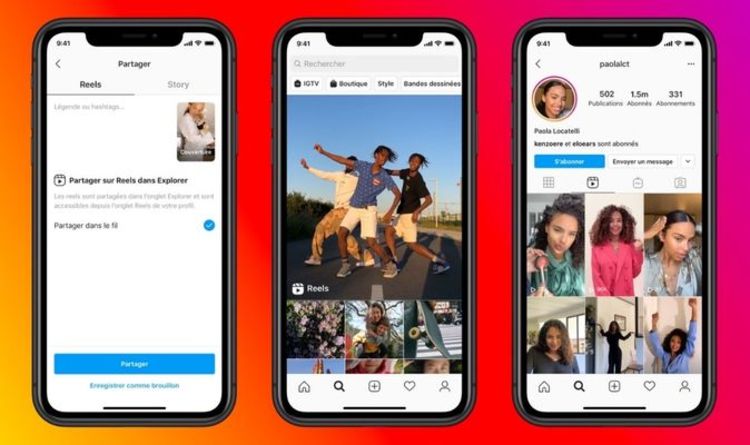
All programs in the article are given as an example. If you are used to processing video using another tool, no one forbids you to continue using it. Moreover, most likely, the process of adding music to a video in it is carried out in a similar way, which means that you can use this instruction, at least as a basis.