How to fit your whole picture on instagram
How to Fit the Whole Picture on Instagram
BorderJulia Enthoven
4 min
This article shows you how to fit the whole picture on Instagram. If you have a full portrait (9:16) image or video or a landscape (16:9) image or video, you can fit the whole picture in your Instagram post by following this tutorial.
Instagram has a maximum aspect ratio of 4:5 on portrait posts (four pixels wide for every five pixels tall). Instagram’s restriction reduces the number of very tall images that take up a lot of vertical space in the feed. Although it’s nice that Instagram keeps users from publishing massive, obtrusive posts, the 4:5 limit makes it difficult to post a whole vertical picture or video that you shot on your phone.
Here's what your tall photos will look like on Instagram without added borders.If you want to fit your whole picture on Instagram but it is taller than the 4:5 aspect ratio, you need to modify your image before posting. Otherwise, Instagram will automatically crop your image to a maximum of 4:5. I recommend the Kapwing resizer as it allows you to add white space on either side to bring your image to the required aspect ratio. In this article, I’ll explain how to fit the whole picture on Instagram in three simple steps:
- Upload picture
- Resize to 4:5
- Download and Post to Instagram
Step 1: Upload Picture
Start by opening the Kapwing’s Resizer tool on your phone or computer. Upload your image file from camera roll or import it from a URL. Kapwing supports images, videos, and GIFs, so you can use it to resize for any kind of media.
The video resizer tool in KapwingOnce your picture loads into the editor, you’ll be taken into the Kapwing Studio Editor where you'll see a preview of your image in the center of the screen.
Step 2: Resize to 4:5
In the Output Size section, select the 4:5 option. This allows your photo to take up maximum vertical space in the Instagram feed without getting sized down. There is a resizing option for Instagram, 1:1, but this shrinks your image to fit in the default square shape.
Resize the image to 4:5 using the button in the Output Size listOnce you have selected the size option, Kapwing adds white padding to either side of your image to make it fit the 4:5 aspect ratio. You can change this white background to any color you want so that it stands out in the Instagram feed.
Step 3: Download and Post
Click the red Export Image button at the top of the screen. After a few moments of processing, Kapwing makes your resized 4:5 picture or video available for download. Whether you're using a desktop computer, iPhone, Android, or tablet you'll be able to instantly download the image to your photo gallery once published.
If you're not signed into a Kapwing account, sign in or sign up using your Google or Facebook account – once you've signed into a Kapwing account, the watermark in the lower right corner will be removed from your final image.
Open the Instagram app and upload your picture. You’ll notice that Instagram crops the picture to square by default, but you can click the expand arrows or pinch the image in the lower left to fit the whole picture on Instagram. When you publish it, Instagram will resize to image width to fit the screen, the white image background will blend in with Instagram’s white background, and your whole picture will appear on Instagram with no cropping.
Note: You can also choose a black background, if you and your followers use Instagram in Dark Mode.
Conclusion
This tutorial shows you a workaround for posting full portrait pictures and videos on Instagram. You can use Kapwing’s Resizer to post multiple images with different sizes on Instagram, add a thin white border around your media, and publish TikTok and Snap videos. I hope that it helps speed up your social media workflow and enables you to post your beautiful and fun candid moments to Instagram.
For more information on how to resize a video for Instagram, check out this video tutorial (we give you the best sizes for each type of video too!):
Check back in at the Kapwing Resources page or our YouTube channel for other content creation tips and tutorials! And remember to tag us @KapwingApp whenever you share your content on social media– we love to see what our creators are passionate about!
Related Articles:
- How to Post a TikTok on Instagram
- How to Post a Portrait Photo or Video on Instagram
- Resize an Animated GIF
How to Make Pictures Fit On Instagram without Cropping
Instagram is a great app for sharing the daily highlights of your life and experiences – and the platform being highly-visual makes that even more appealing. Everybody wants their photos to look good on Instagram and once you finally have that perfect photo it can be annoying to see it get cropped by Instagram.
Instagram uses different image aspect ratios, specifically 4:5 for portraits, 1:1 for squares, and 1.91:1 for landscape pictures. If your image does not align with image guidelines for Instagram your image would get cropped to fit.
However, there are multiple ways you can add your pictures on Instagram without them getting cropped which involve resizing, adding borders, and using third-party apps to make your image fit within Instagram’s given frame. Read on to find out how to fit your images for a cleaner and more consistent look.
1. Resize Your Images with Instagram’s Crop Feature
When Instagram first started out it only had the option to upload square images with a ratio of 1:1 however an update back in 2015 changed this as Instagram started to allow uploading portraits and landscape images as well.
It’s very easy to resize your images using Instagram’s crop feature. When adding a new post you will see a light grey icon with a white frame inside on the bottom left of your post screen. Click on it and it will automatically resize your images to fit the frame. You can also pinch your fingers together to shrink your image so it fits in the post.
The main downside to this method is that it is limited and might not fully cover the excess or might awkwardly resize them. You want your images to look good, natural, and neat but the zoom feature can only do so much.
If this method does not work on your image then a much better way to resize your images is to do it manually using a photo editing tool or third-party apps.
2. Manually Resize Your Image
The best way to make your images fit on Instagram without cropping them is to manually resize them. Resizing your pictures this way would allow you to have full control over the image.
It’s important to know that when you do resize your image you will have some empty space around your image. The thing cool thing is that if you are manually resizing your images you can have a custom background for your images.
A great tool you can use is BunnyPic – a free online photoshop editor. You don’t have to sign up, install it or be worried to have a watermark on your images. It is totally free to use and beginner-friendly.
To resize your images using BunnyPic follow the below steps:
- Go to the BunnyPic Editor.
- Click on Open from Computer and select the image you want to resize.
- Go to Image > Canvas Size and scale the canvas to 1080 x 1080 pixels or a 1:1 aspect ratio.
- Create a New Layer and place it below the picture layer.
- Fill the new layer with a white color or black if you and your followers use dark mode.
- Once you’re happy with the results go to File > Export As and export it as a PNG or JPG.
You can see how the image now fits perfectly inside the frame compared to the cropped image from before without losing any of its original value.
3. Using Third-Party Apps
The above method should work for all your photos but if you want to keep the whole process on your phone without having to switch around your photos from your computer you can try third-party apps.
There are numerous third-party apps on Google Play Store and Apple App Store that you can download which would automatically resize your photos to fit into your canvas.
The best free apps to make pictures fit on Instagram without cropping are No Crop & Square, Whitagram, and PicsArt.
No Crop & Square
No Crop & Square for Instagram is an app that gives you different options to edit your photos for Instagram. It has a number of resizing options such as rotation, shrink, and enlarge. You can also add text and stickers to your images; making it a great app to meet all your needs.
No Crop & Square is only available on Android and can be downloaded for free from the Google Play Store here.
Whitagram
Whitagram is an IOS app that allows you to add white borders and resize your images for Instagram. It is quite similar to the above app and will get the job done to make your images look cleaner without going through a complicated editing process.
Download Whitagram from the Apple Store here.
PicsArt
PicsArt is a popular editing app that is available for both IOS and Android and has a better and unique way of resizing your photos for Instagram. It has a blur effect which can be added to the image borders which is far more attractive than the white or black borders from the previous apps.
To edit your Instagram pictures without cropping using PicsArt follow the below steps:
- Open your photo from your camera roll/gallery.

- Click on the share icon.
- Select PicsArt. This will open your image on PicsArt.
- On the bottom of the screen, select Effects.
- Select Square fit and add a 50% blur with the slider.
The effect works best for landscape photos. This is the kind of result you would get.
Download PicsArt on the Play Store or App Store.
Conclusion
Instagram is a great app for sharing your pictures online but it can be annoying when Instagram crops your image to make it fit in the post. This cropping is poorly done, making it look awkward and not as you intended.
To make your images fit better on Instagram you can use their crop feature, our BunnyPic editor, or third-party apps on your phone to resize your images and make them fit the way you want them to.
How to add a photo to Instagram from your phone
There are 3 main ways to add a photo to Instagram* from your phone: upload via the Instagram* mobile app, from your phone gallery, or via third-party apps. We will analyze separately how to publish a photo in a post and a story.
How to publish a post in the feed
Method 1: through the Instagram app*
Download the Instagram app* from the AppStore or Google Play. After registering or logging into your account, you will see the [+] icon in the upper right corner, click on it, and then in the menu that appears, click on the "Publish" button. nine0003 Interface for adding a new post to the feed
Next, you will open the interface for adding a post, you need to go through several steps:
- select media files;
- file editing: filters, light and color correction;
- adding text, geotagging, etc.;
- publication.
Let's take a closer look at how to post photos on Instagram* from your phone.
Select media files. After pressing the "Publish" button, you will be taken to the gallery on your phone. Select the photos or videos you want to post. At this stage, you can also change the resolution or select multiple files for one post. nine0003 Basic buttons for setting up a future publication
Editing files. After selecting all the settings, click the "Next" button in the upper right corner and go to the editing interface - here you can apply filters, adjust contrast, add sharpness, level the horizon, and so on.
Photo and video editing toolsAdd text and labels. Once you've finished editing your media, click the Next button again and the last settings will open: select other social networks for publication, add text, geotag, user tags. Read more in our article “Instagram tags*: how and why to use”. nine0003 Final settings for posting to the feed
Big text cannot be posted on Instagram*, the limit is 2200 characters. But if you really need it, we have an article with recommendations for the design of such publications.
Publication . When you're done with the settings, click "Share" in the upper right corner and the post will appear in your account feed and in the news feed of your followers. Hooray!
Method 2: through the phone gallery
This is a quick way when you just need to post one file with a caption, because this way you can not customize the display format, add multiple files to one post, edit media files, add geotags and tag other users.
How to post photos on Instagram* from your phone using the gallery:
- open the gallery on your phone;
- click on the desired photo;
- select "Share" from the menu; nine0018
- click on the Instagram icon*;
- click on the "Publish" button;
- write the text for the post and click "OK" in the upper right corner;
- then click "Share" in the same place.
That's it - the publication has been uploaded to your profile!
Step-by-step process of publishing a photo in the feed through the phone gallery If you do not know what, why, why to publish and how to design, I recommend our free course "7 Steps of Content Marketing".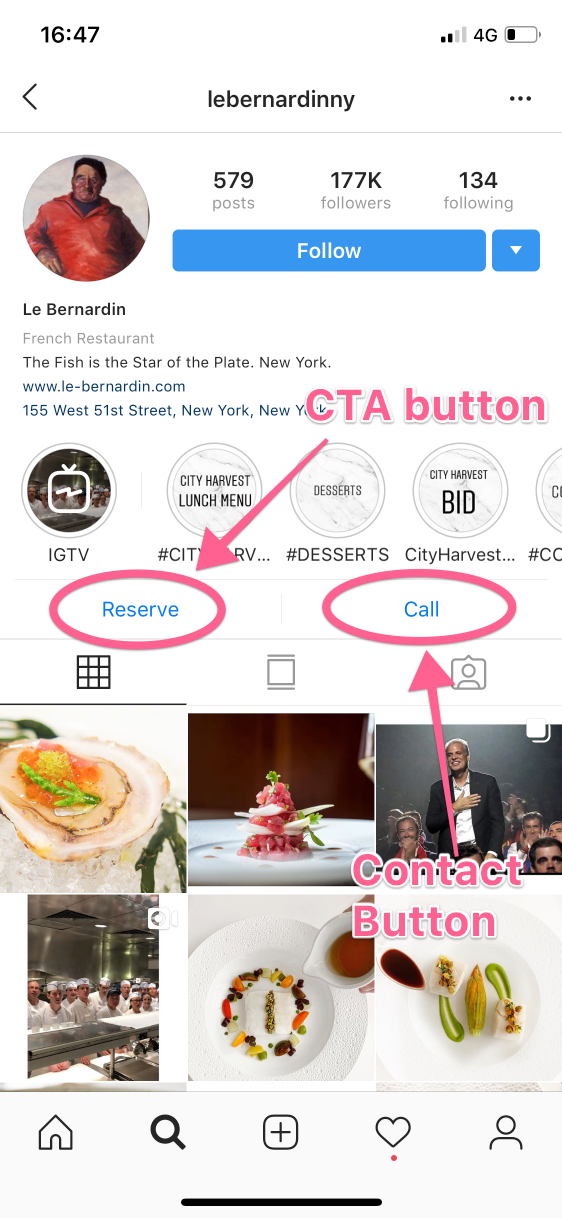 In the course, we tell you what content marketing is, how to create, design and promote content on the Internet. All this will help you understand how content works, why publish posts and how to make them beautiful and interesting. nine0003
Method 3: Through other apps
You can upload photos to Instagram* from photo and video editing apps, feed maker, and so on. Almost all of these applications have the ability to automatically add media files to Instagram*.
For example, the Canva photo and video editor app has a Share button in the top right corner. In the additional menu, the Instagram icon appears *, when clicked, it transfers to the social network application with the option to select a placement: Stories or feed. After clicking on the "Feed" button, the standard Instagram interface * opens to add a post to the feed. nine0003 Algorithm for publishing a post in the feed from the Canva application
How to post a Story
You can upload a photo to Instagram stories* from your phone both directly from the Instagram application* and through third-party applications.
There are 3 ways to post a Story via the Instagram app*:
- click on the blue [+] icon on your avatar in your feed or profile;
- click on the [+] button in the upper right corner and select the "History" item;
- in the news feed, swipe from left to right across the screen.
After clicking, the interface for creating Stories will open. By default, the camera opens, and you can immediately take a picture or video for stories. If you want to add files from your phone's gallery, tap the button in the bottom left corner of the screen or swipe up from the bottom of the screen.
Stories interface when first opened with camera enabledThe story editing interface also has many useful features:
- Text. Different fonts, colors, ways of writing, animation. To add, click once on the screen or on the “Aa” icon at the top right of the screen, the interface for adding text will appear with additional settings at the top of the screen.
- Drawing. Brushes for painting on photo or video. Click on the ellipsis in the upper right corner and on the "Draw" button. The color and brush settings will also appear at the top of the screen. nine0018
- Interactive Instagram stickers*. Questions, tests, polls, mentions, geolocation, music, hashtags and so on. To select stickers, click on the sticker icon in the upper right corner or swipe up from the bottom of the screen. Read more about them in our article with an overview of new stickers.
- Masks. Filters and AR masks to decorate stories. There are masks both from Instagram* itself and from users. To get as many creative masks as possible, subscribe to major bloggers who create such masks. For example, bloggers ya.molli or georska. nine0018
Once you're done with your stories, select the publish option at the bottom of the screen:
- Your Story.
 Stories are immediately published on your profile, and all users can see it.
 - Close friends. Stories will only be seen by users that you have added to your Close Friends list.
- Right arrow. An additional menu will open, which has the function of sending stories in a private message. nine0018
Stories, like posts, can be posted from other applications, only when choosing a placement, you need to click "Stories".
Check out the Instagram Stories* section of our blog for inspiration on how to use Stories on both your personal blog and brand account.
If you feel uncomfortable publishing posts and stories from your phone, use services for publishing from your computer, such as SMMplanner. With it, you can design and post posts and stories from your computer and specify the time at which they will be automatically published. nine0003 Scheduling a new post on Instagram* from a computer via SMMplanner
What is the convenience of delayed posting and how to post on Instagram* from SMMplanner, read in our article "Delayed posting services on Instagram*: why they are needed and how they work".
Briefly about the main
Universal algorithm of actions for posting photos on Instagram* from the phone:
- download the Instagram application*, register or enter your profile;
- click on [+] in the upper right corner and select "Publication" or "History"; nine0018
- edit media file, add interactive elements or labels;
- click the "Publish" button.
Done! Your first story or post is already in the feed.
How to create a mosaic on Instagram*
October 27, 2017 Web Services
Turning your Instagram* into a work of art is easy. It is enough to evenly cut the photo you have taken.
What kind of mosaic? nine0007
Just look at what @micahnotfound or @c.syresmith are doing with their accounts. You can do the same.
How to do?
Desktop editors
You can cut a photo into equal parts in any graphics editor such as Photoshop or GIMP.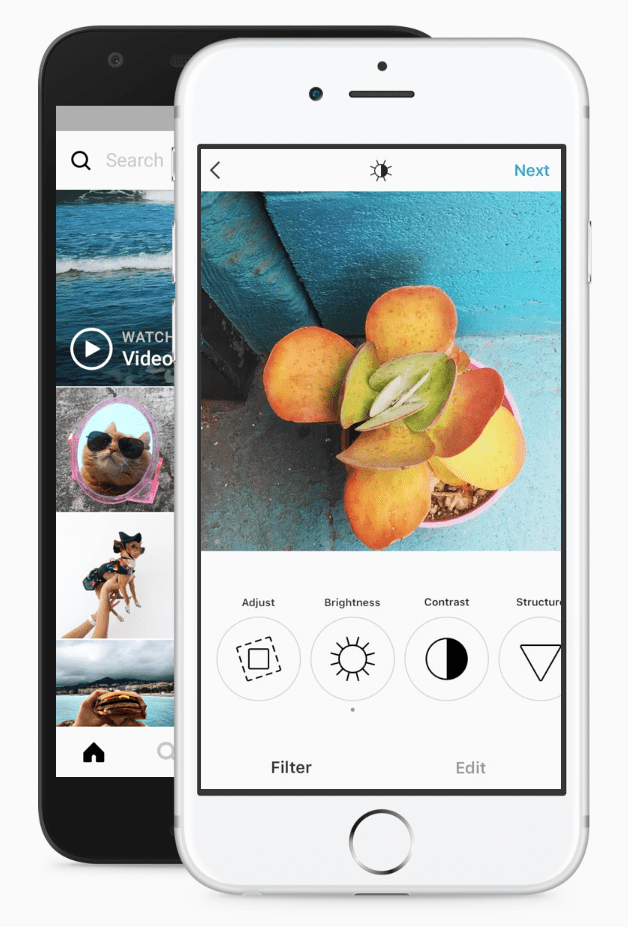 Just open the photo in the editor, divide it into equal square parts and save each part as a separate file.
Photoshop
From the View menu, choose Show→Grid. Go to the Edit menu and open Preferences → Guides, Grid and Slices. nine0003
You can divide the image into parts depending on the panorama you want to create. Just enter the desired value in the "Internal division by" field.
Now that your image is divided into parts, select and copy the desired fragments into separate files.
GIMP
Go to the View menu and enable the Show Grid and Snap to Grid options. Then click on "Image", select "Adjust Grid" and split the image into parts.
Select parts of the image one by one, copy and save to separate files using "File" → "Create" → "From clipboard". Use the hotkeys Ctrl + C and Shift + Ctrl + V to speed up the process.
Web services
Divide a photo into equal parts using web services such as Griddrawingtool.com and Imgonline. com. It's faster and easier.
When the image is cut, you can start uploading. Just remember to upload the bottom right piece of the photo first and the top left piece last. nine0003
Mobile Apps
There are many mobile apps that create and upload mosaics to Instagram*. With them, you do not have to bother working in graphic editors.
iOS
Grid-it
This application can cut apart photos you have taken or images in your gallery. True, you will have to upload fragments to Instagram * one at a time.
Download
Price: Free
Grids
Another application for splitting photos into parts. You won't need to save each snip individually as the app has the built-in ability to send snippets directly to Instagram*. You can choose colors and gradients for the tiles to add variety to your mosaic.
Download
Price: Free
Android
9square
Very simple app to crop photos and upload to Instagram*.

