Home / How-to Guides / How To Create @Facebook.com Email Address
Posted by: Roshan Karkera in How-to Guides, Internet Last updated on October 14th, 2017 11 Comments
Update: On Feb 2014, Facebook officially announced retirement of its Email Service.
Credit: The Verge
Facebook has its own email service which was launched a year back however this service was intentionally used to communicate socially on Facebook and Not as an email Id like Gmail and Yahoo. You can setup and create @Facebook.com E-mail Address. You can use this E-mail Address for sending and receiving messages. But in this format of the E-mail Address, you do not have the general fields like subject lines, CC (Carbon Copy) and BCC (Blind CC) which you find in Gmail, Yahoo Mail.
Facebook gives its users E-mail Address which match their public usernames like: [email protected]. For Eg: If your Facebook username is roshan. karkera (facebook.com/roshan.karkera), then your new Facebook email address will be [email protected]. It is necessary that you have a Username for your Facebook Account. If not, go to Account Settings and you can setup your Facebook Username URL. You need to be careful while setting up your Username as you can’t change it once it is done. Check How to Create Facebook Vanity URL .
1. Login to your Facebook Account and click here to open request webpage. Click on invite button at bottom right. When your invite is accepted, Click on Go to Messages in your Facebook Account. On the Messages page, you can see Claim your Facebook email in the top section of your Facebook Account.
2. Click on Claim your Facebook email
3. You can see you email id here which is been set acceding to your Facebook username, Now Click on Activate Email.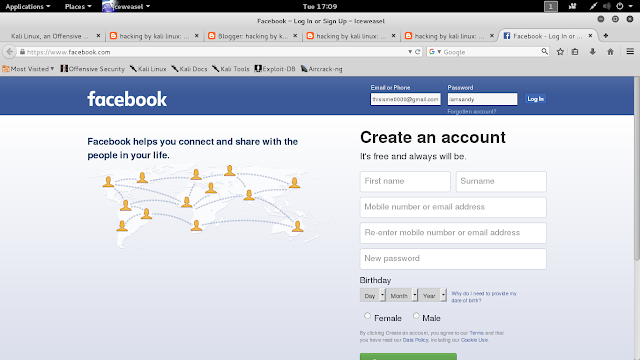
4. Click on Next will allow you to “Turn on text messaging”, which you can activate or skip. As you see that you have successfully created your @Facebook Email Address.
5. Click on New Message to Send Mail, Enter the ID in ‘TO’ Field and Type your Message and Click on Send. Your message will be delivered to recipient.
FacebookGuidesInternet 2012-01-04
Previous: Top 10 Most Visited Sites of 2011
Next: Google+, the latest buzz in social media marketing
Roshan Karkera a.k.a. k.roshan. Blogger by passion and software engineer by profession. He believes in sharing knowledge, which made him to start his own blog. He is very much keen & passionate about new technology & Science. If you'd like to connect with him, follow at Google plus or Twitter.
By Berta Ventura, on 21 January 2022
Have you thought about creating a Facebook account? Maybe you haven't decided to join this social network yet, but you're curious. Or maybe you're looking to create a Facebook Business page? Or perhaps you already use it regularly but want to know how you can further customize your account and better configure your privacy settings.
Facebook, now known as Meta, is a network that offers a lot of options to its users. In this guide, we’ll show you how to create your Facebook account step by step, and set up all your options to get the most out of it.
Creating a Facebook account is the first step to being able to create Facebook Ads and promote your brand, so let’s get started!
Go to www.facebook.com
Enter your name, email or cell phone number, password, date of birth, and gender. If the system indicates that your password is not secure enough, try adding more characters or combining upper and lower case letters.
Click Create an account (remember you must be at least 14 years old to do this).
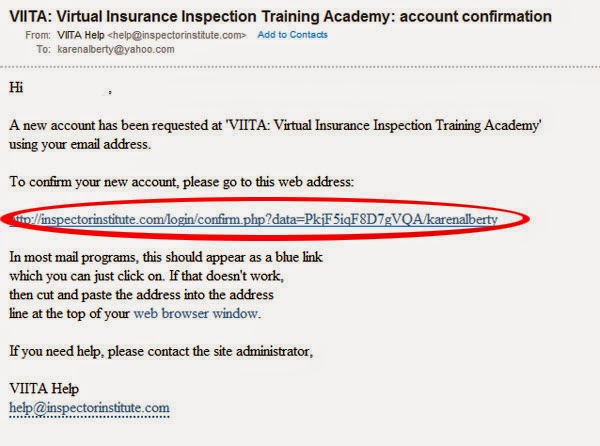
Finally, you'll need to confirm the email address or cell phone number you entered earlier. To confirm the email, click or tap on the link in the confirmation email you receive. To confirm the cell phone number, you must enter the code you received by SMS in the Confirm box, which will appear when you log in.
The first thing you'll need to do to create a Facebook account is to install the Facebook application on your cell phone. To do this, go to the corresponding app store (App Store for iPhones and Google Play for Android phones), find the Facebook application and download it.
If you have space problems on your cell phone, you can download Facebook Lite, which is a reduced version of the Facebook application. It takes much less time to install, but retains the same basic functions as the normal application.
Once you have downloaded and installed the application, open it. On the home screen, and click Create Facebook Account.
Then click Next.
Enter your first and last name.
Enter your date of birth.
Enter your gender.
Enter your mobile number for verification.
Choose a password.
Finally, click on Register. If there is a problem with your password, the system will ask you to go back and change it.
And that's it! The application will automatically log in. You can tell it to remember your password so that you can log in by touching the application, without having to write down your details each time.
If you have followed the steps above, you have already managed to create your own Facebook account. Welcome! Let's see how to use this social network and take advantage of the different options it offers.
Your Facebook account is like an online letter of introduction, which serves as a way for other users to find you. That's why, after creating your account, the next thing you need to do is to personalize it.
To begin with, change your profile and cover photos since they are the most visible elements.
 Its large size makes it ideal for images such as your favorite landscape, some illustration, or a photo of you practicing a hobby. It must be at least 720 pixels wide.
The crux of a social network is to see what other people publish and to share your own content. To do this, you have different options.
Adding friends is a fundamental step. Unlike other networks where you follow strangers, on Facebook, it is typical to add only people you know to your contacts.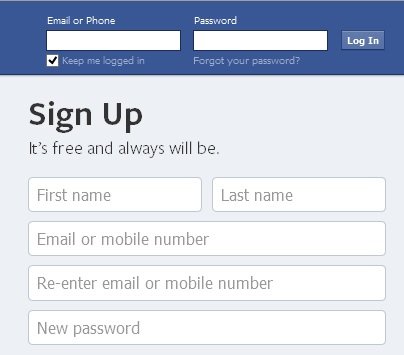 To do this, follow these steps:
You can also find friends by uploading your contacts from your cell phone or by using the People You Might Know feature, where they will show you suggestions of people you might know.
Another option to view and share posts is to join a group. On Facebook there are groups related to many different topics with three different levels of privacy:
 Anyone can see the description of the group, but posts are private.
Finally, you can also view public content through fan pages. You can see the publications on a page by entering it directly or by clicking on Like or Follow to have them appear in your news section.
Are you ready to share your thoughts with the world? Just follow these steps:
 If you want to see all the options, click on the three-point icon to the right. For example, you can choose between photos and videos, locations, stickers, etc. You can also tag other friends in the post.
To publish to a group, you will have to select the group in and, once inside, click Write Something. As with the information you publish on your wall, you have different options such as text, photos or videos, surveys, add files, etc.
Another option to share content in public is on Facebook fan pages. In the last section of this guide, we explain how to create yours.
Privacy is one of the issues that most concern Facebook users, so it's critical to set it up right from the start. To view and change your privacy options on Facebook, click the arrow in the upper right corner, and from there, click Settings. Then, select Privacy from the left sidebar menu.
Once there, spend some time exploring your options and choosing the ones that suit you best. In particular, take a look at the following:
 Here you can decide that advertisers cannot use information about you to show you personalized ads. You can also edit the Interest categories (topics that Facebook thinks you are interested in and that are used to show you personalized ads).
Facebook Pages are used to promote companies and brands, but you can also use them to get in touch with other fans of an artist, promote your website or blog, or create a community around a topic that interests you. To create your own Facebook business page, follow these steps.
Go to the page creation page: www.facebook.com/pages/create/
Choose the type of page you want to create.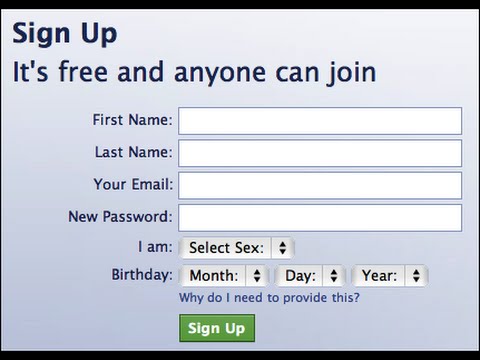 There are six categories in total: local place or business, company, organization or institution, brand or product, artist, music group or public figure, entertainment, and cause or community. Yours may not fit perfectly into these types, but don't worry: choose the one that works best.
Choose the name of your page. This is a very important step since the name of the page is what makes it possible for other people to find it. To help you choose a good name, you can think about how you would look for a page on that topic.
Choose the profile and cover image. To make them look good, make sure they have the recommended dimensions: 180 x 180 pixels for the profile photo and 851 x 315 pixels for the cover image. Later on, you can return to this option and choose a slideshow or a video for your cover image.
Choose whether you want to automatically reply to messages sent to you by other users.
Complete the information on your page. Here you have four different categories to fill in: general, contact (phone, web, email, and related links), location (only for businesses with physical locations), and schedule.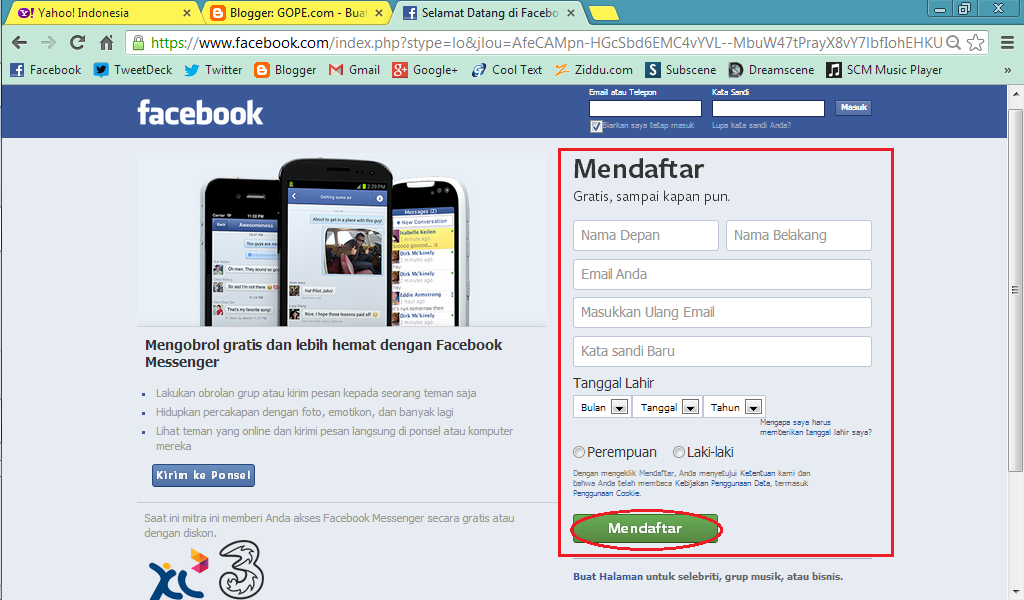
Customize the tabs that are displayed on the page and add a call to action button, for example, so that users can contact you or download your application.
With this, you can learn how to create a business page after you create a Facebook account for yourself.
You've got it! Your page is ready to be shown to the world. To get more followers and create a community, remember that it is important to publish content frequently: links, photos, videos, etc. It is also very important to respond to comments and messages from your followers.
Facebook is one of the largest social networks on the planet. With millions of profiles, users update a huge amount of information every minute. When it comes to account management, it's extremely important to make sure your email address is correct and up-to-date. It keeps your account secure, allows you to receive email notifications, and guarantees a smooth login process.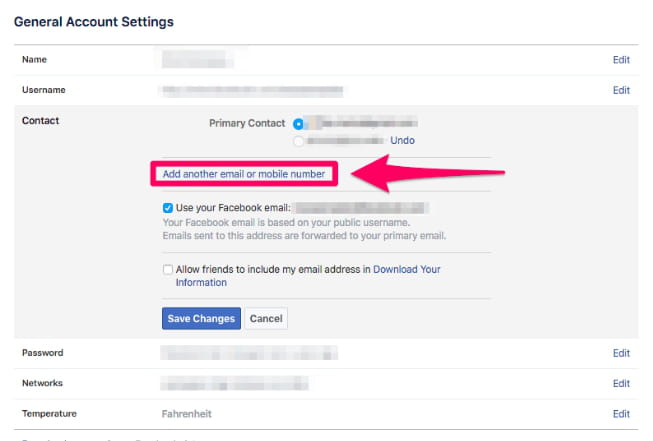
In this article, we'll look at the process of changing your email address and what you can use it for on Facebook. And that is not all. We'll also show you how to add a phone number or change your profile information.
If you want to change your email address on Facebook, you need to do the following: )

If you want to change your primary contact email address on Facebook, you should do the following:
If you can't edit or change your email address, the first thing you need to do is open your "General Account Settings" and see what is listed see if your email address is there. If you cannot find it, you will have to add it again. When you've completed the process, your new email address should work. Make sure you entered your email address correctly and you shouldn't have any problems.
The best thing you can do if you can't change your primary email address is to contact Facebook and ask them for help. Also try using their Community Help Center to ask questions or find helpful answers.
If you want to change your email address using the Facebook mobile app, follow these steps:
If you want to change your Facebook email address in a browser or on any computer, here's what you need to do:

Deleting an email address from Facebook is a simple process that will only take a few minutes of your time. Here's what you need to do:
You can easily add or remove your phone numbers from your Facebook profile. Apart from your email address, your phone number and password are the most important information in your profile that you should not share with others. If you need to change or add a phone number to your Facebook account, here's what you need to do:
• Open Facebook.
• Click on the arrow icon in the upper right corner.
• Tap Settings & Privacy and then tap Settings.
• Then click Mobile and click Add Phone or Add Another Mobile Number.
• Enter your phone number and click Continue.
• You will receive a text message confirming that this is your phone.
• Enter your verification code.
• Finally, click "Confirm" and you have successfully added a new mobile phone number.
If you have a problem with your Facebook profile, you can contact them in various ways. Sending them an email is just one of them, but you can get a response faster if you use their support area and Help Center.
Since it is one of the most popular social networks, everyone knows or uses Facebook.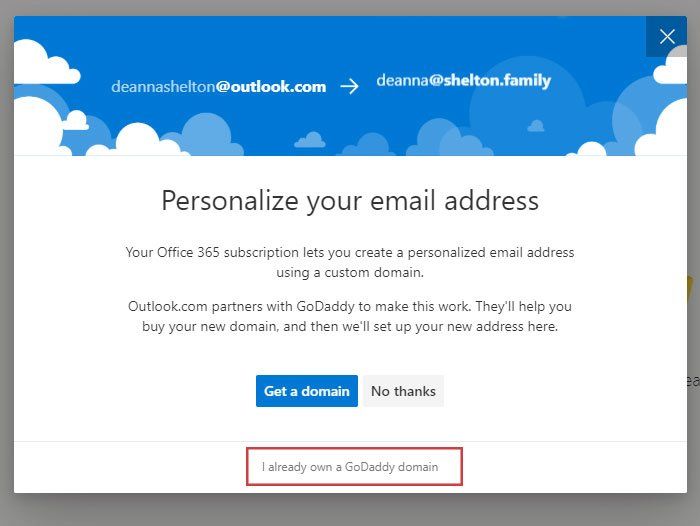 However, many people created their profile using one of their first email addresses, which may no longer work. If you want to change your email address and switch to a more professional one, now you know how.
What's more, you can use it for many things. Have you ever changed your Facebook email address? Do you still use it regularly?
Let us know in the comments below.
Programs for Windows, mobile applications, games - EVERYTHING is FREE, in our closed telegram channel - Subscribe :)
How to create an email for Facebook. Would you like to subscribe to Facebook because almost all members of your family use it, and you don't want to "disconnect"? Of course, you don't want to give out a mobile phone number and found that you can also subscribe to a well-known social network via email.
Well, if that's the case, know it's a manual! In the following paragraphs, I will have the opportunity to explain in detail how to create an email for facebook using basic email services.
By creating a new email address, you can use it to subscribe to the social network founded by Mark Zuckerberg and communicate with family, friends and colleagues registered in it.
Postcode
you how to do it with some of the major email services.
One of the best services you can turn to for creating a new email address is Gmail , which allows you to have a free mailbox with the suffix @gmail.com , 15 GB of free cloud storage and access to various Google services, such as YouTube and Google Drive.
To create a Gmail mailbox, go to this page, fill in the text fields in the registration form that appears on the screen, providing all the requested information (for example, first name , last name , username , password etc. ) and press the button Confirm . Then provide information about your phone number , recovery email address , From date of birth y el sex. And again press the button Confirm.
Now check the boxes I accept the Google Terms of Service , I accept the processing of my data as described above and as explained in the privacy policy to accept the terms of service and privacy policy, and click the button Create an account .
At the end of the operation, you will be able to access Gmail by connecting to this page and entering your login credentials in the appropriate text fields, setting up an account in your email client, or using the Gmail app for Android e iOS. You can then use the email address you just created to register with Facebook.
If you want to create an address with Outlook, know that the Microsoft email service allows you to create an email account with the address @outlook.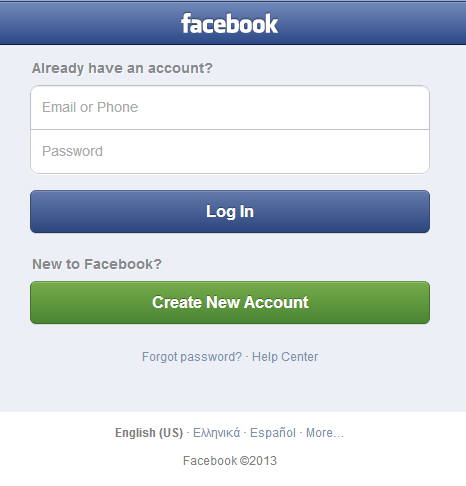 com , @outlook.it es @ hotmail.com , have a mailbox with 15 GB of online storage and access to the web version of the application de Offices (Word, Excel, etc.).
To create an Outlook account associated with this page, click Create a free account is located in the center of the screen, provide with the username you want to use (which will be the initial part of the email address), click the Verify button and select the suffix you want to use for the email account (for example, outlook.com . Outlook.it o hotmail.com ).
Then select from the corresponding drop-down menu the password to use and press the button Confirm to proceed to the next step.
Then provide your information Name , out of surname Click on the button confirm Select Geographical district and Date of birth Click on the button confirm , write symbols of the test 9026 .
Now press the button (>) select language and time zone you want to use for your account, select subject want to apply to the service interface, click again (>) select signature you want to use and sequentially in (>) start .
This will create your Outlook email account and you can access it from this page by setting up your account in your email client or using the official app for Android and iOS.
Yahoo is another email service that you can contact to create a Facebook registration email. By doing this, you can get an email address with the suffix @yahoo.com completely free of charge, thanks to which you can also get 1 TB of disk space.
To create a Yahoo email account, go to this page and fill out the form provided, filling in the appropriate text fields with all the requested information: Name , Surname , User Name , Mobile phone number , month of birth , . ..
..
Click on button after Press on the blue button CON then enter in the appropriate text field the code that you should have received by SMS to the number you indicated above.
Finally, press the buttons check , after y Good To complete the operation.
Now that you've created your Yahoo account, know that you can access it from your login page, by setting up an account in your email client, or by logging in through the official app for Android and iOS.
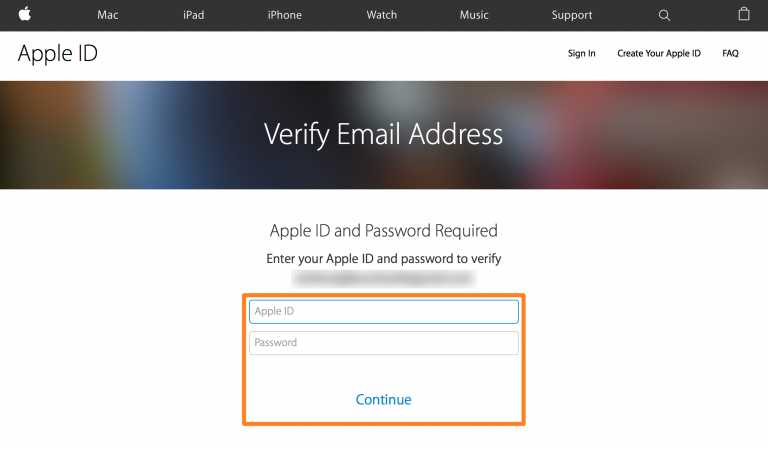
If, on the other hand, you want to create an email address with iCloud , be aware that you will be given an account with 5 GB of free storage at iCloud Drive and use your email address to store data and sync with all devices associated with your account.
However, please note that you must have a different email account to receive email with the suffix @icloud.