Social media platforms like Instagram do a pretty good job of letting you share posts and stories and chat with your friends. However, some options like creating an Instagram group aren’t that transparent.
If you want to know how to create an Instagram group, this article has you covered. In addition, you’ll find tips and tricks for using Instagram groups, navigating through the settings, and some other helpful information.
Don’t bother sending tons of separate messages anymore; create IG groups instead.
You probably already have the Instagram app on your phone, but remember to update it regularly. This will keep the app running optimally. Here are the Google Play Store and Apple App Store links to save you some time.
Note that the browser version of Instagram doesn’t support direct messaging, let alone creating group chats. We’d avoid it entirely unless you need to take a quick peek at someone’s post or story while on your computer.
The reason Instagram groups aren’t commonly used is that Instagram doesn’t make the function easy to find. You need to jump through hoops to find groups, but once you do, everything’s pretty straightforward. To help you along the way, we’ll show you the entire process, step by step.
Let’s get straight to it. Follow the steps below to create an Instagram group:

That’s how you create an IG group. Then, you can browse many options and change the group settings. You can even add more members to the group. Here’s how:
You’ll see many other great options on this page. You can mute messages, individual members, or even leave or end the chat. Those options are near the bottom of the group chat settings page.
Also, there’s a Shared tab, under which you’ll see all the media shared with the group (images and videos). Other group members can freely add people to the group unless you turn on the option for Approval Request to Join.
Next, you (being the admin of the group) can approve all new members prior to joining.
Those were the settings, but what about the options? Group chats function nearly the same as direct one-on-one messaging. You can send audio and video recordings (photo or video), add documents and files, stickers, or send messages.
Additionally, you can start video calls with the group, which isn’t recommended if there are too many people involved. Note that you will need a stable and fast internet connection for video calls.
When you send something, you’ll see which of the members have seen the post. This will be instantly updated whenever you’re connected to the internet. Logically, you need an internet connection at all times to chat in groups, as well as to send any files or photos.
A final tip, you can actually unsend a message in a group chat. Just long-press the message you want to be removed, and press Unsend Message. This has a cool poof animation, which makes the message vanish.
Here are the answers to more of your questions about Instagram DMs.
Fortunately, you can easily remove a member from your Instagram group. Here’s what to do:
1. Navigate to the group and tap on See Group Members.
2. Scroll down and tap on the three dot icon next to the user’s name.
3. Tap on Remove User.
The page will refresh and that member will no longer be a part of your Instagram group.
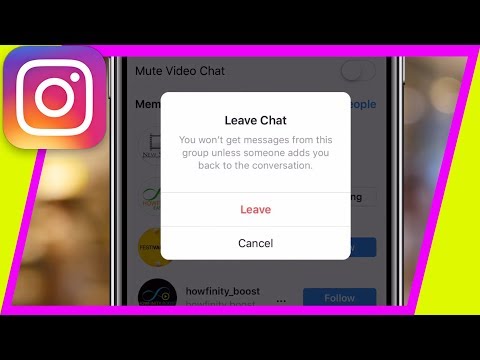
Yes! If you want to leave a group you can do this:
1. Open the group and tap on See Group Members.
2. Scroll to the bottom of the page and tap Leave Group.
Now, you won’t receive any notifications or be able to participate in the group.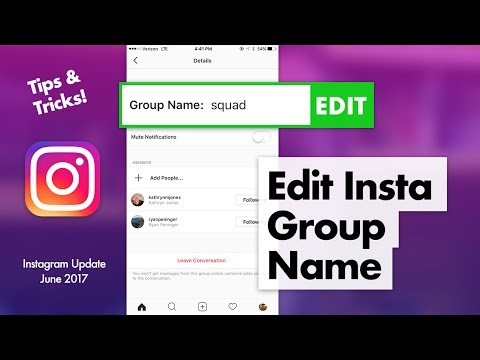
You can now enjoy texting in groups on Instagram. Note that a single group chat can host only 32 people at once. This should be enough for any large group of friends, classmates, coworkers, etc. Since everyone in the group can see what you’re sending, a little care is advised.
Basically, anything that applies to direct messaging applies to group messages too. Have fun experimenting with all the cool features of group chats. Or maybe you think Instagram should improve the visibility of groups in general. Let us know what you think in the comments section below.
Home » How To Create Group Chat On Instagram? A Step by Step Guide
Most of the features of Instagram are simple to use, but few things like the process of creating group & chat features are not transparent. If you are struggling to find out how to create a group chat on Instagram and you are looking for a step-by-step guide, this article is for you.
Let’s get started :
Table of Contents
How to make a group on Instagram android?To create a group on Instagram, you need two to three people. Ready with your friend’s list?
That’s it! Your group is ready to have fun. But, your group won’t get completed until you send the first message.
How to make a group on Instagram androidHow to add more friends to your Instagram chat?
So now, you have created your Instagram group for chatting and sharing your ideas with your friends, what if you want to add more members?
Here is how you can do it,
Similar to WhatsApp, you can also remove members from your group. To do this, just click on the remove friend option beside the account name.
How to add more friends to your Instagram chatHow to leave a group chat on Instagram?
If you are frustrated with the bombarding messages, you can simply leave from the group chat.
Here is how you can do that,

That’s it. Now you can use Instagram without having random messages. If you don’t want to get added in random group chats, follow these steps,
Now no one can add to random group chats unless you accept a group chat invite.
How to use Instagram without having random messagesInstagram group chat settings
If you are the admin of the group, you can do multiple functions.

At a single time, you can add only up to 32 people to your group. You can do all the activities that are accessible in your normal messages.
We hope that you find the answer on how to create a group chat on Instagram.
Instagram group chat settingsAlso Read: How To Save Instagram Story With Music In Gallery (3 Methods)
PrevPreviousHow To Save Instagram Story With Music In Gallery (Story Saver App)
NextHow To Delete Instagram Call History Permanently (2 Methods)Next
In this article we will tell you how to create a group in Instagram Direct, how to name it, add new members and how to apply all this in your work.
Start placing official ads in Telegram Ads. Get ahead of your competitors!
Register and sell goods or services in Telegram Ads using a ready-made solution from Click.ru .
Read more>> Advertising
Read also: 10 best Instagram mass messaging services
Let's start by creating a group.
Step 1. Go to Instagram and open private messages (messenger).
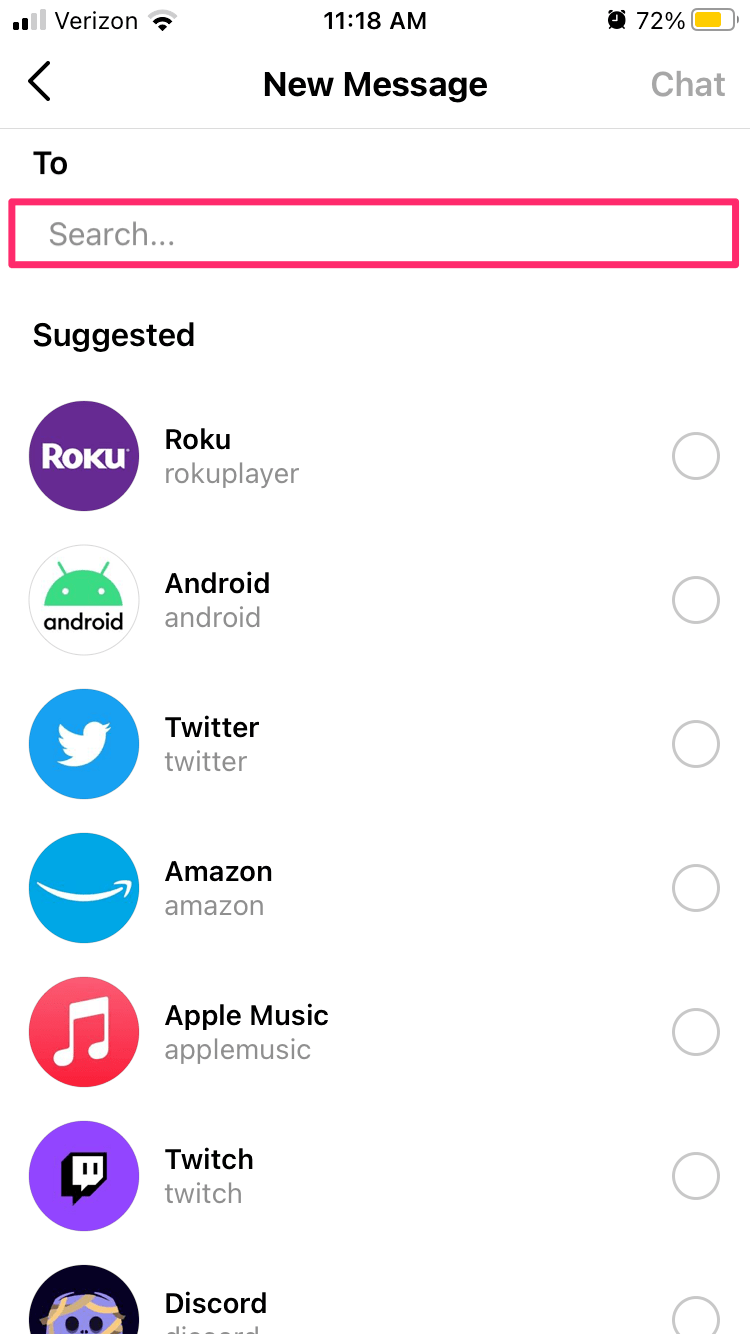
Step 2. To create a chat, click on the pencil icon in the upper right corner.
Step 3. Add chat participants and click Create Chat.
Note that more than one recipient must be added to create a group chat. More people can be invited later. Done - the chat is created!
Step 4. Think of and write the name of the group. To do this, open the chat settings by clicking on the chat itself at the top or the “i” icon.
After choosing a name, tap "Done" to save the changes. Here you can also turn on or off notifications for new messages and mentions.
Step 5 . Set up an avatar. To do this, click "Change Group Photo" and choose whether to take a photo or upload from the gallery.
Step 6 . If you want to pre-screen who is added to the chat, for example, to protect your community from spammers, then you can turn on "Approval of new members by the administrator.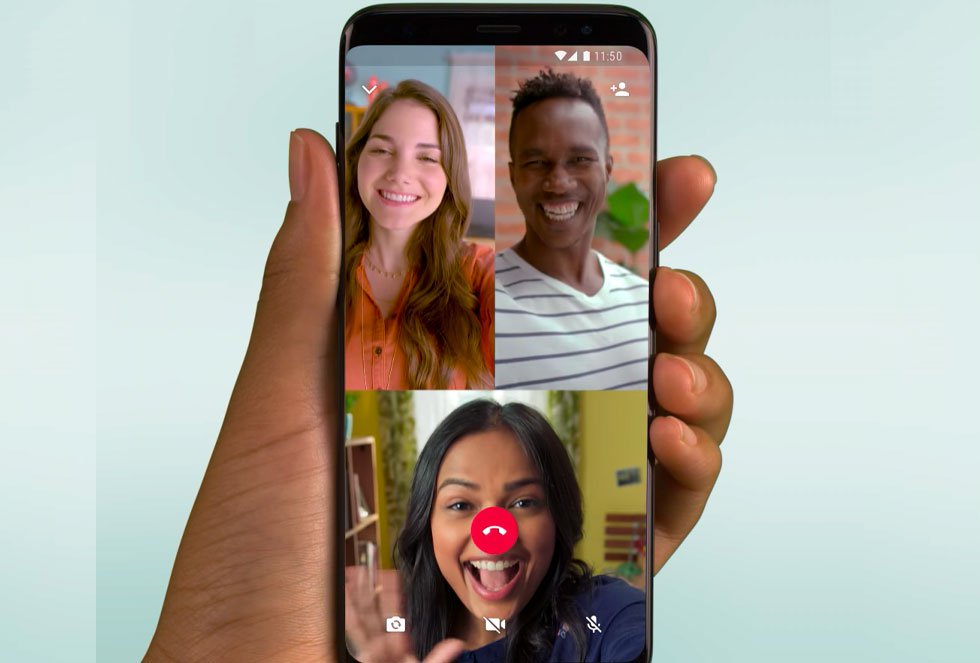 " You can do this in the "Other actions" section.
Below you can move the chat to the "General" tab or vice versa "General".
Step 7 . Chat. In the chat itself, you can send a text or voice message, use quick replies and stickers, share a photo or video, repost a post or story.
On the top panel, you can start a video call, pin a chat with a flag, and go to the chat settings.
Step 8 . To add people to the group, in the settings we go down a little lower and in the "Participants" section, tap "Add People".
After that, enter the name or nickname of the person, check it and click "Next".
At the moment there are no restrictions on adding members, you can add an unlimited number of users.
How do I remove a person from a group? In the settings, scroll down to the item with all participants, find the desired user, click on the three dots next to them and in the menu that appears, click "Delete user".
At the moment, you cannot delete the group, you can only leave the chat. To do this, in the settings, below the list of participants, click "Leave the chat."
Leaving the chat means leaving it and losing access to the correspondence until someone adds you again. However, if you were the admin of the group, you will need to assign a new admin or it will be selected automatically.
At their core, groups or group chats are an alternative offered by Instagram, channels and messenger chats. Accordingly, their use and application are approximately the same.

After you have created and set up a chat, draw up a set of rules for its participants and consider what sanctions await violators. If the chat is supposed to have a large number of participants, then most likely moderators will be needed to monitor the chat while you are not online.
Useful links :
Don't miss the update! Stay up to date with new features of social networks and advertising platforms — subscribe to our Telegram channel. With us the most relevant news, with you - a subscription: See what channel Advertising
more articles on the topic:
advertising
has a multi-million audience, which does not cease to increase every day. Therefore, it is not surprising that many people use this platform as a tool to make money. In the network, you can get promoted perfectly, and then receive income. This is quite realistic to achieve with the help of various advertising campaigns or group publics. Don't be surprised, chats with interesting content become successful pretty quickly.
If you still don't know how to create your own group on Instagram, don't worry. Let us help you figure this out. To do this, we will talk about the principle of registering a community, as well as their administration, promotion and removal. So stay with us and you will surely find a lot of useful things for yourself.
If you have not yet understood what publics are for, then we will repeat. When a group chat has good content, it is more likely to attract a huge audience and you become popular among users. You may then be approached by major firms/companies to purchase ad space from you. As you probably already guessed, advertising from a famous blogger is now very expensive. Therefore, the conclusion: groups are needed for a decent income.
Do not "lose your head" from the first success, because at any moment you can scare away your followers. Therefore, remember: you need to not just click “Create a chat” - “Send a message” a couple of times, but you need to adhere to certain principles and not reduce the quality of the content.
Let's not hesitate and get straight to the point - we will try to create a new community. It is not as easy as it may seem "in words". Therefore, carefully read the step-by-step instructions and try not to deviate much from it.
For convenience, we will divide the procedure into several stages:

Let's consider each of them separately.
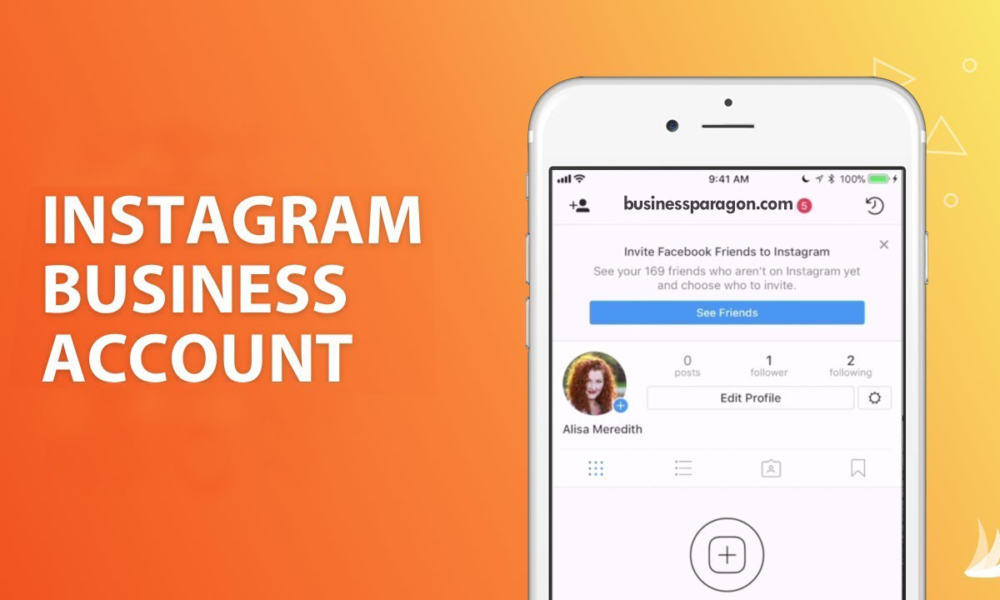
If you decide to take care of the administration of the chat, you will need to create a separate business account for the community. This is done as follows:
You must immediately switch to the commercial account type.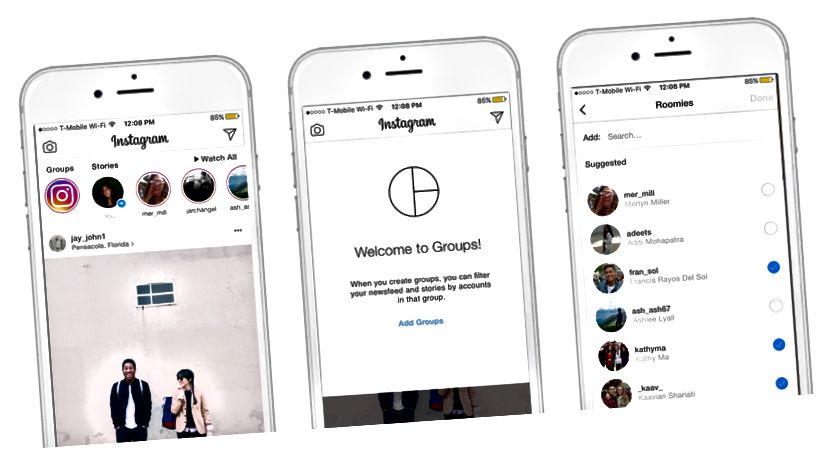 For this:
After that, you will need to edit the profile (the “person” icon on the bottom panel). Provide a website, contact details, and "About Me" information (such as what you do).
Important. In the "Accounts" - "Linked Accounts" section, you can synchronize Insta with Facebook, Twitter, Tumblr, Ameba, Odnoklassniki. This will open up the possibility of cross-posting.
When the page is created and there are already a couple of subscribers, you need to start the chat. The algorithm of actions for this is as follows:
 You will see dialogues in Direct.
 Done. Now all your participants can exchange messages with each other.
Good to know. In the chat settings, you can change the name of the group, as well as enable or disable notifications for this public.
You can always add a new member to a group. To do this, you need to open the chat settings by tapping on the icon in the form of "i" in a circle, and select "Add people". Then check the box next to the one you considered necessary to invite to the community and click "Finish".
Please note that a person does not immediately get into your public and see messages in it. First, he must give his consent or refusal to join the group in the "Notifications" section.
If you don't like a member, you can easily delete it. You are the admin. Open the chat settings and scroll down the screen to the right person. Click on the "three dots" button and select "Delete User".
If, on the contrary, you want to give someone the functions of an admin, then in the same way open the subscriber's menu and tap "Make administrator".
Proper administration of the Instagram public is the key to the success of a group chat. To get started, here are some simple rules to follow:

Good to know. To complain about a message in the chat, hold it down and click on the corresponding button.
Like any other new group, yours needs a good start. Without it, it will be difficult to gain a “decent” audience. For promotion and promotion:
 This will allow you to constantly draw attention to yourself.
Recently, Instagram has removed the option that would allow you to synchronize the page from the photo network and the Vkontakte account, but you can still link them. To do this:
If you want to unlink your Instagram account from VK, then in the "Contacts" section, click on the "cross" icon located opposite the "Set up import" button.
If you are tired of your activity or there is not enough time for it, end the chat. To do this:
If you wish, you can permanently get rid of the community page. In the event that you really need it, then: