How to Make Slow-Motion Video Slow-Motion Video Maker Slow-Motion Video Instagram
Whether it's a glamorous shot of someone's hair blowing in the wind as they whip their head around, or an action movie showing the heroes marching into battle, slow-motion video has certainly made its mark.
It's a fun effect that can add some visual appeal to your Instagram posts. If you're wondering how to get slow-motion video on Instagram, you've come to the right place. This post will break down how to accomplish the effect and have you wowing your followers in no time.
Effects filters are a common part of any video or photo-sharing site these days. Instagram has their own set of video effects called Boomerang. Although using these effects once required a separate app, they've now been rolled into the core Instagram app. When creating your Instagram story, a slow-motion video can be a fun effect to add, and Boomerang makes it easy. Sometimes, though, you may want more control than the basic filter provided by Instagram allows for. For those times, we'll cover the basics of adding slow-motion in a video editor.
Using the Boomerang effects on your Instagram story couldn't be easier. From the Stories camera, swipe right to enter Boomerang mode. Once there, tap on the icon with the infinity symbol to reveal the effects. You will see several different effects available to you as well as the option to trim the video. For our slow-motion effect, we are interested in the effect called Slowmo. When you apply this effect to your video, the Instagram app will slow your video down to half its normal speed. If you'd like to adjust the speed by a different amount, you'll need to use a video editor outside of Instagram, covered next.
After you've applied the slow-motion to your video with the Slowmo effect, you'll be presented with two options. You can publish your freshly slowed video to your story right away, or you can choose to save it to your camera roll. Once in your camera roll, you can apply additional effects to it in external software or upload it to another video sharing site.
The exact process for slowing down the video will depend on the video editor that you are using. We will give a brief overview of how to perform the effect in Video Studio. For a more detailed explanation of the process, you can check out this post on the subject.
Time control effects in VideoStudio are called Time Remapping. You can find that dialog by right-clicking on the clip in the timeline you want to slow down. After activating time remapping, you'll need to select the portion of the clip you want to edit using the Mark In and Mark Out buttons in the interface. From there, you simply select the speed that you want to change it to. Note that time remapping in VideoStudio Pro can both slow down and speed up your video.
The best part about slow-motion video is that it doesn't take a lot of planning because you can add it to any video in your phone or on your computer. Sure, you can plan out the perfect slow-motion shot, but you can also quickly and easily play with the effect on every video you shot. Of course, you don't want to overdo the effect on the videos you post. If everything you post is a slow-motion video, Instagram followers may begin to think you live your life in slow-motion. Still, the occasional slow-motion video on Instagram makes for interesting viewing for your followers. Why not see how your videos look in slow-motion right now?
Summary
If you're wondering how to do slow motion on Instagram stories or record Slow-motion videos on Instagram Reels, you've come to the right place. This guide will show you how to make slow motion videos for Instagram stories and Reels, also share a third-party video editor to slow down the existing videos for Instargam.
Slow-motion is a fun effect that can add some visual appeal to your posts, and slow motion videos have been trending on social media platforms, like Instagram.
Have you ever wondered if you could make a slow motion video directly on Instagram Story or Reels? Or try to slow down an existing video for Instagram? This post will show you how to make a slow motion video for Instagram,including how to take a slow motion video on Instagram and slow down an existing video for Instagram.
Part 1: How to Slow Down Videos for Instagram Story & Reels
Part 2: How to Make a Slow Motion Video on Instagram Story
Part 3: How to Record a Slow Motion Video on Instagram Reels
Preview
New Arrival Reels End Screen
Use This Template
Preview
Summer Fashion Instagram Reels
Use This Template
Preview
Photo Blog
Use This Template
Also Read: How to Make Instagram Reels with Multiple Photos >
You've taken a funny but regular-speed clip and wish to make it slow motion for Instagram? However, Instagram doesn't allow you to slow down or speed up an existing video you've recording. For this case, a third-party video editor is needed.
We'll show you how to slow down videos for your Instagram stories or reels online for free with a powerful video maker, FlexClip. It works best to edit a video into slow motion for your Instagram stories or reels.
Now, click on the Get Started Now button and follow the simple steps below to make a slow motion video for Instagram.
Get Started Now View Templates
Step 1
Go to the Media option to upload your own video clips and apply them to the Timeline. Here, remember to pick the proper ratio od 9:16 for your Instagram video.
Make Slow Motion Videos for Instagram Online for Free - Add Media
Step 2
Next, go to the Speed icon on the top menu to change the speed of your video and slow down the clip.
Make Slow Motion Videos for Instagram Online for Free - Slow Down
Step 3
(Optional) You can make other edits to level up your video, like add filters, transitions, animated texts, BGM, voice-over, or watermark, to level up the video at your wish.
Make Slow Motion Videos for Instagram Online for Free - More Edits
Step 4
When you're done the editing, you can view your slow motion video with the Preview button. If you are satisfied, download it to your computer and share it on Instagram.
① How to Fix "Instagram Story Video Blurry" Problem
② How to Fix "Instagram Music Not Working" Issue
③ How to Fix "Instagram Story Lagging" Problem
To help you do the slow motion on your stories, Instagram has its own set of video effects called Boomerang. Using the Boomerang effects on your Instagram story to make a slow motion video couldn't be easier.
Step 1
Open the Stories camera inside the Instagram app and then swipe the bottom of the screen until you are on Boomerang mode (an infinity symbol).
Make Slow Motion Video in Instagram: Step 1
Step 2
Start recording the boomerang, and once done, click on the infinity sign in the top right corner.
Make Slow Motion Video in Instagram: Step 2
Step 3
Then, the different effects will pop up, choose the SlowMo effect, the second one from left to right, to slow down the video.
Make Slow Motion Video in Instagram: Step 3
Step 4
You can add text, gifs, or drawings the same way you would to any Instagram Story.
Step 5
Once down, you can post your new, slow motion video the way you usually would, by clicking on the "Your Story" button at the bottom left of the screen.
When you apply the SlowMo effect to your video, the Instagram app will slow your video down to half its normal speed. If you want to adjust the speed by a different amount, you can turn to another slow motion video editor, like FlexClip, we shared above.
Instagram Reels also allows you to create reels with lots of unique features, including the slow motion effects. Making a slow motion video has become very easy on Instagram reels. What you need to do is change the speed of the video while recording.
Step 1
Start the Instagram App and tap on the Camera icon to enter the Reels video mode by tapping the Reels at the bottom.
Step 2
Now, you can see some options, including the Audio, Speed, Effects, and Timer. To create slow-motion videos, focus on the Speed and choose 0.3x or 0.5x slower speed to record your video.
Make Slow Motion Video in Instagram Reels
Step 3
You can also choose different filters or effects and create videos with popular songs, just do as you would to any reel.
Step 4
When you're ready to record a new video, tap the record button to start recording your video.
Final Words
That's all for how to make a slow motion video for Instagram. Whether you are going to make a slow motion video for your Instagram Story or Reels, you can always find a convenient way to slow down a video easily. Find this post helpful? Please share it with others so that more people can benefit from it.
Sandy /
Has 4-year of professional photographing experience. Very much into recording every detail of life. She is passionate about all things related to video production, and loves to exploring tips and tricks about it.
Help Center
Instagram features
Sharing photos and videos
From July 2022, most videos will only be able to be shared using the Reels feature. These changes will not affect videos previously posted to the feed and posted to Instagram on the web.
The Reels feature is not yet available to everyone. Some account holders will be able to view Reels videos, but will not be able to shoot them.
Reels function allows you to shoot and edit 90 second Instagram videos. Reels videos can be overlaid with various effects and music, as well as use original audio tracks in them.
Video Recording Reels
Instagram app for Android
Tap the icon at the top of the screen or swipe right anywhere on the feed.
Scroll to the Reels option at the bottom of the screen.
Tap and hold to record a clip, or tap this icon to start recording and again to end. You can also click on the camera roll at the bottom left of the screen to add a video from it.
Press Preview.
Select Edit Clips to view, trim or delete your previous clip and click Done.
Tap the appropriate icon at the top of the screen to add stickers, pictures, and text to your Reels video. Click to download the video to your device. Use the slider at the bottom of the screen to choose when you want the text to appear on the video and click Next.
Click Edit Cover to edit the cover photo and add a caption.
Select Share or Share to Reels.
Instagram app for iPhone
Touch the icon at the top of the screen or swipe right anywhere on the feed.
Scroll to the Reels option at the bottom of the screen.
Tap and hold to record a clip, or tap this icon to start recording and again to end. You can also click on the camera roll at the bottom left of the screen to add a video from it.
Click Next in the lower right corner of the screen.
Select Edit Clips to view, trim or delete your previous clip.
Tap the appropriate icon at the top of the screen to add stickers, pictures, and text to your Reels video. Click to download the video to your device. Use the slider at the bottom of the screen to choose when you want the text to appear on the video and click Next.
Click Edit Cover to edit the cover photo and add a caption.
Select Share or Share to Reels.
Note. You can record one or more clips up to 60 seconds in total. The progress bar at the top of the screen will show the remaining recording time. If you post a Reels video in Explore, it will also be available in the Reels tab on your profile.
Interactive stickers such as "Poll", "Challenge", question sticker and others cannot be used in Reels videos. Learn more about saving and editing a Reels video draft.
Jobs
Terms of use
Privacy
computer. And if you need to save the same file in several formats - for example, for the feed and for stories - cropping can take a lot of time.
To make this task easier, we have prepared a detailed guide on what Instagram video sizes are considered optimal, how different aspect ratios look in the feed, and how to quickly save an Instagram video in the correct size and format.
We use VSDC as the editing program. It is a free video editor for Windows that is suitable for both simple operations such as trimming and adding audio, as well as for more complex tasks such as creating a picture-in-picture effect, color correction, and working with sound.
Looking for a convenient and free video editor for PC?
Download VSDC
VSDC has special video export profiles for Instagram and other social networks in the required size. This means that you can automatically apply the optimal settings for each social platform, and adjust them if necessary.
Below we show how this works in detail. But first, let's talk about the optimal video size for Instagram.
The answer to this question depends on what type of post you are planning. Currently you can post on Instagram:
The general requirements for any video on Instagram are as follows: MP4 format, H.264 codec, 30 frames per second - maximum frequency, resolution - 1080 pixels wide. Lower quality videos - 600 pixels wide - are allowed, however, you should understand that on a visual platform like Instagram, you should always strive for maximum image quality.
Let's move on to the aspect ratio of the video for Instagram. Here you have several options.
If your video for is a regular post in feed, you can choose any aspect ratio between 1.91:1 (horizontal video) and 4:5 (portrait/vertical mode). Naturally, if your goal is to draw attention to the publication as much as possible, we advise you to choose the second option, because it takes up much more space on the smartphone screen. The recommended settings for vertical video on Instagram are 1080 x 1350 and 864 x 1080 pixels. However, if you shot the original video in a non-portrait mode, it will be difficult to apply the optimal aspect ratio. In such cases, it is worth using square videos with a standard 1:1 ratio. The optimal resolution here would be 1080 x 1080 pixels.
The best video resolution for Instagram Stories is 1080 x 1920 pixels. And, of course, for maximum organicity, shoot video initially in portrait mode.
Finally, if you're editing a video for IGTV , you can save both a 9:16 vertical video and a 16:9 horizontal video.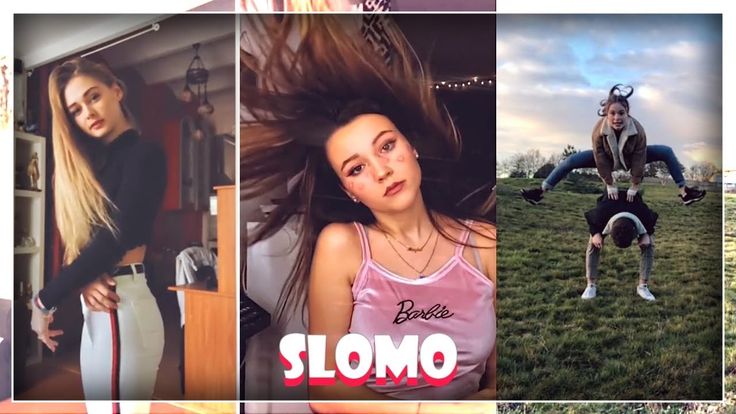 It is worth remembering that when an IGTV video is viewed in the feed, it is loaded in portrait mode, so it is again recommended to shoot vertically for optimal results.
After you have finished editing, you can save the video in the desired format and size as follows:
To change any of the video parameters - width, height or frame rate - use the "Change profile" option, this button is located below the preview window. If you need to create and save your own video export profile, see this guide.
If your video is longer than allowed, you can quickly split it into parts and post sequentially to the carousel or stories. The easiest way to do this is with cropping markers:
Saving videos in the optimal size for Instagram is not difficult if you use a program with preset export options.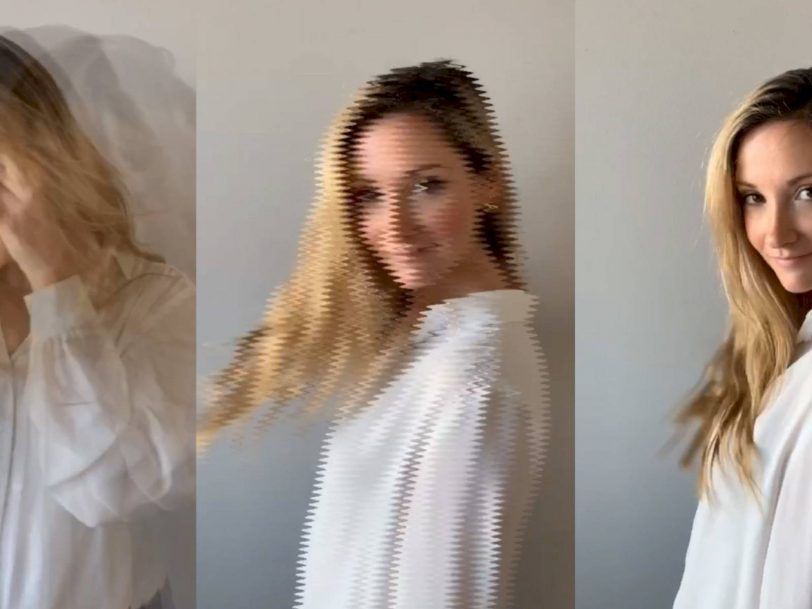 Maintaining maximum quality, however, can be more difficult. We recommend that you try the following tips: