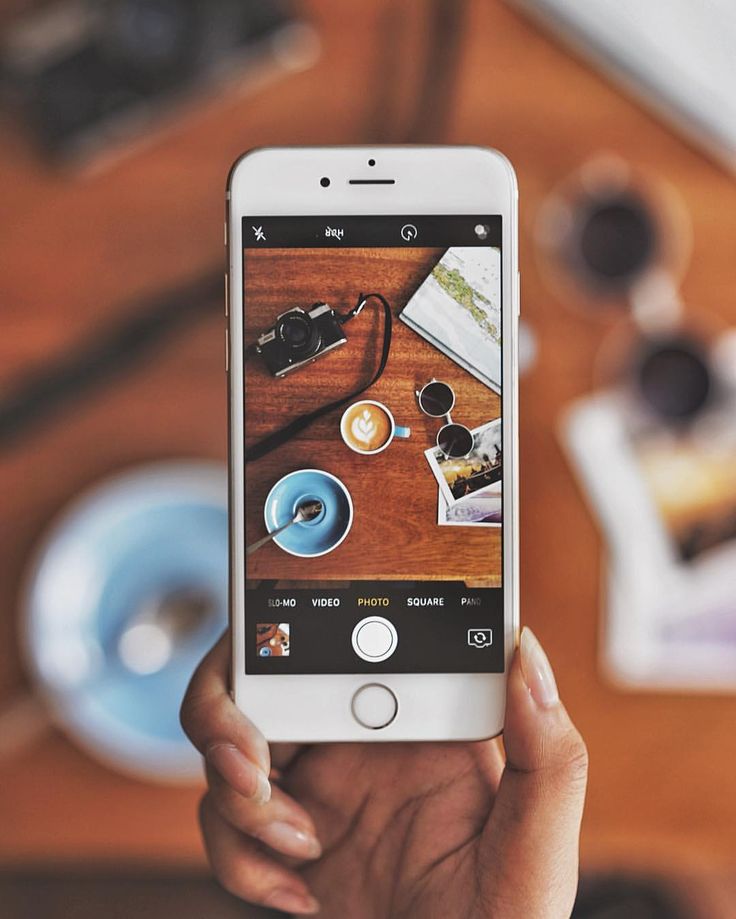
If you have an iPhone 6s or newer, you can capture live photos right from your camera app. The new-ish medium occupies the space between a still photo and video, creating a "moving" image that lets you give viewers more visual context for your images.
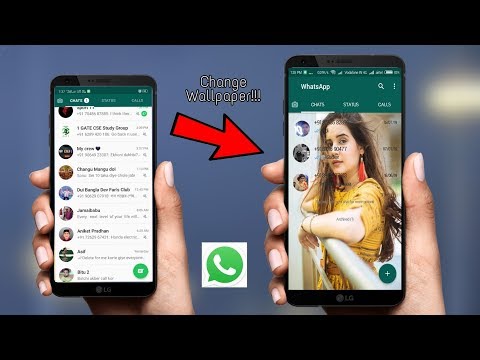
Instagram was one of the last platforms to support live photos, but thanks to updates and savvy workarounds, there is a way to bring that feature to your profile. It's important to note that the ease of posting a live photo will depend on whether you want to add it to your story or your photo wall.
Here's how to post a live photo on your Instagram.
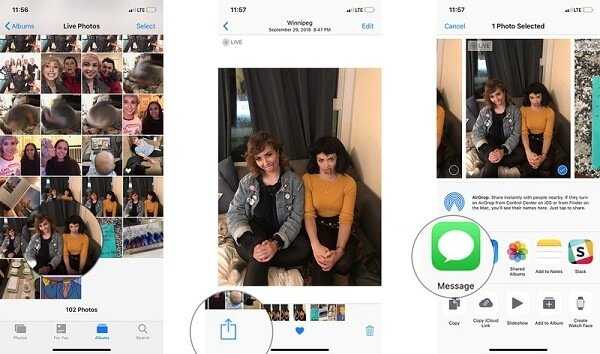
1. Open your photos app and select the live photo you want to use.
2. Swipe upwards and choose "Save as video."
You can find this option underneath "Use as Wallpaper." Devon Delfino/Business Insider3. Open the Instagram app.
4. Tap the plus sign in the app's bottom menu.
The icon is located between the magnifying glass search heart icons. Devon Delfino/Business Insider
 5. Select the video you saved from your photo library.
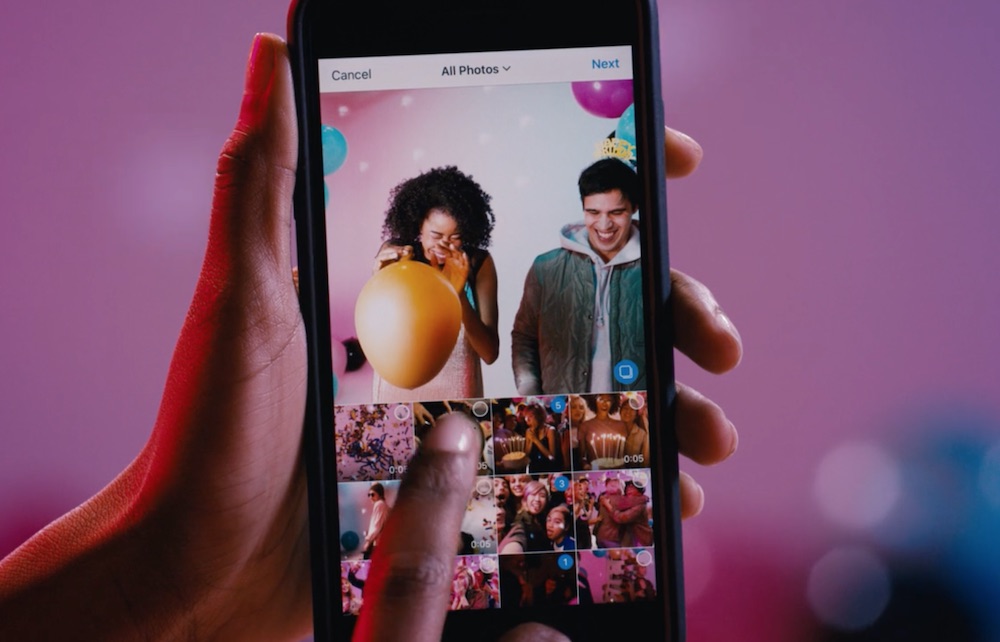
The library will appear when you hit the plus sign, allowing you to edit your photo as you see fit. Devon Delfino/Business Insider6. Tap "Next" in the top right.
7. Add your caption.
You can also add location information, turn on social sharing, and more. Devon Delfino/Business Insider
 8. Hit "Share."
1. Open Instagram.
2. Tap the camera icon in the top-left corner of the screen to access the "Stories" section.
3. On the story screen, scroll through your bottom menu until you see "Boomerang." Tap it.
You may also be able to find this option as an infinity icon on the left side floating menu. Abbey White/Business Insider4. Tap the white circle on the bottom menu to begin capturing your live photo when you see the boomerang icon appear.
5. Add text or edit your live photo in whatever way you want.
6. Press "Send To" in the lower right.
The Instagram "Send To" button is white and oblong in the right bottom corner. Abbey White/Business Insider7. Select where you want to send your live photo, including "Your Story," "Close Friends," or someone you follow.
You can also add location information, turn on social sharing, and more. Abbey White/Business Insider
 8. You can press "Undo" to stop the action or press the blue "Done" link that appears at the bottom of the screen.
Devon Delfino
Devon Delfino is a Brooklyn-based freelance journalist specializing in personal finance, culture, politics, and identity. Her work has been featured in publications such as The Los Angeles Times, Teen Vogue, Business Insider, and CNBC. Follow her on Twitter at @devondelfino.
Read moreRead less
Insider Inc. receives a commission when you buy through our links.
Page Contents
Instagram is a fascinating visual platform to showcase and post different kinds of photos and videos. Marketers upload high-quality photos and videos on Instagram to get more followers and increase their IG engagement rate.
Live photos are multiple photo styles on the iPhone that merge video and GIF imagery. This recent creation of photography does not only capture a moment in a frame, but it looks alive and fresh. Also, some Android phones, depending on their OS and model, have this option. Now, many Instagrammers that have this feature on their phone may need to consider how to post a live photo on Instagram.
It’ll take a while for Instagram to add this feature as one of its options. There are many methods to share media on Instagram. But now, we will address How to post live photos on Instagram?
Here, we will also guide you on how to take loop photos on Instagram. Additionally, we will introduce you to two services called AiSchedule and AiGrow. These two services will work magic for you and will prevent you from having trouble sharing live photos on Instagram.
How To Take A Live Photo On iPhoneYou can enhance the quality of your posts by uploading different kinds of multimedia posts, from posting vertical photos on Instagram to uploading high-quality images on this platform.
Live Photo is an excellent feature that lets you capture a scene with sound and movement. When you click the shutter button, your phone will capture 1.5 seconds before and after it.
Before knowing how to post a live photo on Instagram, it’s better to know how to take one. So, to take a live photo on the iPhone, follow the steps below:
When you hold your finger on the button, the camera will take a live photo for 1.5 seconds, including any scene movement and the voice of the environment. Remember that you can take live pictures with both cameras and that any Live Photo takes about 3-4 MB of your phone’s space.
You can see your Live Photos in your camera roll with a single symbol on the top-left of the screen. If you want to mute the sound of your Live Photo or even disable its Live Photo features, you can tap on ‘Edit’ on the top-right of your photo and do what you want.
How to Take a Live Photo on Your Android PhoneThe Live photo feature is not just for iOS users in particular. You can also take live photos on Android phones. There are many ways to create looping videos on Android. To do so, you can follow these steps:
When you switch on the motion camera, a short clip of what happens before each photo will be recorded. After that, you may save it as a video and publish it on Instagram. It’s the same as taking a live photo on an iPhone.
Now, let’s see how to post a live photo on your Instagram story and feed.
How To Post A Live Photo On InstagramWe have learned first-hand that creating engaging IG posts is a challenge. Sharing your live photos can be an excellent post idea for Instagram so that you can grow your IG followers organically.
However, a Live photo is a motion picture, and Instagram doesn’t provide a specific feature to post it instantly. Hence, uploading it differs from a regular Instagram post.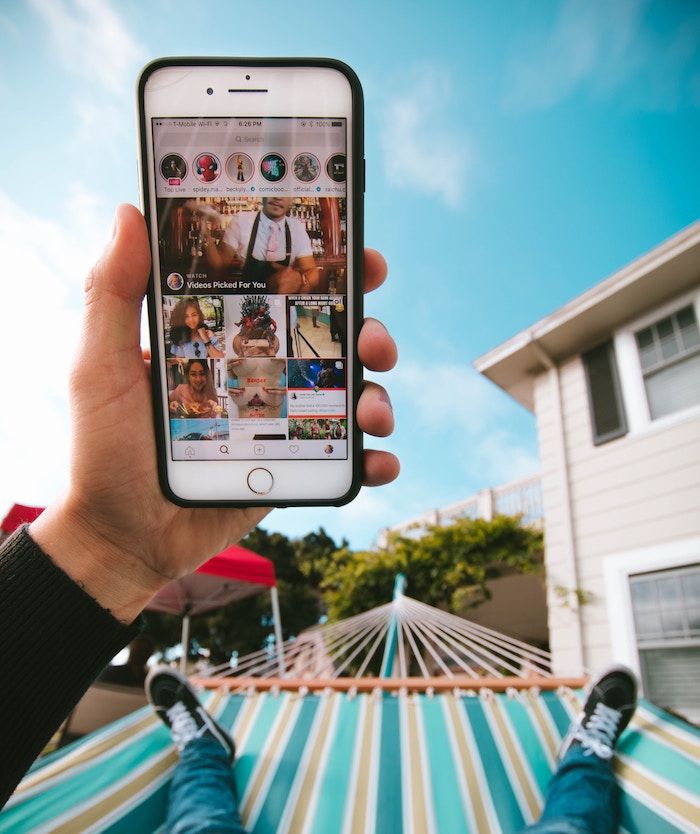 If you want to know how to post a live picture on Instagram, we will show you four ways to do it.
If you’re wondering how to post a live photo on your Instagram feed, converting photos can be a decent method. According to Instagram guidelines, Boomerang is a version of a short video on Instagram that you can save your live photos in its format.
You can post a live photo on Instagram using the Boomerang method which is the most popular answer to how to post a live photo on Instagram. However, bear in mind that it reduces the time to 1 second.
To post a live photo on Instagram as a Boomerang, track down these commands:
To post a live photo to Instagram, you can save it as a video and then upload the live picture on Instagram. Also, you can set custom photos as your Instagram video thumbnail.
Now, to know how to post your live photo on Instagram as a video, follow these steps:
As the third method on how to post a live photo on Instagram, you can try looping live photos. That is, you can apply an effect, and change your Live Photo to a loop, similar to looping a video on IG that we discussed before. Then, upload the loop to Instagram.
Therefore, to ‘Loop’ or ‘Bounce’ your Live Photo follow these instructions:
4- Convert Your Live Photos To GIFs
Another way on how to post a live photo on Instagram is by changing it to a GIF. In this case, you can use a photo tool such as GIPHY to convert your Live Photo to a GIF and instantly post the GIF on Instagram.
How To Post A Live Photo On Instagram StoryTo be precise, over 500 million users post IG stories daily. Many Instagram users are big fans of stories as it lets you share your special moments with loved ones who are far away from you. Also, Instagram influencers and marketers cash in on this feature to communicate with their followers and clients uniquely by adding multiple photos to one Instagram story.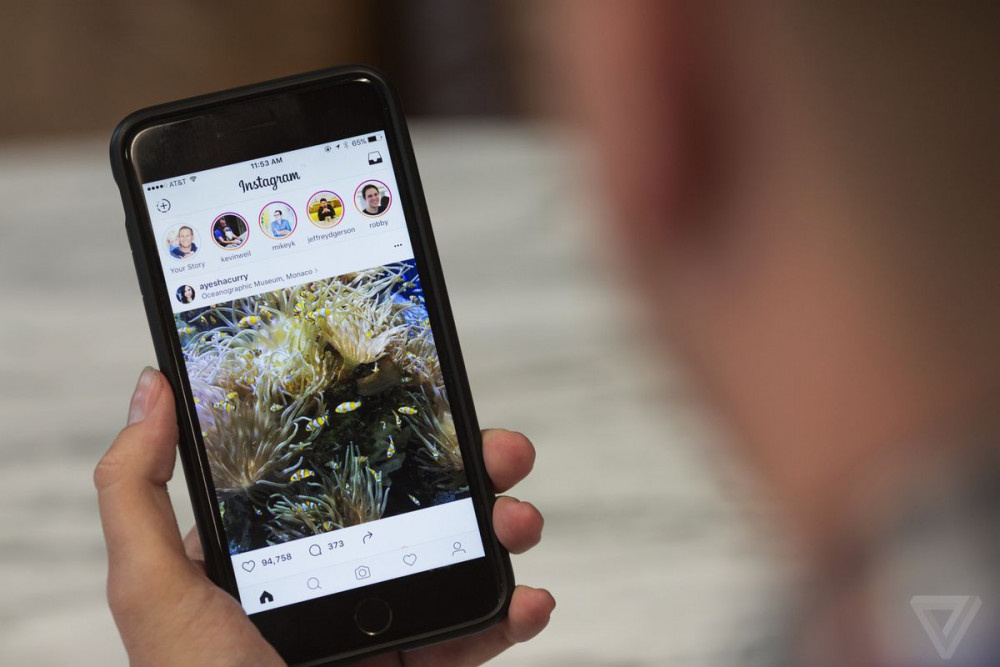
That is a good idea to know how to post a live picture on Instagram, put saved photos on the Instagram story, and share it with your audiences.
So if you want to learn how to post a live photo on an Instagram story, go through the steps below:
That’s great! You have created your first Instagram Live Photo Story!
How To Take Live Photos On Instagram StoryAs mentioned before, Instagram doesn’t enable us to shoot Live photos yet. However, the Boomerang feature is excellent and allows us to share content that is similar to a live photo. So before we continue with how to ‘post’ a Live photo on Instagram, let’s cover how to take a Live photo on an Instagram story./article-new/2015/11/share-live-photo-ios.jpg?lossy)
To use this feature, follow the instructions below:
Bear in mind that you can also edit your IG story after publishing it.
Generally, you can use this feature as a fantastic Instagram story idea to get more IG followers. So, don’t miss out on this excellent opportunity to spice up your Instagram account.
How To Post A Live Photo On Instagram From a PCInstagram only lets you post on your feed from a smartphone. That is, if you’re wondering how to post a live photo on Instagram from PC, we can assure you it’s impossible.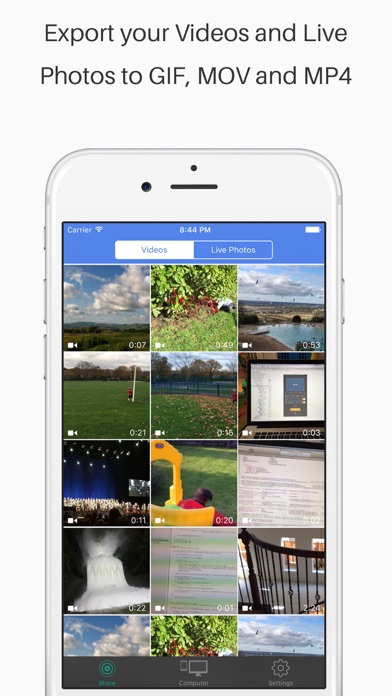 However, you can quickly organize Instagram saved posts and collections on your desktop using a powerful Instagram tool. Many Instagram marketers have loaded files on their laptops or PCs and want to post them frequently and at the right time. How? Here are the best tools for posting a live photo on Instagram from a PC.
AiSchedul is an all-in-one Instagram management tool that lets you post to Instagram from your desktop. Therefore, you can scrap your phone’s tiny screen and efficiently run your Instagram from your PC.
With AiSchedul, you can create live photos and post them at the best time and grow your Instagram followers organically.
Post on Instagram at the Right TimeTo post from AiSchedul on your phone or desktop, you solely need to:
AiSchedul is an amazing platform with many features to offer. For instance, using this great platform, you can:
And much more!
So, go ahead and sign up on AiSchedule now and enjoy using it.
AiSchedul features#2 AiGrow; Let You Upload Your Live Photos From PC
AiGrow is the other platform you can use to manage your Instagram like a pro. You may select from a range of options with this growth tool to assist you to develop all sides of your Instagram account, including likes, followers, and comments, while keeping genuine engagement techniques.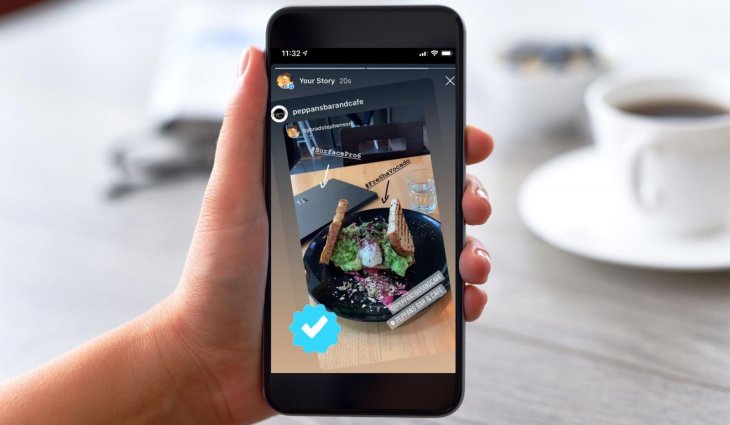
The image below displays all of AiGrow’s features.
AiGrow; Let You Upload Your Live Photos From PCUsing AiGrow, you can create and post live photos on Instagram at any time and any place. AiGrow is a complete Instagram growth tool that will never leave you in the dark. The complete AiGrow review is available here.
So, don’t waste your precious time and start your journey with AiGrow.
FAQs on How to Post a Live Photo on InstagramWhile in this post, we tried to cover any questions on how to create and upload a live picture on Instagram, there may be unanswered questions. In this section, we answered a couple of questions about this.
To create looping images, you can use websites that provide users with the ability to convert their videos into gifs. One of them is the GIPHY website. Another website to create gifs is ezgif website that lets you adjust and convert your photos or videos into gifs.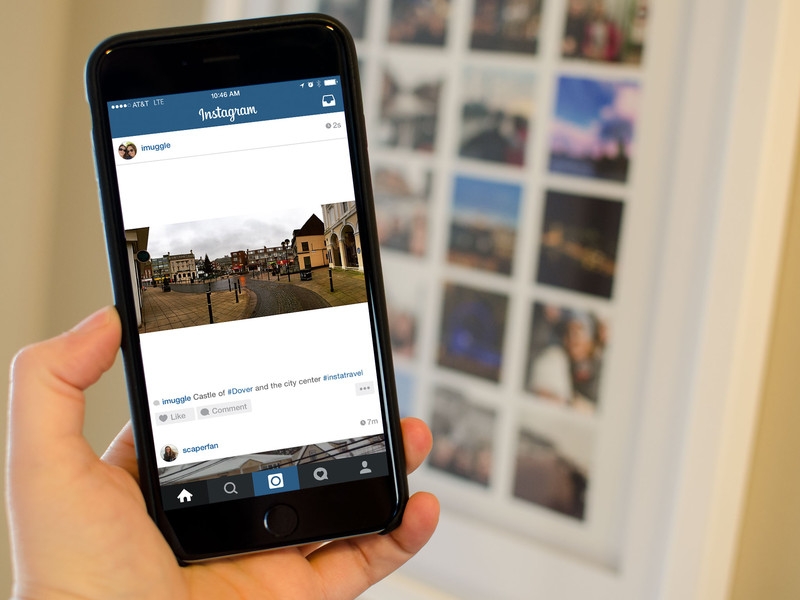
You can make brief, engaging films by using Instagram reels, a new type of video. 15-second multi-clip videos can be recorded, edited, and embellished with effects, music, and other creative elements.
In terms of the length of videos, they are the same as live videos, but you can create more engaging content using Instagram reels.
Recap On How To Post A Live Photo On InstagramInstagram has not yet added a direct feature for posting ‘live photos’. Therefore, you’ll have to turn them into ‘boomerangs’, ‘gifs’, or ‘videos’ before you can upload them to Instagram. Hopefully, it will soon be a feature on the platform to ease users’ tasks.
Don’t forget, you can count on a third-party service like AiGrow or AiSchedule to save more time and energy for uploading Instagram live photos.
Capturing Live Photos on iPhone is fun and exciting, but when it comes to posting them to Instagram or Facebook, everything is “live”. » aspect disappears. Of course, if you took a moving rather than a static picture, then you want to publish it in the same form. Below we will tell you how to do it.
If you have an iPhone 6s or later, you can take Live Photos directly from the Camera app. Live Photos in iOS is a cross between a static photo and a dynamic video, creating a "moving" image. This allows viewers to expand their perception of your images.
Instagram is one of the worst major platforms when it comes to live photo support. But now, thanks to updates and clever non-standard methods, it is possible to add this feature to your profile.
Here's how to post a Live Photo on your Instagram.
1. Open the Photos app, go to the Albums tab, select the Live Photos section, and click the Select button in the upper right corner.
2. Select one or more Live Photos and click the Share button in the lower left corner. Select "Save as Video" from the menu that appears.
Note: you need to use "clean" Live Photos without applying effects (Loop, Pendulum, etc.).
3. The Photos app will create a video from the selected Live Photos(s).
4. Open the Instagram app. Click the plus sign in the app's bottom menu. Select the resulting Live Photos video you created earlier.
5. Click "Next" in the upper right corner. Add a caption to your video. You can also add location information here, tag people, share via social media, and more.
6. Click Share.
1. Open Instagram and tap the camera icon in the top left corner of the screen to open the Stories section.
2. On the history screen, scroll down your bottom menu to Boomerang. This option is also represented as an infinity icon in the pop-up menu on the left.
3. Click the square in the lower left corner to select a video created from Live Photos in the previous tutorial
or capture a new looped video by tapping the white circle in the bottom menu.
4. Add text or edit your live photo as you see fit.
5. Press the oblong white Recipients button in the lower right corner.
6. Choose where you want to send your Live Photo. This could be your Story, Close Friends, or someone you follow. Here you can add information about your location or share a picture through social networks.
7. You can click Cancel to stop this action, or click the blue Done link at the bottom of the screen.
Posting live photos to Instagram or Facebook is easy. In order to see a moving picture published on a social network, it is not at all necessary to have an iPhone, since it will no longer be a photo, but a video.
There are several ways to post Live Photos to Instagram without losing any of the liveliness, but we'll look at one of them using Google's Motion Stills app. With Motion Stills, you can edit Live Photos and convert them into videos and GIFs. In addition, the application is equipped with a wonderful image stabilization feature.
1. Take a Live Photo and save it to Photos.
2. Download Motion Stills by Google from the App Store on your iPhone.
3. Open the app and select the photo you want to post and edit it if necessary.
4. Press the arrow.
5. Select the Share option from the pop-up menu.
6. Tap Save Video to save your Live Photos to the Photos app, or tap Instagram if you want to post the photo to social media right away.
7. Open Instagram or Facebook and publish a post and click on "OK".
That's all you need to do to get "live" photos to appear on Instagram and/or Facebook. If you first posted the pictures to Instagram, then by moving the switch inside the program, you can immediately post them to Facebook. Now your friends can view your Instagram Live Photos as you took them. On Instagram, live photos are posted as videos.
Please note that you need to save the pictures as a video, not as a GIF image. On Instagram, GIFs are displayed static, not moving. However, Motion Stills allows you to turn Live Photos into GIFs, which can then be shared on Twitter, Facebook, Tumblr, and more.
Based on materials from yablyk
Menu
Content
For the first time, photos in live format appeared on iPhones 7 and higher. If the owners of these gadgets can look at these images, then sharing them on social networks is difficult - you have to change them into a GIF format or make small videos out of them.
Live photos are popular because they take up little space on the phone, unlike gifs or short clips. Also, working with live photos is easier, because they can be processed like a regular picture - with filters applied.
If you want to share these images on social media or create them without having an iPhone, you can use this article as a guide.
There are two ways to upload live photos to a social network - as an image for a post and add a story.
If you want to add a live photo to a post, you will have to work with additional applications that will make the picture move, loop it and make it a boomerang for Instagram.
In Instagram posts, users upload videos and GIFs - only in this case the photo will be moving.
Here are the apps you can use:
They turn a moving photo into a GIF. There are also disadvantages in such utilities - they add watermarks to the file. Also, when working with free versions, ads appear that you need to watch in order to continue editing.
In such situations, you can download a paid version or sign up for a trial period. Online services help to remove the watermark, but sometimes it can be done in the application through viewing ads.
To change the photo, follow the instructions on the example of the Lively utility:
You may be wondering how to add your GIFs to Instagram.
If you want to insert an image into a story, you can upload a live photo in the original. Users also use Boomerang or shoot a short video to take a moving photo.
Usually, Instagrammers do not use additional applications or Instagram auto-posting to post Stories, but you can do this to make it easier to adapt the image to the Stories.
Android owners cannot take live images through the standard functionality of the gadget. If you need to shoot in this format, use the following utilities: