Reels may be the hottest thing on Instagram right now. But Instagram carousels are still thriving on the platform. In fact, they could be the key to sustaining engagement because they get people to stop and swipe.
In this guide, we give you a breakdown of why posting an Instagram carousel is a great idea for your social media strategy. We’ll also give you plenty of tips, examples and ideas to help you get started. Let’s dive in.
An Instagram carousel is a post containing more than one photo or video, which users can view by swiping left on a post through the phone app. Desktop users can view a carousel post by clicking on the arrow button on the right of a post. Think of it as a slideshow of posts that users can control manually.
View this post on Instagram
A post shared by Everlane (@everlane)
Carousel posts are a great way to get people to pause and engage with your content, especially if the first slide is enticing enough. So it’s no surprise that Instagram carousels outperform both photo and video posts in terms of engagement.
Socialinsider.io found that carousel posts get higher engagement rates than photos and videos. Depending on follower size, carousels manage to hit engagement rates between 1.65% and 5.40%. This is higher than the average platform engagement rate, which stands at 1.22% according to the latest Instagram stats.
The unique nature of Instagram carousels makes them a great option for strategic Instagram content. Some of the best ways to use an Instagram carousel post are:
When creating a carousel post on Instagram, you’d want to make sure that it looks great on the platform. So it’s important to follow the size requirements and specifications. Design and optimize your posts with the three aspect ratio options in mind:
For images, Instagram recommends a resolution of 1080 x 1080 pixels. Videos can have a minimum resolution of 600 x 600 pixels and a maximum resolution of 1080 x 1080 pixels.
Once you have the perfect images or videos lined up, you can start creating an Instagram carousel post using the steps below:
Step 1. Click on the “+” button from the navigation bar at the top of your screen.
Step 2. Select the option to create a new “Post.”
Step 3. Tap on the option to “Select multiple.”
Step 4. Choose the photos or videos you want to upload as a carousel post. You can select up to 10 photos or videos for your carousel.![]() Then tap on “Next.”
Then tap on “Next.”
Step 5. Just like creating a single-image post, you’ll get the option to edit your photos and videos by applying filters. To create a cohesive look throughout, you can choose to apply the same filter throughout all the images and videos. Once you’re done, tap on the “Next” button.
Step 6. Now add details to your carousel post. Make sure you include a suitable and enticing caption that could prompt engagement. You can even include popular and relevant Instagram hashtags to improve your post visibility. This is also the section where you can tag people, add a location or add a reminder similar to a regular post.
Step 7. Once you have everything sorted, tap on the “Share” button and that’s it. You’ve created and shared your Instagram carousel post.
The manual publishing process may be straightforward, but it can be time-consuming. As a social media manager, one of your main goals is to do your job as efficiently as possible.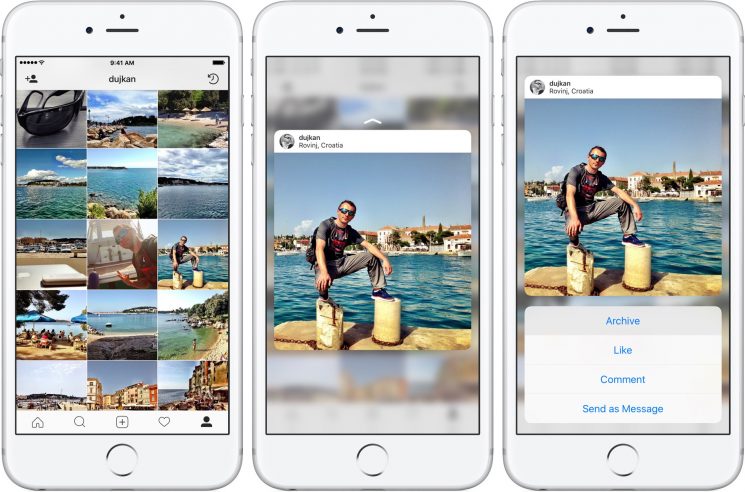 That means scheduling content ahead of time so you can maintain a consistent publishing schedule.
And the same would hold true for your Instagram carousel posts. Fortunately, you have the option to schedule your Instagram posts using the Facebook Creator Studio. Here are the steps to follow:
Step 1. Log into your Creator Studio account and select the Instagram button at the top.
Step 2. Click on the “Create Post” button from the left-hand panel and select the option to create a post for your “Instagram Feed.” This option is suitable for creating image carousel posts and sharing videos shorter than 60 seconds.
Step 3. Click on the “Add content” button under the caption window and choose the first image or video you want to upload. After selecting the first content, the “Add content” button will move to the top of the caption window. Click on this button to keep adding all the photos and/or videos you want to include in the post.![]()
Step 4. Once you’re done creating the post and adding all the info you want to include, click on the drop-down arrow next to the “Publish” button. Select “Schedule” and choose the date and time you want the carousel post to go out and click on the “Schedule” button. And that’s it–your Instagram carousel post is now ready to go out.
While this is a useful tool to have, keep in mind that it’s only accessible on desktop. This may make it a bit challenging if you’re used to managing everything from your phone or if you want to schedule a carousel post while on the go.
If you’re using an all-in-one social media management tool like Sprout Social, you can directly publish and schedule Instagram carousel posts to your accounts. Sprout recently updated it’s capability to allow users to publish Instagram carousels directly from the desktop app rather than the Mobile Publishing Workflow.
Step 1. Open Compose in Sprout desktop or mobile app.
Step 2. Select your Instagram Business Profile from the Profile Picker.
Step 3. Add your content for the Instagram post.
Step 4. Select up to 10 images to include in your post. Note that images and videos cannot be combined in your Instagram carousel posts published through the Sprout app at this time.
Step 5. Personalize your post, whether it’s tags, hashtags, Instagram First Comment or even post links.
Step 6. Schedule when you want to publish your post.
Step 7. Click Submit or Send.
For more information on publishing and scheduling Instagram carousel posts within Sprout, visit our Help Center.
Need some inspiration for creative ways to use carousel posts? Here are some Instagram carousel examples to inspire you:
Sprout used Instagram carousels to share answers to pressing questions. This helped to inform the audience and show the platform’s social listening capabilities.
View this post on Instagram
A post shared by Sprout Social (@sproutsocial)
Canva made the most of carousels to share short and actionable visual guides for its users.
View this post on Instagram
A post shared by Canva (@canva)
ColourPop Cosmetics used a carousel post to reveal all the products in its new In the Limelight collection.
View this post on Instagram
A post shared by ColourPop Cosmetics (@colourpopcosmetics)
NotionHQ shared a series of photos announcing a virtual conference.
View this post on Instagram
A post shared by Notion (@notionhq)
The Australian skincare brand used carousels to put a spotlight on key native ingredients and their benefits.
View this post on Instagram
A post shared by frank body (@frank_bod)
 Exist Green: Mini store tour
Exist Green shared photos of their redesigned eco-boutique section. This gave followers a mini-tour of its store to invite foot traffic.
View this post on Instagram
A post shared by Exist Green (@exist_green)
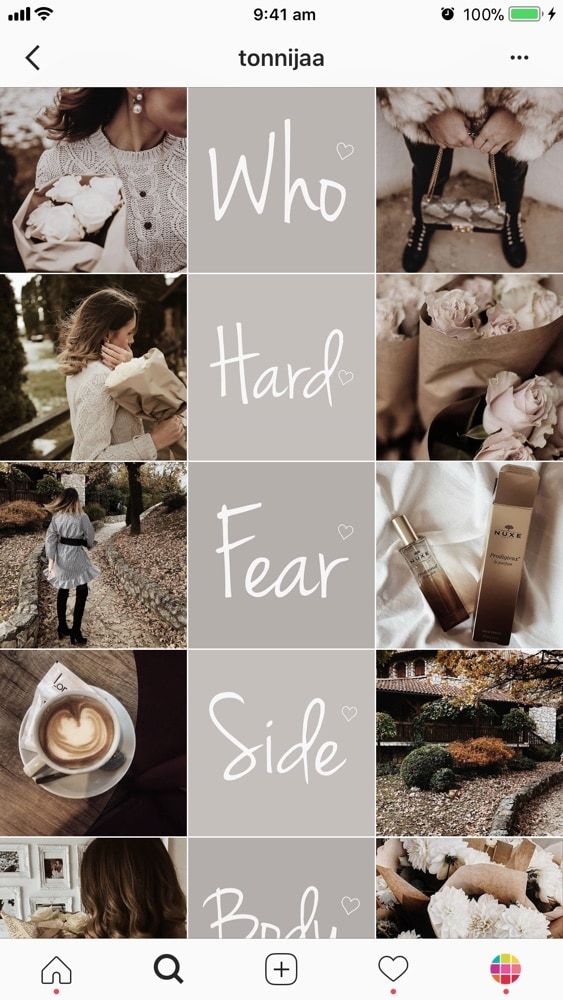
One of the best practices to follow on Instagram is maintaining a consistent feed containing high-quality images. That means you should carefully pick the visuals for your carousel posts to make sure that your feed looks cohesive and on-brand. Instagram carousel templates can help with this.
Instagram carousel templates act as a framework for your carousel posts. They use a consistent style of color schemes, fonts and other design elements to make sure that each image comes together to form a unified look. Customize these templates with text, graphics and photos to create a new carousel post.
You can find plenty of stock templates on websites like Canva, PicMonkey and Adobe Stock. These templates are available to customize and download for free or for a small fee. Stock templates are a great option if you want to save time. They’re also perfect if you don’t have a knack for designing but still want professional-looking templates.
Alternatively, you can also design your own Instagram carousel templates from scratch. This is a good choice if you have a strong brand visual identity that you want to showcase through your Instagram carousels. It gives you more flexibility to create a template that fits your exact needs.
The data doesn’t lie–there’s no doubt that Instagram carousel posts are highly engaging. So if you’re not using them already, you’re missing out on the opportunity to engage your audience. Make the most of the tips, ideas and template resources above to design eye-catching carousels that get people to swipe left.
In fact, engaging your audience is the key to becoming “best in class” on social media, according to 46% of consumers. Download the Sprout Social Index Edition XVII: Accelerate to gain more insights into the social consumer.
Skip to main content
The VergeThe Verge logo.The Verge homepage
The VergeThe Verge logo./
By Vjeran Pavic
|
Photo by Brennan King, animation by Vjeran Pavic / The Verge
Part of /
The Verge Guide to Instagram
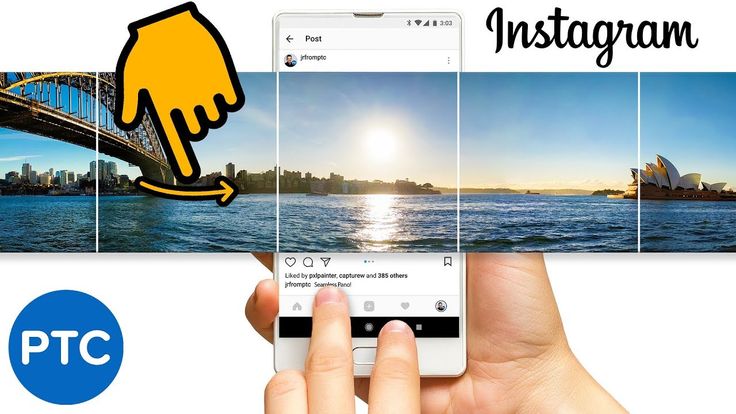
It’s already been a few years since Instagram allowed you to post multiple photos simultaneously in a single post.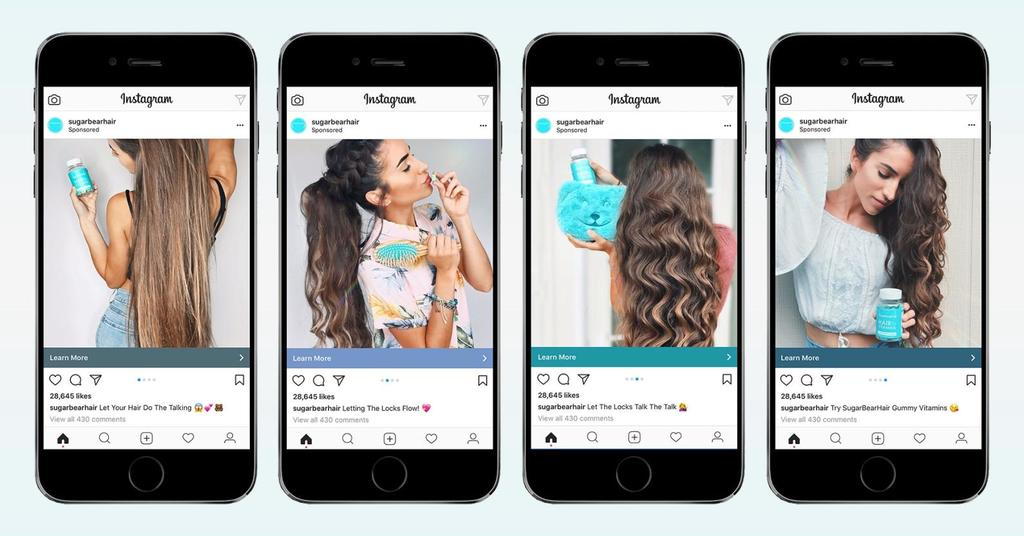 This small change enabled a lot of creative options. One of my favorites is creating seamless panoramas by simply slicing your photo in two — like this one.
If you want to take advantage of this neat little hack, here’s a quick, simple tutorial on how you can pull it off.
Before you start, you’ll need two things: Adobe Photoshop (or another pixel-based photo editor that lets you work with layers) and an elementary understanding of Instagram’s requirements for sizing photos.
First, about the sizing: no matter which photo you upload, Instagram will automatically resize and compress your images. For example, square photos will always end up being 1080 x 1080 and vertical ones will always be 1080 (w) x 1350 (h). So if you want to create a panorama made out of two vertical photos, you’ll need to duplicate the pixels lengthwise, while the height stays the same: 1080 x 1350 becomes 2160 x 1350. Or if you want to create a panorama made out of three images, you’ll use 3240 x 1350. The same applies if you’re starting off with square images, which will fit into a panoramic space with twice the width (2160 x 1080).
Okay, let’s boot up Photoshop and open up two documents.
In Photoshop, you can save document sizes as presets for future edits.

Guides will help you split images in equal parts.
Now you’re ready for exporting. You can either export each layer at once using Photoshop’s “Layers to Files” option (under “File” > “Export”) or you can export each layer individually. I tend to add a few more layers to the same document, so I batch export those. In case you want to double-check your final export settings, you can use “Save for Web. ”
”
Here are all the layers I’ll batch export.
If you’re using a PC, it might be easiest to save your files to a cloud service, where you can easily access them with your phone. Or if you’re in the macOS / iOS ecosystem, simply Airdrop your exports.
Getting the photos to properly show up on Instagram should be easy enough, but let’s go through that quickly just in case, because there are some things you can easily skip by accident. On your mobile device:
Don’t forget to enable vertical photos first. Also, you can tap and hold one photo to enable multiple selections.
Vox Media has affiliate partnerships. These do not influence editorial content, though Vox Media may earn commissions for products purchased via affiliate links. For more information, see our ethics policy.
Most Popular
Update : Links in Instagram Stories are now available to all users.
A link in history allows you to direct the user to a website or another page. To follow the link you need to click on the sticker and select "Follow the link". Swipes are a thing of the past.
Advertisement: 2VtzquY3wEz
In the article, we will describe a new way to add a link to a story, and also share other ways to add links. As a bonus, we will tell you how to create a link sticker in your story so that people click on it more often.
Read also: The best Instagram promotion courses
For greater clarity, let's introduce a few definitions. All links in stories can be conditionally divided into two types: external and internal .
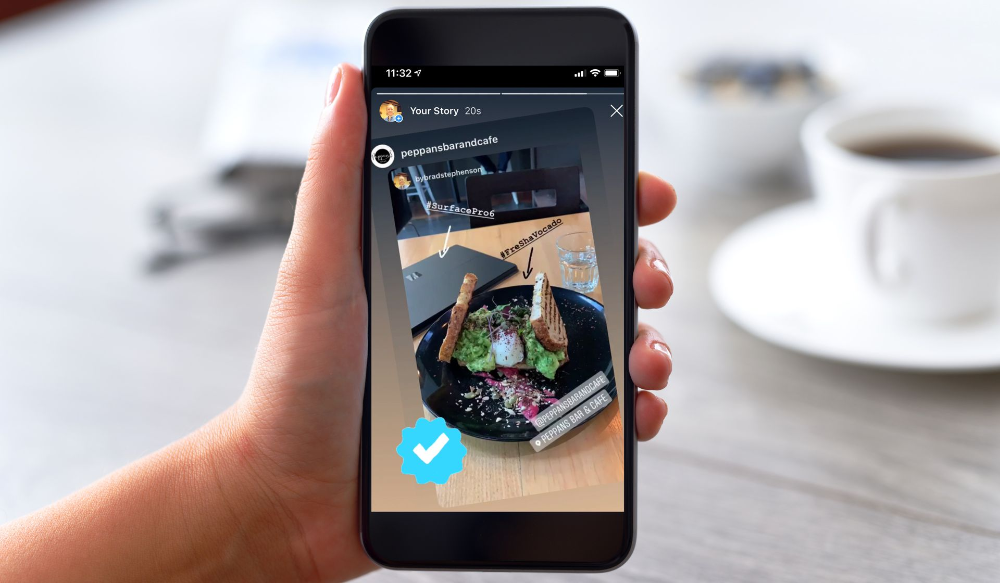
 Also, they can be added when launching ads. External links are shown as a sticker.
 Important : links are available to all users, not just those with more than 10,000 subscribers. At the same time, new accounts, as well as accounts that have repeatedly violated the Rules of the social network, will not receive access to the sticker with the link. Details of what counts as a new account in this context have not been released.
By the way, in order to get the maximum coverage of stories, the quality of your subscribers is very important. You need to understand who is watching you, how many% of live people, and how many bots and garbage, so we recommend that you conduct a complete analysis of the Instagram audience, for example, through the InstaHero service.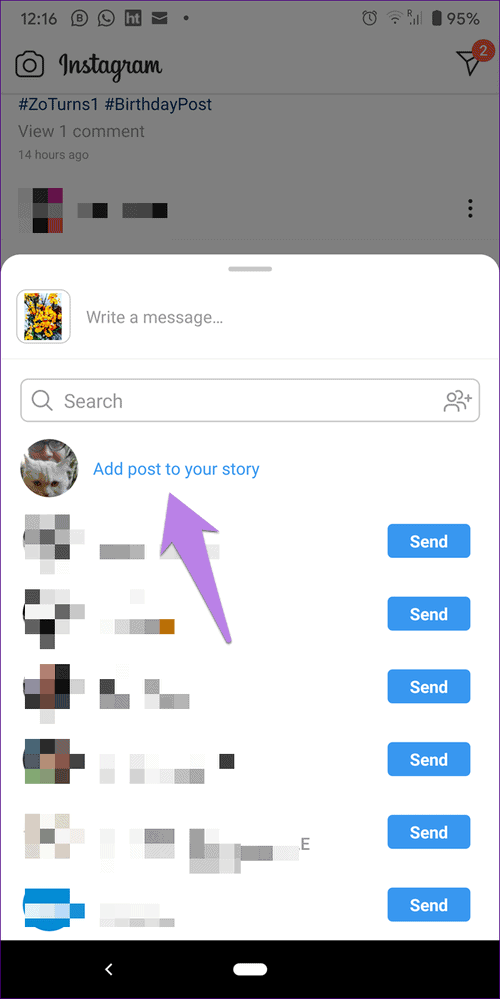 And when you find out who is watching, commenting and liking you, you can start keeping stories tightly. And to increase coverage, engagement and activity, you can remove bots from Instagram followers.
Let's talk about external links first.
How to add a link to the story, we told in our video and further in the text.
To attach a link to a Story, follow a simple algorithm:
 This can be a link to a website, a landing page, a separate article or product in an online store, a link to a YouTube channel or video, and even to a Telegram channel.
 After the link is published, in the Stories statistics, you will see how many clicks were made on the link. To analyze navigation in web analytics systems, use UTM tags or other markup.
Adding a link when setting up an ad is a more time-consuming, but also more effective process. To set up ads, you must first go to the Facebook profile associated with your Instagram business account, and click on "Create Ads". Or go directly to the Facebook Ads Manager.
In your account, click "Create ad" and follow the simple algorithm of actions.
Select the purpose of the advertisement. There are 6 goals available for links in stories, including Traffic, App Installs, Conversions. Choose the appropriate goal depending on the format of the business account and the link being promoted.
Select the campaign objective. Clicks or views can be selected here. That is, you will pay either for clicking on the link, or for visiting the page when the user waits for it to load.
Set up an account. If you have not created an ad on Facebook before, you will be prompted to specify the time zone, country and currency of the ad account.
Set up audience . Choose the place where the link leads - to the site, application or messenger. Then specify the desired parameters of the target audience: gender, age, interests, and others.
Select the ad space. By default, the ad will be shown on three sites.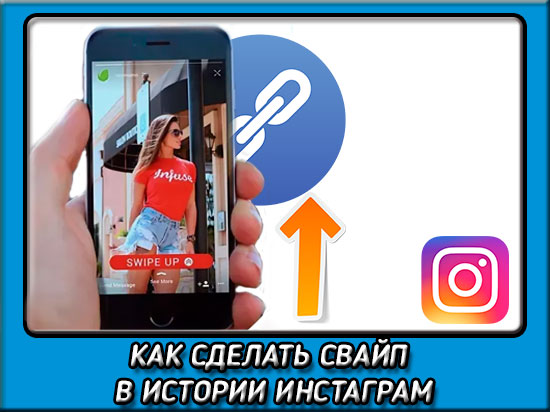 If you only want Instagram Stories, click on "Edit Placements" and check "Instagram, Stories" only.
Set a budget and select a bid strategy . You can set a daily budget limit or an amount for the entire campaign, and the system will distribute it evenly. Then choose a bid strategy - by default, the system selects the lowest price. If you want, you can set it manually, to do this, click on "Set a bid limit". The lower it is, the less likely it is that the ad will be shown.
Select the ad format. You can select one image or one video. From a marketing point of view, it is better to use video - despite the fact that advertising has a time limit of 15 seconds, it allows you to better convey the idea to users and add a more prominent call to action.
After filling in the required fields, a preview will open in front of you. On this page, you can upload images or videos for your ad, add a call to action, add or edit a URL. After saving, your ad will start showing to the target audience according to the selected parameters and the set budget.
Instagram Stories ads are quite short. In addition, after viewing, they are closed automatically, and the user will not be able to view them again. Therefore, add a bright call to action, limited in time - this will increase the conversion.
More on the topic: How to properly target on Instagram
Internal link in the story to a post, account or IGTV
Once again, please note that such a link will not be in the form of a swipe in the story, it will be just a mention.
After combining the IGTV format and the video, the link to the video is published by analogy with the repost of the publication.
As you already understood, now instead of swiping in stories, a link sticker will be displayed. Accordingly, the approach to design also changes. Now, instead of a pointer to a swipe, you need to select a link sticker and add a pointer to it or make a highlight. You can do this for free with Canva.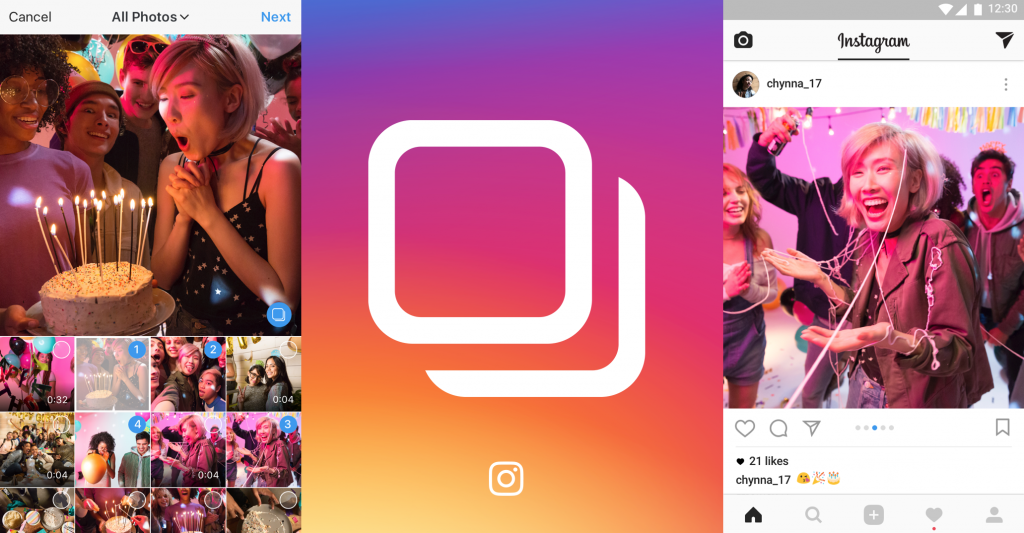
If you're posting a live video, just show your followers what to do and point to the link with a gesture.
For internal links, use the story editor. Add text, arrows, and GIFs to show users where to click to navigate.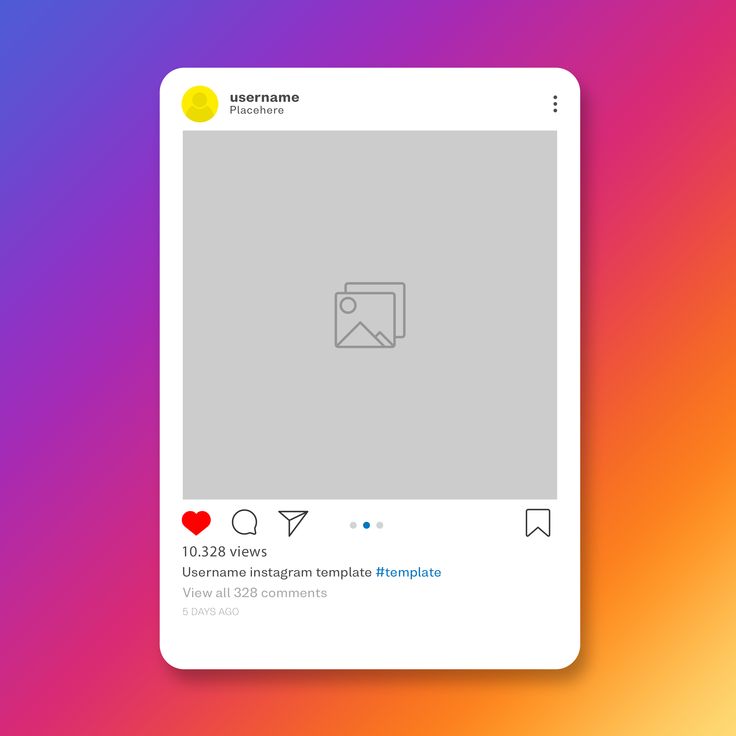
Link in Instagram story is another way to work with your audience. For bloggers, this is an additional way to monetize your account.
Useful links :
Comparison of Online Courses
Before you buy any course, compare conditions from different schools - tuition fees, discounts, duration, whether there is an employment program. Find an online course >>
Advertising
More articles on the topic:
Advertising
Advertising 9000
In modern applications, you can switch functions using a swipe, to do this, you need to swipe up, down, left or right on the screen. Instagram is no exception, the social network has built-in options for a quick transition to Stories and Direct. Let's figure out how to make a swipe on Instagram, what is Swipe Up.
Contents
The word Swipe is translated as swipe or swipe . The option is available in mobile devices with touch screens and allows you to:
Instagram swipe is built in by default. With it, you can open the Direct chat, launch the camera to shoot Stories, change the size of the sticker when editing a photo. The option does not need to be configured or enabled.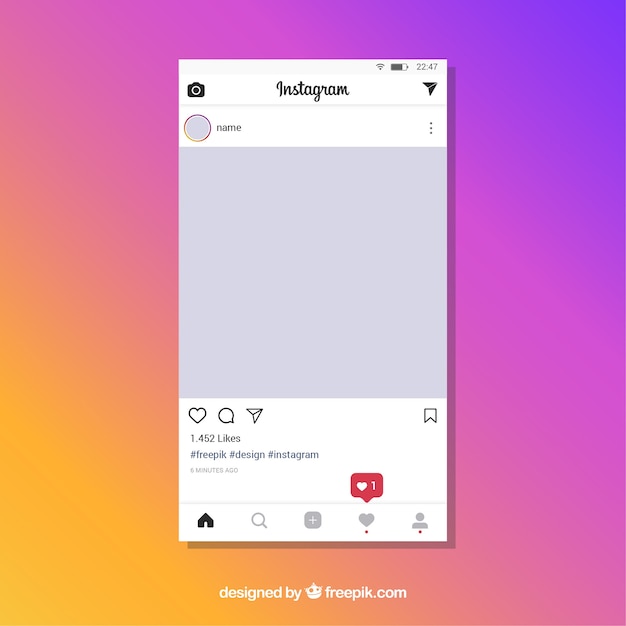 To quickly navigate, just swipe the screen in the desired direction.
You can add a swipe by yourself. It is usually used in Stories to go to ads or to a site with their own products. To use Swipe Up, you need to launch ads in Stories or add a link to the Internet portal.
When viewing a story, a subscriber can swipe up from the bottom and follow a pre-assigned link. When setting up, you can add a picture with an arrow or a caption. Often, companies use an unusual trick: they add a drawn hair to the publication, when the user tries to brush it off, he instantly clicks on the link.
Important. Using ads in Stories is a paid option. To add links to your publications, the number of subscribers must be at least 10,000.
How to swipe on Instagram in Stories? To do this, you will have to use third-party services, create a layout and place it in the publication.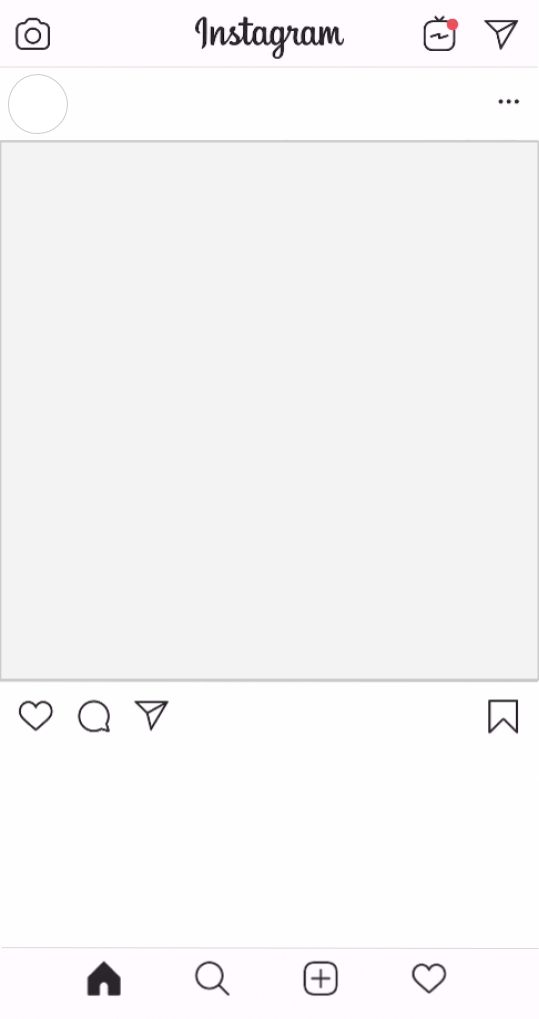 To create a design for free, you can use the free service Canva .
How to design Instagram Stories:
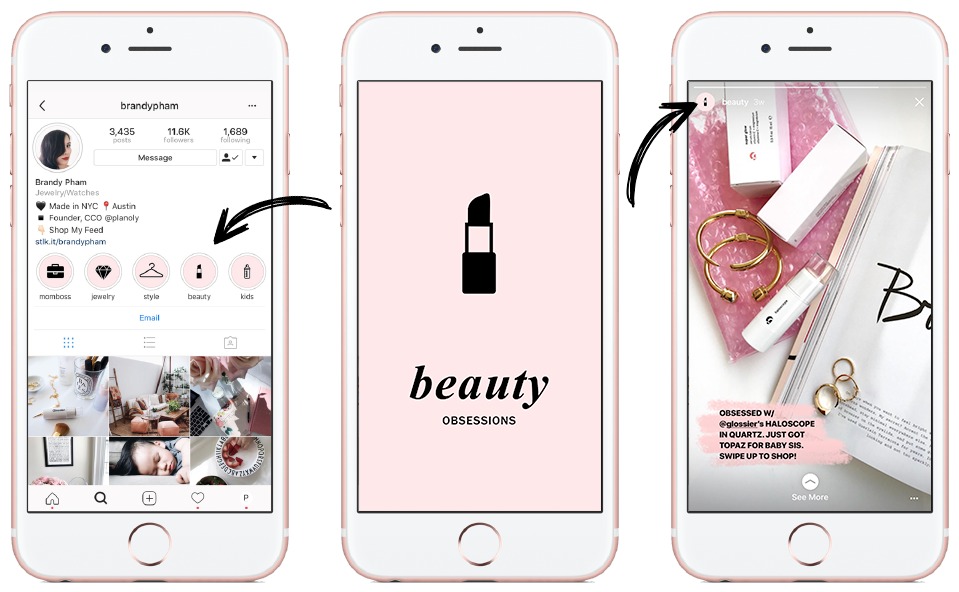
The resulting image can be used to attract customers or promotional publications.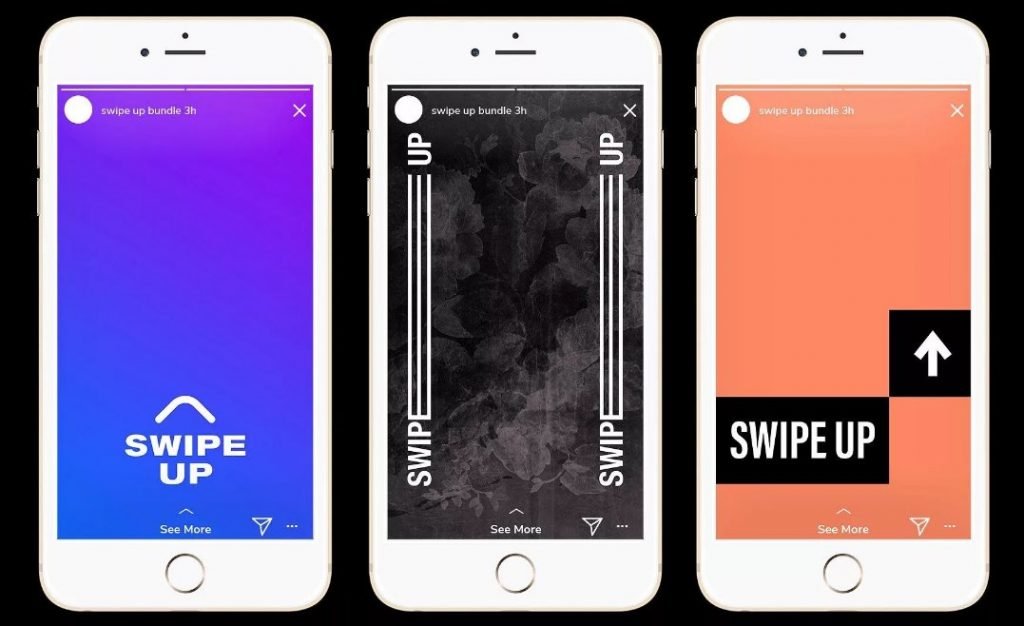 When adding a story, you need to add a link to the store, this is done using the button in the form of a chain on the panel at the top.
To swipe in Stories, you need to open the Story using the icons in the main Instagram window and swipe up from the bottom. After a few seconds, another publication or online store opens.
Users with more than 10,000 followers can create a swipe in Stories. Any member of the social network can follow the created link by swiping up from the bottom of the screen while viewing Stories.
How to use swipe on Instagram? To do this, you do not need to go to the settings and enable the option. Swipe is available by default and works on phones and tablets with touch screens.
How to use the swipe: