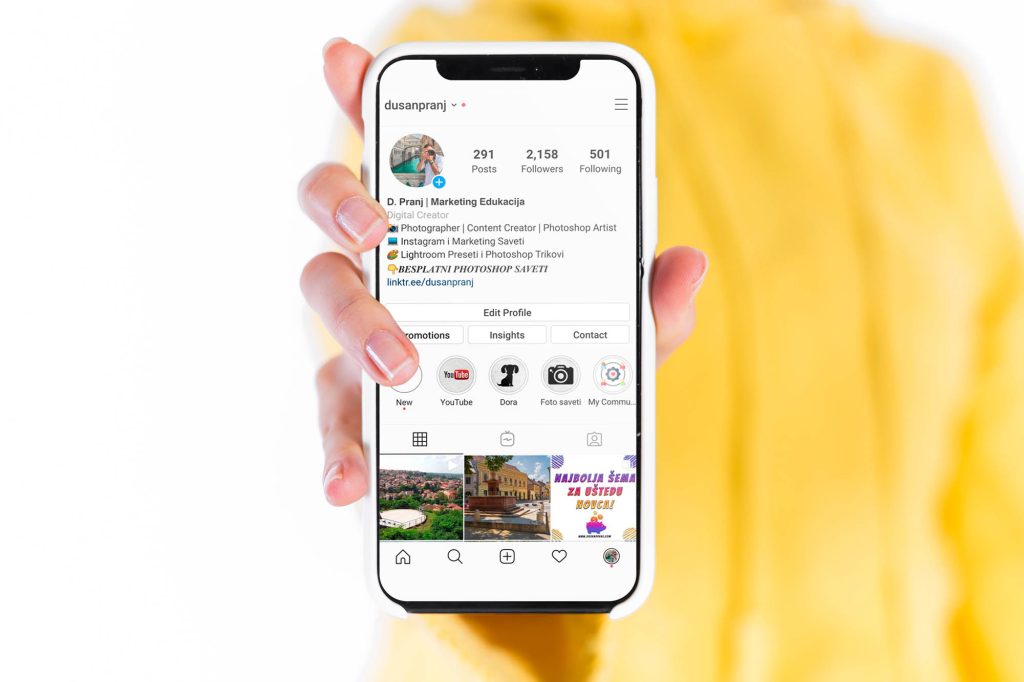
Bio: It's important to keep it clean, easy to read and professional. I recommend adding a few words about what you do, how people can get in touch with you, and some social proof, ex: as seen in Forbes (optional).
CTA: The Call to action is one of the most important sections on your bio that most people seem to miss. It's a chance for you to tell your followers why they should click your link to learn more about you or buy from you.
I am constantly updating this and changing it so keep that in mind when you make yours. It doesn't have to be perfect just yet.
URL: This is the only active link on your whole page (other than stories past 10k followers) so use it wisely! Most people put their website or freebies, advertisements, blogs, YouTube account, webinar announcements. etc. I also recommend checking out Linktr.ee. This site allows you to use multiple links. I personally just use a page on my website with buttons for each of my offerings.
Contact: I recommend writing out your email in your bio. If you have a business page, there will be a place for someone to click on your email but having it visible at all times suggest to other photographers, business owners, and brands, that you are open to collaboration. Example: Collaborate: [email protected] or Business inquiries: [email protected]
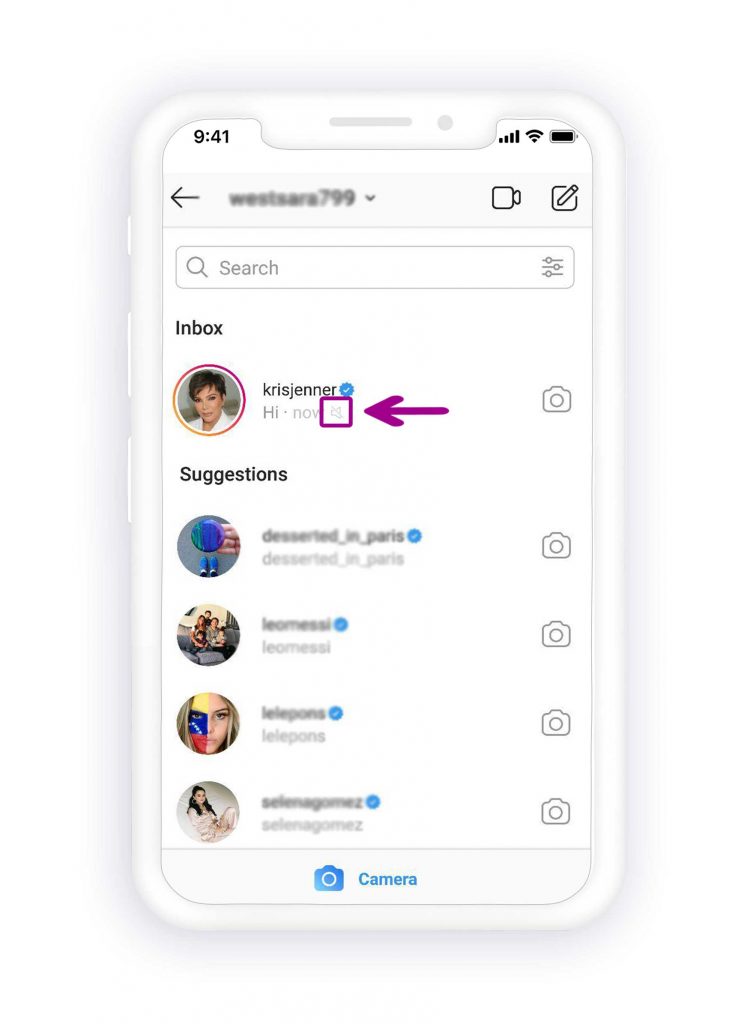
If you have a Facebook page, now is the time to enable Instagram for businesses. This will pull information from your Facebook page and create a CONTACT button that will link directly to your email for fast communication. Make sure your account is public and tags are set for automatic.
This will also allow you to use analytics, create promotions and tag brand partners, and select a category for your page.
Analytics are one of the best ways to test and track. You can see how many followers you are gaining per week, your impressions and overall engagement, and how one post performs compared to another. These are key for learning and improving on the state of your page.
Start with at least 9 solid photos on your Instagram account before following anyone. Don't worry about the time frame on these and just build your profiles foundation. Choose some of your best saved photos and post! Be sure to write an engaging and interesting caption to go along with each post and include 15-30 hashtags.
Don't worry if you don't have anything yet; we will get into the details of photography later on. In this case, just post one or two photos of yourself or a favorite image of yours with a caption introducing yourself to Instagram!
POSTINGOnce you chose a photo, you'll see some options for filters and editing. I recommend never using Instagram filters. They usually look amateur and can easily ruin a decent photo. Instead, either make any necessary changes with the editing sliders or edit your photo outside of Instagram in Snapseed or Lightroom Mobile (or on your desktop in Lightroom or Photoshop. )
)
Captions can be directly related to the photo or a random thought, quote or idea. I see people using their captions like a journal to tell a story about the photo or about something that is currently going on in their lives. Captions are just as important as the photo and can add more value and interest to the image.
Longer captions tend to perform better on Instagram but this doesn’t mean that you have to go crazy writing a novel on every post. Just write something that is interesting and relevant to your audience. They’re also a great place to share tips, announcements, or daily thoughts.
Add a call to action (you can do this now, or start later on as your account grows)
Ask a question. It can be as simple as "how was everyone's day today?" Or say for example you post a beach photo, you might ask your audience, "Where are your favorite places to travel to?" Questions will encourage your audience to respond which in turn brings more engagement and boosts your posts in the Instagram algorithm.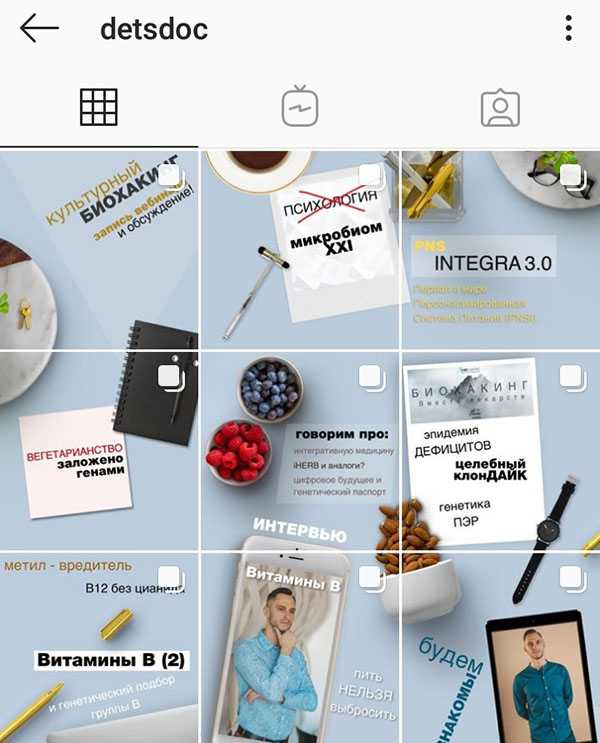
Direct viewers to a link in your bio
Ask for viewers to do something specific such as participate in a contest or follow a page that you admire. Just don't be spammy and ask them to follow you - that makes things awkward.
Next, add your hashtags. I recommend using 15-30 on every post and mix them up. Click below to read more about hashtags.
Click here to read more about hashtags and download a FREE hashtag listNow that you have a basic foundation set up on your Instagram account, it's time to start following a few people. Start with people you know. Click on your profile and click on the upper right corner to connect with people from Facebook and your contact list. Past clients may already be on Instagram ready for you to follow.
Start following and liking people's posts. In most cases, they will start following you back.
Click on the little heart Icon at the bottom of the phone screen to see who has "followed you," "liked" and "commented" on your photos.
Spend a bit of time familiarizing yourself with the platform.
Ready to learn even more and grow and make money from your Instagram? Check out our full Instagram Course!Congrats on your new Instagram account! Grab the free checklist below so that you never miss a step!Related: Establishing Your Insta-brand
Instagram is an excellent way to attract attention, gain followers, engage with likeminded folks, and even improve your photography, but it’s all easier said than done, right? Plenty of photographers post on Instagram and get nothing out of it – no followers, likes, or even views.
So how do you use Instagram the right way? How can you promote your photography on instagram and come away with likes, followers, and comments galore, not to mention a great community?
In this article, I’m going to share my personal secrets for Instagram success. Specifically, I’ll offer techniques to get better exposure for your photography, build a community, and grow as a photographer through Instagram. I assure you, I know what I’m talking about; my personal Instagram account has 15,000 followers (and counting). So you know this advice works.
Let’s get started.
What’s the difference between a good artist and a great artist?
Great artists only show their best work. While nobody is expecting you to rival National Geographic photographers right away, you should pay close attention to what you’re sharing. It only takes one bad photo for people to lose interest in your photography.
In short, if a photo doesn’t make you say “Oh, yeah!” when you see it, don’t post it.
Also, don’t post too often. Unless you have a really good reason for spamming your follower’s feeds, don’t do it. I recommend sharing one or two images a week – it’ll keep people interested without getting annoying. So post the great stuff, and leave out the bad, the mediocre, and even the good.
This is key to defining your brand and to your growth as a photographer. It’s about determining what makes you different from everyone else and about using that difference to create something unique and interesting.
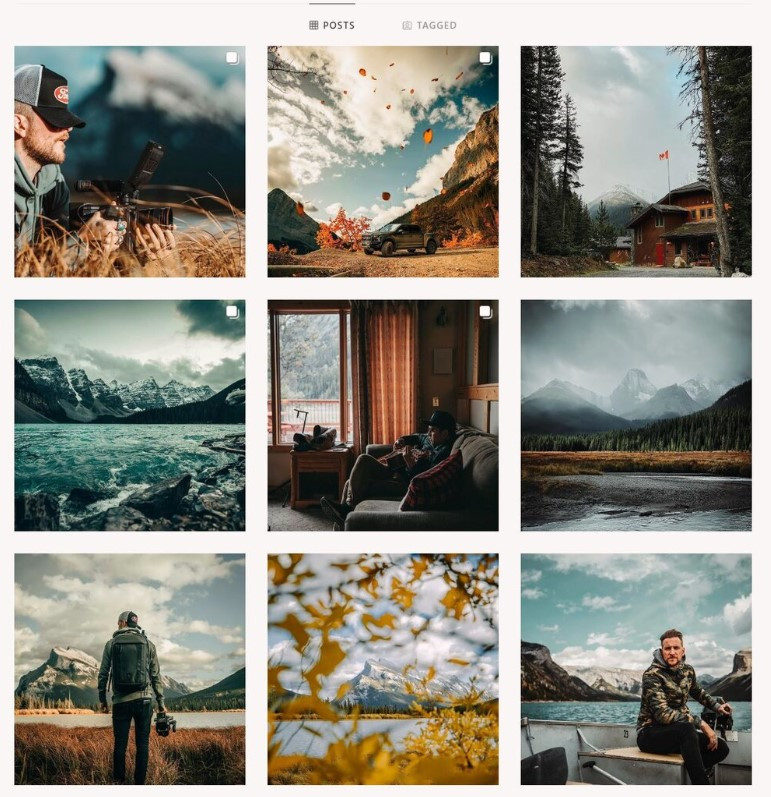
The amazing thing about Instagram is that it’s composed of people across the world, each of whom have a different interest. I’ve seen fantastic accounts focused on street food in Vietnam, rock climbing in Utah, and architecture in Turkey.
But despite these differences, the best accounts all have one thing in common: a focus around a central theme. And it’s this theme that captures their audience’s attention (and keeps it).
Exploring the ancient #forests of Vancouver island, @kaitross and I found that even these giants succumb to time and the winds.
Don’t forget: the only person who should define your niche is you. Do you love paper maché and dinosaurs? Then become the best photographer making seaside portraits of paper maché Velociraptors.
I love to travel and explore nature, so my account reflects that and only that. You won’t find photos of my food or my family. If you want to share snapshots from your daily life, get a private account for your friends and your family to follow, because they’re the only ones who (might) want to see that stuff.
Your shiny new smartphone may take gorgeous snapshots, but constantly relying on a smartphone is like trying to perform a piano recital on a kid’s electronic keyboard.
Yes, smartphone cameras have come a long way in recent years, and yes, there are plenty of outstanding smartphone photographers out there. But unless you’re an experienced photographer with a lot of compositional and lighting knowledge, I highly recommend getting a “real” camera, such as a DSLR or mirrorless model.
Why? For one, it’ll force you to learn key photographic skills, such as exposure, depth of field manipulation, and proper handholding technique. Plus, it’ll give you additional focal lengths to play with, so you can shoot birds in the distance, sweeping landscapes, stunning close-up shots, and more.
Instagram may lend itself to a snap-and-post style of photography, but producing excellent photographs doesn’t work that way. Great photographs aren’t taken – they’re created.
This means shooting in RAW, then working in your favorite image editing program (I recommend Adobe Lightroom). Learn how to manipulate light, shadow, and clarity until your final product is something you can be proud of. The Instagram app just isn’t built for this level of sophistication, so ditch all those cheesy filters and effects and do your work on the computer.
Great photography leaves an impression.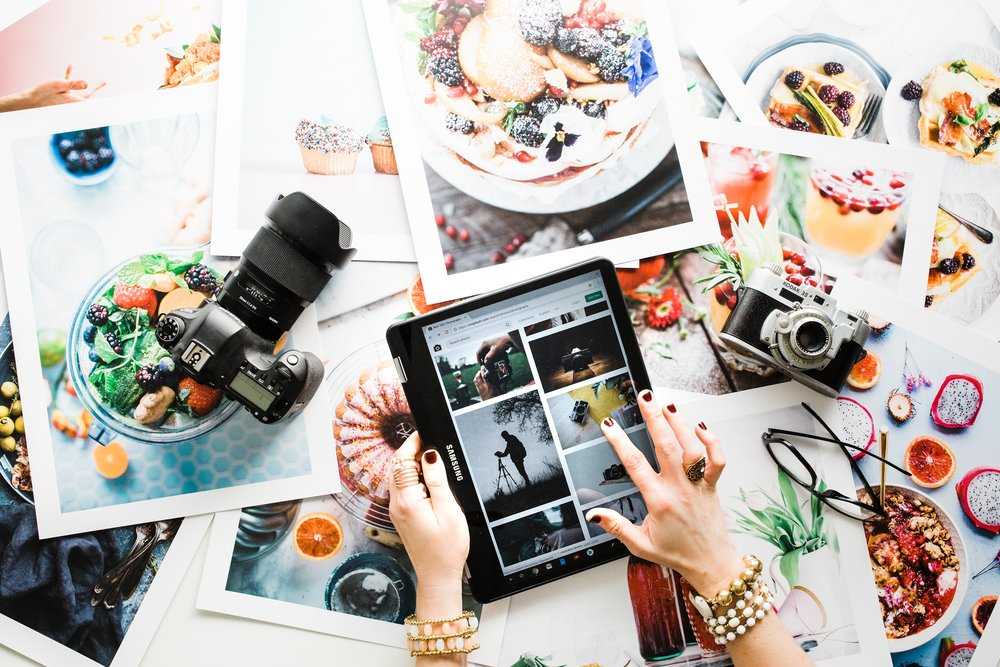 So do well-written stories. But when you combine strong images with powerful words, you’ll evoke an emotional response in your viewer and help them connect with your work.
It wasn’t until I realized this and started sharing the story behind my photos that my account started getting real interaction – people writing about how the image or words affected them and their own experiences.
Nobody expects the next Hemingway to come out of Instagram, but some carefully chosen words in a thought-provoking caption will do wonders for connecting you to your fans.
After the frenzied atmosphere of Shanghai’s urban jungle, the fresh air of Huangshan’s Yellow Mountains was exhilarating. Still in the low season, March snow clung to the boughs of trees while distant clouds made it feel like the horizon could go forever. One of China’s better-developed tourist attractions, Huangshan has a long history: first recognized in 747 AD, it was said to be the place from which the Yellow Emperor ascended to heaven. This year, over 1.5 million visitors (mostly Chinese) will wander its paths. I caught it on a quiet day, and these peaceful memories linger with me still.
What’s the difference between a story and a question?
A story builds an emotional connection between the viewer and the image; a question builds a personal connection between your viewer and you.
So tell stories, but ask questions, too. Your questions should be open ended and create a space for your fans to contribute some of their own stories to the community. Remember that many Instagram users are new to digital photography and are looking for people to connect with. By asking questions, you can encourage them to engage with the community (you might even make friends along the way!).
I never understood the value of effective hashtagging until I started weaving them into my posts. You should be hashtagging important nouns and verbs – stuff people will be searching for.
And get specific, too. The difference between #fishing and #instagood is huge for obvious reasons: people who might be interested in your photo are much more likely to be searching for their favorite hobby than some meaningless, catch-all term. So don’t add a bunch of generic hashtags that say nothing about your work. Instead, use descriptive hashtags that target certain users.
Speaking of hashtagging, do a bit of digging to find effective hashtags you might be missing. It wasn’t until I came across the hashtag #explorebc that I began connecting with a ton of great local photographers who eventually featured my work on their account (resulting in a huge boost of exposure for my photos!).
The morning is when most Instagram users check their feed, so keep this in mind and set your posting schedule accordingly. I live on the West Coast of North America, so if I post at 8 AM, I’m already late for my East Coast followers. Aim to get your posts out early in the day for the time zone you’re targeting (of course, if your followers are worldwide, this is less useful).
Is there a best day of the week to post? Studies show that Sundays have the greatest number of interactions, which makes sense given that many users spend Sunday relaxing at home. Otherwise, stick to weekday mornings.
Build a community by actively finding photographers you respect and developing relationships with them. I won’t lie – this is a long process, but it’s necessary and worthwhile.
It’s also pretty simple: Just find a hashtag that speaks to you and your work, then check it whenever you can to see who’s posting. When you find photography you like, leave a thoughtful compliment and follow the user. Chances are, if they like what you’re posting, they’ll check out your account and reciprocate.
Whatever you do, when commenting, don’t ask people to check out your account or follow you back. It’s tacky and makes you look desperate. Instead, be thoughtful, complimentary, and ask for nothing in return.
A champion is someone who genuinely engages with your work. They comment frequently, and their comments are thoughtful – not just “Nice” or “Love it,” but lengthier, meaningful content explaining what they like about the posted image.
Champions are great for both your community and your popularity, but how do you get them? What makes champions comment on your photos?
Here’s the best way to draw in champions:
Foster relationships with other users.
Of course, this is easier said than done. But if users are leaving you thoughtful comments, return the favor and respond with something more meaningful than “Thanks!” If someone cares enough about your work to awkwardly type out praise on their smartphone, they’re worth their weight in followers. These are the people who are going to follow along through your adventures and refer their friends and followers.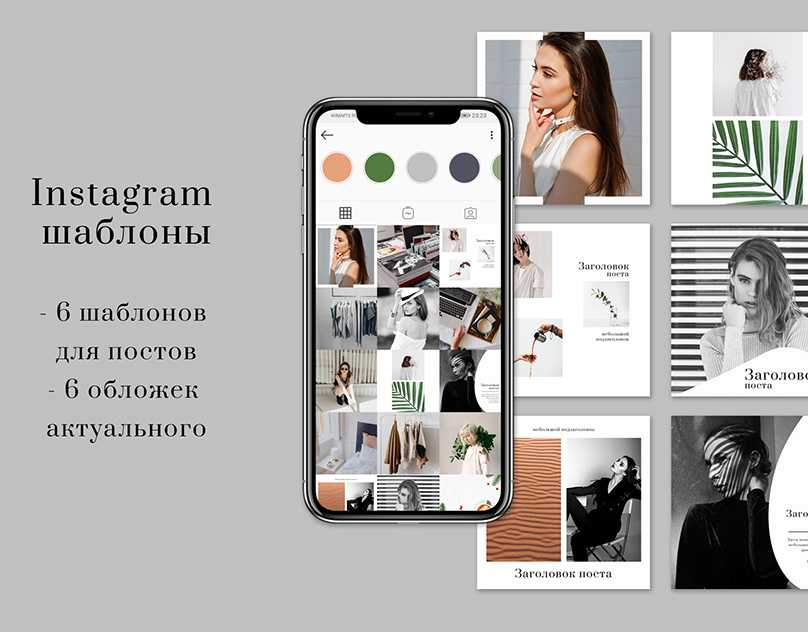 Do enough relationship building, and these delightful unicorns will be out there promoting your work for you.
Bring others into the conversation by photographing with them or referencing them in your posts. Two amazing women from Vancouver kicked off @localwanderer several years ago, in which they document their travels around North America and feature the hidden gems in communities.
Where the @localwanderer creators really excel (in addition to their photography and writing) is in their ability to constantly bring local shops, restaurants, and people into the discussion. By doing this, @localwanderer introduces its community to someone new, who in turn will introduce their community to @localwanderer.
So think about who or what you can reference on your account. If you’re a nature photographer, you might try tagging local parks; if you’re an architectural photographer, you might try tagging the owners of local buildings/businesses.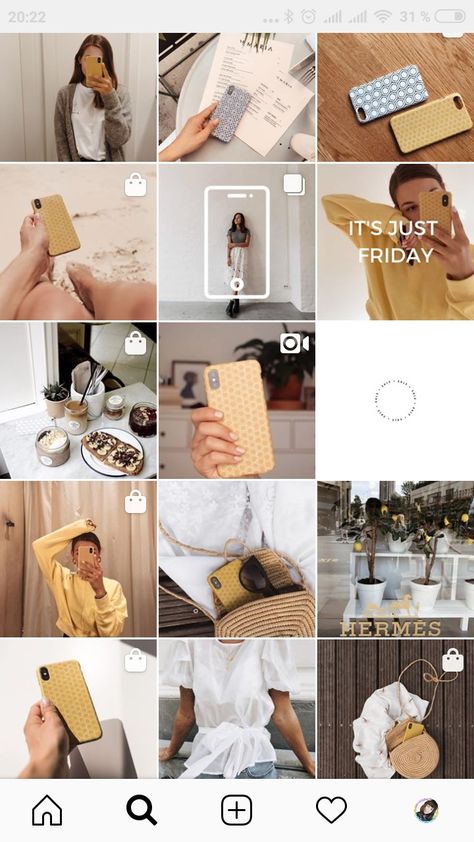 The specifics will depend on the photography you do, but as long as you’re creative and you persevere, you’re bound to make some valuable connections.
I’d rather have 100 fans who interact with my work than 1,000 followers who never like and comment. Your goal shouldn’t be about quantity of followers – instead, it should be about the quality of your community.
Speaking of numbers, don’t be afraid to clean up (and block) followers, especially those who are clearly inactive or fake. The last thing you need is a bunch of zombie accounts clogging up your Instagram. Also, one danger of having many inactive followers is that your account is less likely to be recommended to other users of Instagram.
There you have it: 12 tips for success on Instagram. As long as you follow these tips, your account will grow and your engagement will skyrocket.
Now over to you:
What are your tips for promoting photography on Instagram? Do you have any success (or failure) stories you’d like to share? Let’s hear them in the comments section below!
Prepared instructions: how to add a photo to an Instagram post and story * using a phone or computer. Article for beginners - we reveal only the basic methods and share small life hacks.
Step 1. Go to the application . Click on the plus button in the upper right corner. nine0003 Adding a photo to Instagram*
By the way : you can add a photo in an alternative way - swipe right from the Instagram feed* and select "Publish".
Step 2. Select photo . Select a finished photo from the Gallery or take a new one by clicking on the camera icon.
Click "Next" - the arrow is in the upper right corner.
Select a photo from the Gallery or take a new photoStep 3. Edit photo . After selecting the image, the editor will open. You can apply a filter and use the sliders to adjust the light, contrast, brightness, warmth of the frame. We press "Next".
You can select only one filter, and in the "Edit" tab, customize the photo for yourself: darken, increase detail or change color Step 4.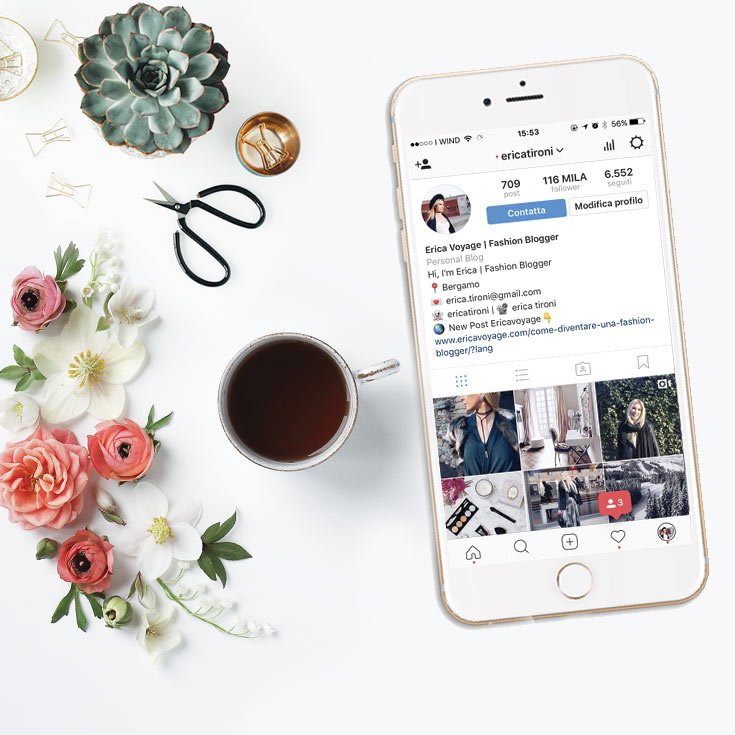 Put the photo in the feed . We write the text, put a place, mark accounts, indicate hashtags - in general, we finalize the post. Post it by clicking on the checkmark in the upper right corner. nine0003 Posting a photo to Instagram feed*
Can I edit a photo after posting? Unfortunately no. When editing, you can only change the text and tagged accounts:
Please note: after changing the text, the post will remain in the feed in the same place and will not be republished. If you want to change the image in the post, you will have to delete it and re-upload it. nine0003
Read also: How to post a post on Instagram* in 2021 - the most detailed guide on RuNet Click on the plus sign in the upper right corner to add a story.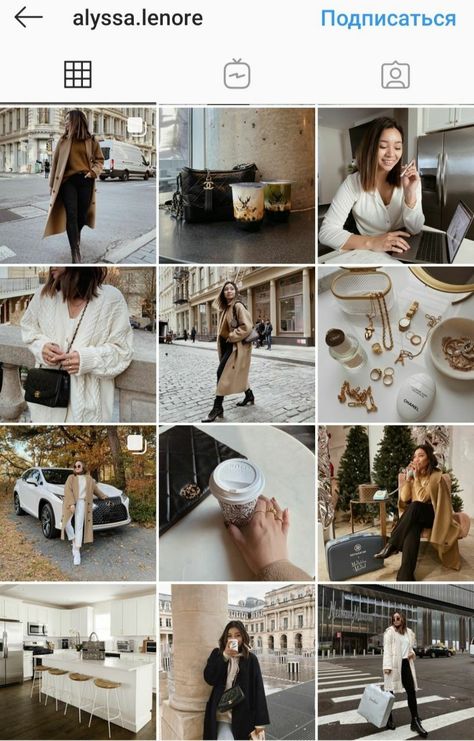
Step 2. Select the item "History" . By default, the menu for creating a post will open - scrolling to the left to get to the story editor. Take a photo or select an image from your device's Gallery. nine0003 How to add photos to stories
Step 3. Add stickers, text and other extras . You can publish.
Read also: Instructions: how to post a Story on Instagram* from a computer
Several photos in one post on Instagram* are called a carousel. This is a convenient format for posting themed photos and collection posts.
Step 1. We go to the application . Click on the plus sign in the upper right corner. nine0003
Step 2. Select photo . Click on the icon with slides and select photos from the Gallery.
You can collect up to 10 photos or videos in one post Step 3. Edit . You can apply a general filter to all photos, and if you click on the picture, an individual editor for the image will open.
Step 4. Write post . We add a description, put a place, mark accounts. We publish.
By the way : to swap photos, click and drag the image to the desired location. You can also remove a photo from the list.
To make a collage, you need to install the Layout app from Instagram* or use special services and tools. Read more in the article “How to make a collage on Instagram*”.
There is a special sticker for Stories.
When choosing a photo for a post, click on the frame icon. It is in the lower left corner of the photo. nine0003 How to enlarge a photo on Instagram*
After clicking on it, the photo will return to its original size. You can hold the image with two fingers and crop it: stretch, pull or move across the field.
If you pinch the picture, you can change the scale The best pictures on Instagram* look with an aspect ratio of 1:1 (square) or 4:5 (vertical rectangle). But pictures from computers in 16:9 format turn out to be narrow and visually take up less space in the social network feed. nine0003 The scale of the pictures and how much space they take up in the feed
The built-in graphic editor in SMMplanner will help you crop the frames conveniently - you can edit the photos there and post them with a timer at the right time. Read more in the article "Instructions for posting photos on Instagram* via SMMplanner".
You can send an image to Instagram* directly from the Gallery on your phone. Devices have a different interface, but the principle is the same: select a photo, find the "Share" button and select Instagram *: feed, chat or Story. nine0003 This is how you can send a photo from Android 10
Use Facebook Creator Studio - go to the service under your account, click "Create a post" and select "Instagram feed" *".
Now you can add a photo by clicking the Add Content button. You cannot apply an effect - only crop. Don't forget about the text for the post! After that, click "Publish" and the post will be scheduled for publication in the Instagram feed*. nine0003 Add photos to Facebook* Creator Studio
Another option is to use our auto-posting service SMMplanner. Click Add Post and select Photo/Video. In the built-in editor, you can put a filter, adjust the color, add text and attach a sticker. In general, create a full-fledged cover for the post.
Advanced photo editor in SMMplannerYou can add photos to Instagram* through a mobile browser. We can enable it on the computer. nine0003
Step 1. Go to the Instagram website* and right-click anywhere. Select "Show Code".
Enable code viewing Step 2 . Switch to mobile layout.
Step 3 . Refresh the page.
Refresh the page and postStep 4 . Add a photo from your computer and post it to your feed.
To exit the mobile layout, click the cross in the right corner where you see the HTML code. Or just close the page. nine0003
Posting a photo on Instagram* is quite simple - in the application this is done through a single editor on the "+" button. If you want to make a collage, then refer to the article “How to make a collage on Instagram *: instructions + 12 apps to help”, and in the article “How to post a post on Instagram * in 2021 - the most detailed guide on Runet”, we take a deeper look at the post editor .
More articles to help:
There are 3 main ways to add a photo to Instagram* from your phone: upload via the Instagram* mobile app, from your phone gallery, or via third-party apps. We will analyze separately how to publish a photo in a post and a story.
Download the Instagram app* from the AppStore or Google Play. After registering or logging into your account, you will see the [+] icon in the upper right corner, click on it, and then in the menu that appears, click on the "Publish" button.
Interface for adding a new post to the feedNext, you will open the interface for adding a post, you need to go through several steps:
Let's take a closer look at how to post photos on Instagram* from your phone.
Select media files. After pressing the "Publish" button, you will be taken to the gallery on your phone. Select the photos or videos you want to post.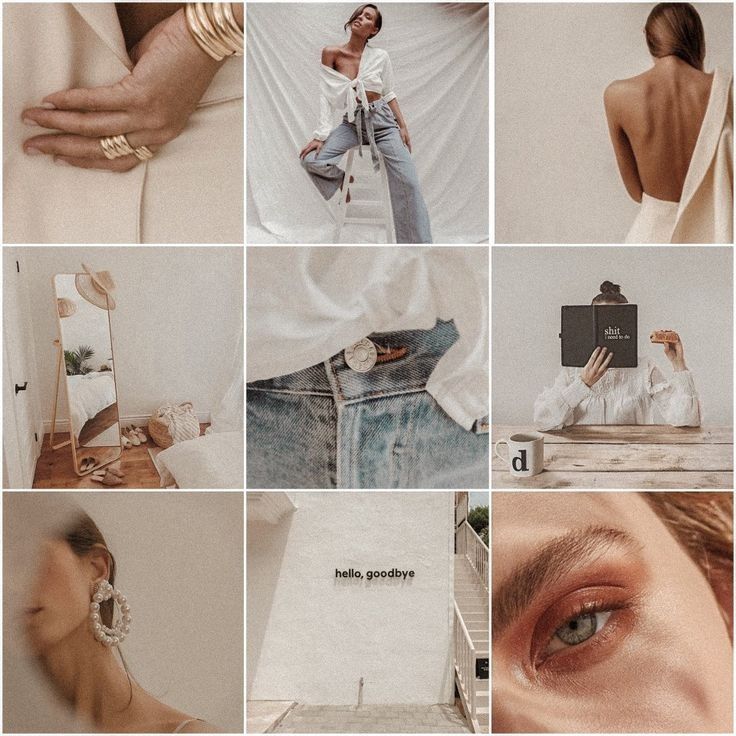 At this stage, you can also change the resolution or select multiple files for one post.
Editing files. After selecting all the settings, click the "Next" button in the upper right corner and go to the editing interface - here you can apply filters, adjust contrast, add sharpness, level the horizon, and so on. nine0003 Photo and video editing tools
Add text and labels. Once you're done editing your media, click the "Next" button again, and the last settings will open: choosing other social networks for publication, adding text, geo-tagging, user tags. Read more in our article “Instagram tags*: how and why to use”.
Final settings for posting to the feedBig text cannot be posted on Instagram*, the limit is 2200 characters. But if you really need it, we have an article with recommendations for the design of such publications. nine0003
Publication .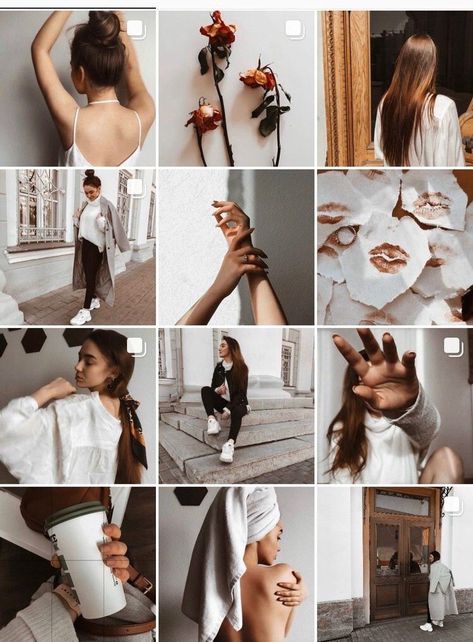 When you're done with the settings, click "Share" in the upper right corner and the post will appear in your account feed and in the news feed of your followers. Hooray!
How to post photos on Instagram* from your phone using the gallery:
That's it - the publication has been uploaded to your profile!
Step-by-step process of posting a photo in the feed through the phone gallery If you don't know what, why, why to publish and how to design, I recommend our free course "7 Steps of Content Marketing". In the course, we tell you what content marketing is, how to create, design and promote content on the Internet. All this will help you understand how content works, why publish posts and how to make them beautiful and interesting.
You can upload photos to Instagram* from photo and video editing apps, feed maker, and more. Almost all of these applications have the ability to automatically add media files to Instagram*. nine0003
For example, the Canva photo and video editor app has a Share button in the top right corner. In the additional menu, the Instagram icon appears *, when clicked, it transfers to the social network application with the option to select a placement: Stories or feed. After clicking on the "Feed" button, the standard Instagram interface * opens to add a post to the feed.
Algorithm for publishing a post in the feed from the Canva application You can upload a photo to Instagram Stories* from your phone either directly from the Instagram application* or through third-party applications. nine0003
There are 3 ways to post a Story via the Instagram app*:
After clicking, the interface for creating Stories will open. By default, the camera opens, and you can immediately take a picture or video for stories. If you want to add files from your phone's gallery, tap the button in the bottom left corner of the screen or swipe up from the bottom of the screen. nine0003 Stories interface when first opened with camera enabled
The story editing interface also has many useful features:
Once you're done with your stories, select the publish option at the bottom of the screen:
 Stories are immediately published on your profile, and all users can see it.
 Stories, like posts, can be posted from other applications, only when choosing a placement, you need to click "Stories".
Check out the Instagram Stories* section of our blog for inspiration on how to use Stories on both your personal blog and brand account.
If you feel uncomfortable publishing posts and stories from your phone, use services for publishing from your computer, such as SMMplanner. With it, you can design and post posts and stories from your computer and specify the time at which they will be automatically published. nine0003 Scheduling a new post on Instagram* from a computer via SMMplanner
What is the convenience of delayed posting and how to post on Instagram* from SMMplanner, read in our article "Delayed posting services on Instagram*: why they are needed and how they work".