Speed up your video editing workflow
Adobe Premiere Pro CC is a video editing software program that is used by video pros and amateurs. It is pretty darn good and is included in the Adobe Creative Cloud bundle, which I will still argue is a deal of a lifetime at $52/month. Free would be better, but the value is high.
Try Adobe Creative Cloud free for 30 days: https://mikemurphy.co/adobe
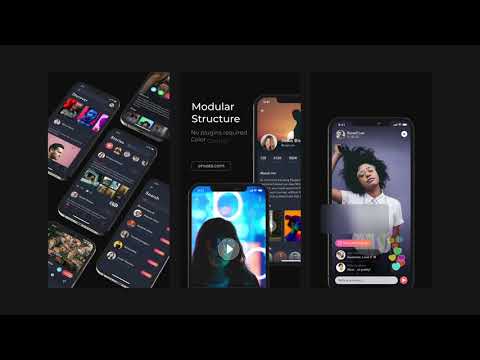
How To Create Presets for Instagram Stories & IGTV in Adobe Premiere Pro CC
Overview:
This tutorial will show you how to create a Sequence Preset in Adobe Premiere Pro CC that can be used for Instagram Stories or IGTV (vertical videos).
Sequences are what you create in Premiere to put on the timeline and edit videos. You must create a New Sequence for each project, so having one sized for every platform speeds up your workflow because you just have to click the preset and the sequence will be the correct size.
This tutorial is going to show you how to create an Instagram Stories & IGTV template (same size) that is 1080 pixels wide by 1920 pixels high.
Overview GIFDimensions for Instagram Stories & IGTV videos:Frame Size 1080 pixels wide X 1920 pixels high
Aspect Ratio: 9:16 (width:height)
Frame Rate: 30fps or 24 fps (will likely show as 29.97 & 23.976)
4. Click Settings
5. Click Save Preset
To use a custom preset in Adobe Premiere Pro:
To Edit or Delete Presets:
I create content and help people figure things out.
I make podcasts and videos that teach people how to make better content.
Check out my YouTube Channel
My name is Mike Murphy, I’m a one man band and podcaster.
Learn.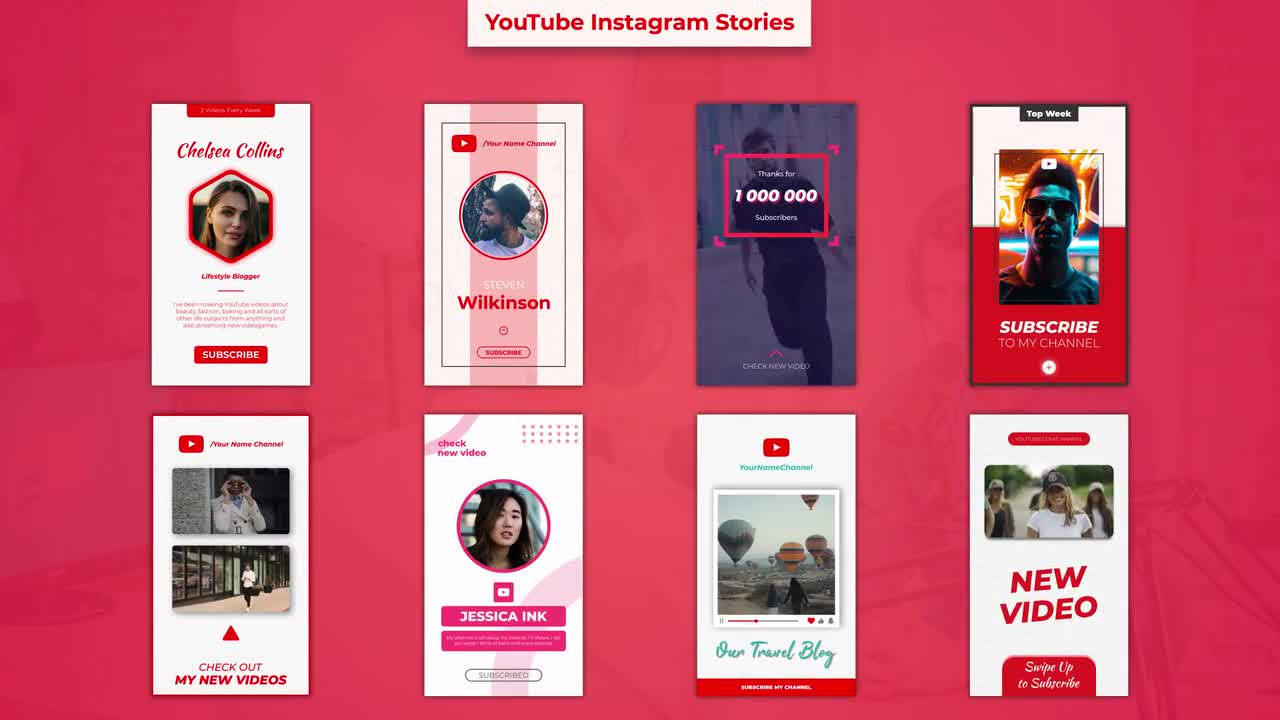 Create. Move Forward.
@mikeunplugged on Twitter or Instagram
Share this article
46 shares
I am in love with Instagram’s Stories feature, but it is a challenge to figure out how to upload pre-recorded, edited content. Have you ever noticed that high-profile Instagram accounts like @garyvee and @gopro upload a mix of “on the fly” and pre-produced, edited clips to Instagram Stories?
Some product links in this post are affiliate links, and I will be compensated when you purchase by clicking our links. Read my disclosure policy here.
I’ve been exporting teaser videos from Premiere Pro to Instagram Stories every week when I publish my YouTube videos, and this is something people have been asking me about. Here is a tutorial for how to export videos from Premiere Pro to Instagram stories.
In order to upload a video to Instagram stories, the video must be:
But what if you have an awesome video you just uploaded to YouTube, that was shot on your DSLR and editing in Premiere Pro? That’s the problem I was trying to solve a few months ago when I discovered this trick. Here is the solution (if you are totally brand new to using Premiere Pro, I recommend you watch the complete tutorial):
It sounds tedious, but keep in mind the idea for me was to create a few teaser clips to get my audience’s attention and hopefully inspire them to go watch the full video on my YouTube channel. So while you could do this process with an entire edited video, you don’t have to.
As I explain in the video tutorial, the first thing I do is create a new sequence that is the same dimensions as my phone. I have an iPhone 6S, so that’s 750 wide by 1334 high.
That will give us a sequence that is rectangle shaped, but vertical instead of the standard 16:9 horizontal orientation. Now you basically have a canvas to work with here. The first thing I do on my new sequence here is add a Title to the bottom track, so that my background isn’t black. I make a rectangle shape that covers the whole frame, and make it any color I want. I choose a light gray so that it’s almost white, but not as “bright” as white.
Next, I lock that title track and copy my clips from my full, edited video timeline and paste them onto the timeline of my new 750×1334 sequence.
Once all the clips are in, you can have some fun with how you arrange your video in your frame. I like to rotate a little bit, then resize and move so that my body is near the middle of the frame and the corners of my video run diagonally across the frame. This is just a personal preference! You could arrange your frame however you want here. Whatever suits your style.
Here are some examples of ways I could position my video within my frame:
Like I said, I like to rotate, resize, and reposition my video.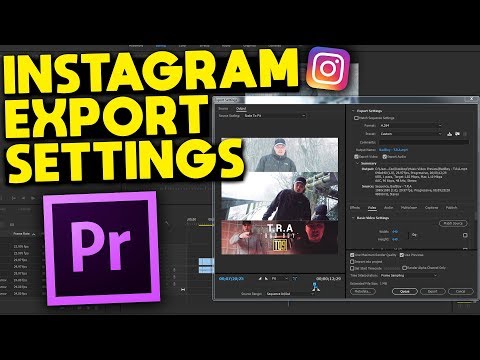 Here’s a look at the tools I use in the Effects Control panel to achieve the diagonal look:
You don’t have to do this with every one of your clips. You can select the word “Motion” above the Position setting, copy and then when you select your next clip, just hit paste and all the settings that fall under Motion will be copied over to the next clip you have selected.
Once all your clips are arranged in your frame the way you like, now you can export your 15 second (or less) clips! How I do this is I find the first starting point where I want my Instagram story to start, and I hit “i” on the keyboard. This sets an “in point”. Then I find where I think I want my first exported clip to end and hit the “o” on my keyboard. This sets and “out point”. In the bottom right-hand corner of your preview window, it will tell you exactly how long your selection is. Make sure it isn’t one millisecond longer than 15 seconds!
Next I hit command (or ctrl) M on my keyboard to bring up the export settings. Since I made a selection of my timeline using the in and out points, Premiere Pro knows that’s the selection I want to export (not the whole video).
I save my exported clips to Dropbox, so that I can grab them easily from my iPhone. You could use Google Drive for this also. But somehow, you’re going to need to get your exported clips to your phone in order to get them to Instagram stories.
From here, you could hit Export and you’d be all set with that one clip. Since I usually upload a handful of clips to Instagram stories, I actually hit queue, which opens up the Media Encoder. Media Encoder will save my selected export until I’m ready to batch-export a bunch of clips at once. This is a HUGE TIMESAVER.
Once you’re all set with all your clips, and everything is in the Media Coder, just export them all. If you’ve saved them directly to Dropbox, then find them on your phone, open each video clip in dropbox and export it to your phone’s camera roll.
The magic trick here is that since you just saved this video to your camera roll, Instagram thinks you just shot this video on your phone. So as long as it’s the same dimensions as your phone and it’s less than 15 seconds, it’s going to let you upload your clip! Ta da!
From here, you can treat your clip just like you would any Story clip. Add text, doodles, and emojis, then add to your story. Just make sure you upload them in order, otherwise, your story might feel a bit disjointed.
On my podcast, the VidPro Studio Show, I had the opportunity to interview my friend Kelsey from the Premiere Gal YouTube channel. Kesley has tons of Premiere Pro tutorials, so if you’re looking for more tutorials on using Premiere Pro, Kelsey is your gal!’
In this guide, we will take a detailed look at how to work with video in Adobe Premiere Pro designed for Instagram.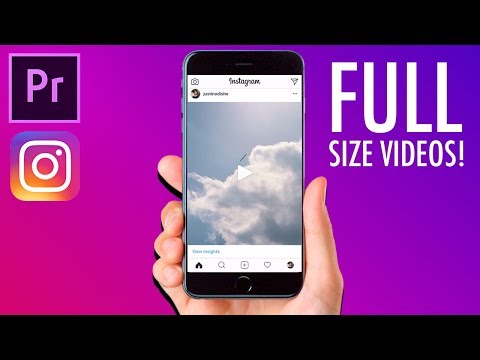
Formats
When posting to Instagram, you have several options regarding video formats. These include the main channel, stories, and Instagram TV (IGTV). Each format has its own specifications, which often confuse users. One of the main points of confusion is the number of possible image formats you can use when exporting to Instagram. These include landscape 16:9for horizontal video, 4:5 and 9:16 for vertical video and 1:1 for square video. Below we will look at the aspect ratio and video length requirements for each specific platform.
Main Channel
16:9 (horizontal)
1:1 (square)
4:5 (vertical)
Instagram Stories
by 90:60 seconds in length horizontal)
1:1 (square)
4:5 (vertical)
9:16 (vertical)
Instagram TV (IGTV)
15 seconds - 10 minutes (up to 60 minutes for large accounts)
4:5 (vertical)
9:16 (vertical)
Creating templates
You can save your template in Premiere Pro. First go to File > New > Sequence. In the New Sequence dialog box, click the Settings tab. Here you can enter custom specifications according to the format. The resolutions below will work best for each respective aspect ratio:
 1:1 - 1080x1080
4:5 - 864x1080
9:16 - 900x1600
Use export templates
Creating custom templates and using them for editing can take a lot of extra time. This is a luxury that many editors simply don't have. If you fall into this category, don't worry. You can pick everything up in the export settings and then create templates to automate the export. First go to File > Export > Media to open the Export Settings dialog.
Format - H.264
Width / Height - As with sequence presets, match the resolution to the desired aspect ratio.
Frame Rate - 30 FPS
Field Order - Progressive
Aspect - Square Pixels
Bit Rate - VBR 1 - Pass
Target Bit Rate - 8 Mbps (Adjust this to change quality versus file size.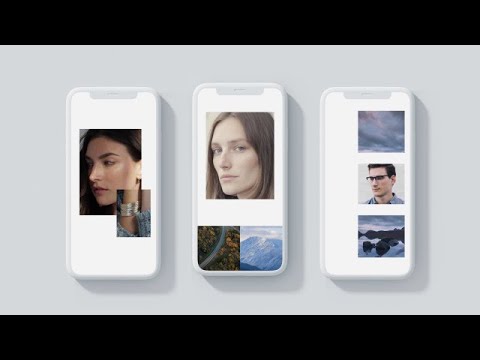 )
)
Video with overlays
One of the disadvantages of using custom export presets is that you can't position your content exactly like you can with timeline presets. To work around this limitation, use color underlays to create overlays. First go to File > New > Color Matte.
Once created, you can apply a color mat to the sequence and then lower the opacity to make it transparent.
Desktop to mobile
Instagram was designed to be used on a mobile device. With the exception of IGTV, many users cannot upload data directly to Instagram through the desktop. The good news is that there are many workarounds for transferring video files from desktop to mobile. One of the main ways to transfer your files is through an app like Google Drive or Dropbox. Copy files to Google Drive via a web browser and access the files using the Google Drive app on your phone.
Creative
People often complain about vertical video formats. If you spend all your time speaking a visual language, vertical video can be hard to follow. However, it just takes a little extra time and creativity to make everything look good. To use a clip in a 9:16 vertical layout, you can use graphics with multiple frames.
Social networks are now an important part of the life of any creative person. At least that's the way it should be, as there are plenty of opportunities to network with fellow creators and potential clients. It can also just be fun. One of the latest trends is quick video stories on your feeds like Instagram Reels. If you're in film production, make sure your clips look as good as possible.
To do this, you need to make sure that your edits and exports are optimized for the platform. And if you want to make sure you hit that high-quality bar, you should watch this video from Sebastien Savoy on the right settings for Premiere Pro.
This may be new territory for many of you as Instagram has definitely moved to vertical videos as the standard. Now to set up the sequence:
Frame Size: 640 x 1136
Frame Rate: 30.00 fps
Apparently IG automatically converts everything to 30 fps and Instagram will do less compression when exporting with this setting on one's own.
When you import a clip and drag it to the timeline, you will see it with black bars. In this case, just go to the effects controls and zoom in until it fills the frame, then reposition to crop it as needed.
Set In/Out points on the timeline to prepare for export and then you can just use Ctrl/Cmd+M keyboard shortcut to open export settings:
Format: H.264
Preset: Source Match - High Bitrate
This is your call to name and location. Make sure "Render at maximum depth" and "Use maximum rendering quality" are checked. Check the frame rate again. As for the bitrate settings, you will need to select the following:
Bitrate encoding: VBR 2 pass
Target bitrate: 2Mbps
Max bitrate: 3Mbps
You might want to save this as an "IG Reels" preset.
Check the thumbnail preview as you are stuck with what you have when you post it. If you need to transfer this to your phone, you can use something like AirDrop for Apple products, or even Google Drive or Dropbox on any device.
So, why would you put so much effort into rendering? Well, surprisingly, if you upload a heavy file, Instagram will compress it a lot and this can mess up your footage. If you create a file that is as close as possible to the IG target, it will only apply minimal compression. Definitely worth taking the time to make sure all your work looks good.
Become an author here, make a donation here
Now we have a rental in Krasnodar, details here
Also of interest:
DO WE STILL NEED FAST GLASS? ADOBE INTRODUCES DEPTH BLUR
HOW TO SHOOT FOOD BEAUTIFULLY? WE SHARE SECRETS.