To make a Facebook page private, you'll have to unpublish it — this will give you time to make changes without the public seeing. To unpublish a Facebook business page, you'll have to head to its settings on either your mobile app or desktop browser.
Unpublishing it will render it temporarily private, and you can publish it again at any time. You may find this feature helpful when you need to make edits — whether they are quick fixes or major updates to the page.
Unfortunately, there's no option to make a Facebook business page permanently private to only certain people, as the point of a business page is to promote something to the public. If you're interested in making a more exclusive space, you may want to create a private event or group instead.
It's also important to note that people who have roles on the business page will still be able to view it, regardless of whether it's unpublished or not.
Here's how to unpublish your Facebook business page using the Facebook website on your Mac or PC, or the Facebook app on your iPhone or Android device.
Check out the products mentioned in this article:Apple Macbook Pro (From $1,299.00 at Apple)Acer Chromebook 15 (From $179.99 at Walmart)1.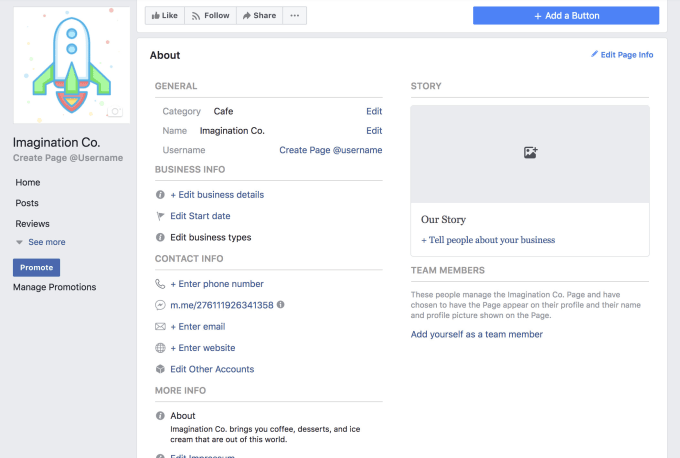 Open Facebook in your preferred browser.
2. Click "Pages" on the left side panel of your homepage. If it's a page you view often, it may even pop up in the "Shortcuts" section. You may need to click the "See More" dropdown arrow if "Pages" doesn't appear in the first few options.
Click on "Pages" on the left. Grace Eliza Goodwin/Business Insider3. A list of pages you manage will appear on the next screen. Click the page you'd like to unpublish.
4. Once you're on your business page, a "Manage Page" panel will appear on the left side of your screen.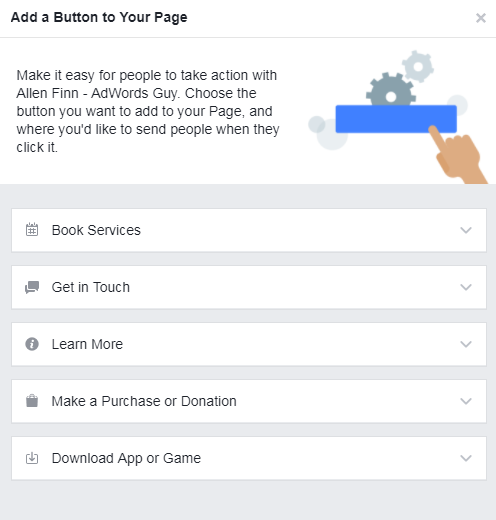 Scroll to the bottom and select "Settings."
5. The top option in the "General" tab will be "Page visibility." If the page is public, it will say "Page published." Click the blue "Edit" option to change this.
Click "Edit" next to "Page visibility." Grace Eliza Goodwin/Business Insider6.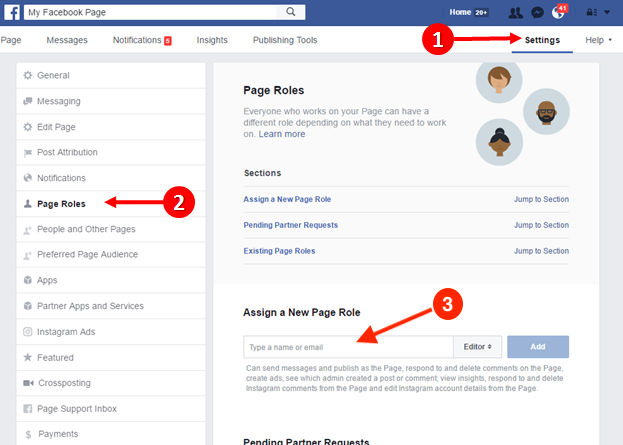 Select "Page unpublished" and then click the blue "Save Changes" button.
7. This will open a pop-up asking you to share your reason for unpublishing the page. Select your reason from the list of options.
8. Click the blue "Next" button to continue.
Select a reason and click "Next." Grace Eliza Goodwin/Business Insider9. Facebook will then ask you what you need to do in order to properly finish your page. Check any of the boxes that apply.
10. Click the blue "Unpublish" button.
Click "Unpublish." Grace Eliza Goodwin/Business Insider11. Facebook will confirm this decision. Click the blue "Close" button to return to your page settings.
Click "Close" to complete the process. Grace Eliza Goodwin/Business Insider How to make a Facebook business page private on your phone or tablet1.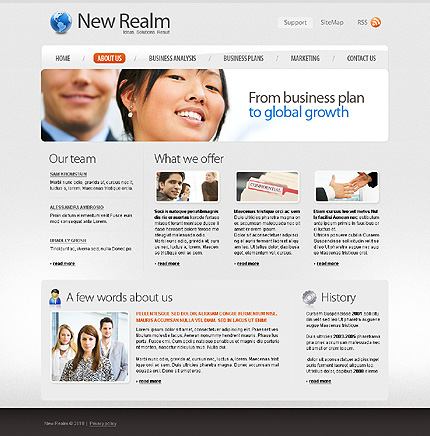 Open the Facebook app on your mobile device.
2. Tap the three bars in the bottom-right hand corner of your screen.
3. Tap "Pages" below the orange flag icon.
Find and tap "Pages." Grace Eliza Goodwin/Business Insider4. Select the page you wish to unpublish from the list.
Find and select your page. Grace Eliza Goodwin/Business Insider5. On your page, tap the gear icon in the upper right hand corner to open your settings.
6. Tap "General" at the top of the list.
Tap "General" at the top. Grace Eliza Goodwin/Business Insider7. Scroll down until you find the "Page Visibility" section.
8. Tap "Unpublish" and you'll see the blue checkmark appear next to it instead.
Select "Unpublish" and a blue check mark will appear. Grace Eliza Goodwin/Business Insider9. When you return to your page, you may see an option to "Publish Page." You can tap this blue button to make your page public again, or you can access the settings menu again at any time.
You can re-publish your page whenever you're ready. Grace Eliza Goodwin/Business InsiderMarissa Perino
Marissa Perino is a former editorial intern covering executive lifestyle. She previously worked at Cold Lips in London and Creative Nonfiction in Pittsburgh. She studied journalism and communications at the University of Pittsburgh, along with creative writing. Find her on Twitter: @mlperino.
Read moreRead less
As I usually do, I created this how-to guide for you to do the same if that is what you would like to do as well.

 ” You can click learn more if you have any questions.)
 Please share your reason for unpublishing this Page. Your feedback will help us to improve Pages on Facebook.
What do you need to finish your Page?

Your Page is now unpublished.
Republish your Page soon to connect with your audience on Facebook.
Romona Foster is the Social Media Trainer and Consultant at Social Media How To’s with Romona. Romona teaches small businesses and nonprofits how to use Facebook, LinkedIn, Twitter, Instagram, Google My Business — and the best practices of Email Marketing, Online Marketing, Affiliate Marketing, and Personal Branding. She is a featured contributor with Business2Community and is a Constant Contact Community blogger.
A business page on Facebook is a page of a company (similar to a business account), a brand, and any other organization. Potential customers can find your contacts, a list of services, see reviews from other users, and contact you on this page. For you, a business page is an opportunity to run ads on Facebook and Instagram, communicate with customers, as well as another way to promote.
In this article, you will learn how to create a Facebook business page, set it up properly, and use it to attract customers.
Reduce the budget of targeted and contextual advertising with click.ru
Click.ru will return up to 15% of advertising costs.

Cut the budget >> Advertising
Read also : 10 best targeting courses
Let's not languish for a long time and get straight to the point. We will show the process of creating a business account from a computer, if you are making a page from a phone, then the procedure is exactly the same.
Step 1: Create a business page.
In order to create a business page, you need a personal account. If you are already registered, go to Facebook, press the big plus sign on the top panel and select "Page".
Step 2: Name, category and description.
The page creation window opens. In the left part, you need to enter the name of the business page on Facebook, select a category and add a description.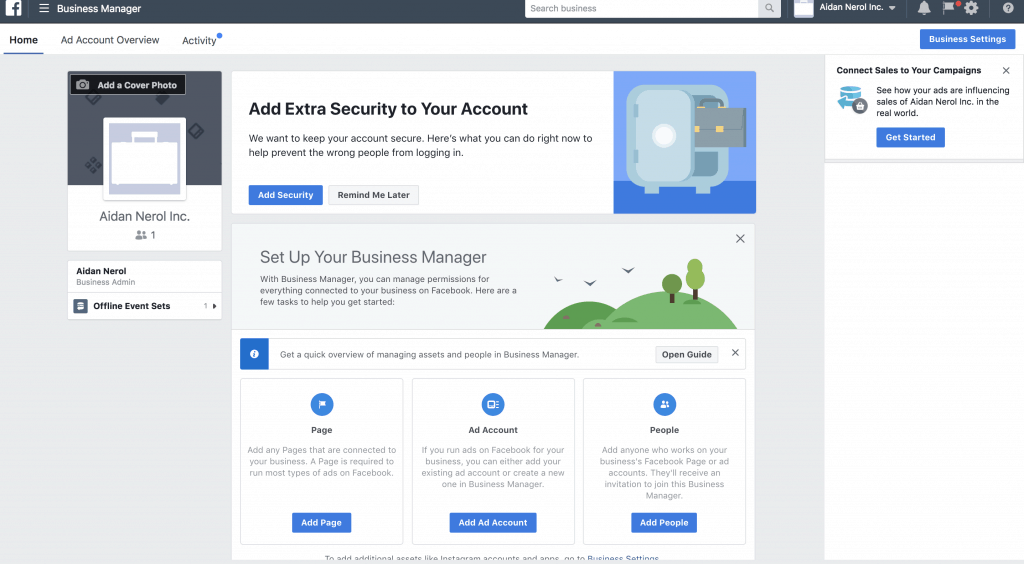 On the right - a preview will be available and all the changes that you make will be displayed.
Here are a few suggestions:
Finally, click "Create Page" at the bottom. After that, a notification will appear that the page has been created and you can continue to edit it here, or by clicking "Save", go directly to the page. So let's do it, and proceed to the configuration.
Step 3: Cover page.
Before you put the cover, make it according to our instructions: "How to make a beautiful cover for Facebook. " After, in the place where the cover will be, click "Edit", select "Upload photo" and upload the picture from your PC.
If you want to be creative, but nothing works out, you can peep ideas from competitors or take ready-made templates from services like Canva. Alternatively, you can set a video as the cover.
Step 4: Profile photo.
A profile photo accompanies all your comments and posts. Here, a personal photo or company logo would be ideal. To set a profile photo, click on the camera icon, then "Edit profile photo" and upload a picture from your computer.
After uploading, you can change the scale and position of the picture.
Please note that your profile photo must be at least 180 pixels wide and high. In order for the page avatar with your logo or text to be shown in higher quality, use a PNG image.
Step 5: Unique username.
Set a unique username - this is the part in the URL of the page that is displayed in the address bar of the browser, after facebook. com/. Click "Create @username".
A window opens where you need to enter a unique nickname for the page. No more than 50 characters without spaces, only letters of the Latin alphabet and numbers can be used. If the name is free, a green checkmark will appear next to it.
Step 6: Action button.
Here, in the header of the page, we immediately set up a button that will be visible to all guests of the page. Click "+ Add button".
In the window that opens, select the appropriate option. You can put a subscribe button, send a message to WhatsApp, go to the site and others. The button can be changed at any time.
Step 7: Contact information.
In the menu on the left, click "Edit", on the right, a field for entering information opens. Here, first we indicate the phone number (you can specify the number to receive messages in WhatsApp), email address and website.
Go down below and enter the address.
Specify the hours of operation. Below there are additional options that allow you to specify the operating mode on holidays.
You can also specify other data: products, price range and pages in other social networks.
This completes the basic page setup. This page can be linked to an Instagram account, it contains contact details and an action button is configured. Next, we move on to advanced settings that will allow you to use your Facebook business page even more efficiently.
Interesting: How to set up Facebook ads
For example, if you use the cafe page template, the Offers and Jobs tabs will appear, and the action button will change to Directions.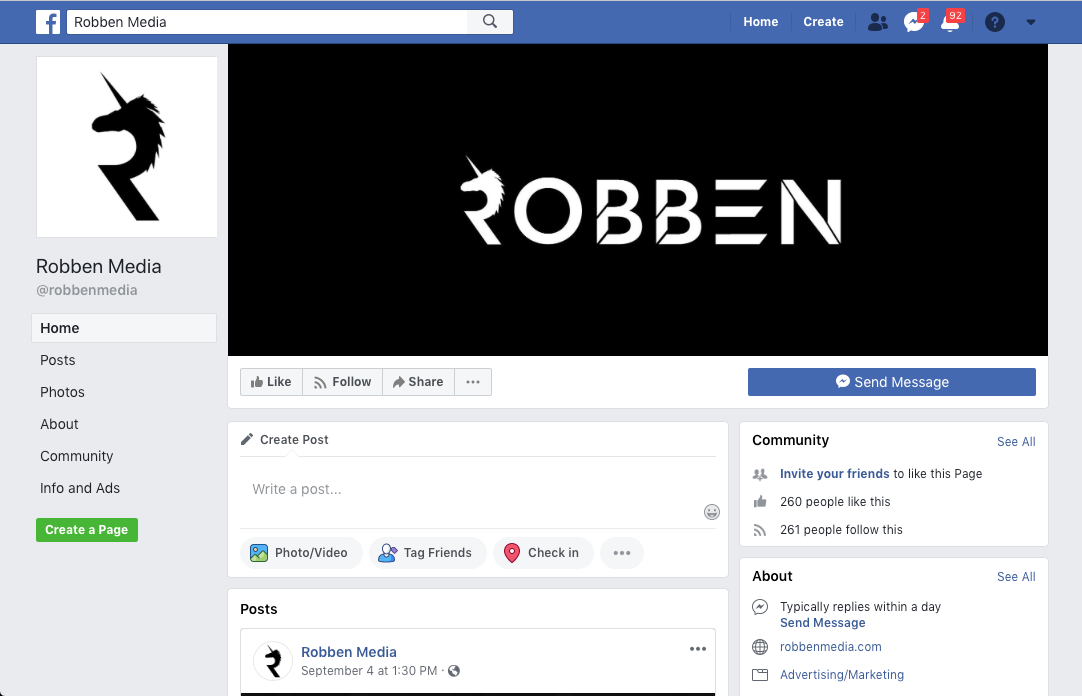
Tip : Experiment with patterns by changing them. So you will choose the most suitable one. Then you can manually customize the template by turning off unnecessary tabs or swapping them.
If you enable this option, every time someone visits your business page, a welcome message will automatically be sent to them. This will increase the conversion of the page and allow you to quickly build communication with a potential client.
We go to the page settings, open the "Messaging" section, find and activate the "Show greeting" item. Then click "Edit" to set your message.
Enter the text of the welcome message. The character limit is 160 with spaces. You can use emoticons and username. At the end, click "Save". Please note that the message will go to Messenger.
In the "Instagram" section, you can link a business page to your Instagram account. This will allow you to publish content immediately on Facebook and Instagram, reply to messages on any social network, and respond faster to new comments. To communicate, click "Connect account", then you will need to log in through Instagram to confirm adding an account.
After linking the business page with Instagram, you will also have access to Creator Studio ( free auto-posting and statistics service ) and in the Rights Manager ( copyright protection ). Also, if you plan on having both Instagram and Facebook presence, we recommend that you manage your Pages in Business Suite.
In the WhatsApp section, you can link your business page to a messenger and you can be contacted on WhatsApp directly from an ad or from your Facebook Page. This is handy if you're used to replying to people on WhatsApp.
To get in touch, select a country code and enter a phone number. You will receive a verification code to verify that the number belongs to you.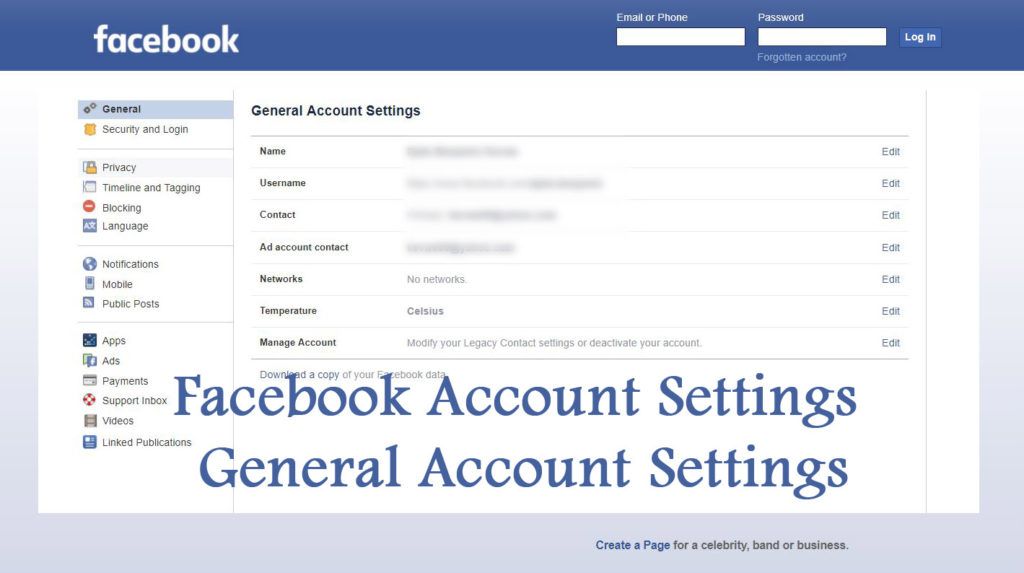
We also recommend that you set up a WhatsApp business account to access more features.
In general, Facebook promises to remove the Like button from business pages, but even when it is removed, everyone who likes your page will remain subscribed to it. Therefore, we do not ignore the opportunity to attract the first audience. On the business page itself, scroll down a little and find a column where you can invite friends. Click "View All Friends".
In the window that opens, select all friends or those who will definitely be interested. Also, in the lower left corner there is an option that allows you to send invitations to private messages ( no more than 50 pieces at a time ). Once selected, click "Send Invitations".
There is a "More" button, you can also invite friends through it.
To keep track of how effectively the page is developing, there is a "Statistics" section. You can access it through the settings.
Statistics provides an overview of all indicators in general, as well as detailed statistics for each metric separately ( left menu ). Here you can also download all the data, the "Export data" button in the upper right corner.
At some point, you may need to transfer control of a business page or add other team members to collaborate. For example, a sms manager who will be responsible for posting or a targetologist who will run ads.
To add new users who will be able to manage the page, go to the "Roles on the Page" section in the settings. In the "Assign a new role on the Page" field, write the username ( he must have a personal page in FB ) and select the role. Thus, you can assign an advertiser, editor, moderator, analyst, or a new page administrator.
If your organization has ceased operations or you no longer see the point in a business page, you can always delete it. To do this, open the "General" item in the settings and at the very bottom we find the option to delete the page. We click on it, then click "Permanently delete the page" and confirm the deletion.
A Facebook business page is a must for marketing, whether you plan to promote on Facebook itself or not. It will make your company visible to more potential customers, as well as enhance your Instagram experience.
Useful links :
When promoting a business on social networks, not all business owners pay attention to Facebook groups. This way of communicating with clients and target audience should be on the agenda of the SMM department. How a Facebook group is useful for business - we answer in our article.
The answer to this question is quite simple: it would be optimal to introduce a Facebook page and a Facebook group at the same time. To understand the difference between the two tools, it is enough to give the following example. The brand's official Facebook page is designed to promote new products and services, appeal to loyal customers to make purchases and create an image that will be of interest to future customers. The Facebook group is created for current customers, and the purpose of the group is to get feedback from them, as well as improve their user experience. In other words, the brand's official page is an advertising brochure, and the group is an analogue of forums on the Internet.
In the Facebook group, the brand can also create advertising activity. However, it should not be as frequent and as obvious as for a wide target audience. Instead, it is better to run more subtle advertising campaigns aimed at increasing the loyalty of existing customers. To understand how to do this, you need to understand the types of Facebook groups.
Interaction with the subscribers of a Facebook group can occur in different ways, depending on the privacy settings. All groups are divided into open and closed . This is another difference from the official pages of the brand, which are always open for search and for visiting by Internet users.
In a public Facebook group, all Internet users see administrators, subscribers, and discussions. However, when creating a group, you can specify in the settings the type private . In this case, users can join the group only after approval from the administrator, and only members of the community can participate in the discussion and see subscribers.
Private groups, in turn, are divided into visible and hidden . Visible private groups are displayed in search results, admin data is visible to all Facebook users. A hidden private group does not appear in search results, and in order to get to the page, you must receive a personal invitation from another member of the community.
If you're not sure which type of Facebook group privacy to use, think about the preferences that community members receive.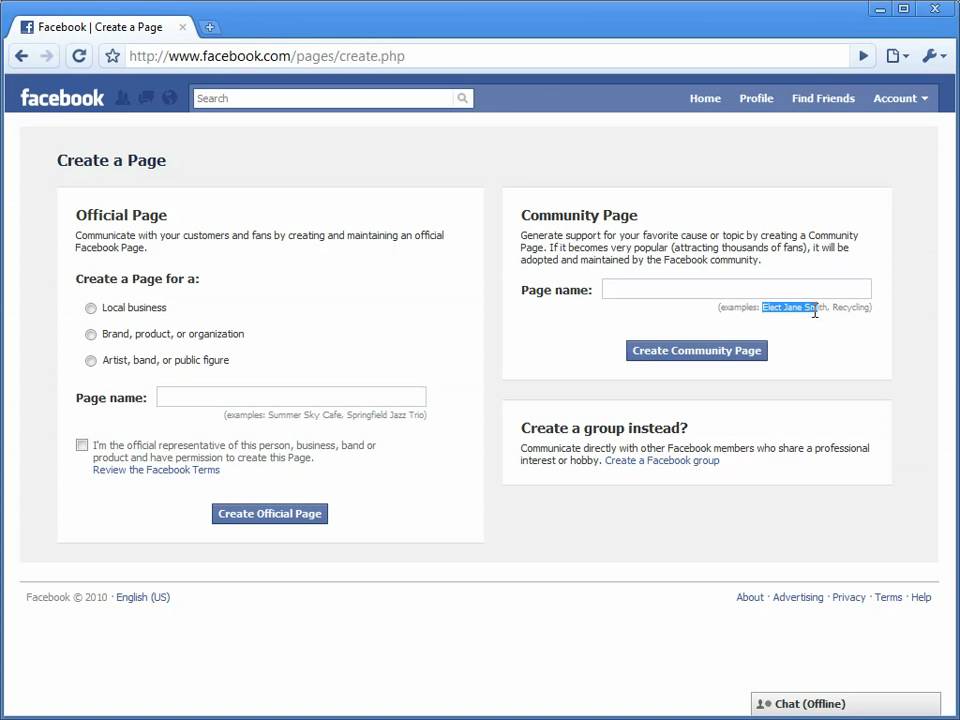 If you want all subscribers of the group to be able to freely communicate with each other, learn about new products, and at the same time you do not plan to share exclusive offers with subscribers, then an open group is most suitable for your tasks.
If you want to be sure that only active or very interested potential clients join the group, if you want communication within the group to be carried out only under the strictest possible control by the group administrators, then choose a private open group. Using this privacy setting ensures that trolls will not join the group and community members will be fully confident in the attention from the administration.
Among subscribers of a private public group, you can distribute exclusive promotions and offers that are not published on websites or in other media. This is a fairly simple but effective marketing technique. It builds subscriber loyalty and creates a sense of exclusivity that most internet users can't.
If you want to create something like a closed club, which none of the ordinary Facebook users knows about, and which many people want to get into, then select the private hidden group type in the privacy settings. No one outside the community will know about the admins or members, or topics that are discussed within the group. Comparatively few community members can be invited to exclusive private parties or offer other unique brand experiences. Also, in a private hidden group, you can hold video conferences, for example, on the presentation of a new product, or hold meetings with brand management.
To create a brand group, you need to go to the brand page or create a group first from a personal account, but later add the brand page to the administrators.
To create a group directly on the brand page, go to the brand account. In the central sector, find the Groups tab and click the "Create Linked Group" button.
If you want to first create a group on your own behalf, then on the main Facebook page in the left tab, select the Groups section and click the "Create a new group" button.
Facebook will offer you to create a community in several stages, choose a name for it and set privacy.