How do I connect my DSLR to Facebook live?
Can you use a DSLR to live stream?
DSLR is the short form for Digital Single Lens Reflex. DSLR cameras are the most popular and standard choice by photographers as they offer pro photos with high quality. They are versatile and their lens can be interchanged depending on the type of pictures one wishes to capture.
Live streaming is a bridge that connects content creators with the online audience. Using a DSLR for streaming is like building a strong bridge. A DSLR cam offers excellent video quality and amazing low light performance which can make the livestreaming video more appealing and likable to the audience. It will retain a standard quality even in surroundings not suitable for a video shoot.
In this article we are will be explaining how to use a DSLR camera for live streaming on different social media platforms and using different third-party applications.
Tips: In addition to the DSLR cameras, you can also use other types of cameras to go live, like 4K camera or 360 camera.
Now, let's get started.
Facebook is a platform where most of us stream videos and have a huge audience for it. The quality of the video is the most important factor in making the Facebook audience watch the video and like it. So let us find out how to live stream on Facebook using a DSLR camera to achieve the best quality.
There are some additional factors that affect the quality of the video other than the DSLR camera. The speed of your internet connection, your storage space, the use of HDMI or SDI ports, etc., all are very important.
Let’s find out how to use an HDMI or SDI cord to connect the camera and computer to live stream on Facebook
Step 1: Connect the DSLR camera to a signal converter using an HDMI or SDI cord.
Note: In order to achieve the quality of 1080p or 4K footage from the DSLR camera to your PC, you will have to use a converter that converts your HDMI video content into a USB friendly file in real-time. An HDMI capture card or an HDMI-to-USB converter can be used for this.
High-end cameras usually have SDI inputs, which also have the same option to use a converter.
Step 2. Confirm that signal is being passed from your DSLR to your PC. And then, open the live streaming software.
Step 3. Open the Facebook application and look for the Stream Key and Server URL which needs to be added to the livestreaming software you are using.
Step 4. Confirm the actions and start your live streaming.
Live streaming a video using a DSLR to social media platforms like Facebook and YouTube required third party software encoders. Care must be taken while choosing a third-party app as there are a lot of applications in the market and you don’t want to use an application that risks your privacy and reduces the quality of the video.
Applications like OBS, XSplit, and Wirecast are very popular among online streamers and produce the best output. How about a detailed look into all three?
You may also want to know which hardware encoders for livestreaming on YouTube are available in the market.
Open Broadcaster Software otherwise known as OBS is one of the top choices for live streaming to Facebook. It is currently compatible only with Windows OS and the facility of screen switching. The software also offers a wide range of editing options that are suitable for creating a customized video.
Step 1: Download and install the OBS application. And then, after open Facebook, click on the +Live tab and a popup window will appear. Copy the Stream Key at the bottom of the window.
Step 2: Now open the OBS application and tap on the Settings tab at the bottom right.
Step 3: In the window that appears, select Stream and then in Services choose Facebook Live. Paste the stream key you have copied into the Stream key column in OBS and tap on OK.
Step 4: Set up the stream on OBS. Make sure that you have connected your DSLR camera to the PC via an HDMI SDI chord. Add the video source which is the DSLR camera. Click on Start Streaming.
Step 5: Return to Facebook Live window and check the preview. If you are satisfied with the preview click on Go Live and the live-streaming will be initiated.
XSplit is an application that can handle huge data easily, which is what makes it dear to professional live streamers. This tool offers a lot of advanced features and helps in digital training courses, streaming productions, and video podcasts. Let’s dig deeper into the role of XSplit to live stream to Facebook or YouTube using a DSLR.
Step 1: Download and install the XSplit software. After open XSplit, login to Facebook using your email id and password.
Step 2: Next step is setting up Facebook:
• Tap on Broadcast and then on Facebook Output.
• A new window will appear in which you will have to click on Authorize and log in with Facebook again.
• Grant all the posting permissions to XSplit and under the Post On tab select the account or page you wish to stream your video on.
Step 3: Create a scene wherein you add the camera, effects, and other overlays. Make sure that the DSLR camera is connected to your PC. Tap on Add Source – Webcam, capture card, video devices and then select your DSLR camera from under Cam.
Step 4: Go to Services and tap on Facebook Live. Make sure that the Stream Key and Server URL are copied from Facebook to XSplit.
Step 5: Go to Creator Portal, add a description and tap on Go Live.
Do you know the difference between OBS and XSplit? Click here to learn more about the difference and comparison between OBS and XSplit.
Wirecast is the most suitable application for people who wish to develop content with a touch of classic professional settings. It has a lot of features, offers smooth transitions, and has an intuitive feature set. Also, it is compatible with both Windows and Mac. Let’s see how Wirecast can be used to live stream on Facebook.
Step 1: Open your Facebook page. Tap on Publishing Tools – Video Library and then on +Live. Copy the Server URL and Stream Key from the next window that appears.
Step 2: Open the Wirecast application. Connect your DSLR camera to the capture card which is connected to your PC using an HDMI or SDI connection.
Note: You can also connect the cam directly.
Step 3: Turn your DSLR on and click the + icon on the Wirecast layer. Tap on Capture Devices and tap on your connected camera or capture card.
Step 4: Go to Output and tap on Output Settings. Paste the previously copied Stream URL and Stream Key to the respective columns. Once you are set to go, tap on Output – Start/Stop Broadcast and then click on Start all to go live.
The popularity and the likes you get for your live stream depends on the type of content and the quality of content you are streaming. Using a DSLR camera and other streaming equipments like microphones to live stream on Facebook and YouTube can enhance the overall quality of the video.
In cases where direct streaming is not possible there are different third-party applications like OBS, XSplit, and Wirecast which can help in better streaming and also offers other editing features. Hope our suggestions will help you in having an amazing streaming experience. Please give feedback about this article in the comment box below. We value your feedback and will be using it to improve the quality of our content. Thank you!
[Bonus]: If you want to record or edit your streaming videos, we recommend you to try Filmora Video Editor. Its amazing features will definitely surprise you.
Free Download Free Download
 Facebook Tips+
Aug 30, 2022• Proven solutions
Most of people love to use DSLR cameras for their Facebook Live needs and the most common reason behind is their impressive video quality. Other than this, DSLR as a shooting device offers special requirements so that professional style of videos can be achieved. Although webcams are also recommended for facebook live needs; but DSLR is first choice of most of professionals.
You may also like: How To Make Your LinkedIn Profile Professional in 2018 >>
How to Make and Edit Multi Snapchat Videos Easily >>
How to Save Snapchat Videos with Apps on Android and Mac >>
When you are ready to get fun with your DSLR camera then it is good to switch to Sparkoman on your device.
How to use?
Step 1: First of all you need to download sparkoman to your system.
Step 2: Connect your camera to PC via USB connection.
Step 3: Start your chat software.
Step 4: If you want to record sound too then simply go to record sound option and adjust settings.
Step 5: Chat and interact.
It is possible to have full control on your camera settings from window based PC. One can easily capture stills and videos and they will directly appear on PC monitor.
Key Features:
EOS utility is a well recognized application that brings cameras closers for interactive communication between their content. You can enjoy easy downloads, remote shooting, display images and adjust camera settings as per need. This application is perfectly compatible with all EOS type DSLRs and allows users to enjoy incredible live streaming facilities.
Key Features:
xSplit, Wirecast and OBS- all three software tools that have a big competition in market. If you are new to live streaming world and now want to select right software tool for your live streaming needs then it is good to read detailed comparison between Wirecast, xSplit and OBS:
This software is compatible only with Window based devices but users will be able to avail its free source code over internet and hence they can make changes to software with ease.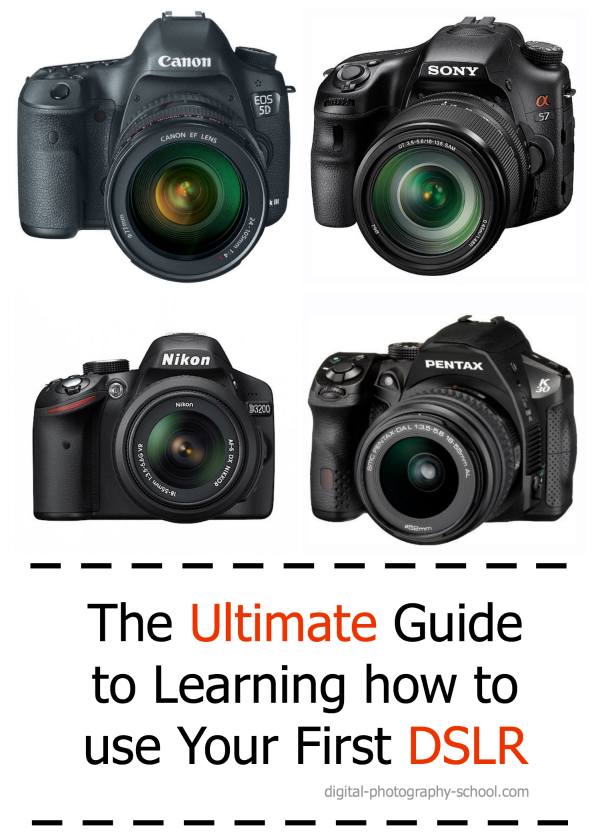 OBS or Open Broadcaster Software tool offers huge collection of editing tools with feature rich options to develop customized videos.
Pros:
Cons
XSplit can handle big collection of data with ease that is why professionals prefer to use this tool for their streaming productions, digital training courses and for managing video podcasts.
Pros:
Cons
Those who want to develop content with classic professional settings must choose wirecast for their needs. It offers a solid interface with intuitive feature set.
Pros
Cons:
You can easily find so many people who use DSLR cameras instead of web cams but it is not always a good idea. The fact is the when sensor of a DSLR camera stays ON for long time, it suffers huge damage. Open shutter leads to potential harm to your camera. It is good to use DSLR for short while but if you are a beginner and need a device to begin with then prefer to pick right webcam for your needs.
Richard Bennett
Richard Bennett is a writer and a lover of all things video.
Follow @Richard Bennett
Thank you for your comment. We will review it within few days.
Share your life with friends on social media, livestream on Facebook and other sites with your HERO7 camera.
Equipment and Application Required:
To display the instruction, select the social network site where you plan to broadcast live.
How do I go live on Facebook?
Combine video shooting and Facebook live with the GoPro App and HERO7 Black camera.
Please note! Live streaming is only available through the GoPro App. Live streaming from the HERO7 camera will not work.
Please note ! Without access to the Internet, live broadcasting is impossible.
GOOD TO KNOW! If you are streaming at 720p and your internet speed drops, a lower resolution will automatically be set.
GOOD TO KNOW! If you flip the camera while streaming, the video will be displayed upside down.
Take care of the right position and composition of the shot in advance.
How to go live on YouTube? nine0006
Combine video shooting and YouTube live streaming with the GoPro App and HERO7 Black.
Please note! In order to broadcast live, you need to activate this feature on your YouTube channel in advance. The activation process may take up to 24 hours.
 nine0010
 Please note ! Without access to the Internet, live broadcasting is not possible.
GOOD TO KNOW! If you flip the camera while streaming, the video will be displayed upside down.
Take care of the right position and composition of the shot in advance. nine0003
Live via RTMP URL
Stream live on compatible video platforms using the RTMP URL.
Which platforms are compatible with the RTMP Live URL:
Compatible platforms in the US:
Compatible platforms in China:
Please note ! Live streaming through HERO7 is not possible on sites: Instagram, YY, NOW, QQ.
Please note! Live streaming is only possible using RTMP and RTMP URLs. RTSP, HLS and other URLs are not supported.
Good to know! For some platforms, it is possible to connect a persistent key that will allow you to use the same RTMP/RTMPS URL for every broadcast. nine0015 If you are not using a persistent key, create a new URL each time.
FAQ
How do I connect to a personal hotspot?
Please note! It will take about a minute for the access point to connect.
Please wait and then select the access point when it appears in the selection menu.
How can I get a stable signal for live streaming on Facebook and other sites?
Can I broadcast live using mobile phone data?
Yes, stream live from your GoPro using your mobile phone, Wi-Fi or personal hotspot.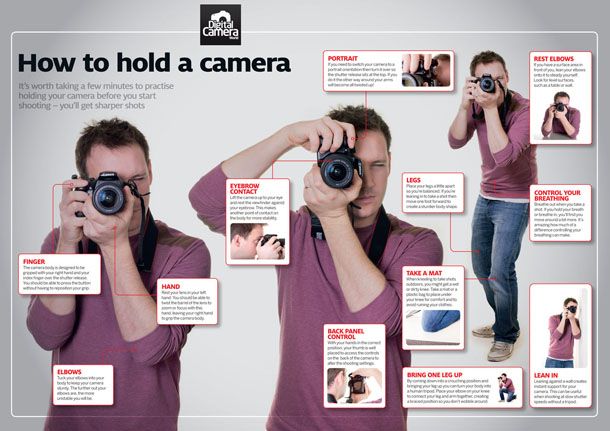 When using a personal hotspot, mobile data will be used.
What platforms can I live stream on with HERO7 Black?
Live on platforms: Twitch, YouTube, Vimeo, INKE, HUYA, DOUYU, BILIBILI, YY via RTMP URLs.
The manufacturer is additionally working on expanding Internet platforms for live broadcasts.
Why can't I broadcast live on my YouTube channel?
It takes up to 24 hours to activate live broadcasts on a YouTube channel. If time has passed and live streaming is still unavailable, we recommend that you check your YouTube account, you may have blocked or restricted live streaming. nine0003
UPDATE! Live streaming from a mobile phone to YouTube is available only to accounts with an audience of 1000 or more subscribers. Use the YouTube app or GoPro App to stream.
How much data is required to broadcast via Personal Hotspot?
You will need up to 2 GB of traffic per broadcast hour.
Facebook Live sessions help you interact and connect with your friends and followers. Starting a live stream on Facebook is very easy and you can showcase something to the world. If you're new to Facebook and unfamiliar with how the feature works, here's how to start broadcasting on Facebook.
Table of Contents
Go Live on Facebook (2022)
How to Start Live on Facebook (Desktop Website)
Live broadcast using the Facebook mobile app (Android/iPhone)
FAQ
Stream live on Facebook easily
1. Open the Facebook website and click on the "Live Video" button in the status update text box.
2. On the next page , click "Select" in the "Start Broadcasting" section. nine0006 to start live streaming on Facebook.
3. If you are live streaming for the first time, your browser will ask you to access your camera and microphone. Allow permissions to continue. You can also set the stream private to friends or make it public, depending on your preferences.
4. You must now select the desired camera and media source. If you are planning on live streaming from an external 4K webcam, now is the time to select it as your camera source. Did it once, click on the "Start Live" button in the bottom left corner of the screen to live stream on Facebook.
5. You are now live on Facebook. You can see stream metrics and information like number of viewers, comments, reactions and shares in the statistics section. To end a live video on Facebook, click the red End Live Video button. .
7. In the confirmation window that appears , click "End" stop the live broadcast on the social media platform owned by Meta. nine0003
8. Now you can share the live video in your feed or delete it permanently. If you're not interested in keeping it, you can click "Delete video and return to News Feed" to permanently end the broadcast and return to Facebook.
1. Open the Facebook app and click the Live button on the status update window. You can now add a description to help viewers understand what the broadcast is about. After adding description click the "Start Live" button to start live streaming on Facebook.
2. Click the Done button in the lower right corner of the screen to end the live broadcast. You will have a few seconds to cancel the end of the live stream if you accidentally try to stop the live stream.
3. After the live video ends, you have the option to post the video or delete it. Click "Post Now" to share the live video to your feed, or click the "Delete" button to permanently delete the video. nine0003
Q: Why can't I go live on Facebook?
If you're unable to start live streaming on Facebook, your internet connection is most likely unstable. You can use one of the best speed test websites to test the reliability of your internet.