How to find pending requests on instagram
How To Find & Cancel Pending Instagram Requests
Accidentally sending a follow request to the wrong person on Instagram can be a potentially embarrassing mistake. As these mistakes rack up over time, you could eventually find yourself with dozens of unapproved follow requests. The good news is that the popular photo and video-sharing social networking service allows you to cancel pending follow requests as long as you meet one obvious condition: The person you’ve sent the request to has not accepted or declined it yet.
Unfortunately, it’s not possible (at least not yet!) to remove pending Instagram requests using the Instagram mobile app, but even if you rarely use Instagram in your web browser, you won’t have any problem finding and cancelling pending follow requests thanks to our step-by-step guide.
How To Find Pending Instagram Requests
Step 1: Open Instagram In Your Web Browser
The first thing you need to do, is access Instagram’s web interface. You can do this by going to Instagram.com in any web browser either on your computer or mobile device, however doing this on your computer will be much faster and more convenient.
Step 2: Log In To Your Instagram Account
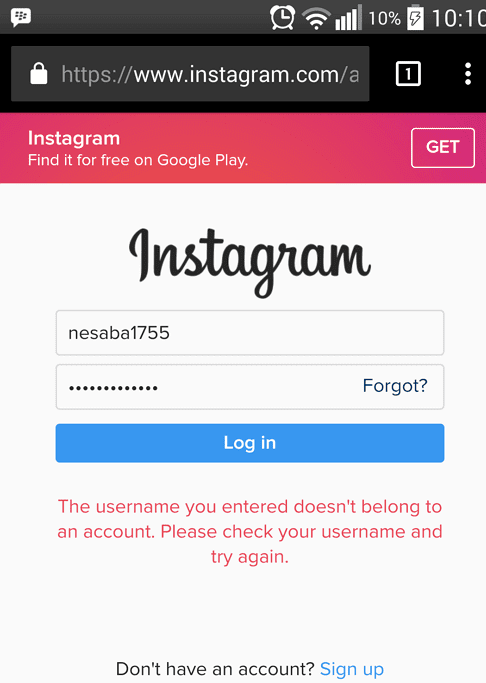
It shouldn’t take more than a few seconds for Instagram to load and greet you with a login screen. Enter your username, phone number, or email address, along with your password to login. Alternatively, you can use your Facebook account to login. If you can’t remember your Instagram password (which happens quite often), just click on “Forgot password?” to reset it.
Step 3: Open The Settings Menu
Now that you’re in your account, you need to go to the settings menu. To open the settings menu, you need to go to your profile page by clicking on your Instagram account name or picture. Then, click the settings gear icon next to the “Edit Profile” button.
Step 4: Open Privacy & Security Settings
With the Settings menu open, you need to select the fifth option from the top, called “Privacy and Security“, to bring up the privacy and security settings page.
Step 5: View Account Data
Look near the bottom of the privacy and security settings page for a section called “Account Data“. Click the “View Account Data” link.
Step 6: Display Your Pending Instagram Requests
To display your pending Instagram requests, all you need to do is click “View All” under “Current follow requests“. If you don’t have any pending follow requests, you will see the following message:
Pro Tip: You can also visit the “Current follow requests” page directly by entering the following URL in your web browser after you’ve logged into your Instagram account: https://www.instagram.com/accounts/access_tool/current_follow_requests
How To Cancel Sent Instagram Requests
Now that you can see all the accounts you’ve requested to follow, it’s time to cancel them.
For some reason, Instagram doesn’t let its users remove pending follow requests from the same page where it lists them (although that would be a very useful feature). To cancel a sent request, you need to visit the profile page of the account you’ve sent the request to.
Simply copy/paste the account names in your Instagram search and unfollow them. This process might take some time, depending on how many follow requests you’ve sent out.
Read Now: How To Permanently Delete Your Instagram Account
As you can see, finding and cancelling Instagram follow requests isn’t complicated – you just need to know where to look. If you found this guide useful, let us know in the comments below. Also, make sure to follow us on Instagram!
How to See Who You Requested to Follow on Instagram in 2022
Instagram has been one of the leading social apps over the past decade. It’s now widely used by more people than ever, from all parts of the World. Because of this, more and more users are deciding that privacy is a top priority. Luckily, Instagram makes it very easy to make your profile private in order to fend of prying eyes that may have no business looking at your content.
However, this has created an influx of users that have gone private. In fact, it’s now just as common to find a private profile as it is to find a public profile. Ultimately, if you want access to someone’s private account, you’ll need to send them a follow request. In doing so, you’ll then have to wait until the user accepts your request, or flat-out denies it. Often times, users will see your follow request, then leave it in review; basically leaving you hanging there for as long as they, at their own discretion.
Note: At no extra cost to you, we may earn a commission for purchases using our links. Learn more.
Initially, it may be difficult to wait for their decision. Therefore, you may want to see the status of who you’ve requested to follow; so you can see who’s ignored your Instagram follow request. However, before jumping to conclusions, it’s important to know that there’s a chance that the user hasn’t even viewed your follow request, yet.
Regardless, a little bit of patience goes a long way. You’ll want to give them a bit of time before you assume they’re ignoring your follow request. Let’s be honest, many popular Instagram accounts either get bombarded with followers or even take an “Instagram Break” – it’s best not to assume they’re full-on ignoring you! Give them a chance to see your request before taking any offense to it.
How to See Your Pending Instagram Follow Requests
Luckily, there’s a few easy methods to viewing the status of who you requested to follow on Instagram.
View Instagram Follow Requests on iOS or Android (Mobile)
The first method involves using your iOS or Android device. However, some of the most recent versions of Instagram’s mobile app may not contain the “Access Data”. Because of this, don’t get frustrated; simply use the web browser method, instead.
1. Open the Instagram app on your smartphone or tablet.
2. Click on your profile and then click the “Menu” icon. It’s the three little lines stacked on top of each other in the top-right corner.
3. Next, select the “Settings” menu.
4. Tap “Security” and then scroll down until it says “Access Data“.
5. You will then see “Connections“. Proceed by selecting “View all current follow requests“.
View Instagram Follow Requests on a Computer (Web)
Using your web browser to view your pending follow requests is the most reliable method, by far. It seems Instagram likes to change-around their mobile app quite a bit, but the web-version of Instagram has remained the same for the past few years. Below, we’ll give you the steps to manually check, but an even easier method is to just head straight on over to the following URL: https://www.instagram.com/accounts/access_tool/current_follow_requests
1. Head on over to Instagram. com through your favorite web browser.
2. Click on your own profile and select “Settings” by clicking your profile’s icon and selecting the third option from the dropdown menu.
3. On the left side column, you’ll see “Privacy and Security” as the 7th option from the top. Click it.
4. There will be an assortment of settings to scroll through. The 7th menu is titled “Account Data“. Proceed by clicking “View Account Data”.
5. In the top-right column underneath “Connections” you should see “Current Follow Requests“. Click “View All“.
6. From here, there will be a simple text list of each account that you have requested to follow. There’s not even a link to each account or a way to cancel each one. There’s simply the name of each account, in plain text, with no other links.
Other Methods to Seeing Who You’ve Requested to Follow
When you’re trying to get more followers on Instagram, many users will simply request to follow each and every account that they can. If you don’t want to go through the procedures we outlined above, there are other effective methods to re-trace your steps.
Browse Through Your Own Likes
When you post a video or photo on Instagram, one of the most popular methods to gain more followers is to simply request to follow any account that’s given you a “like”. Browse through your posts and click on the number of likes for each upload. There will then display a list of all the accounts who liked it.
They will be sorted from people you already follow to people you don’t follow. Any account that you have not yet requested to follow, or have done so but they denied you, will appear with a blue “Follow” button next to their name. Then, you can quickly determine which of the “likes” are from people you’re currently following or have not yet requested to follow.
Going Through Another Users Followers
Often times, finding a popular “third-party” profile and viewing their followers is a quick way to access a list of “new” accounts that you have not yet requested to follow. Whether it’s a mutual friend’s account or simply one that’s similar to your target audience, this method is commonly used to acquire new followers. If this is something you often do, you can go back in a few days to see a list of accounts who’ve either accepted or denied your requests, just by viewing the followers of the third-party account.
If you’ve tried this method to find follow requests that you’ve sent in the past, there’s a chance you’ll go back in a few days and you won’t see them. If this is the case, there’s a good chance that they’ve either accepted your follow request by default, or they’ve manually accepted it. Rather than having a blue “Follow” button next to their name, there will be a white “Following” icon.
In the event that you’ve encounter an account you know you’ve already requested to follow, but there’s still a blue “Follow” next to their name, chances are they’ve denied you. A cancelled follow shouldn’t be taken personally, however. Worst comes to worse, you can attempt to DM them or request to follow them, yet again. Keep in mind, however, this may ruffle some users feathers. Simply put, don’t be too annoying and constantly re-request; you’ll likely do more harm than good and it won’t help your case.
Cancelling Instagram Follow Requests
If you’ve been requesting to follow a large amount of accounts or even just a few, you may find the desire to cancel your request. Often times, leaving a pending follow request can be a bit disheartening. Why don’t they want you to follow them? Is it something personal? How do I know they’ve seen it? Feeling embarrassed? If these are questions that immediately come to mind, cancelling might be a good option.
First, head on over to your Instagram account’s current follow requests using your web browser. As we described earlier, here is a list of accounts you’ve requested to follow in the past. Unfortunately, there’s no button next to each entry, so you’ll need to copy and paste each account name to find their profile.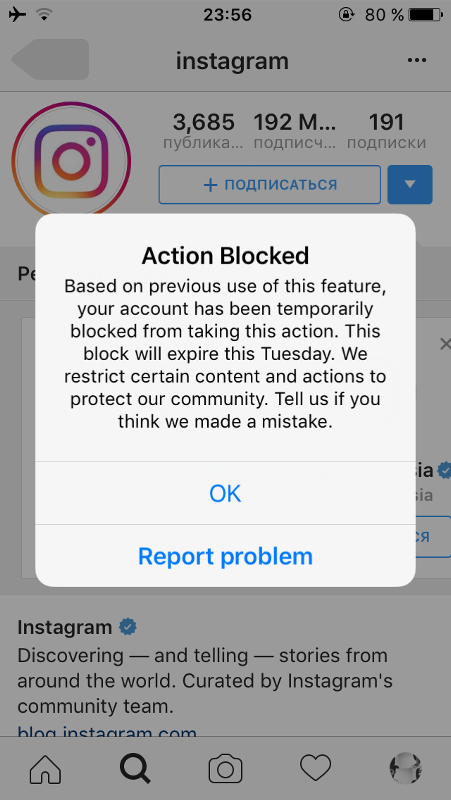 Once their profile loads, click the “Requested” button; the large white button on top of their profile, directly above where it says “This Account is Private”. Clicking it will immediately cancel the follow request. As a result, the button will go from “Requested” to a blue background button that says “Follow”.
Cancelling All Sent Follow Requests on Instagram
It would be great if there was a way to automatically cancel every sent follow request you’ve made on Instagram. However, there’s not a way to do this. Unfortunately, the only way to do this is to manually go one by one through your current follow requests and painstakingly individually cancel each one.
As of now, there’s not even an application or third-party software that’s capable of cancelling all sent follow request simultaneously. Ultimately, Instagram prevents this data from being scraped and/or collected.
View Deleted Follow Requests on Instagram
When your account receives a new follower request, it’s very easy to mistakenly delete their follow request. Being that the “Confirm” button is right next to the “Delete” button, it’s very easy to accidently hit the wrong one. Because of this, some users may want to know if there’s an easy way to view deleted follow requests.
Unfortunately, Instagram doesn’t offer any way to see which requests you’ve deleted; accident or not. Simply put, once the request is deleted, it’s gone forever! The only plausible way to find a deleted follow request is through memory. If there’s a chance you remember the accounts you previously deleted, you’re still able to simply search their username to pull up their account. Yes, this relies on memory, but it’s the only realistic way to have another chance of them requesting to follow you once again.
The best and only method is to search their username and request to follow them. Then, they’ll see your request and likely hit “follow” on your account since they’re probably already familiar with who you are. In the event that you don’t want to follow them first, simply drop them a direct message and explain the situation. There’s a somewhat good chance they won’t even notice your DM, but it’s worth a shot!
From “Requested” and Back to “Follow”
If you’re waiting to gain following access to someone’s account and you’ve already requested to follow them, you may notice the button on their profile go back to “Follow”. If this is the case, it likely means that they’ve denied your request. This doesn’t mean they’ve blocked you, rather, they’ve canceled your follow request for one reason or another. Ultimately, you’ll need to re-request to follow them. Sure, they’ll see it again and may deny you a second or third time, but it doesn’t mean they’ve blocked you. After all, if they blocked your account from their own, you wouldn’t even be able to see their account at all (unless you’re logged out).
Please consider sharing:
Note: At no extra cost to you, we may earn a commission for purchases using our links. Learn more.
How to make delayed posts and stories on Instagram
The social network itself still does not have special mechanics. But there are at least three suitable solutions. Detailed instructions on them were compiled for Pressfeed by the author of the blog SMMplanner Alexey Edakin.
There is no built-in function for delayed publications in the Instagram application and on the website, as is done in VKontakte or Odnoklassniki. But on the other hand, Facebook, which owns Instagram, offers two tools at once - Creator Studio and Business Suite, where this function is available. nine0003
How to make a delayed post on Instagram on PC
Creator Studio is the official Facebook posting tool. It is simple: you need to go to your Instagram account, click on the "Publish" button, set the release date. Everything, the post will go to the "future"!
Change account type on InstagramFor delayed posting, your Instagram account must be switched to a business profile. To do this, go to Settings → Account → Change account type.
Link the page to Facebook immediately: Edit profile → Page → Create or connect a page.
Now let's start delayed posting.
Step 1. Go to the Facebook Creator Studio home page. Select the tab to enter Instagram. You will need to enter your username and password on a new page.
Log in via InstagramIf you have linked pages on Facebook and Instagram, then log in via Facebook - this way you can send posts to both social networks. nine0003
Step 2 . Click "Create Post" and select "Instagram Feed".
You can also make a delayed video in IGTVStep 3. Create a post. Add a photo or upload several at once to make a carousel. There is no built-in editor, but you can mark an account and crop images to 1:1, 1.91:1 and 4:5 formats.
You can add a geotag to a post The maximum amount of text is 2200 characters. You can make 30 mentions and post 30 hashtags. All indents and paragraphs will be preserved - you do not need to use services to create invisible spaces. nine0003
In advanced settings, you can disable comments for a post and write alternative text for uploaded images.
Post advanced settingsStep 4. Making a delayed post. Click on the arrow next to the "Publish" button and select "Scheduled Post". We set the time and day.
A delayed post cannot be released immediately to the feed - the minimum time is +10 minutes from the current one. Planning for later dates is unlimited - you can set any day and time. nine0003 We plan to release a post on Instagram
As a result, the delayed post will appear in the profile exactly at the specified time, with all tags and a breakdown by paragraphs in the text.
A delayed post is no different from a posted one from the applicationYou can view all posts in the "Content Library" section - the first in the list will be scheduled publications. In the same section, you can see the number of likes and comments for each post that appeared on your account.
Where to see the release date of post Creator Studio has a publication calendar - this is a visual content plan. A scheduled post can be edited or its deadline can be shifted - this helps to flexibly change the order of posts.
In the "Statistics" section, you can see the audience and study the dynamics of likes, coverage. The data is available for a week and a month and is no different from the statistics from the application.
How to view Instagram statistics on a computerCreator Studio has apps for iPhone and Android, but delayed posting is only available for Facebook. If you want to make scheduled posts on Instagram from your phone, you will need to install Business Suite. nine0003
How to make a delayed post on Instagram from the phone
Business Suite is a marketing platform for managing advertising and commercial accounts on Facebook and Instagram. The service has an online version and applications on the phone. The functionality is wider than that of Creator Studio, so you can also do delayed posting on Instagram.
You need to transfer your Instagram account to a business profile and link it to Facebook - the Business Suite can only be accessed through this social network.
See instructions above. nine0003
After that, install Business Suite on the phone.
Step 1. Download Business Suite to your Android phone or iPhone.
Download Business Suite to phoneStep 2. Login to Facebook by email and password. Click the "Publish" button in the center. We switch in the post editor to the Instagram profile.
If you do not switch, the post will be sent to both social networks at onceStep 3. Create a post. We write the text, add an image, mark people and put a geotag. We click "Next". nine0003 Writing a post. Limitations are the same - 2,200 characters maximum
Step 4. Set the exit time. Click "Publication scheduling options" → "Schedule for the future". Specify the date and time. Click "Schedule" and go back. Click "Publish".
We plan the release time of the post on Instagram The post went on hold. You can find it in the "Publications" → "Scheduled" section. You can edit the post, change the posting time, or delete it.
Business Suite, like Creator Studio, has access to profile statistics and a number of advanced features: you can reply to direct messages and run targeted ads. The only downside is that you can’t schedule stories in both services. But there is a solution.
How to make a delayed story on Instagram
To do this, we will use one of the delayed autoposting services with the ability to edit stories - SMMplanner.
Step 1. Go to the SMMplanner website. We enter the account, create a new one or do it through any social network. nine0003
Step 2. Enter the menu. Go to the menu tab and select "Accounts".
To enter the menu, click in the upper left corner - the list will open Step 3. Connect your Instagram account. Select "Advanced API SMMplanner". Enter login and password.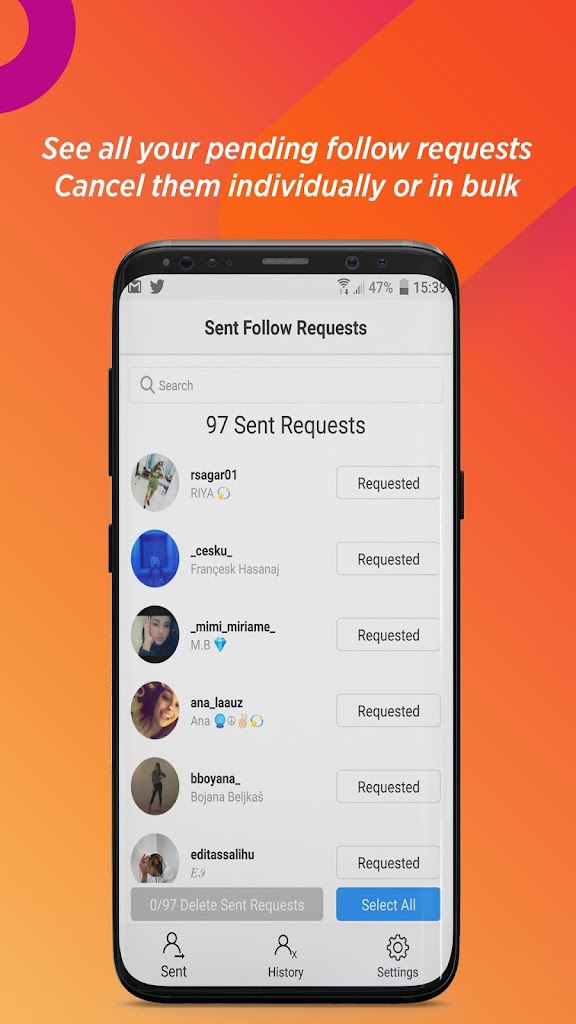
What does it mean: publishing through the Instagram API will not allow you to create delayed stories - its functionality is the same as Creator Studio.
ConnectingStep 4. Planning stories. We return to the "Posts" section and click "Schedule a story." nine0003 Planning a story
Step 5. Creating a story. First, select an account, then make a background - you can upload a photo or video. All stickers from the application are available, but if you need text, you will first have to add it to the image. You can use the Canva or Crello editors that are built right into SMMplanner.
Edit and set the timerStep 6. Plan the time. Click "Schedule", set the date and time. After that, the story will appear in the "Posts" list - it can be edited or rescheduled for another time. nine0003
Instagram is in no hurry to introduce delayed posting directly into the application - apparently, it considers that only SMM-boxes and commercial accounts need this feature.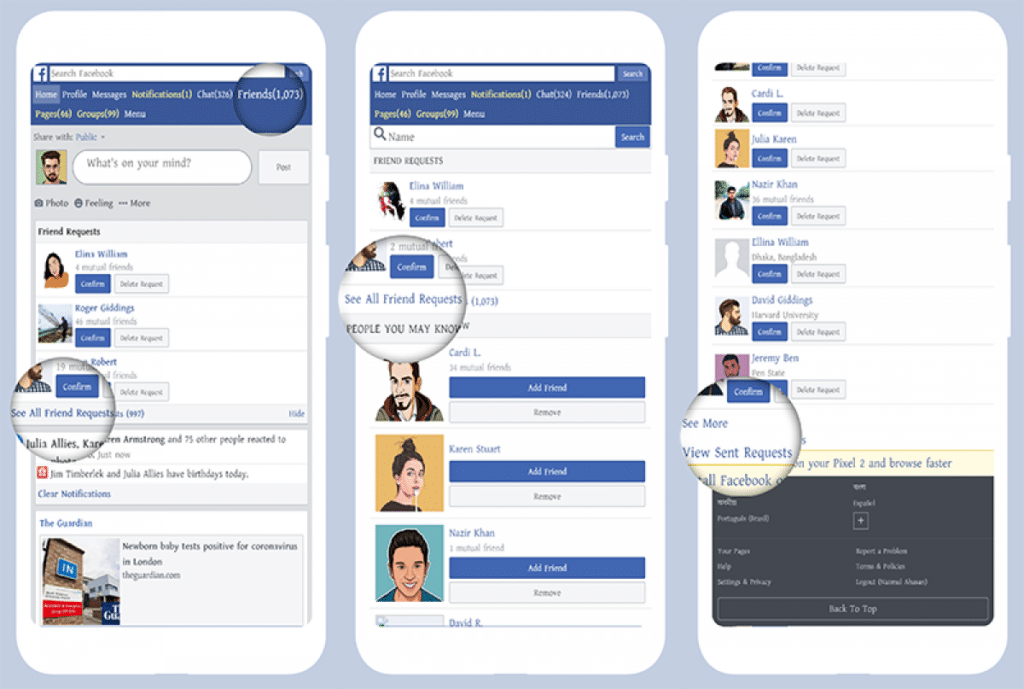 Therefore, you have to use Business Suite, Creator Studio or SMMplanner. On the other hand, it is more convenient to create publications in these tools: the functionality is wider, it is possible to save drafts and plan a content grid.
4 unusual metrics for lead generation on Instagram
Pavel Kukhnovets, KUKU.io promotion specialist, specially adapted for Netology an article by Alexandra Lamachenka on how to use available Instagram and Google Analytics metrics to achieve better business results. nine0003
Training in Netology: Instagram Promotion course
Selling on Instagram has long been a common thing. And while there are many business features, many business owners still analyze sales intuitively.
Instagram metrics and Google Analytics will help you evaluate your efforts and show you how to optimize your promotion, for example, whether to use delayed posting to achieve better business results.
In this article I will tell you how to count sales on Instagram and understand when and what efforts you need to invest in marketing. nine0003
Calculate your conversion rate
Calculate your conversion rate to see if opportunities are missed. Users who go to the site from Instagram are clients in five minutes. Some of them think about buying a product or service already at the search stage. People show interest in buying when they ask questions, specify the cost or delivery methods in the comments to the post or in direct messages.
The number of requests and completed transactions will show the effectiveness of sales on Instagram. nine0003
Let's say you sell designer accessories through Instagram. Last year, out of 180 comments or direct messages you received, you had 75 sales per month. Now it's in your interest to increase sales. To achieve this, you need to hire another master or seamstress. For the plan to work, you need to make 114 transactions per month instead of 75.
Do I need to publish more sales posts on Instagram in this case? Or to focus on viral publications? Add evergreen content or organize contests to attract new subscribers? A sales funnel will help you figure this out. nine0003
People who have viewed your photos on Instagram but haven't followed you are a cold audience. And those who noticed the account, rated the photo and subscribed - “warm”.
You might want to add the four stages of the sales funnel to the performance table and fill in the relevant data. On Instagram, you can find information about regular and new followers. To calculate the number of people who have contacted you, sum the number of incoming messages to and their comments related to your business (for example, price, shipping, etc.). This is your funnel. nine0003
How to access Instagram analytics
To access Instagram analytics, you need to convert your account to a business profile. Then click the graph icon in the upper right corner of the profile and view the analytics.
To find out what positions need your attention, calculate the conversion rate at each stage of the funnel. In the Subscribed stage, divide new followers by reach.
Divide contacts into new subscribers at the stage “Contacted”. nine0003
In the Purchased step, divide purchases into contacts.
The sales funnel allows you to visualize the path from a cold user to a customer. In the table, you can clearly see the weak points and stages that need to be optimized for business development.
Here is an example of a sales funnel:
Monitor subscriber growth
Monitor subscriber growth to track control goals. The number of followers can be seen in the profile bio. But what does this figure say about the real growth of the community? nine0003
The total number of subscribers in itself means nothing.
Unsubscribed users along with newcomers slow down the growth of your profile. Unexpected mentions and inline posts can, of course, slightly raise this figure, but you should not rely on them alone: attract followers on Instagram using other non-standard ways.
To make it easier to track subscriber growth, use Google Sheets. Add a row to the table to track the number of subscribers by month. The subscriber data in the example below shows how the audience is growing. nine0003
Now count how many new subscribers are added each month. Add a row to the table for new subscribers. From the number of all subscribers for a certain month, subtract all for the previous one. Get the total number of new subscribers for each month.
Then add a line for the growth rate. Divide the number of new subscribers in the current month by the total number of subscribers in the previous month.
Subscriber growth rate formula:
Just because it's about the same every month doesn't mean the community is growing steadily. In the example below, the rate is slowing down despite the same number of new subscribers every month (1200).
Growth rate shows how fast the community is expanding and determines in which months the posts were more productive. When growth rates are known, key performance indicators can be established and more accurately predict how many new people will sign up in the coming months. nine0003
If growth targets are not being met, factors that slow growth should be analyzed.
The reasons can be different: from irrelevant content (people stop following the account) to poor promotion (account analytics are not tracked), etc.
Monitor the behavior of subscribers
Monitor the comments and mood changes of subscribers. Likes on Instagram are a sign of interest in content. How to understand which aspects of the fast are catchy? nine0003
Let's take the post above as an example. Of the 802 like users, some are interested in the product (a dress of a well-known brand), some note the color balance or composition of the photo.
Really engaged followers rate photos with comments. They always answer the question asked in the post. If you are selling a product or service, they will certainly ask for price and shipping.
Compared to likes, comments give more weight to content and help people find you. nine0003
Simply Measured is a free tool that allows you to track comments and other Instagram metrics. You get a comprehensive analytical report with statistics in exchange for following the company on Twitter. Looks like a good deal.
In the service diagram, you can see how the number of likes and comments changes over a certain time.
It is also important to know the average number of comments per photo (13.3 in the example below). Be sure to add this data to the table. When you look at this number after some time, it becomes clear how popular the publications are. nine0003
Analyze what people write in the comments, as shown below. Be sure to add this data to the table. Select the reporting period to download statistics, and then write the key figures in your worksheet.
Track CTR
Track CTR to measure referral traffic. If you are using Instagram to drive traffic to your website or blog, tracking clicks is a must.
The easiest way to see total clicks is to use analytics. nine0003
Click the graph icon in the upper right corner of your profile. You will see how many times the links in the bio were clicked during a given period of time.
If you need more information, add Google UTM parameters to the links you share. In Google Analytics, you can see how many people clicked on a link in their profile and which one.
To access statistics in Google Analytics, go to Overview > Campaigns > All Campaigns. nine0003
Now you can see traffic from Instagram.
Benefits of UTM analytics
With UTM tags, you can calculate the CTR (click-through rate) of every link you share. CTR is the ratio of users who clicked on a link to the number of users who saw it.
If you're calculating it for Facebook posts, just compare reach and clicks for each post. But on Instagram, you can't attach links to posts unless they're ads. Alternatively, you can change the links in the profile and send users to the biography from the post each time. nine0003
To calculate CTR, take the number of clicks on a unique link and divide by the number of people who viewed the post.
Include a column for CTR in the table.
If you track goals in Google Analytics, you can also add information about completed goals: purchases, video views, subscriptions, etc. This allows you to see how targeted the traffic you are driving to your site is. And do people really convert into customers.
Also pay attention to the call to action that is used in the posts and any other factors that you think affect CTR. This will help develop a formula that encourages users to click on the links you share. nine0003
Monitor hashtags
Monitoring the popularity of hashtags reveals their hidden features. When choosing which hashtags to add to your Instagram posts, it's often tempting to pick the most popular ones.
But if you use popular hashtags with the hope of ranking high in search, posts need to be relevant and have enough weight (comments and likes) to rank high. For this reason, it is difficult for small and medium businesses to compete with large companies that use the same hashtags. nine0003
Small and medium businesses are likely to get the best results with hashtags of low and medium popularity. If you take the hashtag #flowersmoscow, you will be guided by the geographic location. With #flowertattoo you divide your audience by interests.
To research hashtags, use tools like Keyhole or Hashtagify. They will show the frequency of use of hashtags and allow you to compare them with each other.
The Posts Per Hour metric gives you information about how long a post will be in the first section of Recent Posts — right below the top posts. nine0003
For example, if you select the popular #flowertattoo hashtag and your image doesn't have enough weight to rank at the top, the post might still be one of the first for several hours. In order to track the results of posts with hashtags, use services for SMM analytics.
Conclusion
These 4+1 metrics will give you valuable insights into the effectiveness of your Instagram marketing and help you identify areas where you need to optimize.


