These are my 5 biggest pieces of advice for anyone looking to establish a more cohesive and aesthetically pleasing Instagram feed! Whether you’re looking to curate a feed that’s easy on the eyes for the personal fun of it, or for the purpose of conveying a stronger brand presence on social media, I hope these tips will be helpful to you in the process!
When choosing your color palette, first assess the kind of mood that you’d like your IG feed to have overall. Do you want it to feel warm and bright, dark and moody, colorful and energetic, minimalist and soft, etc.?
From there, select a color palette of between 3 or 6 colors to support your vision for vibe of your feed.
Example: Because I tend to shoot a lot of warm and bright subjects, my color palette is mainly orange, yellow, cream and pink, with occasional pops of blue or green.
Once you establish your color palette, you’ll have more focus when planning and creating your content!
By selecting 3-5 categories (or themes) that you want your feed to be focused around, you can focus your content around things that make the most sense for your brand (personal or business). Dedication to your key categories helps in creating more visual consistency throughout your feed, and establishing clear communication to your following on what you’re all about.
Example: Because I’m a designer and artist who loves traveling and fashion, I rarely post anything to my feed that doesn’t have to do with design, art, travel, and fashion!
This means that I wouldn’t ever share images of pets, food, or beauty products (to name a few different themes), because those things don’t line up with what my brand is all about!
Keep in Mind:
Your themes can always pivot as your interests or brand changes (nothing is set in stone)
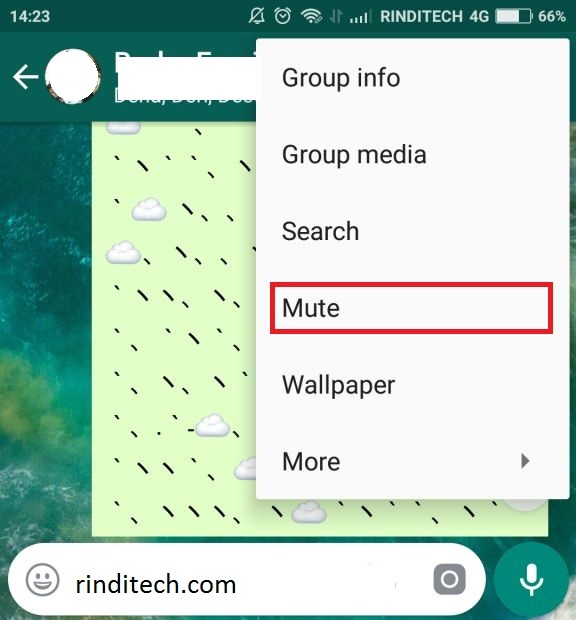
If some doesn’t match with your feed, but you still want to share it, you can always throw it up in your Stories. :)
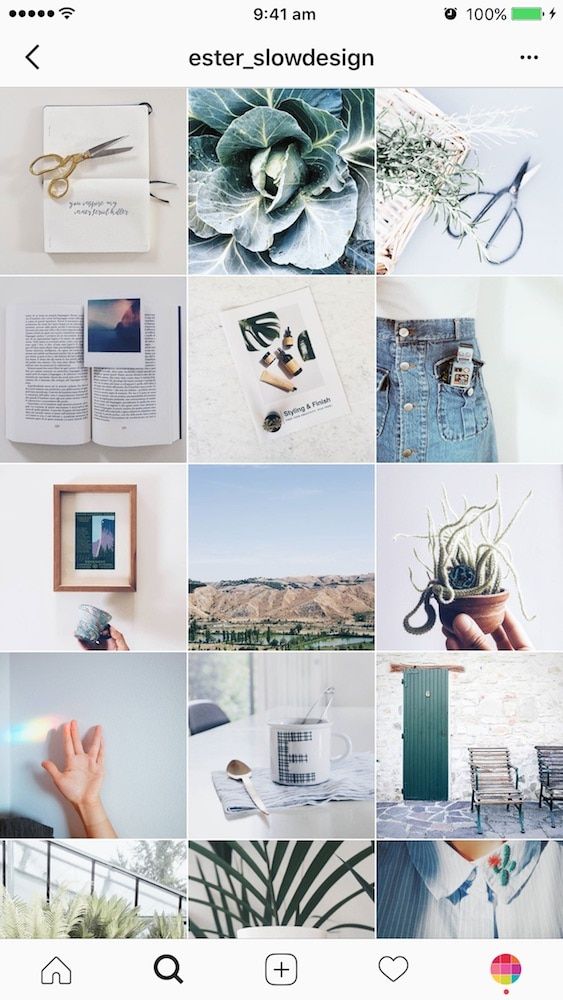
A helpful way to achieve balance and unity in your IG feed is to focus primarily on how your top 9 squares on your feed are working together.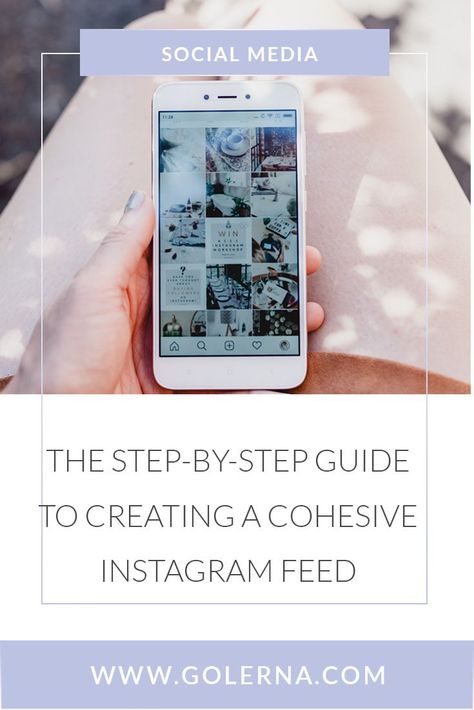 As long as these 9 squares feel balanced at all times, you can rotate in different themes and colors without ever throwing your grid into chaos.
I find that a balanced top nine can easily be achieved by making sure to alternate the subject matter of my photos/videos and their general color palette as I post.
Example: I wouldn’t typically post a flatlay back to back. Instead, I would break them up by posting an image of a cafe or my studio in between.
Example: I wouldn’t likely ever share a predominately pink photo back to back, I would break them up but sharing a cream or orange photo in between.
Here are a couple examples from my feed, featuring a breakdown of nine images with alternating colors and themes:
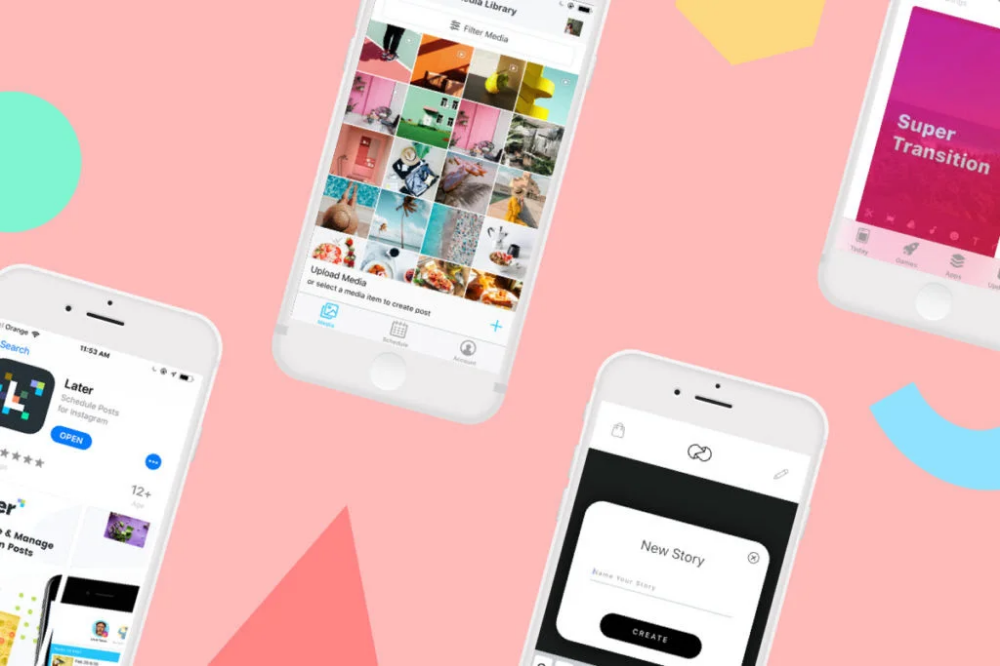
As you gather your content based on your color palette and themes, I highly recommend using an app like Plann, Snug, Planoly, etc. (there are so many out there) to help you in the process of planning out your grid in advance! Not only does this save you time in the long run - from having to spend hours every day figuring out what to post - but it also makes visualizing the creative direction of your next nine squares easier.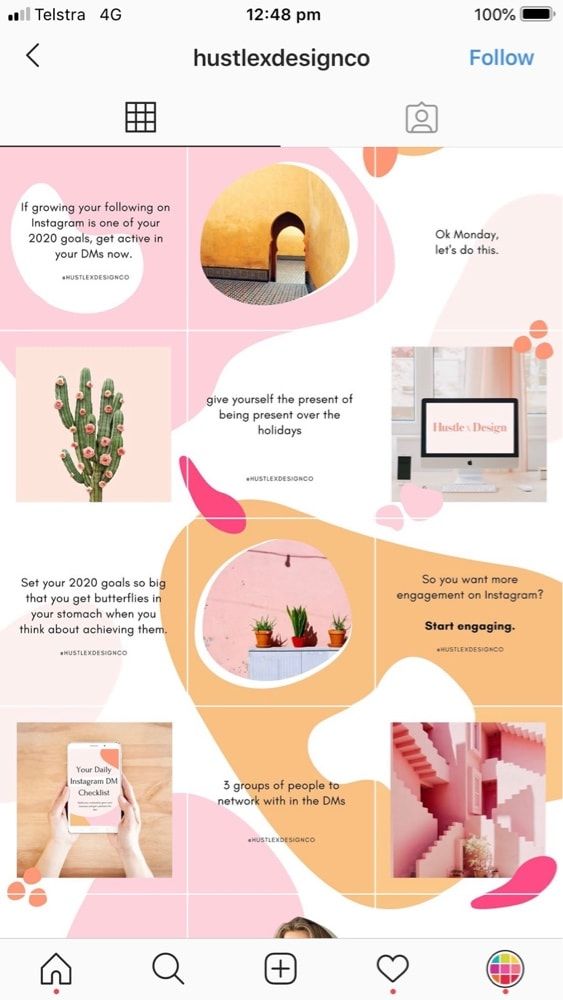
Use the same one or two presets regularly to create even more consistency and unity among the photos that you post! I edit all my photos with our Chez Núñez Presets for Lightroom Desktop or Mobile. My favorites to alternate between right now are 05 Flora, 08 Bookshop, and 10 Barcelona! :)
Thanks for reading! I hope these tips can help you to establish a more cohesive and aesthetically pleasing Instagram feed!
- Anna
Interested in learning anything else from me?! Let me know in the comments how I can serve you and your creative process!
So I’ve been asked this questions so so many times and for me personally creating a cohesive Instagram feed is a mix of trusting what my eyes see and having a plan and theory behind all that.
I’m going to show you exactly how I plan my feed (when I’m not eyeballing it).
In fact, after I started really carefully planing my grid, I immediately saw that people liked what I was producing.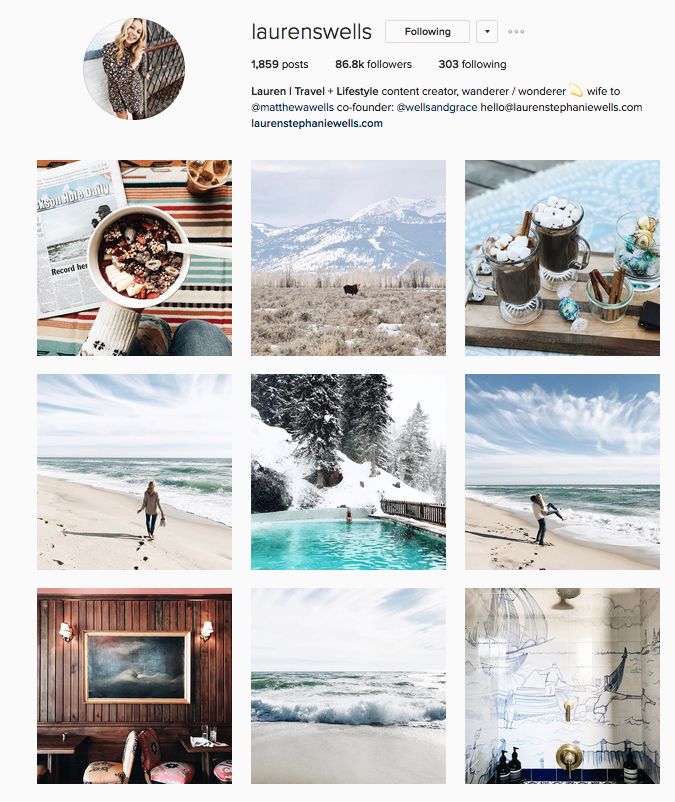 I was gaining much more followers than before. After a while, I started to do planning less theoretically and trusted my own eyes more and more. I got used to how my feed looks and took me less time (and less thinking!) to create a feed that flows.
So if you’re having trouble making your feed consistent and cohesive, I suggest you start with theory (that’s where this article comes in) and after a while, you’ll see that you’ll do it more and more spontaneously. It’s going to become second nature.
It’s hard to start, when your feed looks all over the place, right?
Start with planning at least 9 images ahead (12 or 15 are even better). This way you’ll actually be able to see how your new and shiny feed will look like!
So here are the steps that you need to take in order to create a stunning visually pleasing and cohesive feed:
There a few ways you can plan your grid online with software. The ones I like are Later and Planoly (not sponsored). They are free for les than 30 posts a month. You can use them only for planning the grid or you can post from their software as well. You can use either their app on your phone or plan via their website. Either way, that’s probably the easiest way to start planing how your grid will look like.
Do you prefer darker photos, lighter photos, do you like everything very colorful, do you love monochromatic images, desaturated, warm, cold, vintage, modern, natural, a specific color palette… so many styles and colors to choose from.
Choosing one style doesn’t mean you can’t integrate other styles too, but one or maximum of two is the best.
Will you be sharing only photos or you’ll also share videos, text, graphics… you should consider all the content you want to share with your audience and what type of content they’ll appreciate.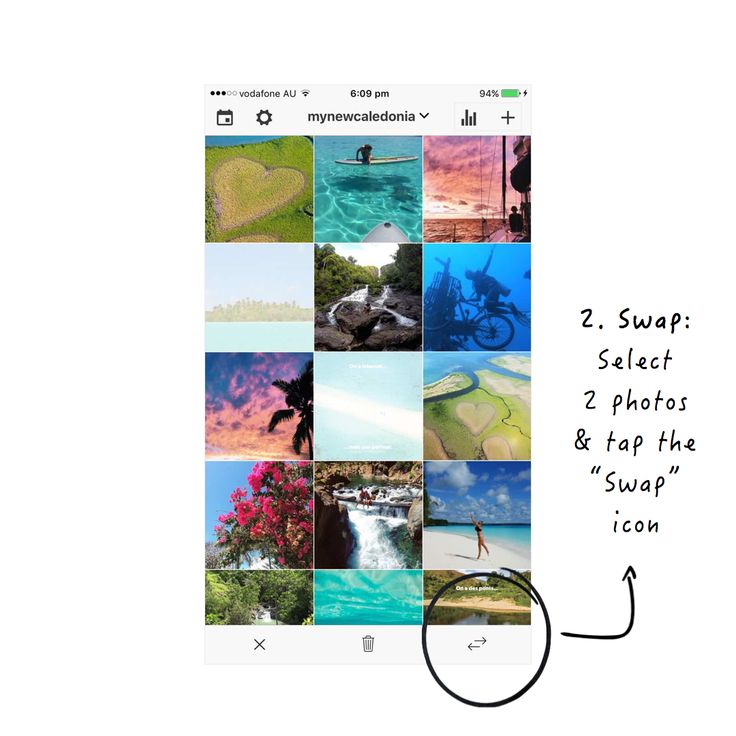 Just make sure they all look great together. If you’re including any graphical elements, thy need to work togeher as well and they should match the style of other content in your feed.
If you are sharing more than one type of content then it is essential to decide how often you’ll share each type of content. For example, if you’re sharing photos and text, then you could share a one-to-one ratio, so every second day you’ll share text and all other days a photo. You can consider some other ratios too. I love 6 to 1. Six photos and one text image. Be creative!
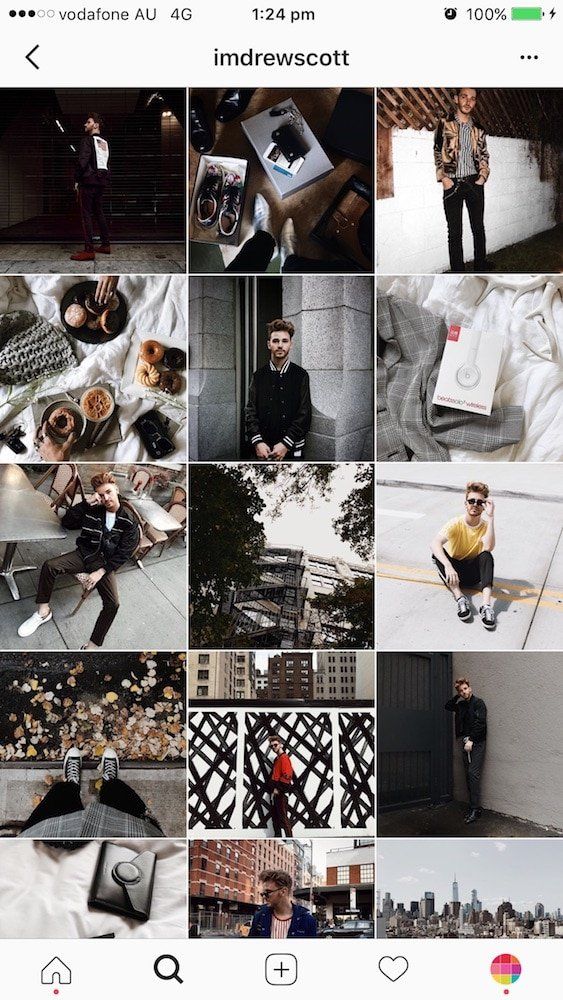
When I plan my Instagram grid, I always take into consideration the colors in the photos. I usually have one or two main colors in a photo. When I plan a grid, I’ll place images with the same main color on the different parts of the grid so they don’t all touch each other. I post mostly dark images but I include brighter ones as well and I follow the same principle there too.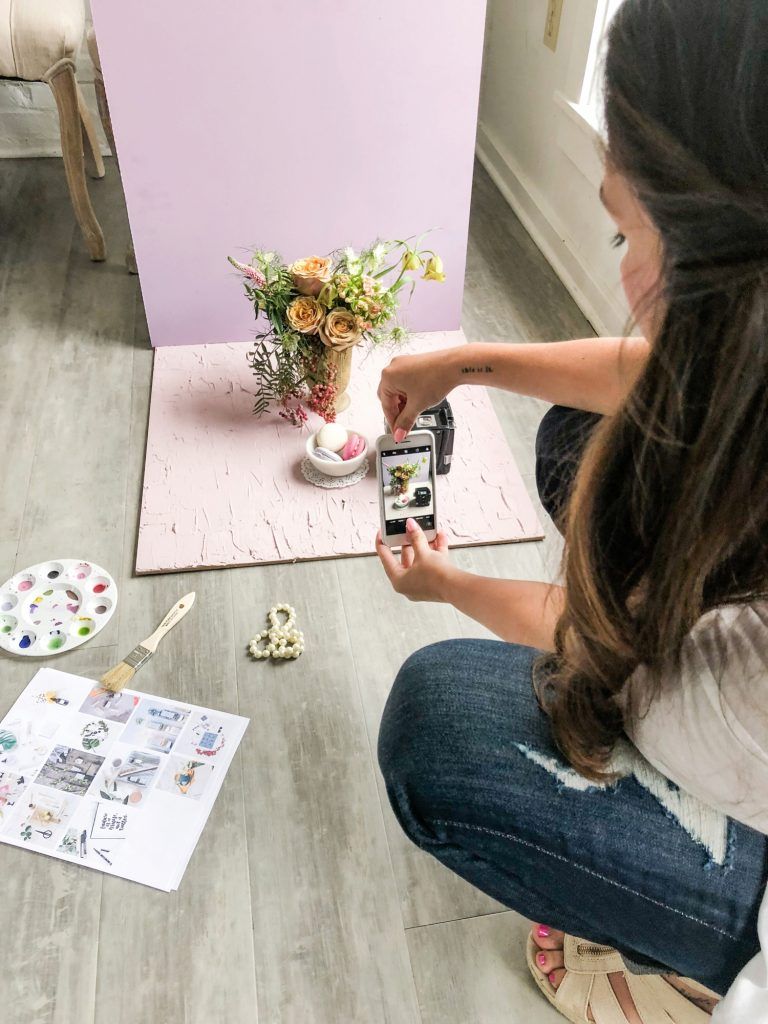
Same goes with shapes. If I post a photo of a round cake in the middle of the frame, I won’t post other images with similar shape so that they fall in a line (unless it’s a diagonal). I also don’t want to squeeze them all in one corner.
One way to creatively use color theory is to have a color-coordinated grid, where you post one color only for a specific number of days and then continue with another.
Balance is the magic word when it comes to a cohesive Instagram feed. Try to think of your image as having weight. Some weigh less (meaning they are less busy), some weigh more (busy images with big elements or multiple elements). Now imagine your feed being an old fasioned kitchen scale. You should place the images in your feed so that your scale is in balance. Just like with colors and shapes you need to consider placing images with same ‘weight’ in oposite parts of the grid to balance things out.
The same goes for angles. I post photos from different angles in my feed and that also takes some thought.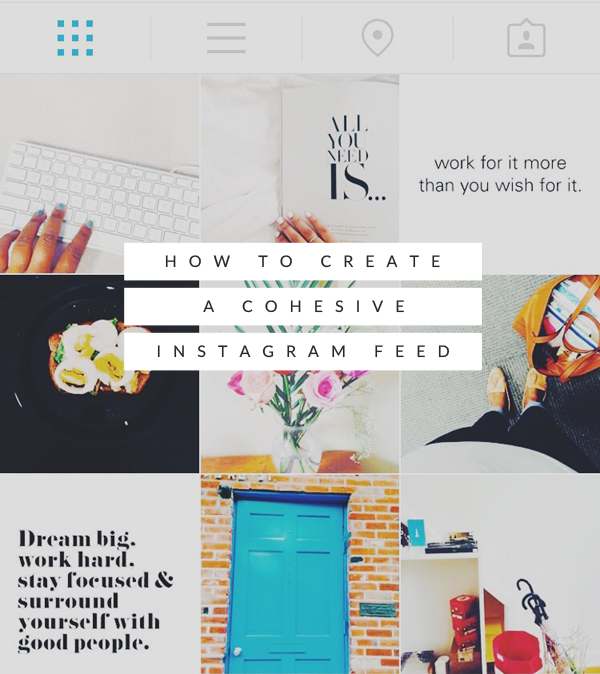 Just like, with color, shapes, and negative space, I like to spread mix photos taken at different angles so that they don’t compete with each other.
Please, don’t go and follow these things I just wrote about very very strictly. Like I wrote in the beginning, sometimes something will look better and you won’t necessarily have a clear explanation. Follow your gut and your creativity.
You might say, but I’m not a professional yet, I don’t have high-quality images. It doesn’t matter, use what you have, but be picky at the same time. Choose the best photo you have and if you’re unsure and decide between two or three photos, use stories to ask your followers. As an IG user, I can say that I love voting and people really do love engaging in things like questions and anything that requires their input in the stories. So why not ask your followers? This way you’ll also learn what type of content they like seing from you. Win-win!
While creating a cohesive Instagram feed takes some preparation and careful planning it’s not the only thing to do if you want your IG channel to attract followers (aka ideal followers). One of the most important think about running an IG feed is being personal and showing who you are. Poeple love following real people not machines!
Let me know if you found this useful in the comments below or on my IG.
Plan Instagram posts visually with a grid.
We all know how important it is to have a cohesive, consistent Instagram feed. The grid is a strategic tool that can help you achieve the best Instagram feed for you or your business.
Use simple, easy-to-use controls to:
• schedule your Instagram posts in advance
• Write titles for each post ahead of time
• Achieve the perfect timeline with intuitive drag and drop controls
• Post scheduled content to Instagram
Includes support for:
• Post original quality photos and videos
• Visualize how future posts fit into your past posts by syncing your Instagram feed with your
grid • scheduling and managing content for multiple Instagram accounts (pro feature)
Most features are free for everyone. If you plan to use multiple Instagram accounts, you can make a one-time in-app purchase.
Version 2.4.1
Added a link to the privacy policy in the settings.
ratings: 595
Please add the function of visibility of reels in the grid, otherwise the whole composed tape will get confused
is a convenient scheduler, simple as I needed it. only a pity you can create only 1 grid, others for money)
As I understand it, someone is fine, but someone has a glitch with the application.
I'm in the second group😅 I don't have a function to add a photo anywhere, it's just that my feed is loading 9photo and that's it, nothing more can be done🤷🏻♀️
The developer of The Good App Company, Limited Liability Company has indicated that, in accordance with the application's privacy policy, data may be processed as described below. Detailed information is available in the developer's privacy policy.
The following data may be collected, which is related to the user's identity:
Sensitive data may be used differently depending on your age, features involved, or other factors. Read more
Russian, Tongan, Azerbaijani, Albanian, Amharic, English, Arabic, Armenian, Assamese, Afrikaans, Bengali, Burmese, Bulgarian, Bosnian, Welsh, Hungarian, Vietnamese, Dutch, Greek, Gujarati, Danish, Hebrew, Indonesian, Inuit, Irish , Icelandic, Spanish, Italian, Kazakh, Cambodian, Kannada, Catalan, Korean, Kurdish, Lao, Latvian, Lithuanian, Malagasy, Malay, Malayalam, Maltese, Maori, Marathi, German, Nepalese, Norwegian (Bokmal), Oriya, Punjabi, Persian, Polish, Portuguese, Pashto, Romanian, Serbian, Slovak, Slovenian, Swahili, Thai, Tamil, Telugu, Tigrinya, Traditional Chinese, Turkish, Ukrainian, Simplified Chinese, Urdu, Filipino, Finnish, French, Hindi, Croatian, Czech, Swedish, Estonian, Japanese
How to add an Instagram Reels cover
How to make an Instagram video cover?
Instagram Reels Sizes and Cover Sizes
Free Instagram Reel Cover Templates
Instagram Reels Cover FAQs
Want to create a really eye-catching Instagram Reels cover? You are in the right place! Creating the perfect cover art for your video is essential to attract viewers and keep them interested in your content. A great cover will not only help your videos stand out, but it will also give your followers an idea of what to expect from your videos. nine0007
Table of contents
How to add an Instagram Reels cover
To choose a cover for a new Instagram feed:
To edit the cover of an existing video:
How do I make a cover for an Instagram video?
Instagram Reels Cover Sizes & Sizes
Free Instagram Reels Cover Templates
Instagram Reels Cover FAQs
Can you put a cover on Instagram Reels? nine0007
Why did Instagram remove my Reel cover?
Do I need a spool cover?
How do I change the Reel cover after publishing?
What is the best cover size for Instagram videos?
The best part? You don't need to be a professional designer to create a stunning Instagram Reels cover. . Let's take a look at how to change your Instagram Reel covers, some templates to get you started, and how to make sure your covers look great in your feed. nine0007
By default, Instagram will display the first frame of your video as the cover. But if you plan to share your videos on your Instagram profile grid, you need to add a cover that is attractive and relevant to the video. Also, something that fits in with the overall vibe of your profile.
1. Click on + sign and select Coil start creating.
2. Select the video you want to download or record a new one.
3. Add sound, effects and filters as you like.
4. When you're ready to add cover art, tap the Edit Cover button shown in the preview of your new video.
5. Select the image you want to use as the cover. You can use the existing frame from your reel or choose a custom Instagram Reel from your camera roll.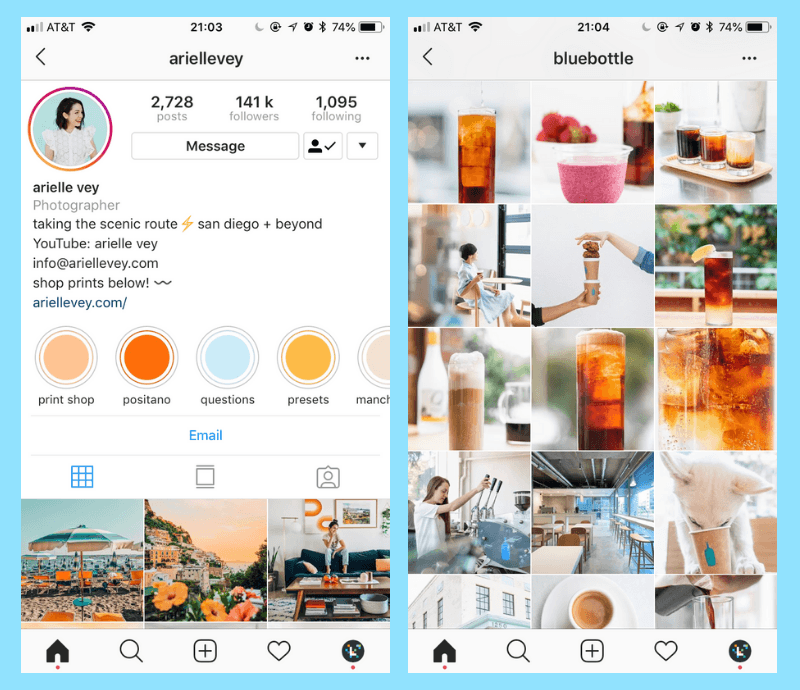
6. Click on Made by when finished uploading your video.
1. Select the video you want to edit from your profile. Then click the button three dots in the upper right corner of the video and click Edit .
2. Select Finish the button shown in your video preview.
3. Here you can use an existing frame from your video or choose a new Instagram video cover from your camera roll.
4. Click on Made by twice and watch the video in your Instagram feed.
Be sure to experiment with different covers until you find the perfect fit for your reel and feed.
Try creating your own video cover photo to add a little personality to your Instagram videos. Custom video cover photos show your audience that you're creative and willing to go the extra mile to make your content stand out.
If you want to create your own Instagram Reel cover, you can use template (like the ones we made - see below) or create one from scratch. nine0007
Canva is a great option for creating custom Instagram Reel covers. With Canva, you can choose from a variety of templates or create your own design. You can also use tools like Adobe Express, Storyluxe, or Easil to create your own reel covers.
If you need help designing your Instagram videos, check out these handy video templates to get started.
When creating a custom Instagram Reel cover, be sure to consider the following:
Make sure you use high quality Instagram Reel cover images and videos. Remember is the first thing people see when they see your video so you want to make a good impression.
All Instagram Reels are displayed in 9:16 aspect ratio (or 1080 x 1920 pixels). On the other hand, Instagram Reel cover photos will vary depending on how they are viewed.
This means that you will need to style the cover of accordingly, keeping in mind that it will be cut differently depending on where it is displayed.
The main thing to remember is that your cover should be recognizable and attract attention even when clipped.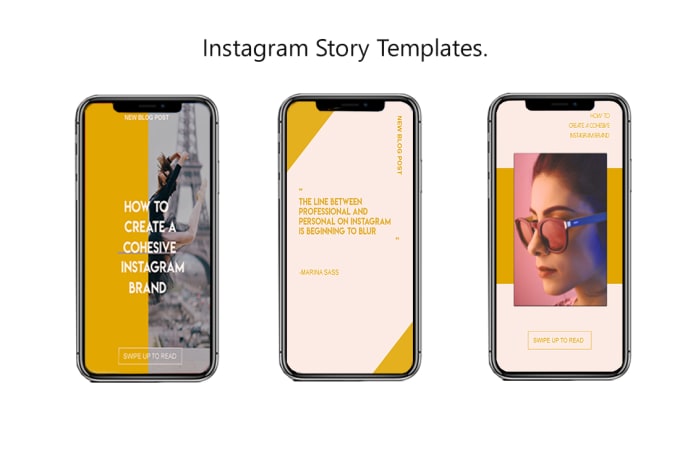 Make sure the most important elements of your design are placed in the center of the image where they won't be cut off.
If this seems difficult, don't worry. We share some ready-made templates below to make your Instagram Reels cover stand out.
Don't want to start from scratch? We've created these handy video cover templates to help you create amazing Instagram videos. nine0007
Here's how to get started:
Yes, you can add your own cover art to your Instagram videos or choose to display a still frame from an existing video.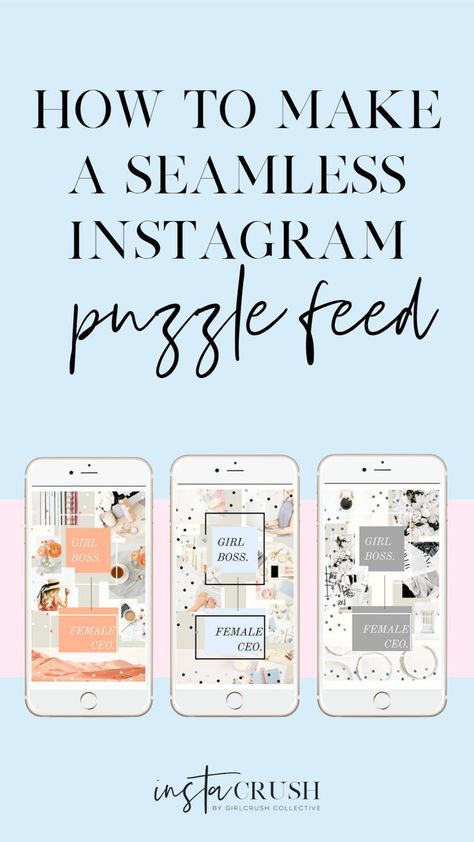 nine0175 The benefit of using a custom Instagram Reel cover is that you can design it to match your brand. Custom covers also help create the overall look and feel of your Instagram brand. Creating a cohesive design for your Reels covers can add an extra aesthetic touch to your Instagram profile.
The advantage of a still frame is that it gives a direct indication of what your audience can expect from your video. Plus, you don't have to waste time creating a custom cover. nine0007
In some cases, Instagram may remove your Reel cover if it violates the platform's policies. This may include the use of copyrighted materials or images that are NSFW.
If your Reel cover is removed, you need to upload a new one that complies with Instagram policies. If you believe the deletion was in error, you can also appeal the decision using the appeal form. nine0007
Yes, every Instagram video has a video cover.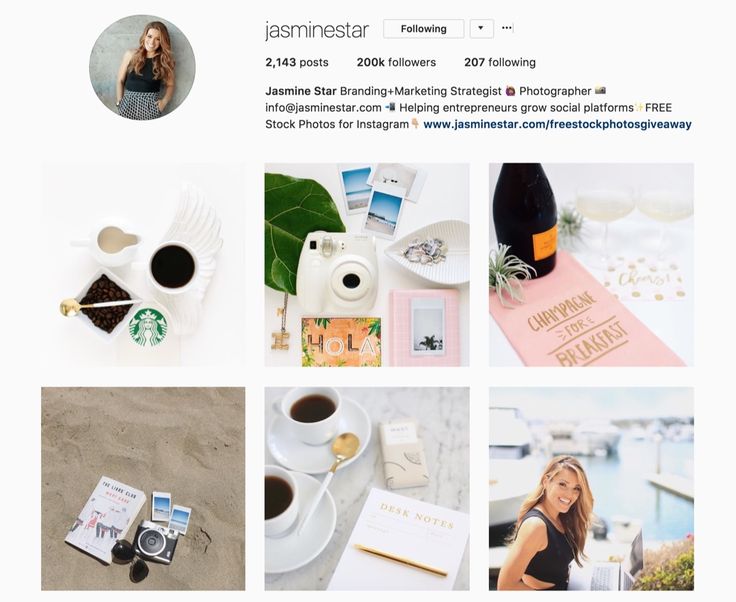 If you don't select it, Instagram will automatically select the thumbnail from your video. Keep in mind, Instagram picks at random. This means that your cover may or may not be great.
Reel cover art gives you complete control over how your video appears in the feed. And since it's the first thing people see, it's worth taking the time to create a Reel cover that accurately reflects the content of your video. nine0007
You can now change your Instagram Reel cover art after posting. Just go to your drum, click on the three dots to edit and select the Coating button. You will be prompted to select an existing still frame or upload a cover image.
Your Instagram Reel cover will be displayed at Aspect ratio of 1:1 in your profile grid and 4:5 in the main feed. .