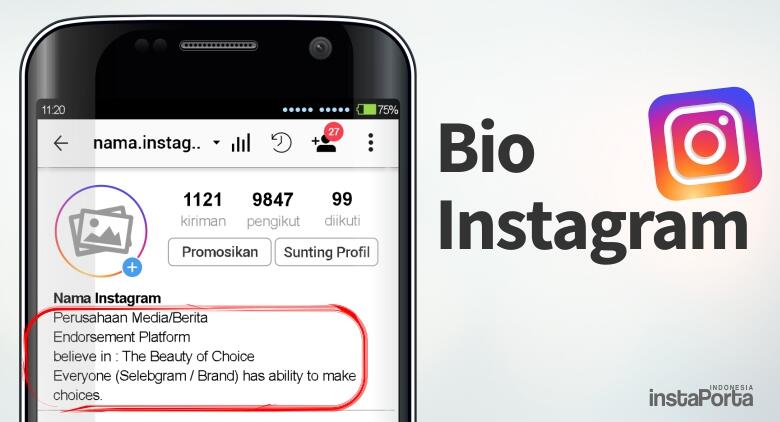
You may have noticed that brands often add locations to their Instagram bios. You can add them too! Then, your followers will definitely find you offline. We will tell you how to get a clickable address displayed on your profile page. We will also share a way to put several addresses with clickable links to maps at the same time.
First, let's see how a location in an Instagram bio works. You add one, and when a user taps it, they are offered to open one of the map applications installed on their phone. The application that opens shows the address to the user.
When can a link to an exact address on a map be useful in your brand’s Instagram bio? Add a location when you want to tell customers:
For example, you sell on Instagram, but the delivery area is limited. You need to put the location in your bio because it will help users understand whether you will deliver the goods to them if they place an order. This saves characters in your bio text for other important things.
Note that you can add only one clickable address to your Instagram bio. If you work in several cities, put them using the second method that we describe in this article. So you can list all the places and avoid losing customers.
Put in your Instagram bio only the locations where you work with clients. The address of your head office is no use for clients if they can’t place or pick up an order there. It can only confuse them.
Now we will explain in detail how to add a location to your Instagram bio for those who recognize themselves in this part. We will also tell you what to do if you need to put several addresses at once.
You can add a location to your Instagram bio that will be a link. This can only be done in a Business account. If you want to tag a clickable address in a Personal or Creator account, use the second method that we describe in this article.
Since you can add a location to your bio only in a Business account on Instagram, let's first see how to switch to it. If you have already switched, go to the next step.
Switch to a Business account:
Now you have a Business account on Instagram, so, you can get to the next step and add a location to your bio.
Now you have a Business account. It means you can put a location on your Instagram bio. Add it in the profile settings.
Here is how to set a location in your Instagram bio:
It’s your call how accurate the address in your Instagram bio will be. You can specify only the city, or add the street name and house number as well. You can also put your organization name, then, a map application will also show the floor and office number to a user.
If you ever want to change the location tag in your Instagram bio, follow the same steps we described in the instruction on how to add it.
There is another way to share locations with users in your Instagram bio.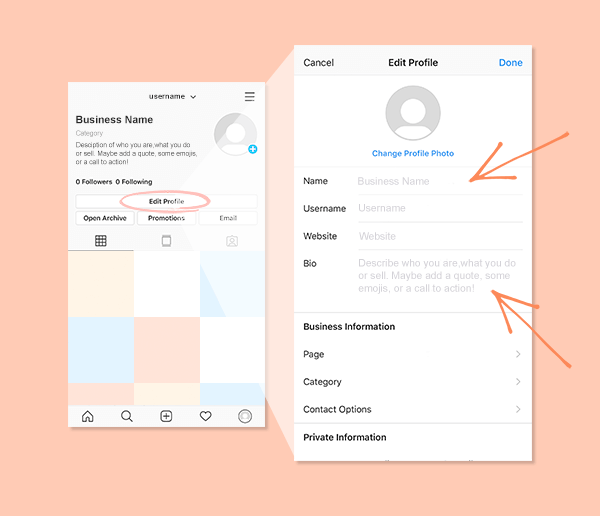 It doesn’t force you to switch to a Business account, and it allows you to add as many clickable addresses as you like.
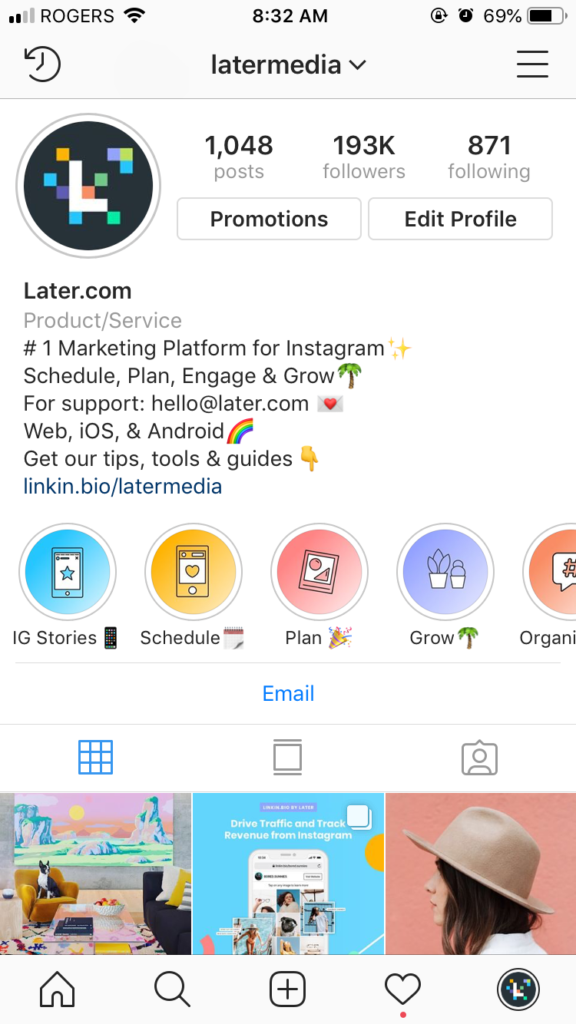
What you need is to create a micro landing page with locations and add its link to your Instagram bio. In the bio text, let users know that the addresses can be found on this page. Here is what it looks like:
Below we give you step-by-step instructions on how to create a landing page for your Instagram bio like in the screenshot, and how to add locations on it. We use a link in bio tool for this.
We chose Taplink as the tool to create a page with location links for your Instagram bio too. It allows adding interactive maps directly to the page, and also clickable addresses with links to Google maps.
In addition to the locations, you can add other elements to your page for the Instagram bio, such as text, pictures, and links to instant messengers. They will help you to tell Instagram users more about each address — working hours, the issues it deals with, and how to contact the employees.
These are more examples of pages with maps and clickable addresses created on Taplink. You can follow the links to view the full pages.
After the registration, you will be directed to the page with templates. There are also options with added maps and location links. You can choose the one you like or choose a blank template to create a page from scratch for your Instagram bio, then you have to add everything manually.
We chose Empty template as an example.
Now you have a page for your Instagram bio, let's add locations and maps to it so that users can easily find you. On Taplink, the Maps block is provided for this.
Add a location to the page:
Repeat steps 3–5 to put another address. We added two more addresses as an example.
06. Tap Save changes.
This is how a map and clickable addresses on the page look in edit mode.
You can add as many maps and tag locations on your page as you want.
Let users, who come to the page from your Instagram bio, know what these locations are. Add some explanation, you have 17 different blocks for this. For example, you can write working hours using a block of text, or put a photo of beautiful interiors in each of your chain restaurants.
All blocks are added in the same way, just like the maps and location links. Select one and fill in the fields.
We added different blocks to our page for Instagram bio too. Now, there are not only locations but also:
 We added one for making calls.
 This is how some of them look on the page in edit mode:
Blocks added to the page that you create for the Instagram bio can be edited, moved, and deleted. Map blocks with locations too.
Here is how you can edit a block:
 We changed the text that will be displayed in the buttons and the order of the links to give you an example.
Remove a block you don’t need:
We illustrated the steps, but decided to save the map with location links on the page :)
Now you've got all the blocks you wanted on the page. You may want the page to look different. If you do, change the design. There are more than 300 options on Taplink. You will definitely find some designs you like. Read about it here.
We applied a design, edited and deleted some blocks. You can see the result in the screenshot below. Follow the link to see the full page with locations that we are going to add in the Instagram bio: veterinary clinic.
When all the locations and maps are added, it’s time to publish the page. You will get a link that you should add to your Instagram bio.
Get the link to your page with locations:
Tap Copy link to get the page’s web address.
The final step is adding the copied link to your Instagram bio. We have described the instructions here.
Tip: direct users to the page in your bio from posts and link to it in your Instagram Stories. Thus, people will visit it more often.
If you have faced a problem adding a location to your Instagram bio, you can find the solution below.
You can add a location to your Instagram bio without switching the account type. The address can be mentioned in the text of your bio, but there is a better option. Use a micro landing page made on Taplink. This is possible in both Personal and Creator accounts.
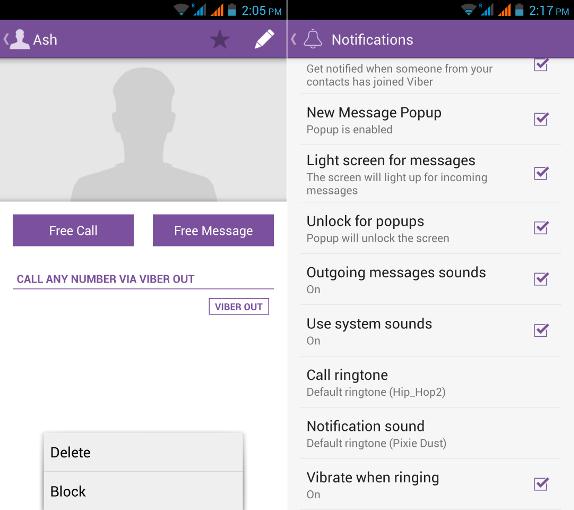
There is a special setting that enables and disables the display of your business contact details on the Instagram profile page.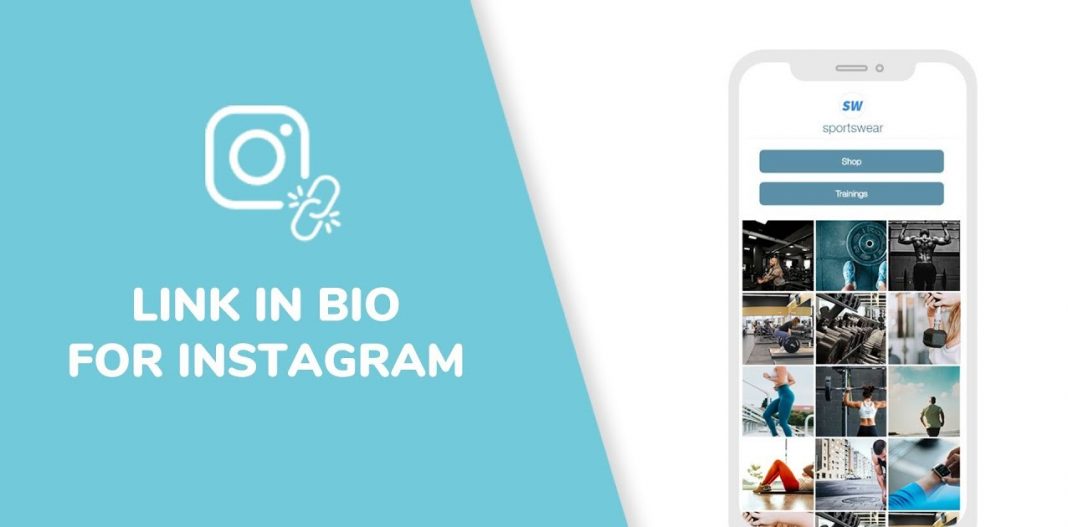 If the location you have added is not displayed, check if the display is enabled. You can find the settings on the same page where you add the address.
The location appears in your Instagram bio if the Display contact info button is active. The active button is blue. If it's gray, you need to tap it to make it blue.
Note, when you enable contact details on the page, then your business phone and email also become available to Instagram users.
If you want to hide your business contact details and the location from Instagram users, disable their display in your bio. You need to tap the button to make it inactive. The button is gray when it is inactive.
You can remove the location from your Instagram bio at any time. Go to the contact options settings and tap the remove button.
Taplink is both for those who are holding a phone for the third time in their lives and for those who use it regularly all day long. Everyone can create a page with locations and add its link to their Instagram bio.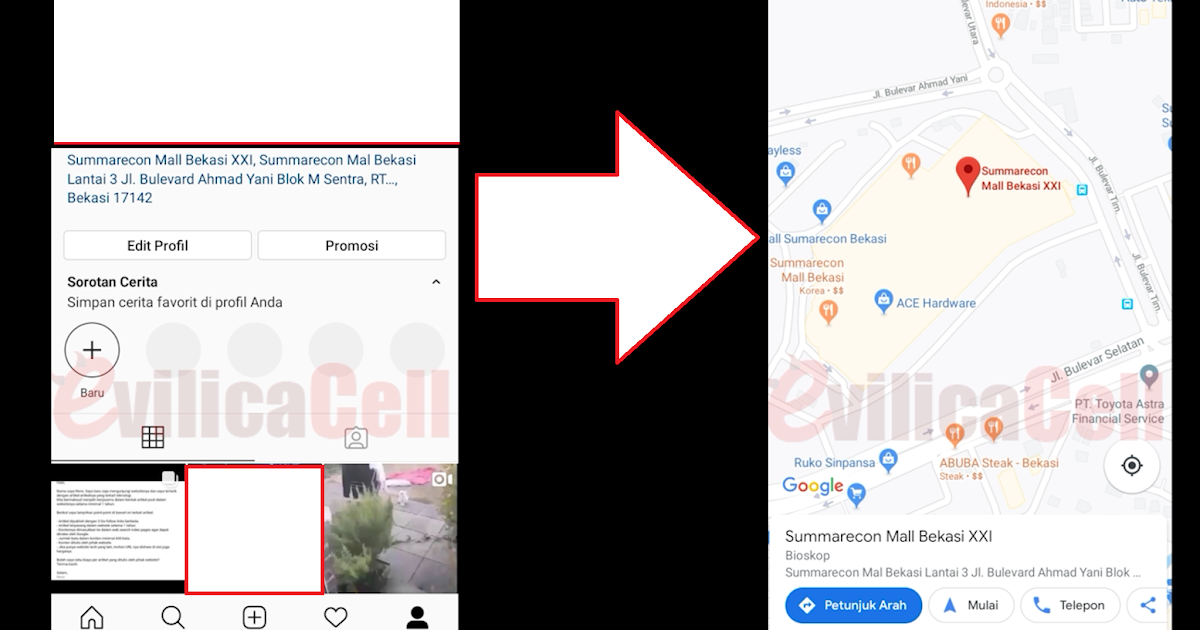 This is because the service provides:
Instagram allows you to add a single location link in your bio. You need to switch to a Business account to be able to do this. You put the clickable address in your profile settings.
A location added to your Instagram bio is a great way to develop your business. Read more ways to grow on social media to reach new people and increase sales.
You can add several clickable addresses using a micro landing page in your Instagram bio. This method is available to everyone, you don’t have to change the type of the account. You can even add an interactive map to the page as well as location links to specific addresses on Google maps. You can create your own landing page on Taplink.
Is one location in your Instagram bio enough for you, or do you need a micro landing with multiple clickable addresses? Write in the comments!
If you run a business account on Instagram, it may be essential to include a location in your bio so potential customers can easily determine where the business is located if they are interested in later visiting it.
By including your business location, you make it easier for users to navigate there using third-party apps like Google Maps and Apple Maps.
Adding a location to your Instagram profile bio is easy and can be done in just a few steps — and it takes less than two minutes.
Here's how to do it.
1. Launch the Instagram app on your Android or iPhone.
2. Using the menu on the bottom of the screen, tap the profile icon, which resembles a person.
3. Under your account's bio information, select "Edit Profile."
Navigate to your Instagram profile page and then select "Edit Profile." Meira Gebel/Business Insider4. Under "Public Business Information," select "Contact Options."
Select "Contact Options" from the menu's list. Meira Gebel/Business Insider5. Next, select the "Business Address" text box to add a location.
6. Fill in the text boxes for street address, city/town, and zip code.
Fill in all the required fields. Meira Gebel/Business Insider7. Once you've entered all of your location information, make sure it is accurate and then select "Done" from the top-right corner of the screen.
8. To finish, select "Save" at the top-right.
To finish, select "Save." Meira Gebel/Business Insider9. After you've exited from the Edit Profile menu, your business profile will now reflect the location you've entered. This location will be visible to anyone who views your profile, whether they follow you or not.
Meira Gebel
Meira Gebel is a freelance reporter based in Portland, Oregon.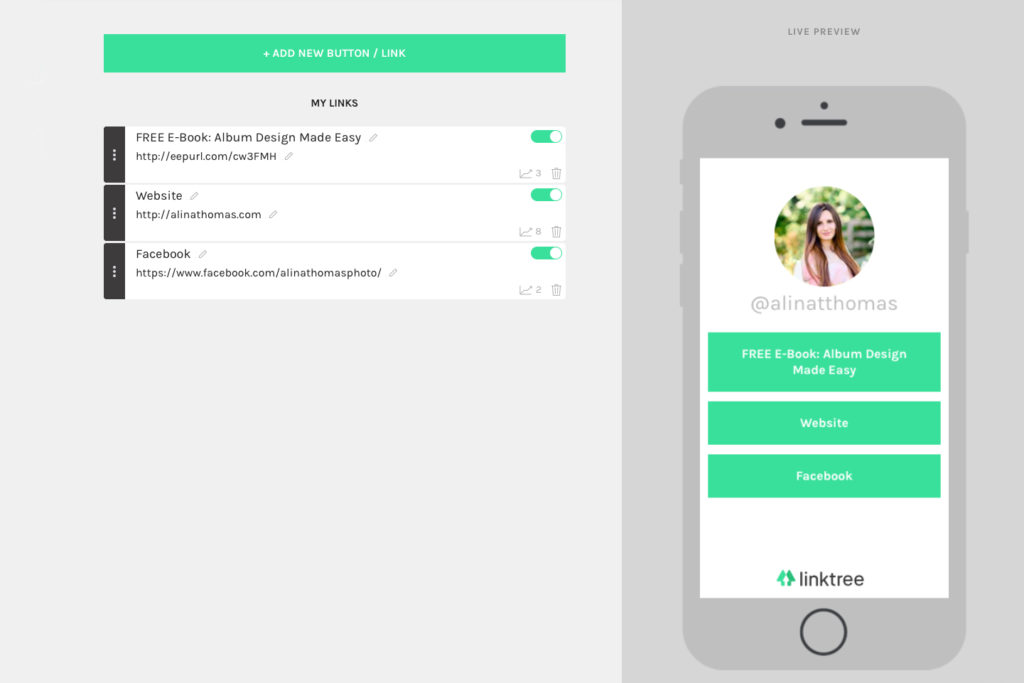 She writes about business, culture, and technology for Insider. Her work has been featured in Digital Trends, Willamette Week, USA Today, and more. She is a graduate of Columbia Journalism School and San Francisco State University. Feel free to reach out to her on Twitter, where she can be found most of the time, @MeiraGebel.
Read moreRead less
Insider Inc. receives a commission when you buy through our links.
ALL CRM Stock Internet Marketing Cases Books Likbez Promotion
Share the news
We are often asked how to add additional information to the Instagram header?
Since the service provides limited options on this issue, you have to be a little tricky and use the address field for your own purposes. But let's get it right.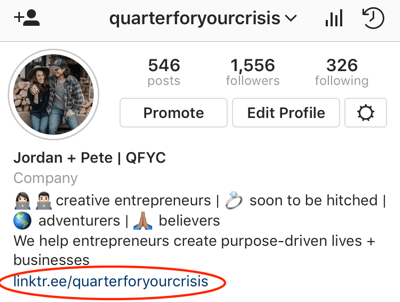 nine0003
Instagram has a Directions button for business profiles. The address of the company is usually displayed there. But it is also not forbidden to add other information. To do this, you need:
As a result, the information will be displayed like this:
Note!
Information added in this way will only be displayed on mobile phones and tablets.
Once again, we remind you that the above is only suitable for company profiles. To go to the company profile you need:
Service to integrate your CRM with Instagram and Whatsapp
five% nine0003
First payment discount
when registering in I2CRM using the link https://i2crm. ru/?refid=1803BK15NL or with promo code 1803BK15NL
We hope that our tips will help you properly create an Instagram account. More on the topic:
Registration of an account on a real example of a travel agency
Instagram maintenance service
Instagram promotion service
And if you have any questions - write, we will be happy to help.
Fill out the form below and we will contact you shortly.
The main and main reason for the constant flow of photos on Instagram is the desire of users to share the best moments of their lives with friends, talk about 's travels and leisure activities. Immediately after registration, people begin to add pictures and posts, subscribe to other users and follow the lives of interesting people.
Anyone who likes to tell subscribers what places he visited and where he had breakfast, the question arises, how to add a place to Instagram? At the time of an important event, while traveling, going to the cinema, to an exhibition, a restaurant or a theater, everyone wants to indicate their location.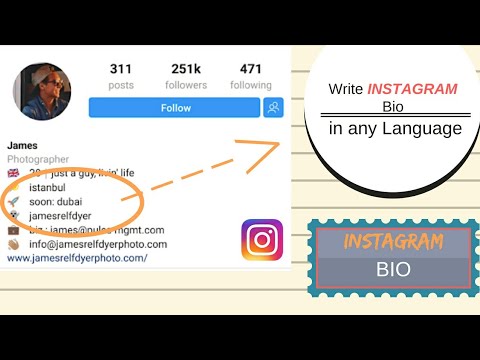
Some create their home on the map, and if you are promoting a business, you can add the geolocation of your company.
Watch the video: Best Free Instagram Marketing Method
How to create an Instagram location?
To add a location, first fix the point on Facebook, and then transfer the mark to Instagram. To do this:
To add geolocation on Android, you need to exit the Instagram application and go to your phone settings. Find “Location Services”, then select one of the two connection options (GPS or wireless network).
If you choose to create a location for your own home or business, remember that your hotspot will be seen by everyone nearby and possibly used. When naming a geolocation, of course, you should not write the exact address. Worth coming up with is a creative name that will attract users and make them smile.
The most creative: “Lair”, “A place where it's good”, “Here I sleep”, “Come visit” and others. One of the owners of a large company spends most of his time at work, so he called the mark of the company “Second Home”.
Remember that you can add any point in every country in the world. The only exceptions are places where Instagram is not usually used (Antarctica or parts of Africa). Especially the above methods will come in handy if you come from a trip and want to add all the places that you managed to visit.