Important announcement for Top Nine 2022.
Read our blog post here.
About UsRead PressTop Nine 2022FAQ
Create Top Nine collage
The automatic generation will be available very soon. In the meantime you can still create your collage manually with our templates!
Read more about this change.
Start creating now
"Because if it's not on your Top Nine grid, did it really happen?" - Refinery 29
Read all press from Mashable, CNN, The New York Post, and many others sharing the story behind the #TopNine trend.
This will also clarify that TopNine.co is the original Top Nine creator. Watch out for clones!
Read PressWhat started as a simple tool for Instagram, grew into the biggest Instagram trend of every year, regardless of the pandemic.
More than 1,000,000 posts with #TopNine.
See all #TopNine →
We launched the Top Nine app 5 years ago, starting a huge trend where millions of users shared their #TopNine post.
Learn more about us
Top Nine became a huge trend, making it attractive for malicious actors exploiting the trend by creating Top Nine clones.
Read the full warning
You can now choose from dozens of static and animated video templates.
If you liked our #TopNine2022 templates download the Top Nine app.
Download Top Nine
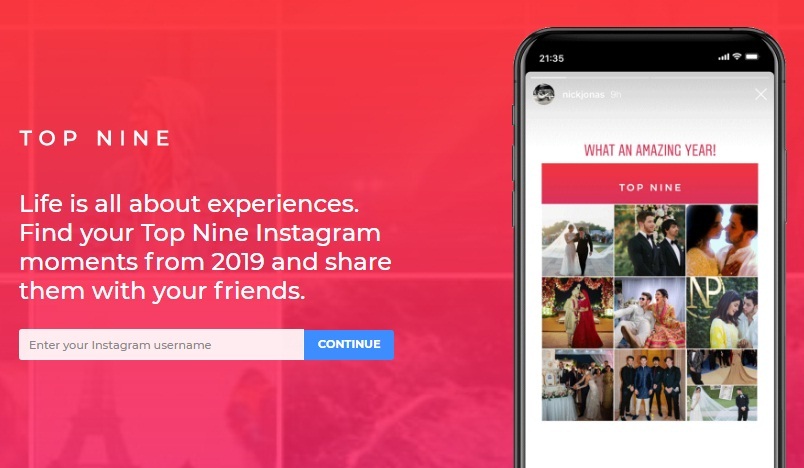
You can generate your Top Nine collage for 2022 using topnine.co or the Top Nine apps! Just enter your Instagram username, email (to be notified when it’s ready), tap "Get my Top Nine" and boom! You’ll receive your Top Nine in your email box right away.
Top Nine is both an app, and an Instagram trend. The Top Nine app is a tool that we created to help you generate a collage featuring your Top Nine Instagram photos of the year. The app went viral and grew into a trend where every year millions of Instagram users, influencers, and celebrities share their Best Nine Instagram moments of the year using the Top Nine app.
The Top Nine trend was created by Beta Labs, a team of engineers, marketers, and designers building awesome tools and apps for social media. You can learn more about who is behind Top Nine on our About Us page.
Your Top Nine Instagram posts selected by the Top Nine app are not only the most-liked Instagram photos. We believe that your Top Nine Instagram posts should represent your best 9 moments of 2022, and those are not just selected based on the number of likes they have. There's a very complex algorithm in place to select these. In fact, that’s what makes Top Nine unique :)
The algorithm selects your Top Nine Instagram posts based on a number of factors: number of likes, comments, among others.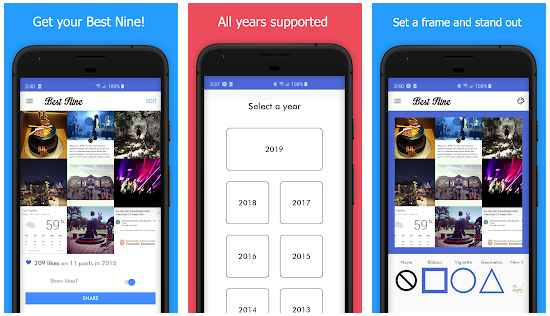 You can read more about how the Top Nine algorithm works following this link..
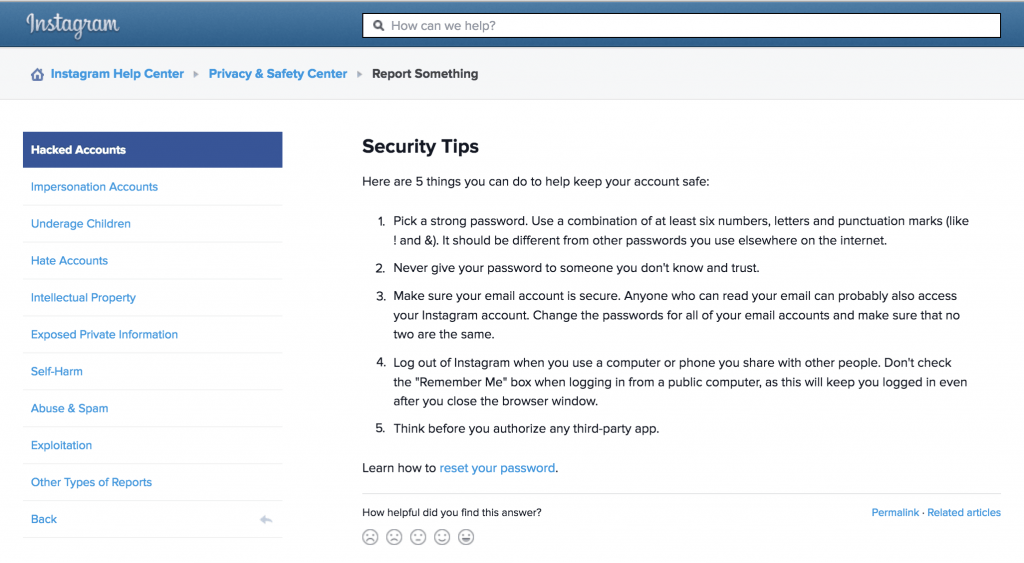
Top Nine is developed and maintained by a team with years of experience building tools and apps used by millions of users. Your data and Instagram account are safe, and we never gain access to your Instagram password because the authentication process happens on Instagram.com itself. You can read more about security and privacy using Top Nine following this link.
In certain cases, like when your account is private, we may ask you to sign in to Instagram to provide us with read-only access to see your Instagram posts. This sign up process happens on Instagram.com, meaning we don't have access to perform any other action than "reading" your Instagram posts. We don't have access to any settings, messages, or any other part of your Instagram account.
User privacy is super important to us. We never use your email address other than to make sure you get the best out of Top Nine. Top Nine is used by millions during December, which can cause some service delays. This means you may have to wait a few seconds for your Top Nine to be generated. However, entering your email enables us to deliver it to your inbox as soon as it's ready, so you don't have to wait on the app. Receiving this notification is just one use case, but most importantly, your email is our way to provide support to your account, in case you run into any issues. You can read about how we use your email and more about how we handle your data on our Privacy Policy.
Apps named "Best Nine for Instagram" are not provided by us. Many clones that claim to be Top Nine or similar services are currently available on the App Store. We receive messages from people explaining that they used our app when they've actually used an app called Best Nine or a Top Nine clone.
We understand this confusion as Top and Best are used as synonyms in many articles, but the name of our app is "Top Nine", and it's only available on topnine.co, topnine.app, and our official mobile apps linked from our official websites. If you use a different Top Nine app, the selection of the 9 photos will be different, and more importantly, we can only ensure the security of your account if you use our app.
Top Nine is the original app that started the Top Nine Instagram trend, and the one trusted by millions of Instagram users, influencers, and celebrities. That’s the reason why every year it gets to the #1 spot of the App Store in most countries, including United States . Also, the Top Nine algorithm, together with our commitment to data privacy and security , is what makes us be trusted by each of those millions of users. This enables us to continue building more creative ways to re-live and share those best moments of your year in new formats, building new tools for creators year after year.
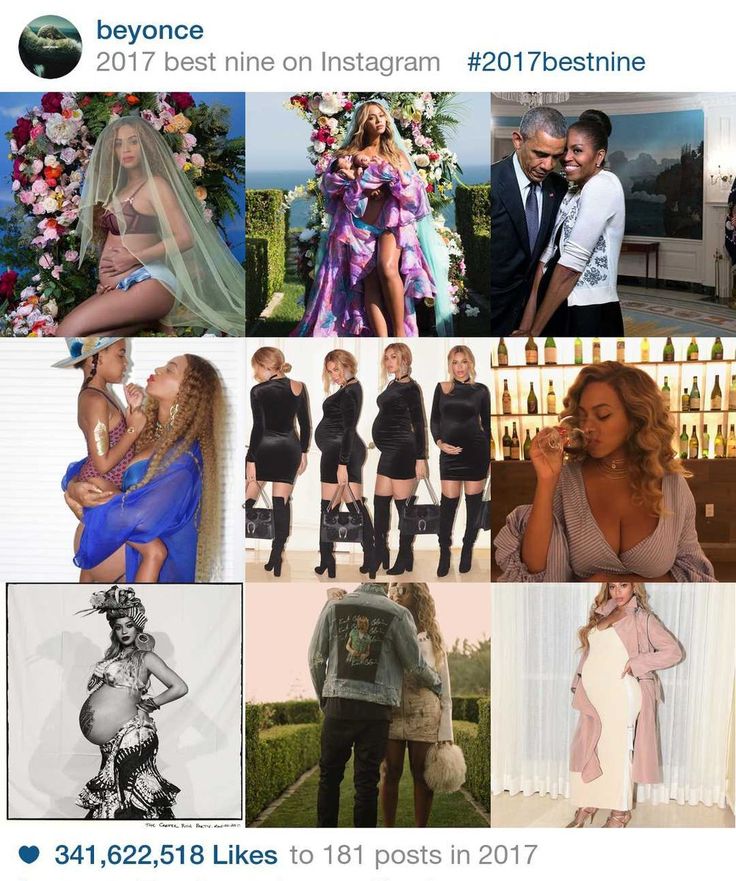
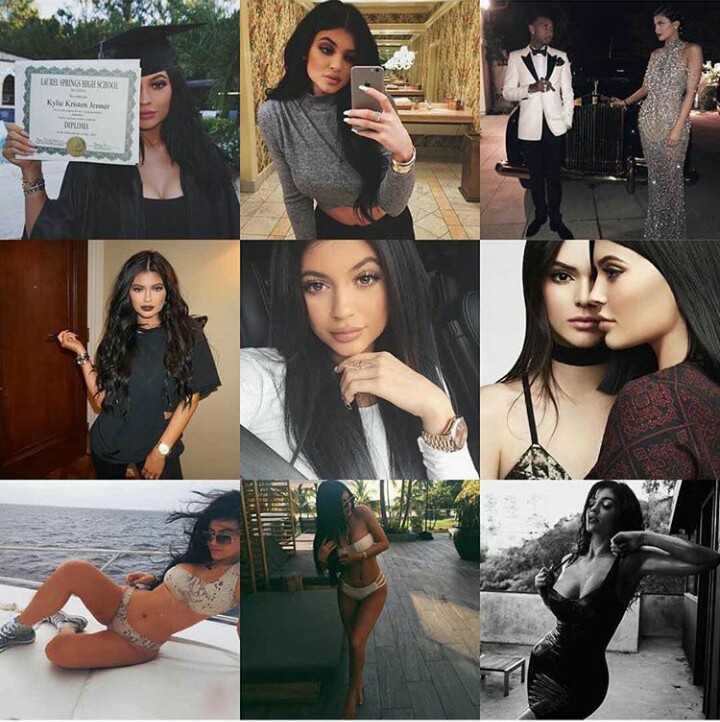
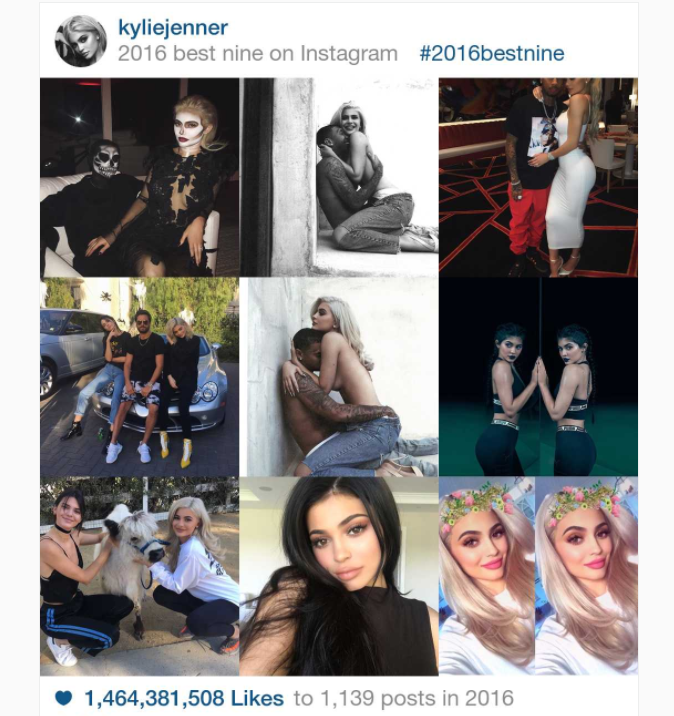
Used by celebrities and influencers, even by Kylie Jenner since 2018! Sharing your #TopNine has become the best way to rediscover your best nine Instagram moments from 2022.
Create Top Nine collage
Holidays
It’s not exactly how you remember it.
By Daffany Chan
SOPA Images/LightRocket/Getty Images
The new year is quickly approaching, which means it’s time to wrap up 2021. One of the easiest ways to reflect on the past year in photos is by checking out your best moments on Instagram. The company has a new official year-in-review feature called Playback for 2021, but the apps you’ve come to rely on are back with a way to stroll down memory lane on IG in a few steps. Here’s how to get Instagram Top Nine and Best Nine apps to see which of your posts reigned supreme.
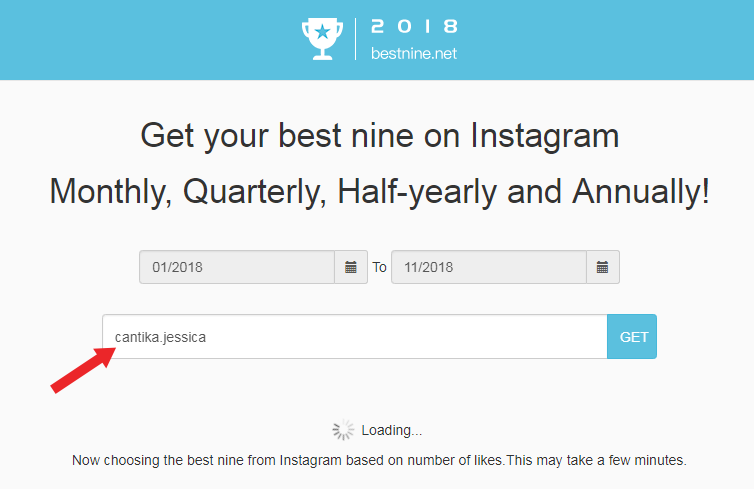
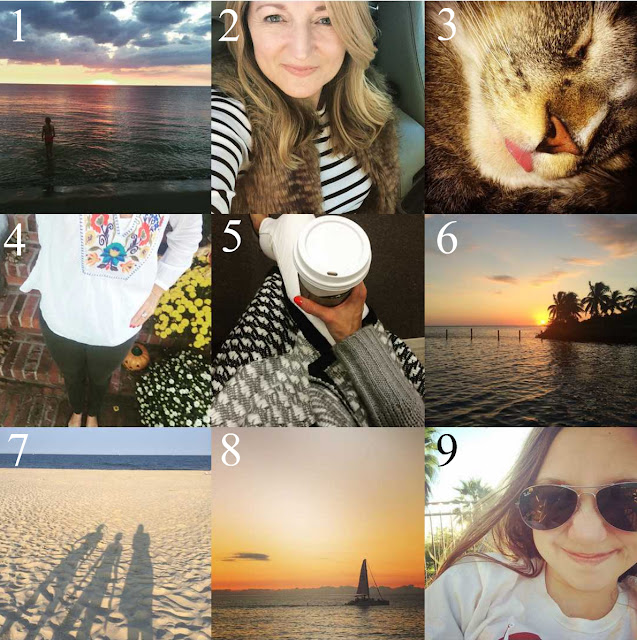
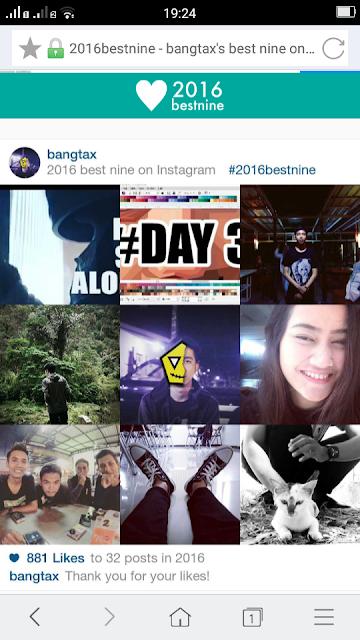
To give you a refresher, the annual Top Nine and Best Nine collages of your Instagram account feature your top IG posts from the year (usually based on likes and comments), reminding you of a summer getaway with your BFFs or your best Halloween costume yet. You can get your top nine posts using the two of the most popular third-party apps — Top Nine and Best Nine. Both apps have been around since 2016 and 2014, respectively, according to info on their websites, which means finding your best posts has been annual tradition for some time.
Keep in mind that with all these apps you need to allow access to your Instagram account and they may use data tracking, which you can turn off for both iPhone and Android devices. You can also check how Apple and Google determine which apps are allowed in their respective app stores to keep your phone secure. If you’re ready to get started, here’s how to check out your 2021 results.
When it comes to the Top Nine app for 2021, you’ll have to get creative if you want to see your wrap-up before the official update hits the app. As of Dec. 11, you have to make your own collage by choosing from among your Instagram posts, meaning you can pick stand-out moments from the year that don’t take into account likes or other factors — but you won’t be able to get a curated Top Nine from the app like in past years. According to a spokesperson for Top Nine, there will be an update coming to the app that will do the work for you, so you’ll want to keep an eye out for changes coming soon.
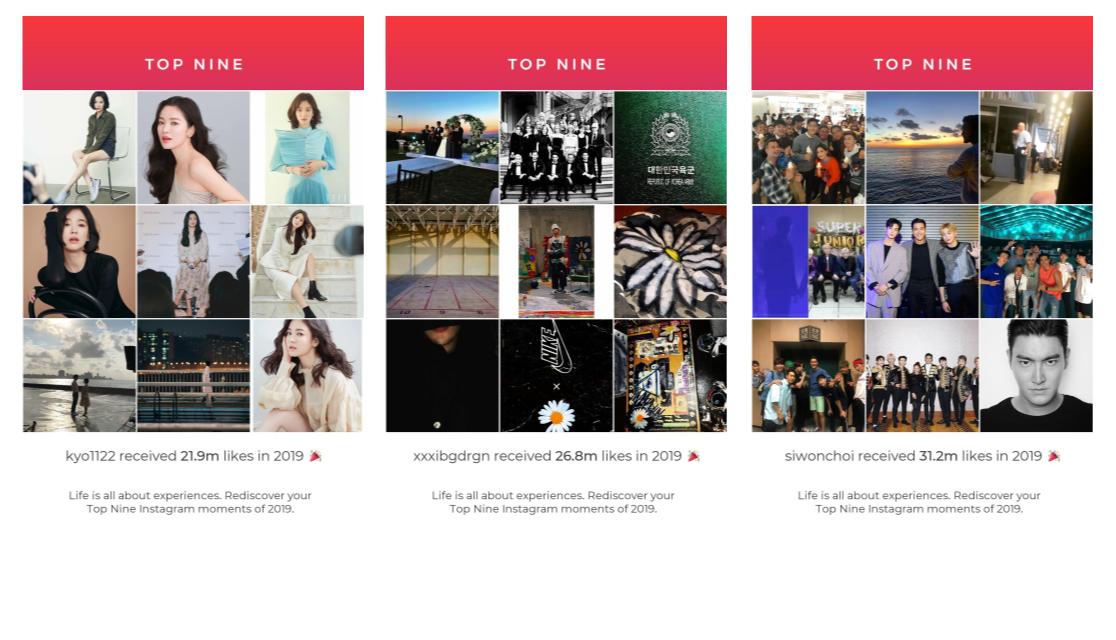
If you can’t wait and want an app to find your top nine for you, there are plenty of options in the App Store. Top Nine 2021 - Video Collage doesn’t specify how the photos are chosen, but from the results, it appears number of likes is a big factor.
To use the Top Nine 2021 - Video Collage app, you’ll first need to log in to your Instagram account. Once you do that, you'll see the collage of your Top Nine photos, which you can share it directly to IG from the app or save it to your phone's photo gallery. You can also make a free video with your results. Simply tap “Make Video” below the grid and you’ll be able to choose which filter you’d like and share the final video to IG.
There don’t seem to be official Top Nine apps from either of the aforementioned companies in Google Play, but there are plenty of similar apps.
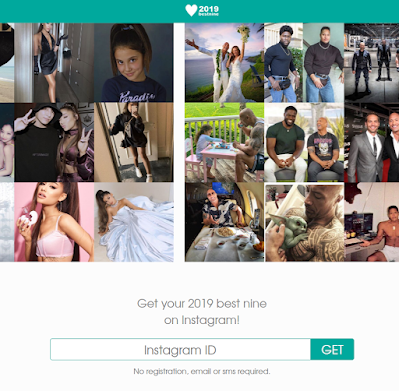
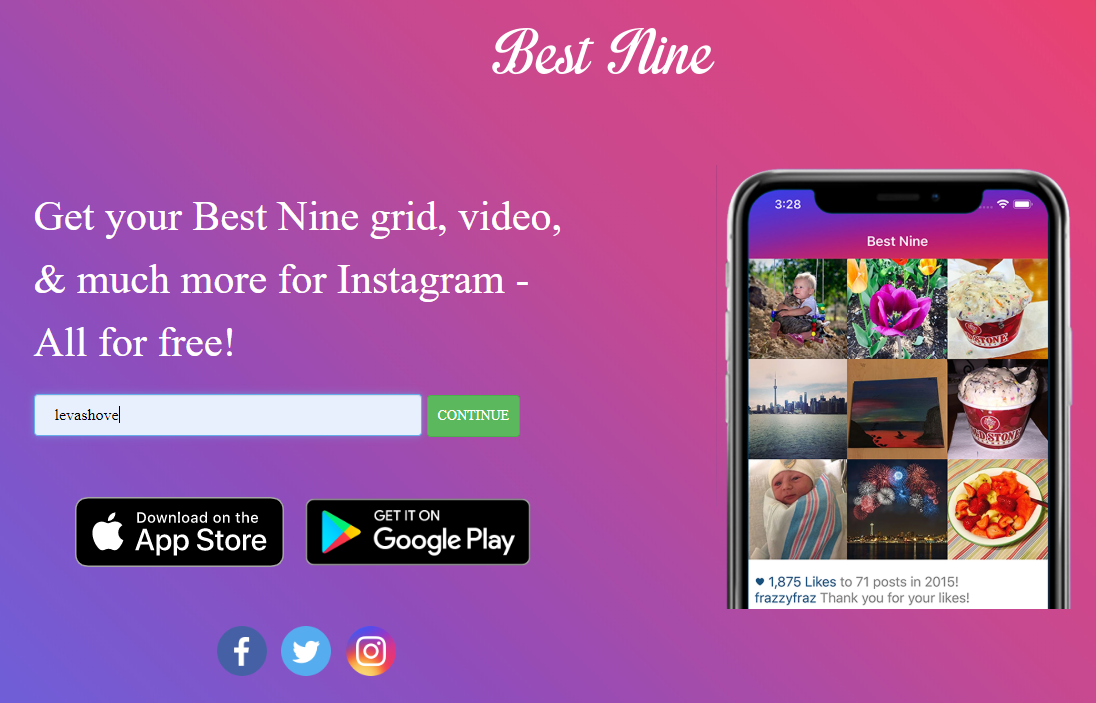
Top Nine 2021 - Video CollageIf you’re a Best Nine stan, you can download Best Nine for free in the App Store and a similar version in Google Play. You can also get your best nine photos right from the Best Nine website. The app doesn’t have a clear method for how its algorithm works, but it's likely based on your most-liked photos from the year.
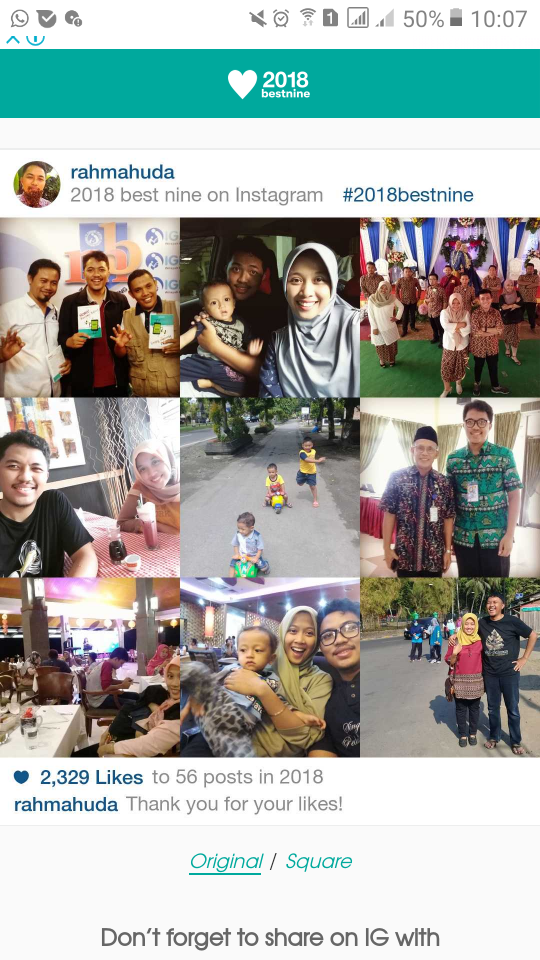
To use Best Nine, open the app, select 2021, and tap "Continue." From there, log in to your IG account. Wait until the app generates the collage, and then you’ll be shown the top photos from your year in a collage. You have the option edit the positions of your photos from the "Edit Grid" page by moving photos around or stretching them to fit by tapping the "Scale/Fit" toggle. Once you're done editing, hit "Next" and tap the "Share" button to post it to IG.
Best NineThere's an option to purchase a custom date range of the year for your Best Nine for 99 cents. iOS users can also pay 99 cents to export a video version and edit their Best Nine video in the app.
FWIW, the Top Nine 2021 - Video Collage app appeared to be most accurate in pulling posts that had the most likes as compared to Best Nine, but that may vary by user.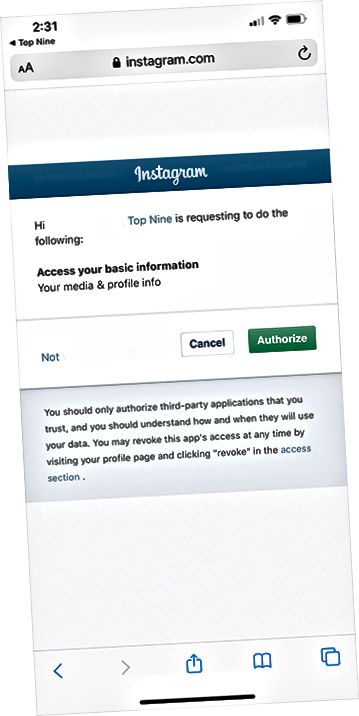 Now that you have plenty of ways to look back on the year, it’s time to see which IG posts came out on top.
Master these receptions and create professional posts ─
Total hacks on Instagram 9000
Haki for the publication of 9000 9000 khaki for storiz
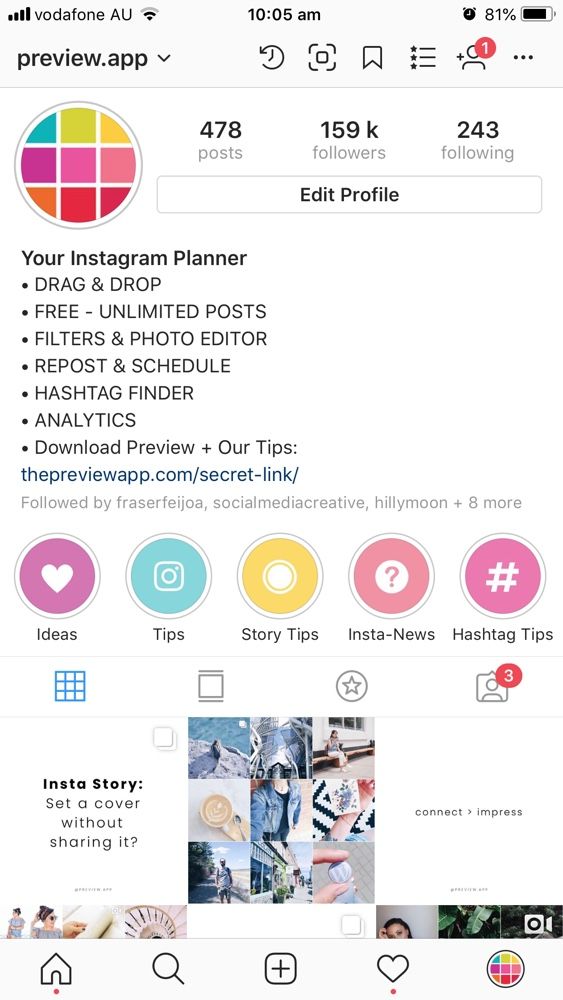
Hacks for profile description
Hacks for hashtag ov
Hacks for private messages in Direct
Disable the posts of users that annoy you without risking offending them by unsubscribing.
Bring frequently used filters forward for faster publishing.
Looking for inspiration? Why not take another look at what has already inspired you.
How to:
Don't let anyone with access to your phone know how obsessed you are with fake friends.
How to:
Permanently remove certain searches (accounts, hashtags, places, etc.) so they don't appear in searches.

Never miss the posts of your favorite people and brands!
If you change your mind, the option to turn off notifications is in the same place.
On Instagram, you can add up to 5 accounts under the same email address. And you don't have to sign in and out of the app to switch between them.
To switch between accounts you have added:
Pinterest is not listed as one of the app options where you can post an Instagram post, but there are workarounds for both the Instagram mobile app and desktop.
If you need to hide an offensive comment or erase a typo, deleting comments is easy.
Dealing with a troll? Comment controls allow you to filter and block comments containing certain keywords.
When you enable filtering, it applies to both new and existing comments in your posts. When you disable comment filtering, hidden comments on your posts will be restored.

Note . You can change this setting even after publishing. Navigate to the post by clicking the three dots icon above it and select Enable commenting . You can also disable comments on a previously posted post by following the same steps.
Do your followers ask a lot of the same questions? For example: “When will the item be back in stock?” Or “What days do you not work?”
For iOS users, there is a feature that will help you quickly and conveniently answer these questions.

The perfect way to draw inspiration. You can also use this feature to keep an eye on competitors.

This is possible thanks to the archiving function.

If you prefer long National Geographic captions, this hack will make your text more readable.
Note . Typing will start a new line, but will not create a gap in the text that you want to separate one paragraph from another. Create a caption in the notes app and copy it to Instagram. To break lines further, you can use punctuation, such as a bullet or period, to leave room for a blank line.
How to do it right - watch the video in the original article on the Hootsuite blog.
Get creative and enjoy Instagram's grid format.
Image from reynoldkitchens Instagram account
For those who want a photo that looks like the real thing, but not quite #nofilter.

These are Instagram Stories that will never disappear!
If the sound is bad and/or unimpressive, you can also remove it so it doesn't distract your audience.
This can also be done in stories. To mute the sound, after recording a video, tap the volume control icon at the top of the screen.
You've taken the perfect shot and edited it to perfection, but the perfect caption never comes to mind. Save the post as a draft with all your edits and come back to it later.
 Click on the desired post or select Manage, to view all saved drafts.
Note . To remove a post from saved drafts, select Manage to go to drafts, then press Edit . Select the posts you want to delete and click Unpublish at the bottom of the screen, then click again to confirm the action.
26. Blur the background of the portrait
This feature is only available on select Android devices, iPhone SE, 6S, 6S+, 7, 7+, 8, 8+, and X.
Companies can use this feature to partner with other companies or influencers, for announcements, joint projects, etc. You can invite your subscribers to join the Q&A session you host.
 You can remove a guest and add someone else at any time.
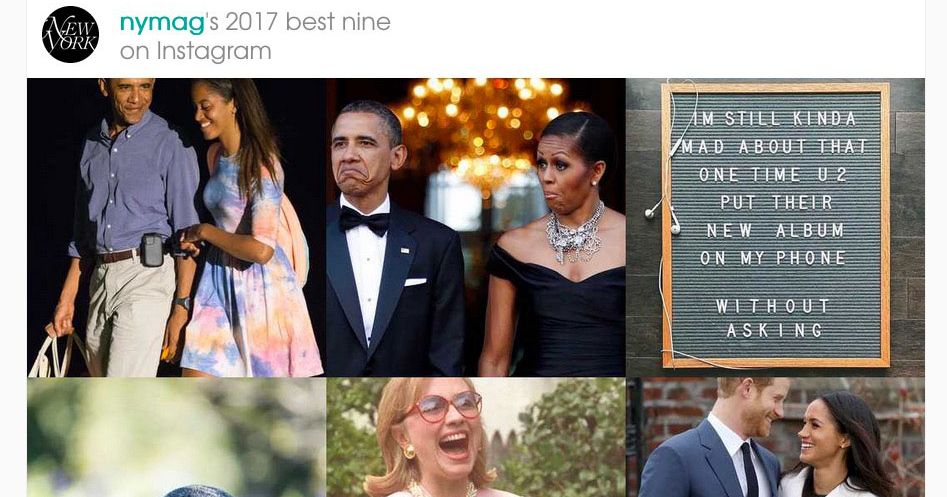
 If it's a temperature sticker, you can choose between Celsius and Fahrenheit.
 You can only share posts from public accounts. If you don't want your content to appear on other people's Stories, you can check it in your settings.
You can choose from thousands of songs!

Whether you want new music to get you into the holiday spirit or new tunes to help you get through your final weeks of school, your friends have the perfect tracks for you.
 They can click on a sticker in your story and then write a question or send you a song.
If you want to publish it on another channel later.
You can also save individual posts from your history by downloading them by clicking the down arrow icon in the lower left corner of the screen. If you've published a post, go to the photo or video you want to save, tap the three-dot icon in the bottom right corner, and select Save photo .
If your story ー is fire and you want everyone to see it ー even those who haven't been on Instagram in the 24 hours it's showing ー post it on your profile.
Want to know how your stories are doing? Take a look at this little-known feature to find out who has viewed posts.
Method 1
Method 2
You can also select the people your story will be hidden from when you view the list of people who have seen your story.
Hiding your story from a person is different from blocking and does not prevent them from seeing your profile and posts.
Make a "best friend list" to share private moments with a small group of your choice.
You can safely update the list and remove people from it. They will not know that you have added or removed them.
People on your list will know they're on it, but won't be able to see who else is on it. If someone has added you to their list, you will see a green badge when viewing their stories and a green ring around their profile photo.
Whatever the reason, we are all subscribed to at least one account, the content of which we may not like, but for some reason it is impossible to unfollow the account.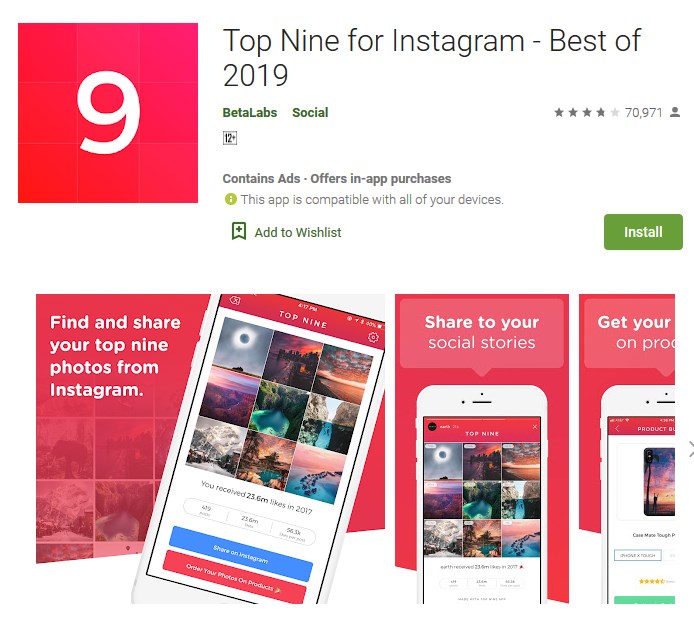 What is the solution? Switch his stories to silent mode.
A picture is worth a thousand words, but sometimes you only want to say a few words.
 Post photos or videos of any size without cropping anything
 Now you can share a large-format photo of a group of colleagues without cutting Gary out of accounting.
Businesses can keep their best stories forever with Instagram Stories Highlights.

Eternal stories remain on your profile until you delete them. You can post as many pinned stories as you want. Check out how to create timeless story cover icons for free so that your icons really stand out from the crowd.
You can do this for a single post, or you can set the app to automatically post all your Instagram Stories to our Facebook page.
Another feature available to business accounts.
After the live broadcast ends, click Share at the bottom of the screen and the video will be added to your story.
Note . The recording will be available within 24 hours. During playback, all comments and likes from the original broadcast will be displayed. Companies will also be able to know exactly how many people watched the video ー both live and recorded in stories.
Want to encourage your audience to watch the rest of your account's stories? We have a simple trick for this.

If you just created an IGTV account, let your followers find your new content ー share it in stories.

Now your followers can go to the video on IGTV by scrolling through the story on Instagram.
In your profile description, you can link to a hashtag page or other account.
Note . When you mention someone else's profile in the description, their owner receives a notification and can remove the link. The account will remain in your description, but without an active link.
Has your company been tagged in an image you don't want to be associated with? There are ways to remove it from your profile.
Pro Tip: If you don't want tagged photos to appear on your profile, go to the three-line menu, section Privacy > Tags and toggle the Add automatically toggle switch to inactive.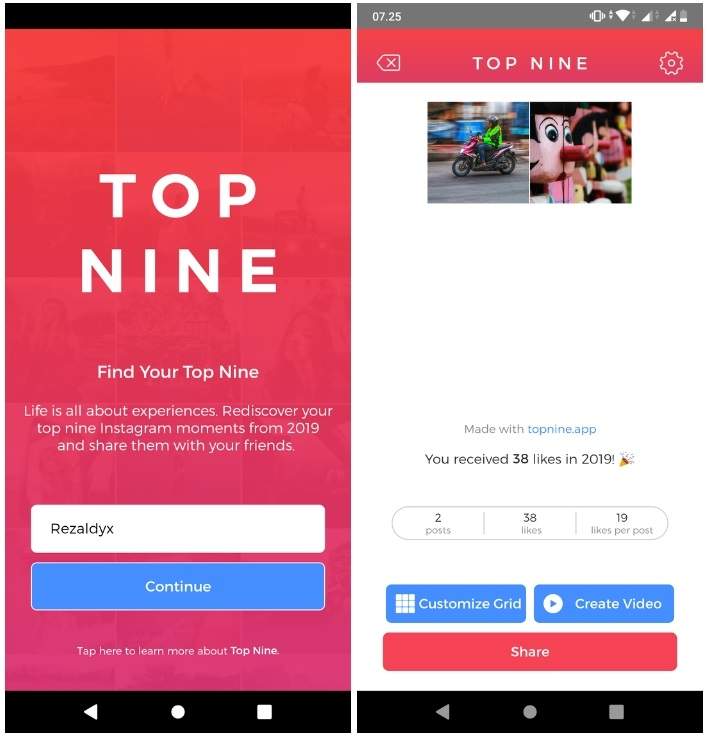
If you want to break up a block of description text about yourself, this hack is for you. Line breaks are a great way to add information and enhance the visual experience.

Note . It does not matter if the profile was edited from a mobile device or from a PC, when viewed from a desktop computer, the information will be displayed without paragraphs.
Profile Description ー A great place to link and drive traffic to your website or other social network.
How to:
Pro tip: include UTM parameters in your URL to track the amount of traffic coming from your profile link.
You can search for a person in the profile description by field Name . If you mention keywords related to your business in your name, you will appear more often in the search results of people who are looking for companies in your industry.
Tired of left alignment? There is a way to align the profile description to the center or even to the right.
Note: you only have 150 characters to describe the profile and each space counts as a character.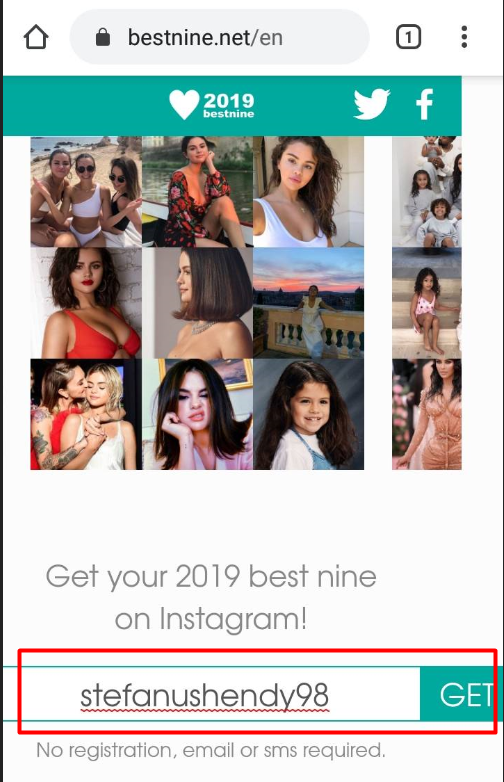
On some Instagram profiles you will see symbols such as hearts, stars and pencils. You can do that too!
If you represent a business and still don't have an Instagram business profile, you're missing out on useful features and insights. Switch now.
Because with the right hashtag, your content will be found more often and it will allow you to expand your audience.
Great way to get inspired to create content!
If you often use the same hashtags for every post, save them in a note to save time.

Don't pollute signatures. Hide hashtags so the reader can focus on what's important.
You can include up to 10 hashtags in a single story, which will greatly increase the number of people who see it. To keep your story from looking cluttered, there are two easy ways to hide hashtags and maintain a neat appearance.
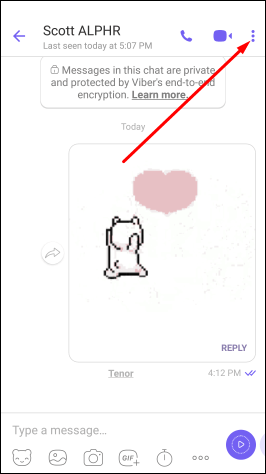
 Disable activity status
 If you don't want your followers to know when you last logged into the app, you can disable your activity status in Instagram Direct Messenger.
You can send a disappearing photo, video, or boomerang to another account or group of friends using Instagram Direct Messaging.

If you select multiple recipients without creating a group, the same message will be sent to each user.
You can send your live video or the video you are watching to a user or group.

Original post https://blog.hootsuite.com/instagram-hacks/
Translated by Tatyana Pushkina especially for Convert Monster
Subscribe and follow the release of new articles in our monstrogram
Any questions?
Didn't find the answer to your question? Or did not find the article you are interested in? Ask questions and topics of articles that interest you in the comments.
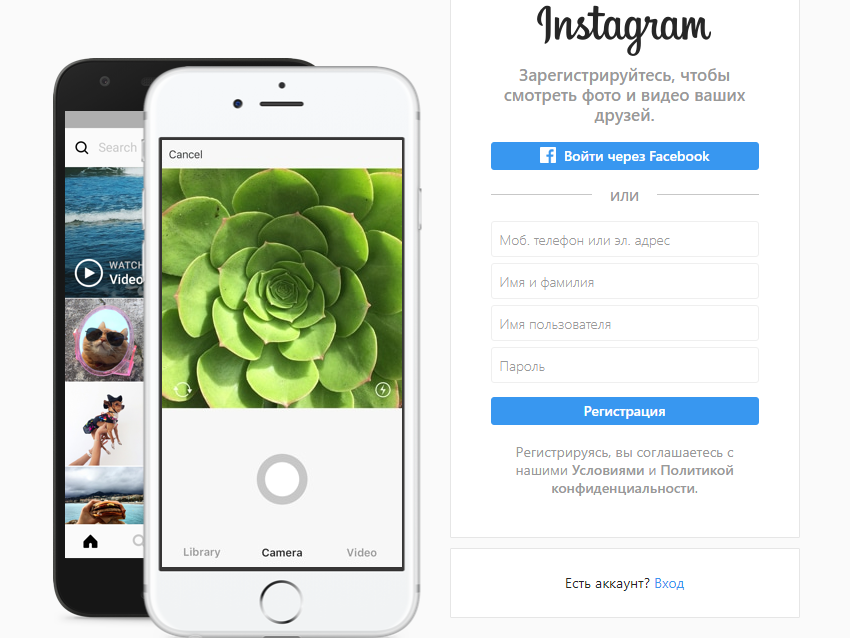
Tap the Instagram camera icon in the top left corner of your screen, or simply swipe right across the screen anywhere in your feed. To take a photo, tap the circle icon at the bottom of the screen (Normal) - for video, you need to hold it with your finger.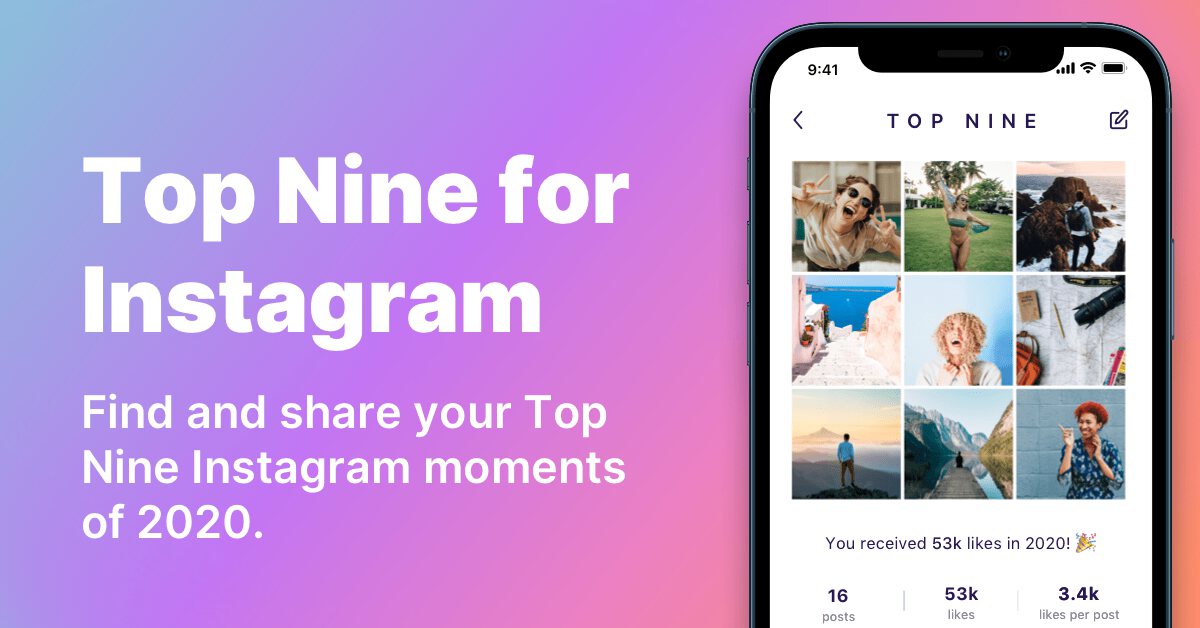 To select an existing photo/video from the gallery on your phone, tap on the gallery thumbnail at the bottom left, or simply swipe up anywhere on the screen. You can select multiple photos and videos at once.
After taking or selecting a photo, you can apply one of the filters to it by swiping right or left on the photo. To add typed text, a freehand drawing (or again text), a sticker (on Instagram in Russia it is called a “sticker”) and emoji, tap the corresponding images at the top right of the screen. By selecting the sticker icon, you can also specify a location, mention a user with the @ tag, add a hashtag, add a gif, take and add a photo from the front camera of the phone, ask a question or invite other users to ask you a question, conduct a poll with two answer options (instead of the default "yes" and "no" you can write your own).
You can delete an added item by dragging it down to the trash can icon at the bottom of the screen.
You can then either save your story or publish it right away by clicking on "Your Story" below the "+" sign in a dashed circle. This will make it available to all subscribers. Or you can pre-select a particular recipient or a group of recipients at the bottom right.
To share a published story in Direct, tap the paper airplane icon in the bottom right corner of a photo or video, select the people you want to share, and click Share. In order for a story to be seen on Facebook, Twitter, Tumbler or Odnoklassniki, your account there must be linked to Instagram. Then, after creating a story, click on it and click "More", select "Share in the publication ...", "Next" and mark the desired social network. In the "Advanced settings" you can select "Share posts on Facebook" - then your photo and video stories will appear on this social network automatically.
In a hurry, accidentally submitted a story for publication, or just changed your mind? No problem - just click on your own story, tap the vertical ellipsis "More" icon in the bottom right corner of a photo or video, and then select "Delete".
If, on the contrary, you want to save what you have created (not only in the feed and then in the archive), in the same "More" select "Save photo / video" - this is how it will appear in the gallery on your phone.
In your story, you can repost someone else's post from the feed - but only if the user's account is public and reposts of his posts are allowed. Click on the paper airplane icon below the photo or video in the feed and select "Add post to your story." At the same time, everyone who views your story will see the signature of the real author of the content (Instagram profile name).
Stories can only be reposted using a third-party app — search Google Play or the App Store using story saver, story repost, etc. You can only repost other people's stories on Instagram if you are tagged there with the @ tag. In this case, you will receive a corresponding message in Direct and you will be able to add this story to yourself, editing, if necessary, in preview mode.
You can add multiple photos and videos by repeating the algorithm from the previous section over and over again, but they will all be combined into one common “Your Story” and displayed sequentially. You can switch between stories by touching the screen on the left or right side.
Not all users can add a link in history - only owners of verified accounts and business accounts with at least 10 thousand subscribers (if you have a personal account, when you reach this number of subscribers, it will automatically get business status).
In this case, when you create a story, at the top right, in addition to the usual icons, you will see an image of a pair of chain links. After clicking on it, a new window will open where you can add the URL. In the history, the link itself will not be visible, but a label will appear at the bottom: "More", "More", "Install", "Register", etc.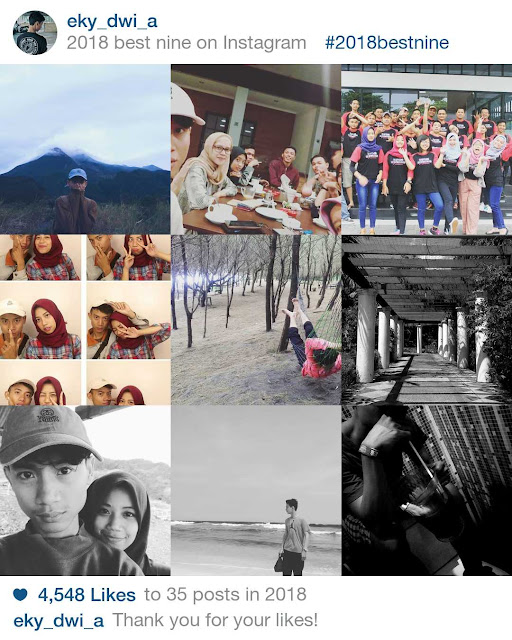 , depending on the content. You can go to the address only by swiping up on this mark with your finger.
In this case, the user viewing your story will be able to follow the link only by swiping up on it.
Keep in mind that Instagram does not track conversions and does not analyze URLs, so either put a link with a redirect or shorten the link with a UTM tag using a special service: Google URL Shortener, "Clicker" from "Yandex" , vk.cc from VKontakte, Bitly, etc.
The easiest way to tag another Instagram user in your story is to click on the sticker icon in the upper right when creating a story and select the ready-made @mention sticker ': All you have to do is enter your username.
But you can type the name in a different font size and/or highlight it in a different color (by clicking on the eyedropper image — any available on the photo/video). To do this, click on the text icon in the upper right, select the desired font size and color, and then put the @ symbol immediately before the username.
After that, the username in the story can be clicked and followed by a link to his profile page, and the person himself will receive a notification that he was mentioned. In total, no more than 10 people can be mentioned in one story.
The photo or first frame of the video of the stories you added to the Highlights section automatically becomes the cover (and you can do this when viewing the story by clicking on "Select" at the bottom right). If you want a different cover, click on the story in the "Actual" and select "Edit cover" - this way you can change the look of the photo or video frame (for example, zoom in and move) or select any photo from your own photo gallery on your phone.
At the end of June, Instagram added a new feature to the app - the ability to add music to a story right at the moment the story is created. To do this, click on the sticker icon at the top right, and then select the appropriate Music sticker. This will open the audio library, where you can search for tracks or select something in the categories “Popular” (Popular), “Moods” (Moods) and “Genres” (Genres). The track can be trimmed and added to the story with a passage lasting from 5 to 15 seconds. At the same time, while viewing a story, a person, by clicking on a music sticker, will see the name of the track and the name of the artist.
The feature is currently unstable and not available at all in many regions, including Russia, due to music licensing issues. Therefore, not only will you not be able to add music when creating your story, but you will not be able to listen to it in the stories of other users. In this case, the only way to make a musical story is to record a video with music playing behind the scenes or choose a finished video with music already overdubbed on it. Well, or use a good old VPN so that the application does not recognize your region ;-)
However, even in the US, many users complain that even the latest iPhone and the latest version of Instagram do not have a music sticker, and contacting Instagram support remains unanswered.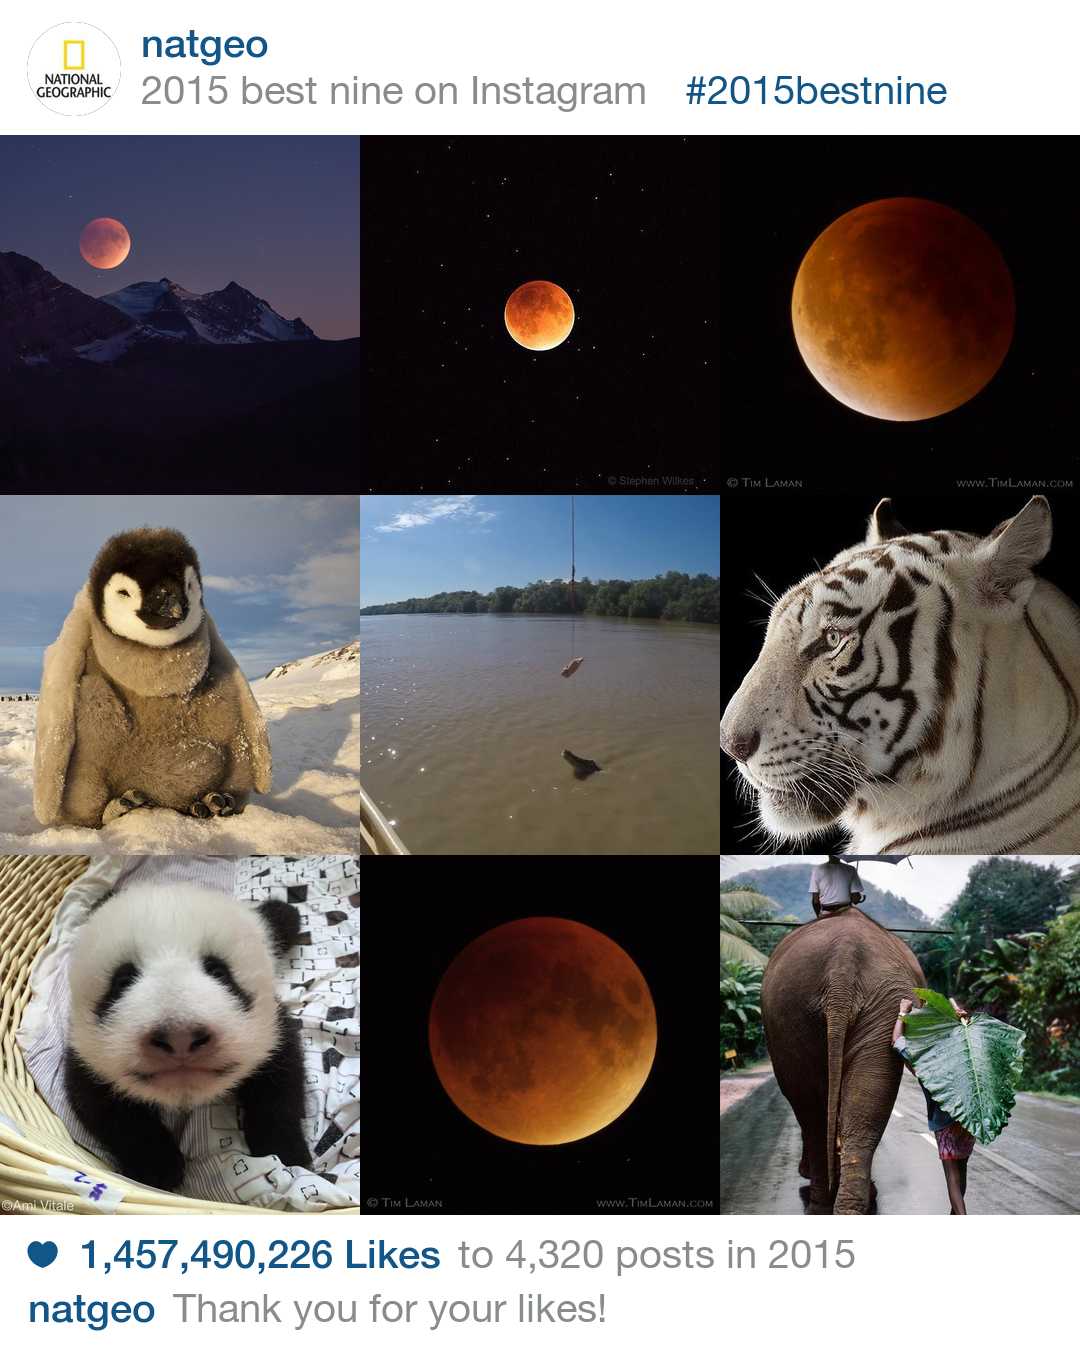
Tired of the intrusive flow of stories in the feed from overly active users? You can easily cover it up. To do this, tap and hold on the photo of the person whose stories you no longer want to see at the top of the feed, select "Temporarily block" and then "Hide story." The same can be done in the user profile by opening the context menu at the top right. To turn back stories, repeat and select Unblock Story (Android) or Show Stories (iPhone).
If you want to hide your own stories from someone, click on the context menu icon, select "Settings" at the bottom left, find "Story Settings" (Android) or "Manage Stories" (iPhone), and then tap "Hide My stories from. Here you will see a list of your subscribers, among which you can select those from whom you want to hide your stories. To show them your stories again, do the same and uncheck the box.