How to put pictures in highlights on instagram
Everything You Need to Know About
What do people see first when they open your Instagram profile?
Your bio information and of course right below one of the most useful Instagram features, the Instagram stories highlights!
They are front and center on your profile, serving as the perfect indicators to show users what your brand is all about. You can have the best Instagram stories that you re-share from your followers and build a perfect user-generated content highlight as social proof for your brand’s quality.
Unlike Instagram Stories that disappear after 24 hours, Instagram Stories Highlights can live permanently on your profile. This is why you should consider spending some time planning on how to apply them to showcase and promote your brand.
In this guide, you will learn all you need to know to create Instagram Highlights that will help you stand out from the crowd.
What’s inside:
show
- 1. What are Instagram Story Highlights?
- 2. How to Create Instagram Highlight?
- 3. Why Instagram Highlights are so Important?
- 4. How to add Instagram Highlights covers or icons?
- 5. How to design Instagram Highlights Cover Icons
- 6. Instagram Highlights examples to get inspired
- 7. Tips for creating effective Instagram Story Highlight covers
- 8. How to display Instagram Highlight on your website?
1. What are Instagram Story Highlights?
We all know that Instagram stories disappear in 24 hours. And, in order to give the option for the users to save some of the stories and make them visible as a pin in their profile, Instagram has provided a feature called Highlights. The feature allows you to keep your stories content on your Instagram feed as long as you want.
Instagram Highlights are groups of stories that you can create as folder sections on your Instagram profiles.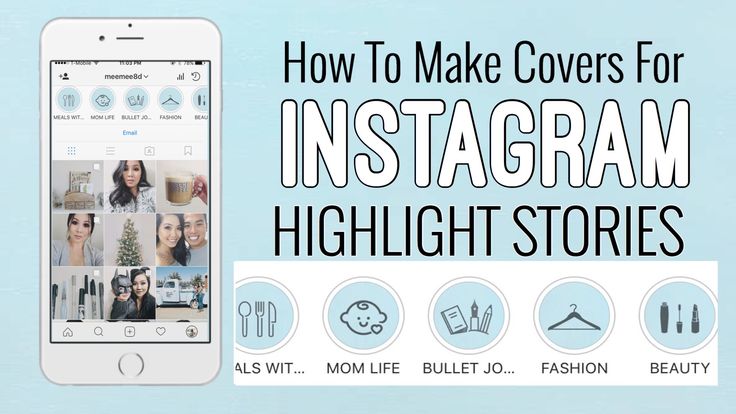
This means that once you post a story you can save it in a Highlight (like a folder) that will display on your Instagram profile, or you can activate the Archive option that will automatically save Instagram stories and in the future create highlights from the saved stories in your archive.
The main attributes of the Highlights are:
- Highlights covers – option to add a custom image or an icon that will represent the topic of the stories that are saved inside;
- Highlights name – option to name the Highlight the same as you do with naming folders.
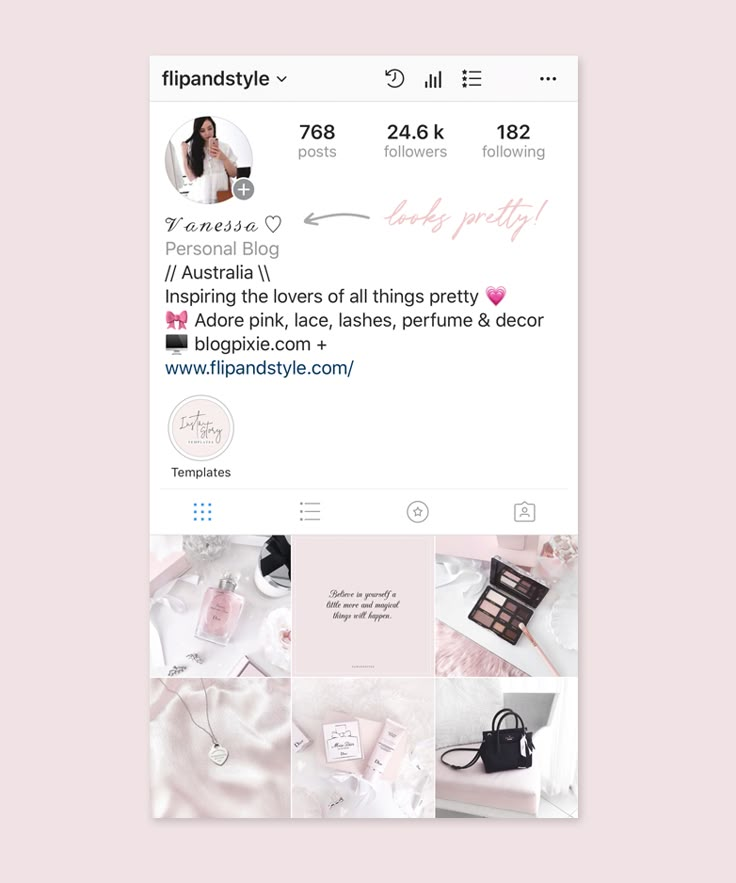
Note that, once you create the Highlights they appear in your Instagram profile screen right below your bio text and profile photo.
FYI: You can embed Instagram widget automatically with EmbedSocial’s UGC platform. Start a free trial and display your social media widgets now.
2.
 How to Create Instagram Highlight?
As mentioned above, you have two ways how to create an Instagram Story Highlights:
- Create Highlight from the active story – Post a story and manually save it in a Highlight
- Create Highlight from archived stories – If you have the Archive option activated, your stories will save automatically in your archive section, and in the future, you can choose which stories to be organized in a Highlight.
Let me show you how to create a Highlight with the first option:
Create Highlight from the active story
If you have an active story and you want to make sure this story is added to a Highlight just follow these steps:
- Tap on the active story to view it
- Tap the bottom option Highlight
- Tap the plus icon to create new Highlight
- Enter the name of the new Highlight
- Tap the blue buttons Add
Once you do this, your new Highlight will appear on your profile photo and your followers will be able to view it even after the 24 hour story lifetime.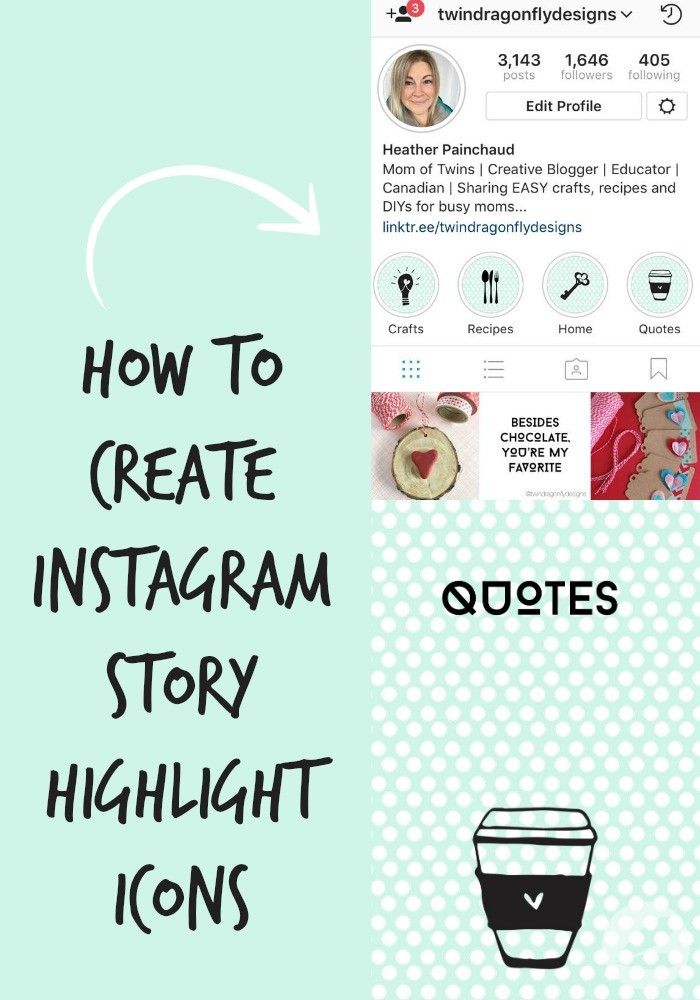
Create Highlight from the archived stories
There is a possibility to create highlights from the stories archive as well. Using the story controls and options you can pull the stories you save to archive.
To add Instagram stories from your archive to a highlight and pin them on your profile, follow the steps below:
- Go to your Instagram profile and tap Story Highlights below bio
- Tap the plus icon
- In the new window, tap and select the stories you want to appear in the Highlight and tap Next.
- Tap ‘Edit Cover’ to choose which story will appear as a Highlight icon or just upload an icon
- Enter a name for your Highlight
- Tap Add (iPhone) or Done (Android).
How to add more stories in a current Highlight
You can add more photos or videos to your highlight at any time by following these steps:
- Go to your profile and hold your finger pressed on the Highlight you want to edit
- Tap Edit Highlight
- Choose the stories you want to add and tap Done
Also in this ‘Edit Highlight’ screen, it’s text and it’s the cover image. And if you want to delete the Highlight, just press and hold on to the Highlight you want to delete and choose the option ‘Delete Highlight’.
3. Why Instagram Highlights are so Important?
Instagram Stories have become one of the main channels for brands to connect, engage, and gain real results from their digital marketing activities. Understanding Instagram stories for business can be one of your main competitive advantages for your 2020 marketing activities.
Therefore, having hard-produced story videos or images, saved for future followers to view at any time, make the Highlights feature very important for the community managers and digital marketers.
The main reasons why you need to use Instagram Highlights, are the following:
- Use this new format to tell an ongoing story
- Make the content of your stories accessible to new followers
- Educate them about your previous activities posted in the stories
- Showcase your products or services, in a structured and categorized way
- Provide library format of useful content that you’ve already shared
4.
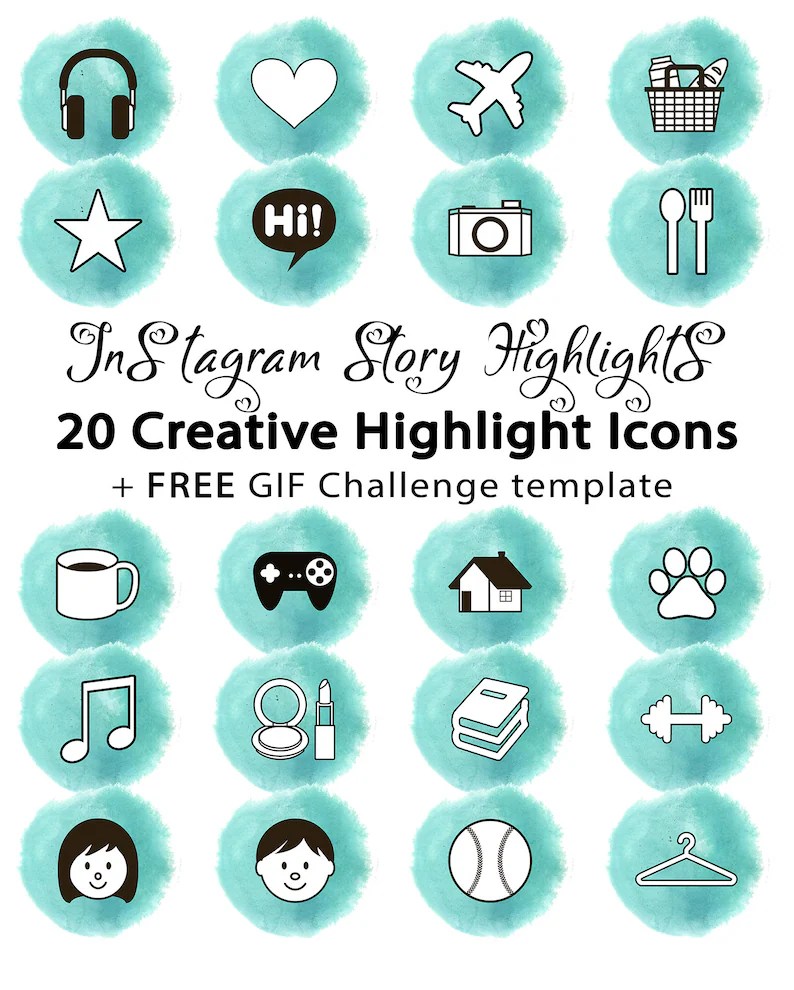
 How to add Instagram Highlights covers or icons?
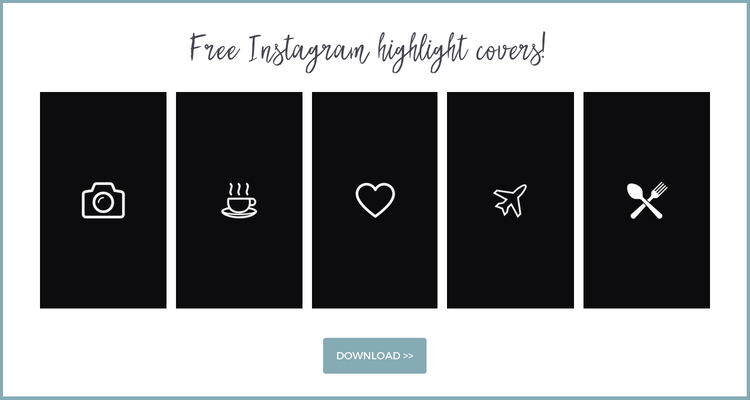
The covers and the text of the Instagram Highlights are gaining huge popularity due to the fact that these small icons are the first thing a new visitor to your Instagram profile will see.
You will notice that the cover images are usually the images in the stories that you’ve selected for that particular Highlight. But, this tutorial, will show you how to change the Highlights covers without sharing them in a story.
Before you start, please add the icon images in your phone’s camera roll and follow these steps.
- Go to your profile and hold your finger to the Highlight you want to edit
- Tap Edit Highlight
- Tap Edit Cover
- Choose the photo from your camera roll
- Tap Done
That’s it! Now you have your Instagram highlight covers!
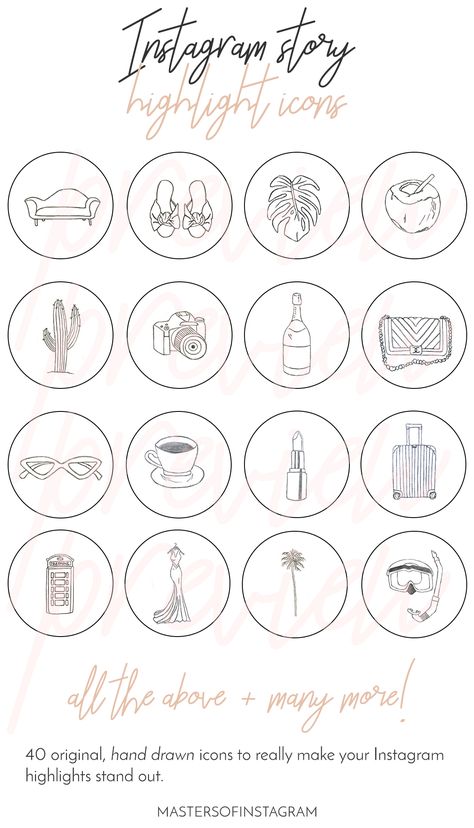
As for your other social media and Instagram feed, you can also design your own free icons for your Instagram stories.
For this challenge, I will definitely recommend Canva.
It is a very easy tool and it already has predefined icons that you can easily re-use to make Instagram highlights covers.
You will only need to follow the steps below, and in a very fast time you will be able to create your highlight covers:
- Open Canva and click Create a design
- Choose the Instagram story format
- Choose any template, delete its content and change the background color
- Go to Elements and in the search field type icon. Choose the preferred icon, set it in the middle and choose its color
- Share this design to your email and save it to your phone’s camera roll
Once you want to change the cover, just choose this icon from your phone’s camera roll.
6. Instagram Highlights examples to get inspired
Once you know how you want to create the icons, you will need to make a plan for the overall design of the Highlights section.
This is a current trend, and as you are probably aware you want to make sure people coming to your profile click on these icons and check your great Instagram stories.
In the following section, you can find some interesting ideas on how to organize the Instagram stories and design the Highlights covers.
Here are few Highlights covers for inspiration:
1. Glossier Inc. is a people-powered beauty ecosystem – they use pink color only for their profile image (not a logo) and for the Highlights covers they use only blank–white images or product-line images. Very minimalistic and very different than other accounts, which usually use icons or some product images.overs they use only blank–white images. Very minimalistic and very different than other accounts, which usually use icons or some product images.
2. Carrots n Cake Flexible Macro Plans & Coaching – provides a very indebted structure about their content published via Instagram stories and uses all light-orange icons with the same layout to represent all different categories of the Highlights.
3. Starbucks Coffee – they use real people photos as they use real people photos or cute green product images as cover icons for the Highlights. This appeal brings the design of their profile to life and it makes the visitors feel the user-friendliness of the profile.
7. Tips for creating effective Instagram Story Highlight covers
Instagram highlights popularity has definitely resulted in them being an essential element of every Instagram profile.
So, to make sure you keep up with the latest trends, we combined some tips with real examples to showcase how you can design the Highlight covers to get the best of this Instagram feature.
Tip 1: Be innovative. Use words instead of icons or vice versaWhen creating Highlight icons, make sure it is in line with your brand identity but still have fun, and try to be as innovative as possible to make that small space eyecatching.
For example, see how Instagram for business is doing this.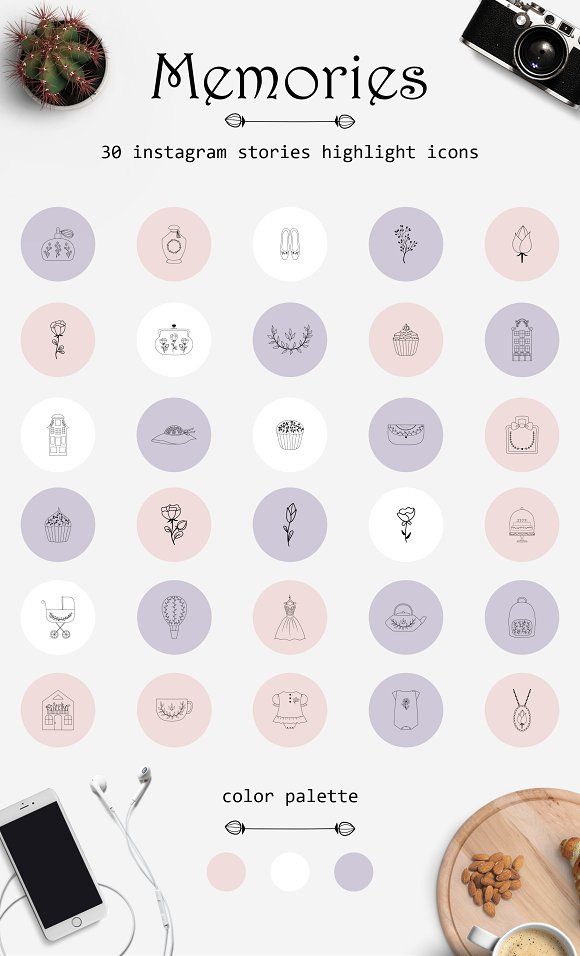
They use their colors but not for designing the cover icons.
They’ve literally swiped the spaces.
They use the actual icons for cover icons. Cool right?!
Tip 2: Use bold icons and text to emphasize your highlightsTake a look at how the French beauty chain Sephora is doing this.
They use simple, but cute icons to demonstrate their activities on Instagram, from posting stories about new products or categorizing these stories by a product type.
Tip 3: Use your brand colorsTo make your profile have a cohesive look and keep your brand voice, try including your brand kit in your Instagram highlights covers.
See how the American chain of restaurants Shake Shack is doing this.
They use simple icons with green graphics to present their company activities.
Tip 4: Showcase your product/servicesHighlights are a good way to show Instagram users what you offer.
Check out how Florence by Mills does this.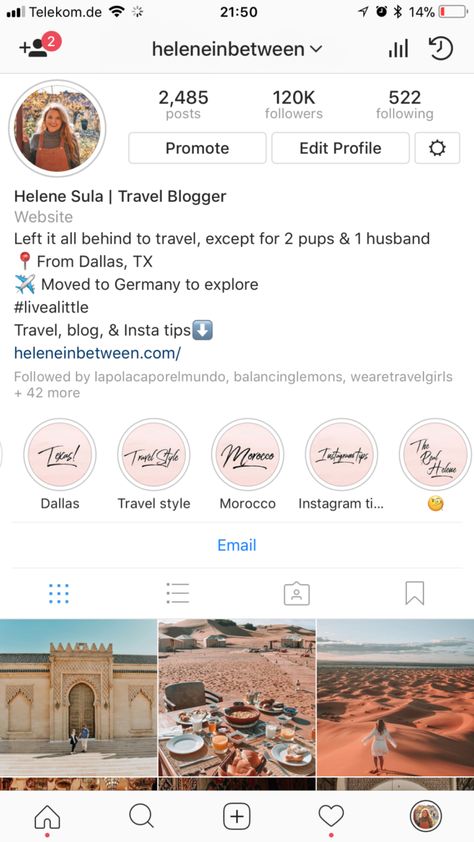 The cosmetics brand crafts eye-catching highlights (that also match their brand colors) to present their products and services.
See how Nike Women does that in practice.
The famous footwear corporation includes famous athletes as their brand ambassadors in their main story highlights covers.
The actual covers are a photo of the athlete and the name of the Highlight is her name.
8. How to display Instagram Highlight on your website?
Once you are done crafting your unique Instagram highlights, why not show your creativity on your website too?
Please note that at this moment Instagram does not have an API that will allow third-party tools to directly sync the websites with your Instagram Highlights.
The good news is that there are tools like EmbedStories that can display Instagram stories on any website.
This means that you can embed Instagram Highlights but only for the stories that are already generated in the EmbedStories platform.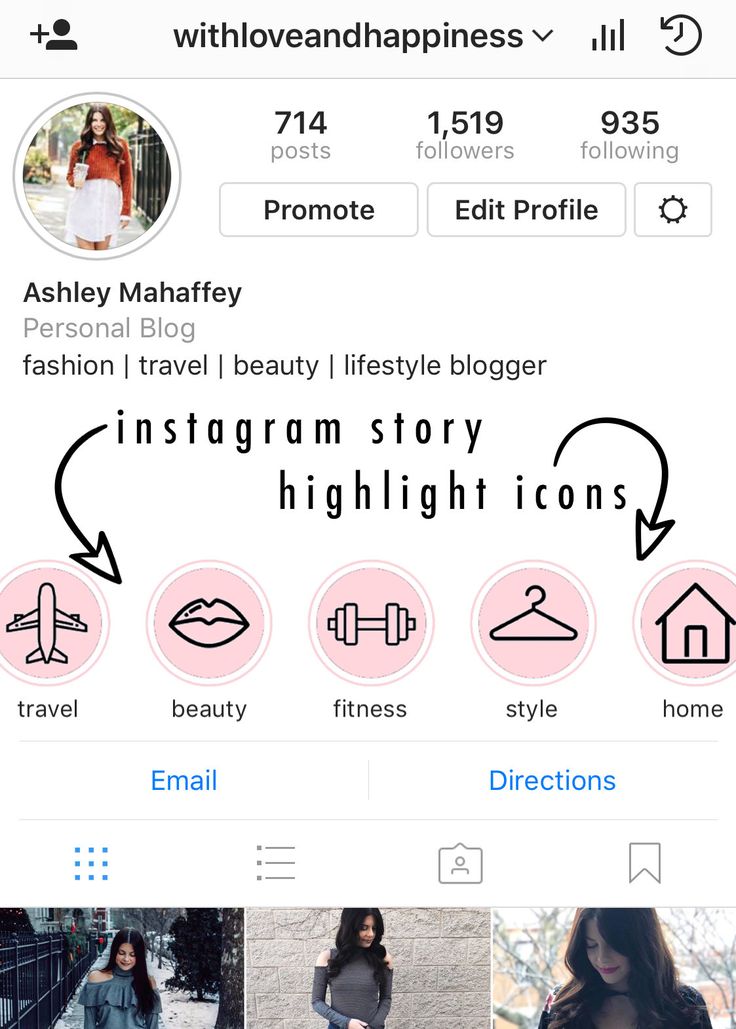
The archived stories can be uploaded manually by using the upload option for a custom story that you can later add to your stories Highlights menu.
For any information on how to embed Instagram Highlights on your website, feel free to chat with us.
—
In summary, Instagram highlights help brands catch the eye of their followers and keep them engaged in a more creative way.
And from the looks of it, Instagram highlights popularity isn’t going to vanish anytime soon.
Use that wisely!
How To Add Highlights on Instagram From Camera Roll?
Instagram highlights work as a collection of the best moments you assemble throughout your social engagement. You can use highlights to reminisce memories or re-share customer reviews as social proof if you are running a business.
Many users want to know whether they can add highlights on Instagram from their camera roll. So, can you and how?
You can always create a highlight whenever you put up a story. But to make a highlight on Instagram from a camera roll without anyone seeing it can be tricky.
This article will explore the steps required to add highlights from your camera roll without anyone noticing. But first, let’s see why Instagram highlights are so essential!
Table of Contents
- Importance of Instagram Highlights
- How to Add Instagram Highlights from Camera Roll?
- Step #1: Make Your Account Private
- Step #2: Restrict Story Views
- Step #3: Upload Your Story
- Step #4: Add the Story To Highlights
- Step #5: Wait for 24 Hours and Unhide Everyone
- Conclusion
- FAQs
Importance of Instagram Highlights
Consider Instagram highlights as a gateway to your business/profile. Therefore, you must work cleverly and effectively with Instagram highlights to keep users and consumers engaged.
Instagram highlights can boost your business and profile when used correctly!
You can accumulate all the specifications of your brand to Gram highlights. You can use names like “Reviews,” “Products,” “Size Chart,” etc., to categorize things and create a user-generated profile.
Businesses can make announcements stand out. Influencers can add unique styles to their highlights and interact with their audience. Travelers can sort their travel pictures. You can show pretty much everything on it!
How to Add Instagram Highlights from Camera Roll?
Here’s the most simple and quick way to add highlights from your camera roll.
Step #1: Make Your Account Private
If your profile is public, you must make it private. To do this:
- Open Instagram on your mobile device.
- Tap the profile icon in the bottom right corner.
- Tap the hamburger menu icon in the top right corner.
- Select “Settings.”
- Tap on “Privacy.”
- Turn on the toggle adjacent to “Private account.”
And you are done!
Step #2: Restrict Story Views
Next, you must change your privacy settings and restrict your story views. You can hide all of your followers from viewing the story or keep it visible to some close friends. Your call.
To change the story settings:
- Open Instagram on your mobile device.
- Tap on the profile icon in the bottom right corner.
- Tap the menu icon in the top right corner.
- Select the “Settings” option.
- Select “Privacy.”
- Select “Story.”
- Tap on the “Hide story from” option.
- Manually select whom you don’t want to view your story by checking the bubble adjacent to usernames.
- Tap the “Done” button in the top right corner.
Alternatively, you can use the close friends list to allow only certain people (or no one) to see the story. Follow these steps:
- Open Instagram on your smartphone.
- Navigate to your profile.
- Tap the menu icon at the top right corner.
- Tap the “Settings” option.
- Select the “Privacy” tab.
- Tap on “Story.”
- Tap on “Close friends.”
- Select the friends who can see the story.
- Tap the “Done” button at the bottom.
Step #3: Upload Your Story
Uploading your story is relatively straightforward. In case you’re not aware of the process, here is how you can do it:
- Open the Instagram app on your mobile device.
- Swipe right on the screen.
- Tap on the little gallery icon in the bottom left corner.
- Select the picture/video you want to add to your highlights.
- Tap on “Your story” or “Close Friends,” depending on the option from step #2.
And with this, you will have the story you wanted to add as a highlight uploaded.
Step #4: Add the Story To Highlights
After you have uploaded the story, add it to the highlights. To add a story to highlights:
- Open the Instagram app on your smartphone.
- Tap on your story icon at the top.
- Tap on the “Highlight” button at the bottom.
- Select the existing highlight or create a new one by tapping the plus sign.
Step #5: Wait for 24 Hours and Unhide Everyone
After you have added a highlight, you have to wait 24 hours to let the story go to the archives. When it has gone to archives, unhide everyone by reversing the process mentioned in step #2.
Publicize your account just the way you privatized it. And voila! You are done with the process.
Conclusion
Instagram provides the best user interface to run your business effortlessly. With many other options to boost your sales, it introduced highlights to have your hands on the peculiarities of your business.
From creating highlights to editing and deleting, it has every option you can utilize to increase engagement. Start creating highlights now and see your profile flourish!
FAQs
Instagram stories are uploaded on your account only for 24 hours, whereas Instagram highlights are the stories that remain forever on your profile until you decide to delete them.
You cannot see who viewed and how many times someone viewed your highlights if it has been live for more than 24 hours. However, you can indeed check who viewed your IG stories.
Only those who have viewed your story or whom you permitted to view your story can see your highlights. For example, if you allow only close friends to view a story, then only they can see that story in highlights and no other person.
You can have as many highlights as you want. There is no limit to the count. But there is one thing to keep in mind, whenever you create a highlight, that highlight will move to the first place in order. You can use some tricks to rearrange your Instagram highlights later.
How to bookmark on Instagram ➔ Saved on Instagram
Menu
Content
- 1 How to bookmark on Instagram
- 2 How to add to Saved on Instagram
- 3 How to save items on Instagram 9008 on Instagram
- 5 How to create a collection in Saved
- 6 How to delete saved on Instagram
Often you see something interesting in the Instagram feed, and then you can't remember where it was? Or would you like to watch impressive videos and photos several times, but you have to do too much to find them?
The app has already come up with a clever solution to this problem! The Instagram Saved section is a feature that allows you to remember and not lose posts created by other users in your personal folders for later use.
Each saved photo or video is added to the collection inside the application, not in the memory of your smartphone or tablet. You can then view or delete all posts at any time by opening the bookmarks section in the Instagram app.
These instructions apply to the official Instagram apps for iOS and Android devices.
How to bookmark on Instagram
Adding other Instagrammers' posts to your Saved Folders is a convenient and easy way to keep up with gift ideas, cool ad layouts, exciting travel destinations and workout tips.
Instagram Collections can also be a great way to organize folders of photos or videos posted by close friends and family members.
No one can see your saved Instagram posts and these collections are only available to you.
How to add to Instagram Saved
Any desired photo or video content can be added to the Instagram collection if you view it from your account.
When viewing a post you don't want to lose, tap the bookmark icon below the photo or video. The post will be immediately added to your Instagram collection.
The bookmark icon adds the selected publication to the Saved section.
By default, all posts are bookmarked without any other action.
If you want to add an Instagram post to a custom bookmark folder, press and hold the bookmark icon on the right under the photo. A special window "Save to ..." will appear at the bottom of the screen.
A new menu will appear with all your current selections in Saved. Click on the desired folder to distribute it there.
You can select a folder when saving a post.
Even if you bookmark a video or photo in a user's Instagram collection, it will still be viewable in the All Posts category.
To save an entry in a new collection, click the plus icon, enter a name for the new folder, and click Done. This will create a new folder and automatically display the selected desired entry in it.
In addition to this function, you can save photos from Instagram to your phone or computer through our service.
How to save an item on Instagram
If you're hooked on something on Instagram while browsing your feed, but you're not ready to buy it yet, use the save feature. Just like under publications, there is a bookmark icon under the product.
Click on it and the application will prompt you to add the product to the Saved section. All products are added to a separate Wish List folder. There you can view, purchase or remove this product from the collections.
A selection of saved items on Instagram.
How to view saved posts on Instagram
In the Instagram app, you can view all posts in your Saved Items at any time if you have an internet connection.
- Open the Instagram app on your iOS or Android device.
- Click on the profile icon in the lower right corner of the screen.
- Click on the three horizontal lines in the upper right corner.
- Click on the Saved section.
You should now see all the post collections you created when you saved posts in the past. All bookmarked photos and videos can be found in the All Posts folder, but they can also be viewed in separate collections if you created them.
How to create a collection in Saved
By default, all saved Instagram posts will appear in the "all posts" collection, but you can also create custom collections to sort your bookmarked posts by theme or mood.
For example, divide publications by interests - one collection for hobbies, one for fashion looks, and one for posing ideas. This makes it much easier to quickly find the material you need.
After creating a folder, you can edit it at any time, change the name and cover.
To create a new collection in Saved:
- Click the plus icon in the upper right corner of the screen on the Saved page.
- Enter a name for this new collection.
- Click Next, and then select any previously saved posts you want to add to this new folder.
How to delete saved on Instagram
If one of the collections is no longer needed, you can delete it completely and immediately. To do this, open the desired folder, click on the three dots in the upper right corner and select "Edit Collection".
There, the item "Delete collection" will be highlighted in red. At the same time, if you delete a folder, all photos and videos added to it will remain in the general collection.
It should be remembered that bookmarking posts by other users directly affects the attitude of the Instagram algorithm to your account. You can see the number of times your content has been saved in the Statistics section. So you can understand what is most interesting for the target audience.
But the function does not allow you to see who exactly added this or that information from your profile. We advise you to use various calls to save the post and write useful content that will encourage you to do this without further ado. 9Ol000 Instagram. This section will help users learn more about you and your lifestyle. All memorable events, whether it's a party with friends or a romantic trip, nothing will be lost and will please the eye around the clock. We offer to improve your page right now by reading the article about the main features and manipulations of the section.
What are Live Stories
Instagram Stories is a feature extension that allows you to add temporary content to your page. Access to them is limited to 24 hours, which is not always convenient, because not everyone has time to see their content. To make it easier to save multiple photos or videos from stories on Instagram, the "Actual from Stories" section has been added. It allows you to collect your memories into albums by topic. In this case, you yourself choose what to add and what not. The added media will be displayed on the main profile picture, where guests and subscribers can easily find it.
What section is used for
The space of pinned stories is used for personal purposes. In this case, here you can add joyful moments from your life for you. Thus, new subscribers will find out interesting information about your work, loved ones, hobbies and entertainment.
The section is convenient to use to simplify business. Here they post answers to frequently asked questions from customers, the latest information about prices and promotions, as well as show the process of working or providing a service, positive customer reviews, answer questions and hold contests (GivEvei).
Rules for creating
When creating an interesting section, you should consider:
- the maximum number of characters for the title is 16;
- the name uses not only letters, but also numbers, signs and even emoticons;
- one story can be broadcast in several albums;
- stories will be on the page permanently until you remove them;
- you won't be able to see exactly who visited your story from this section, but the total number of views and clicks on the inserted links will change.
Designing the cover
The right cover will increase the number of clicks and views. You can add your own or edit an existing one in a few clicks:
- Go to the album with current stories.

- Click "Edit" at the bottom left and then "Edit Cover" at the top.
- Select a frame from the content by scrolling through the options below. Or click on the gallery icon and use the desired picture from the smartphone's memory.
To diversify your profile, use minimalist covers that match the overall color scheme of your content. It is convenient when a person, looking at the icons from the section, understands where he needs to go. For example, for a manicure business, you can create an album with prices and finished works, on the covers of which the dollar sign and nails will be depicted, respectively. For more information, let's understand the names.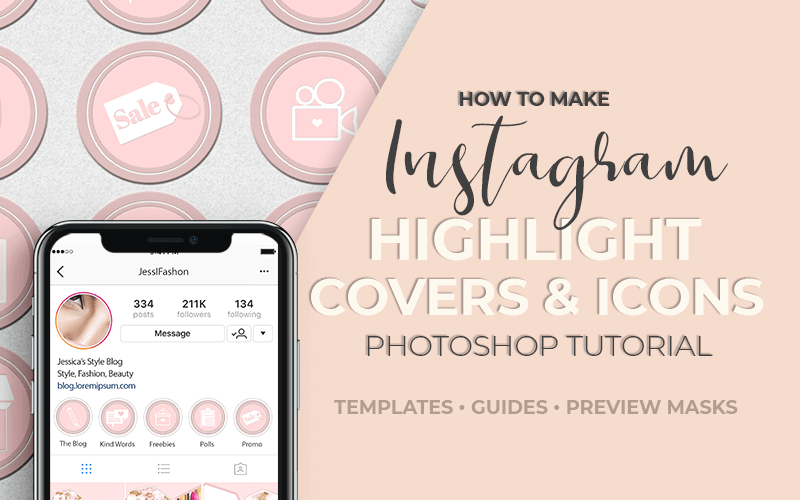
Add photos and videos
In the first option, you can add directly while downloading history:
- Select an image or video from your phone.
- Add it to history.
- After clicking "share", the button "add to current" will appear at the bottom.
- Do not delete stories for the entire set time (24 hours).
The second option involves creating albums with content from the stories archive:
- Find the section with selected stories under the profile photo and click on the plus.
- Select the desired stories and click Next.
- Set the title and cover, click "Finish".
Images and videos are added to an existing publication in the same way.
Adding a photo not from the history
It is impossible to add a picture or video directly from the gallery to the current one. To do this, you first need to create a story and do not delete it for 24 hours. Only then will it be possible to fix it.
To get around this limitation, add a story and block access to it, or leave it open only for the Close Friends category.
How many stories can be included in the current
There are no restrictions when adding stories to albums. That is, you can publish as many as you want.
In terms of beauty and convenience, web designers and bloggers recommend creating no more than 4 albums, up to 10 stories in each. Thus, a person who visits your profile will not get lost in a large amount of media data and will easily find the necessary and interesting information for him.
Where to add stories to the current
Actual is generated from the history archive. To do this, click on the desired story and in the lower right corner of the screen, select "Select". This will be followed by the process of adding the album cover and title, as well as other photos uploaded earlier.
You can add a post to your story, and from there "Select" it into a separate category.
How to download
Download photos and videos by finding the corresponding story in the archive. To save to your device, select the desired story and click "More" in the lower right corner, and then "Save photo / video."
Can I hide it? In the same way, it is easy to return all closed content to its place.
How to save
You can save media files by going to the stories archive. Find the photo or video you want, then tap "More" and "Save photo/video". Moreover, in the application settings, it is possible to save all your publications after downloading automatically to your phone. Thus, a folder will appear in the gallery, into which published files will be constantly uploaded.
How to view the archive
All pinned stories are placed in the stories archive. To search for the desired content after publication, click on the button with three horizontal stripes in the upper right corner of the screen, and then the "Archive" sub-item.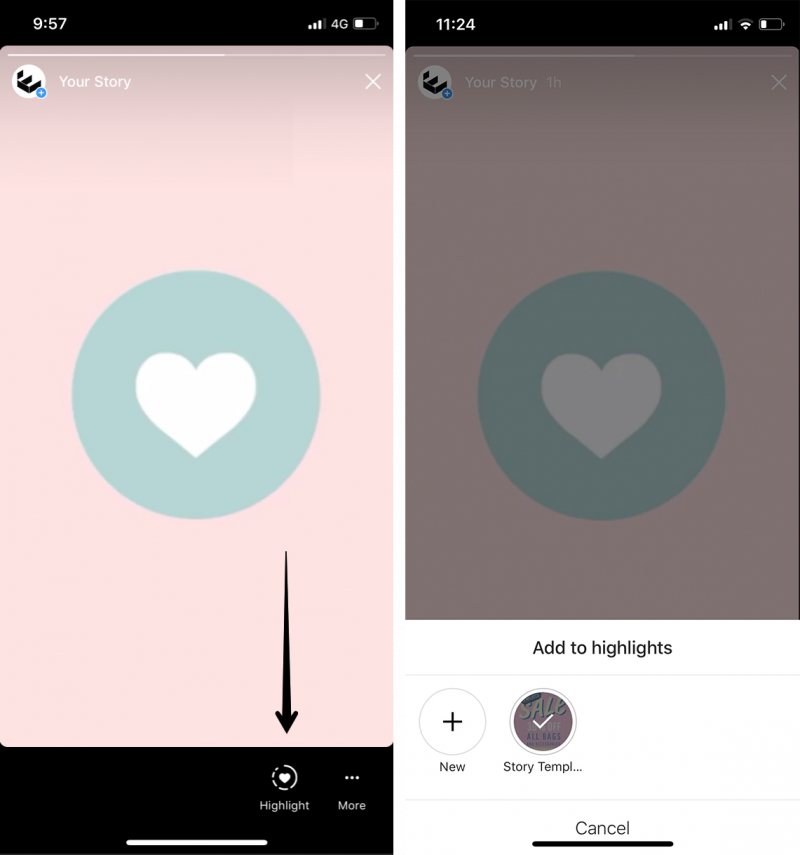
Deleting the current one from your account
The developers made this process as simple and clear as possible. To delete an unwanted photo or video file, you will need:
- Go to the desired album.
- Find the story you want to delete.
- Press the "more" and "remove from current" buttons in turn.
- Confirm your action "delete photo" or "delete video". If you change your mind, a cancellation clause is provided.
Newly introduced pinning Instagram stories makes it easier to use this app. The section is easy to use, it is easy to add, edit and delete media files. Thanks to the ability to personalize the cover and title, they can beautifully complement the overall style of the page, increase traffic and interest a potential audience.