How to change date on instagram post
How to Change Date on Instagram Post (Backdate Instagram Post)
Have you ever taken a secret trip with your beloved or hung out at a party your friends didn’t know about? Well, while doing things that people have no idea about might seem thrilling at the moment if it comes out later, it could put you in a difficult position with your friends or family.
Suppose while doing such an explicit adventure, you posted some pictures of it on your Instagram profile, and someone who might have a problem with it sends you a follow request now. What would you do? If you’re close with this person, which we suppose you are, you can’t delay accepting their request forever, can you? Well, not really.
So, can you go back and change the date on that post so that it’s slightly less problematic to them? That’s what we’re going to discuss in our blog today.
Keep reading till the end to find out how to change date on Instagram post or backdate Instagram posts.
Can You Backdate Instagram Posts?
Alternative Ways to Change Date on Instagram Post
1. Delete the Post & Upload it Again
2. Archive the Post
Can You Backdate Instagram Posts?
Unfortunately, you can’t backdate Instagram post and let’s tell you why. This is because when it comes to making changes or edits in any post you upload on Instagram, you’re only given control of those parts that you enter manually. Take your caption, for instance; you can go back and change the caption of any post you like, any time you like, without any issues. The same is true for tagging and un-tagging other users in your content, editing or deleting comments made by you, adding location, and so on.
However, the date and time of when a post is made are recorded by Instagram’s servers automatically and, thus, cannot be edited or tampered with in any manner. With that being said, we have no intention of leaving you high and dry.
While we cannot help you with this particular problem, we can certainly suggest other alternatives that might accomplish what you want to do, partly if not completely.
Let’s talk more about that in the next section.
Alternative Ways to Change Date on Instagram Post
So, we’ve already gathered that changing the date of any of your Instagram posts is not an option for you. But if the date of a post is a problem for you, there are other ways of getting rid of it, too. Check out these alternatives that might help solve your problem:
1. Delete the Post & Upload it Again
If you have an issue with someone on your followers list noticing the date of a particular post you’ve uploaded on Instagram, the first step to dealing with it is deleting that post as soon as possible. You can then re-upload it, the steps for which we’ll discuss in the next section.
In order to delete an Instagram post, follow these steps:
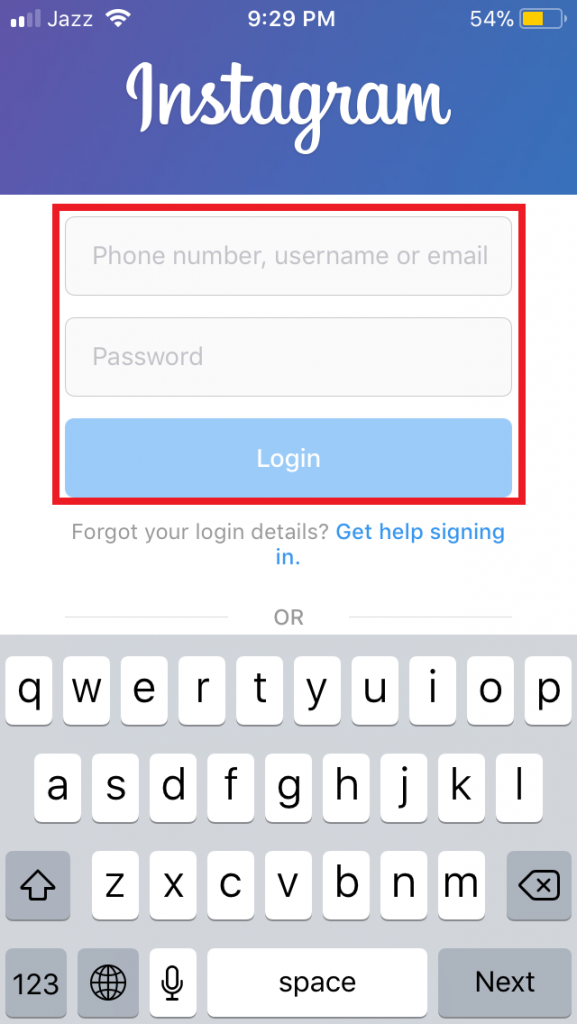
Step 1: Open the Instagram app on your smartphone and log into your account if you haven’t already.
Step 2: From the home page (your Newsfeed tab), go to the Profile tab by tapping on the Profile icon (a thumbnail of your profile picture) on the bottom right corner of your screen.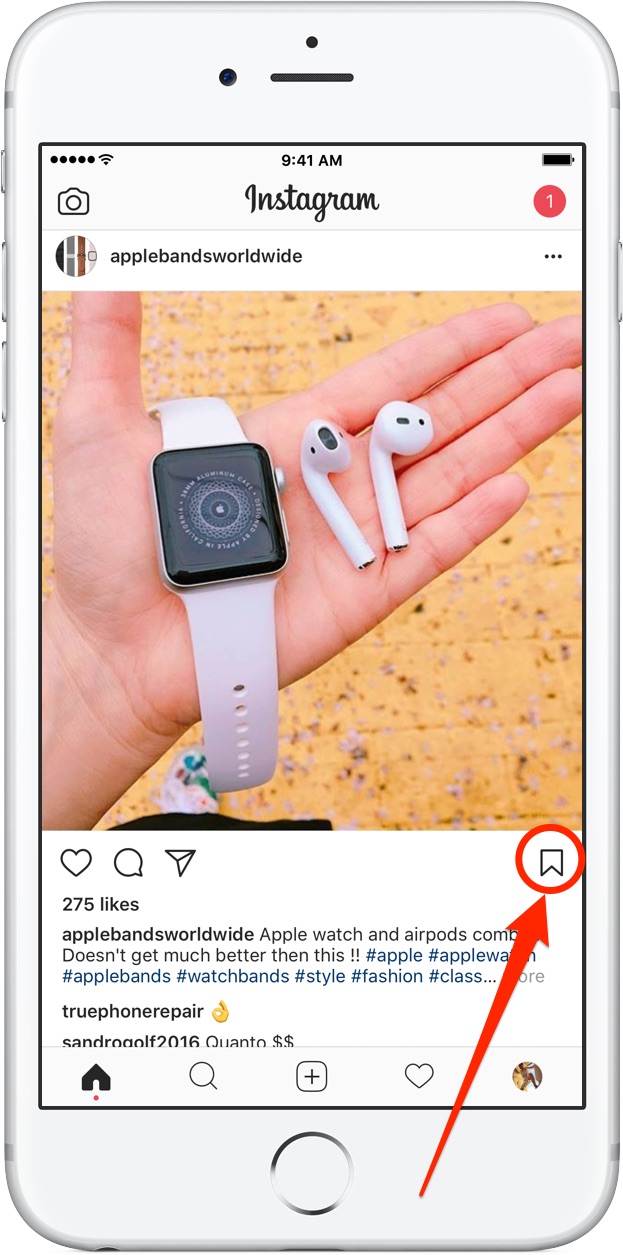
Step 3: On the Profile tab, under your profile picture, bio, and highlights, you’ll see all the posts you’ve made on the platform arranged in a gird.
From this grid, pick the post that you want to delete and tap on it to open it in full view.
Step 4: When the post is displayed on your screen in full view, navigate a three-dots icon on its top-right corner (next to where your username and location is mentioned), and tap on it.
Step 5: As soon as you tap on it, a floating menu will appear on your screen, displaying multiple actionable options for the post. The Delete option would be right on top of this list.
When you tap on it, you’ll get a confirmation message to ensure you want to go ahead with this action. Tap on Delete once again, and the post will be removed from your profile.
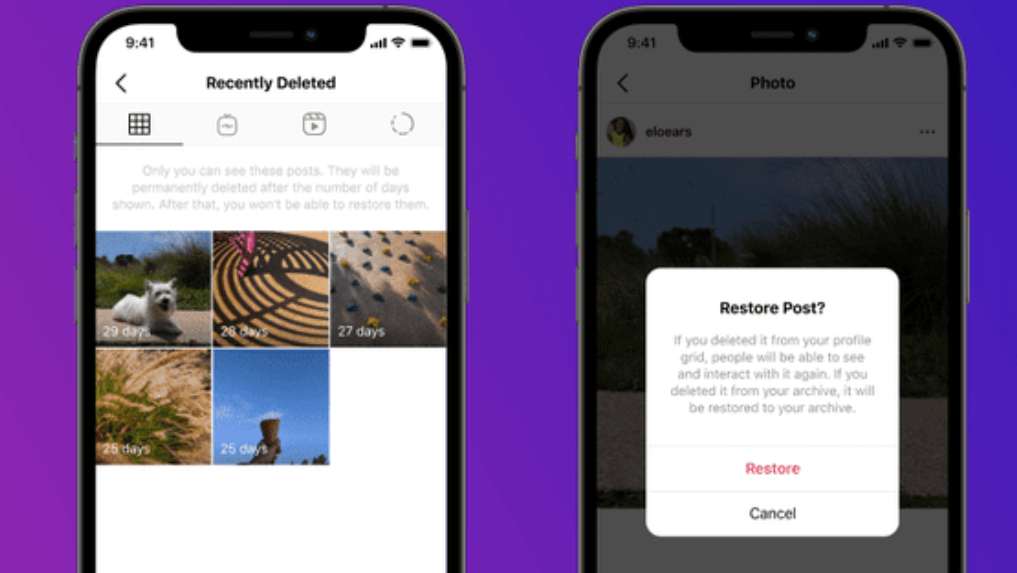
Note that while deleting a post on Instagram was once a permanent and irreversible action on Instagram, it is no longer so. If you delete a post on the platform today, the post will be removed from your profile grid but will remain in the Recently Deleted folder for the next 30 days. So, if you change your mind about deleting it and want to recover it between that period, you can do so by going to that folder.
Now that you’ve deleted the post, do you want to re-upload it on your profile? Well, doing it is quite simple, and if you’ve ever posted anything on the platform, we’re sure you’d already be familiar with the process. If you re-upload this post now, it will show today’s date on the post; so, if that’s fine by you, go ahead and re-upload it.
2. Archive the Post
If you have no desire to delete or re-upload this particular post and simply want to prevent your follower(s) from seeing the date it was posted on, archiving it is the best alternative to do that. It will make the post disappear from your profile as long as you want. If you’ve never archived a post before, follow these quick steps to get it done:
Step 1: Open the Instagram app on your smartphone and log into your account if you haven’t already.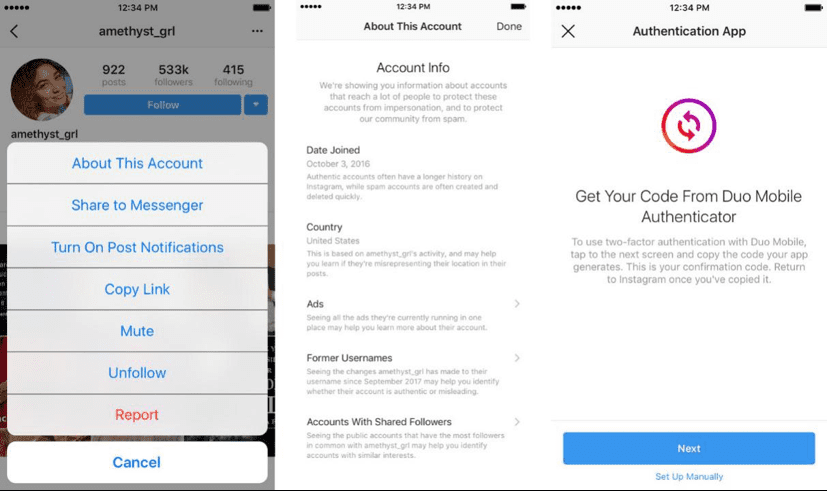
Step 2: You’ll find yourself on the Home tab first. From here, navigate the thumbnail of your profile picture on the bottom right corner and tap on it to open your Profile tab.
Step 3: When you open the Profile tab, you’ll find a grid of all your posts arranged chronologically (from latest to oldest).
From this grid, pick the post that you want to archive and tap on it to open it in full view.
Step 4: Once the post is displayed on your screen in full view, you’ll see a three-dots icon on the top right corner of your screen, next to where your username and location are mentioned. Tap on it to view a floating menu.
Step 5: On this floating menu, the Archive option would be placed in the second position. Tap on it to archive your post, and when prompted to confirm your action, do so.
There you go! Your post has now safely been removed from your profile, and you can find it in your archive folder.
Also Read:
- How to Remove Email Address from Instagram
- How to View Someone’s Instagram Profile If They Blocked You
- How to See Who Viewed Your Instagram Story After 24 Hours
- How to Tell Who Viewed Your Instagram Story First
How to Change Date on Instagram Post? [Answered 2022]- Droidrant
How to change date on an Instagram post? The upload date and time can’t be changed after the photo has been uploaded, but you can edit other parts of the post, including the caption and image Alt text. In order to change the date, open the post and click on the three dots at the top-right corner. Select Edit Post. Then, select Change Date. If you want to change the time or date, tap on the Edit Post button.
To change the date of an Instagram post, open the post. Then, tap the three dots at the top-right corner and choose “Edit Post.” From there, select “Change date,” then “Edit time.” The new date will appear in the post’s caption and description.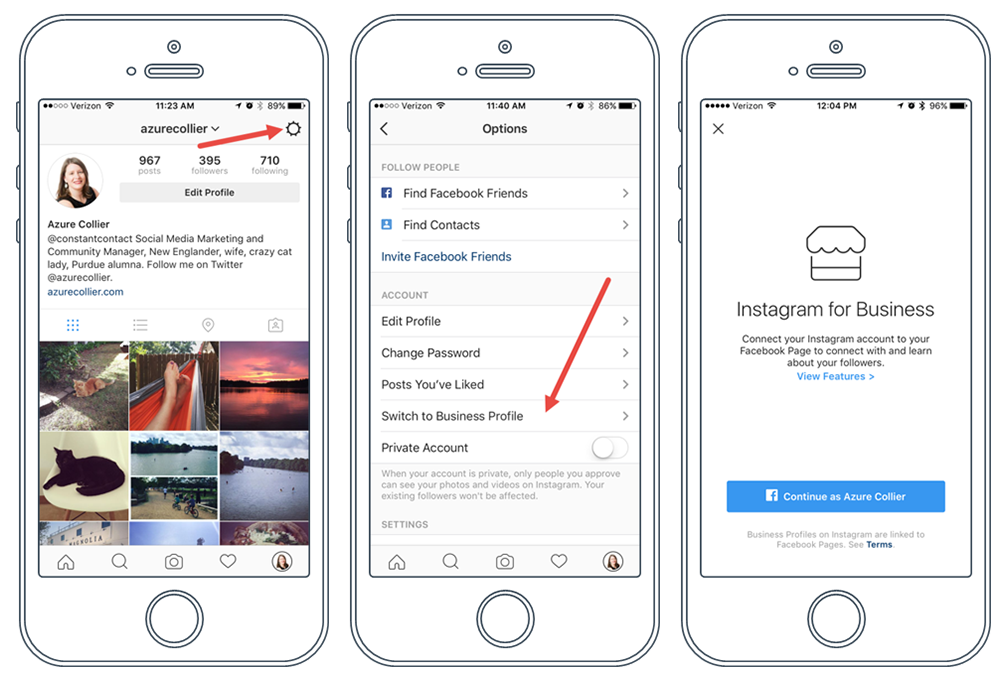 You can even backdate a post if necessary. Simply tap the date and time again to save the changes. After that, you can publish your photo again.
Related Questions / Contents
- How Do You Backdate a Story on Instagram?
- Can You Hide Dates on Instagram?
- How Do You Get 1 Year Ago Today on Instagram?
- How Do You Get 2021 Memories on Instagram?
- How Do I Get My 2021 Playback on Instagram?
- How Do You Get 2021 Recap on Instagram?
- How Do I Look at Old Instagram Stories 2021?
How Do You Backdate a Story on Instagram?
If you’ve ever wanted to post a story on an earlier date but aren’t sure how to do it, you can backdate your Instagram post by using the “Story” feature. To do this, open the Instagram app and click on the “Story” icon at the top left corner of your screen. Next, tap “Create Story” and then select a photo. Once you’ve selected a photo, tap “Edit” and select the new date and time.
To backdate your Instagram story, swipe left and select the “Stories” section.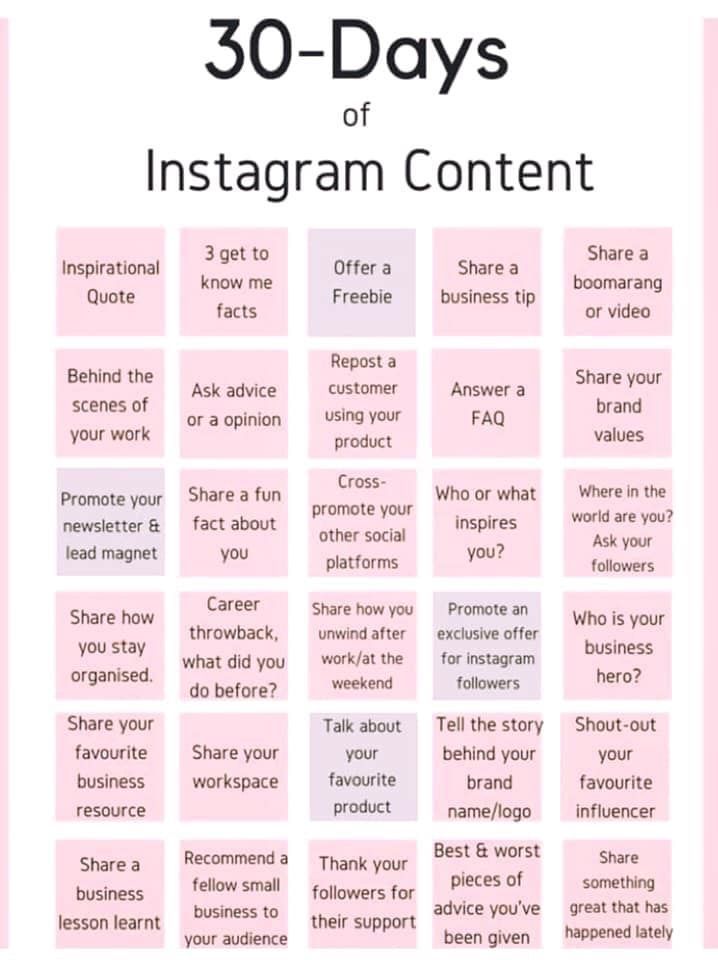 Then, tap the “+” button in the upper-left corner of the screen. From there, select the date and time when you want to post the story, add any photos or videos, and tap “Share.” Once your story is posted, it will appear at the top of your followers’ feeds. You can also manually enter the date and time in the settings menu.
In the future, Instagram will allow users to backdate their posts. For now, this feature is not available for all users. However, if you have uploaded a story that you want to change the date of, simply log in and select the “Edit” button from the three dots at the top right corner. Then, select an earlier date for the post. If Instagram fails to find a compatible source for your media, it will ask you to change the date and time.
Can You Hide Dates on Instagram?
If you want to hide the date and time that your Instagram photos and stories contain, there are some tricks you can use. You can either disable the timestamp on your story, or you can edit the dates. To edit the dates, click the three dots in the upper right corner of the story and choose “edit.” Then, place the date sticker where you wish. However, there’s no definitive way to hide dates and times on Instagram.
Fortunately, there are many ways to do this. You can use a third-party app or edit your photo to remove the date stamp. You can also take screenshots of your story before the date expires and hide it in that way. However, there are still some restrictions. If you don’t want to see your dates and times on your stories, you can use an app that removes the dates. This method is completely free, and will give you the flexibility to edit your images and stories as you please.
How Do You Get 1 Year Ago Today on Instagram?
If you’re wondering how to get 1 year ago today on Instagram, you’re not alone. Hundreds of thousands of users are curious about the feature, and you’re probably wondering how to access it. Fortunately, Instagram has made it simple for you to see what your friends and family were posting a year ago. All you need to do is follow a few easy steps. First, navigate to your Instagram profile. Then, tap the “Main Menu” button in the upper right corner. After that, select the “Archive” option. From there, you can choose to re-share that content to your Stories, your Close Friends, or a single individual.
After that, tap the camera icon at the bottom of your screen. If you’re using the mobile version of the app, you can also tap the “Clock” symbol at the bottom-left corner of your screen. You can also access the “On This Day” feature through the Story Archive. Simply tap the counterclockwise-pointing arrow to reveal all posts from that date. You can also select posts from years past by tapping the “Story Archive” icon.
How Do You Get 2021 Memories on Instagram?
After the launch of 2021 Playback, people may want to relive the memories of their year. While there is no easy way to get to 2021 memories in the past, there are some ways to get them. First, you can use a third-party app like Meta’s 2021 Playback feature on Instagram.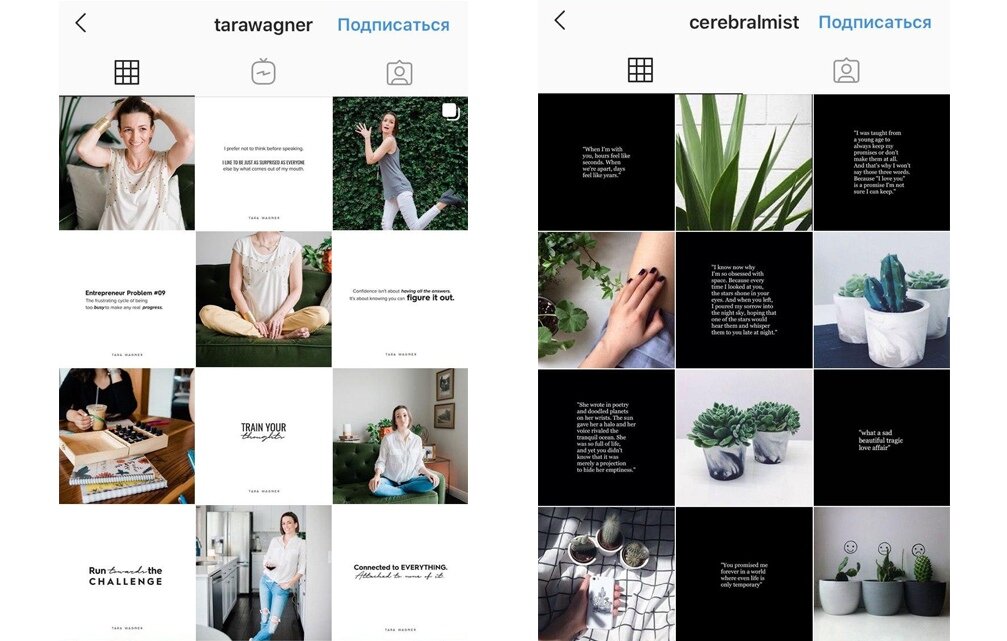 This feature allows you to share the memories of your year on Instagram. However, it may be a bit tricky to find these memories.
In addition to its re-visited stories, Instagram is also launching a new “Playback” feature that allows users to relive some of their favorite moments from the year. Similar to YouTube Rewind and Spotify Wrapped, this feature allows users to look back on the best moments from their year, all in one convenient location. The Playback feature is live today, but it is only available for a short period of time.
How Do I Get My 2021 Playback on Instagram?
The 2021 Playback feature on Instagram is available to all users, but not everyone has it yet. However, you should start seeing it in the next few days. In the meantime, you can view the highlights on other people’s stories by clicking on the 2021 stickers in the corner. If you can’t wait that long, you can publish the stories as individual snaps. Once you’ve published the stories, you can delete them, edit them, and then post them as a Story.
Once you’ve done this, you’ll be taken to a new page, called “Instagram Playback.” It will allow you to view some of your favorite stories from the last year. Tap on “View Playback” to view the mix, or you can share it on your Instagram Story. You can even edit the captions on your stories! There’s no specific reason for Instagram to choose certain stories, but users have been complaining and joking about the process.
How Do You Get 2021 Recap on Instagram?
If you have ever wanted to see all of your past Instagram Stories in one place, you have to know how to get a 2021 Playback. Instagram is rolling out a new feature that lets users look back at the top stories from the year 2021. This feature will automatically select 10 stories from your feed, which you can then edit, remove, or add to. You will notice a purple border around 2021. You can also share this 2021 playback on your Instagram stories and save it in your camera roll.
You can add text, stickers, filters, mentions, and tags to your 2021 Playback. Once you’ve created your Playback, you can choose up to 10 Stories from the 2021 archive and add them to your account. The new 2021 Playback feature will be live for the next few weeks, so don’t wait too long. You can view the 2021 Playback now by downloading a free app from the App Store or from the Instagram website.
How Do I Look at Old Instagram Stories 2021?
If you want to look at old Instagram stories, you can do so in two ways. If you have saved the story as a Highlight, you can save it to your camera roll or open the archive section. To save the story, tap the more icon on the top-left corner and select “Save Photo.”
Alternatively, you can download the old stories. You can do this by accessing the Instagram archive. To find these, go to your profile and tap the hamburger menu. Then, select “Archive.” From here, you can view and save old stories to your camera roll. You can also promote and re-share old stories. In this way, you can view the old stories and make highlights. Here are a few tips on how to find old Instagram stories:
First, you need to log in to Instagram. Next, navigate to the profile you want to look at. From there, click the clock icon on the top-right corner of your device. Once you’re on the profile page, the archive should be able to take you back several months, depending on the time of year. In December 2017, Instagram added the Archive function and highlighted stories. By following these steps, you can view old stories and highlight them for re-sharing.
Learn More Here:
1.) Instagram Help Center
2.) Instagram – Wikipedia
3.) Instagram App for Android
4.) Instagram App for IOS
| 3DNews News Software Social networks I*******m will allow you to edit the order... The most interesting in the reviews 01/12/2022 [14:47], Ruslan Avdeev In recent years, Instagram*, although somewhat inferior to giants like TikTok, is still one of the most popular social networks in the world. Source: geralt/pixabay.com Many users may have regretted not being able to line up previous posts in a different order - sometimes this would allow you to create a completely different feed that affects the impression of the profile to third-party visitors and true friends. Instagram* is preparing something new, according to well-known network whistleblower and developer Alessandro Paluzzi, who likes to dig through application code to find undocumented features. Judging by the screenshots posted on Twitter, the social network will add a feature that allows you to edit the "grid" of the profile, lining up posts in exactly the order you want. Currently, there is no way to change the chronological order of publications. nine0007
Based on the images, the Edit Grid feature will appear in the Edit Profile section. The user will be able to drag and drop posts in any order. The option cannot be seen yet as it is still under development. nine0007 The release date of the new version will be announced later. For now, Instagram* prefers to remain silent about the new feature. It is very likely that a limited number of beta testers will be the first to be able to use it. * Included in the list of public associations and religious organizations in respect of which the court has made a final decision to liquidate or ban their activities on the grounds provided for by Federal Law No. 114-FZ of July 25, 2002 "On counteracting extremist activity." nine0039 Source: If you notice an error, select it with the mouse and press CTRL+ENTER. Related materials Permanent URL: Software News, Network News, Social Networking, Tags: social networks, ii ← В past To the future → |
How to schedule posts on Facebook, change the date to past, and set the expiration date
3 min.
The scheduled posting feature allows you to spend less time scheduling posts and focus on creating and promoting content.
Find out how Creator Studio can help you: nine0007
- Schedule publications . Specify a date and time in the future when your posts should be posted.
- Change the date to past . Change the post date for new or already posted content.
- Set the expiration date for publication . Choose when posts should disappear from News Feed.
Who can use
Admins and editors can schedule, set a past date, and set an end date for any post on their Pages. nine0007
Admins and editors can schedule, set a past date, and set an end date for any post on their Pages.
Schedule
When you schedule a post, you choose the date and time that the post should be automatically posted. To learn how to schedule a post, expand one of the following options and see the instructions.
Planning a new publication (non-video)
-
Once you've created your publication, click the arrow next to the Publish button (lower right), and then select Schedule .
-
Specify the date and time of publication. You can also specify a date and time when the post should disappear from News Feed.
-
Click Schedule in the lower right corner.
-
Once you've created your post, click the arrow next to button Publish (lower right) and then select Schedule .

-
Specify the date and time of publication. You can also specify a date and time when the post should disappear from News Feed.
-
Click Schedule in the lower right corner.
Schedule a new publication (video)
-
Download video , set its parameters and press button Followed by in the lower right corner.
-
In the Publish Settings window, select Schedule .
-
Specify the date and time of the publication, and optionally the end date of the publication in the News Feed.
-
Click Schedule at the bottom right.
-
Upload video , set its parameters and press the button Next in the lower right corner.
-
In the Publish Settings window, select Schedule .
-
Specify the date and time of the publication, and optionally the end date of the publication in the News Feed.
-
Click Schedule at the bottom right. In section Drafts Content Libraries Check the box next to the post thumbnail and then select Schedule .
-
Enter the date and time and press OK .
Posts saved as drafts cannot be set the end date and time of in News Feed. This option is only available for new posts. You can only set the end date and time for a post in News Feed when you create a new post. nine0246
-
In the Drafts section of the content library, check the box next to the post thumbnail, and then select Schedule .
-
Enter the date and time and press OK .
Posts saved as drafts cannot be set the end date and time of in News Feed. This option is only available for new posts. You can only set the end date and time for a post in News Feed when you create a new post. nine0246
Scheduling a publication saved in drafts (video)
-
In the Draft section of the content library, click anywhere in the publication row to open the Edit Video window .
-
Change the publication status (bottom right) to Scheduled publication...
-
Enter the date and time and press OK .
-
Click Save in the lower right corner.
-
In the Drafts section of the content library, click anywhere in the publish row to open the Edit Video window.
-
Change the publication status (bottom right) to Scheduled publication...
-
Enter the date and time and press OK .
-
Press Save in the lower right corner.
View all scheduled posts
In the content library , in the Scheduled tab, you can view all upcoming posts.
In the content library , in the Scheduled tab, you can view all upcoming publications.
Changing the date and time of a scheduled publication
Method A
-
In the Scheduled section of the content library, hover over the publication row.
-
Press , select Change Schedule and enter a different date and time.
Method B
-
In the Scheduled section of the content library, check the box for the post you want to change the date and time for.
-
Select Change Schedule and enter the date and time.
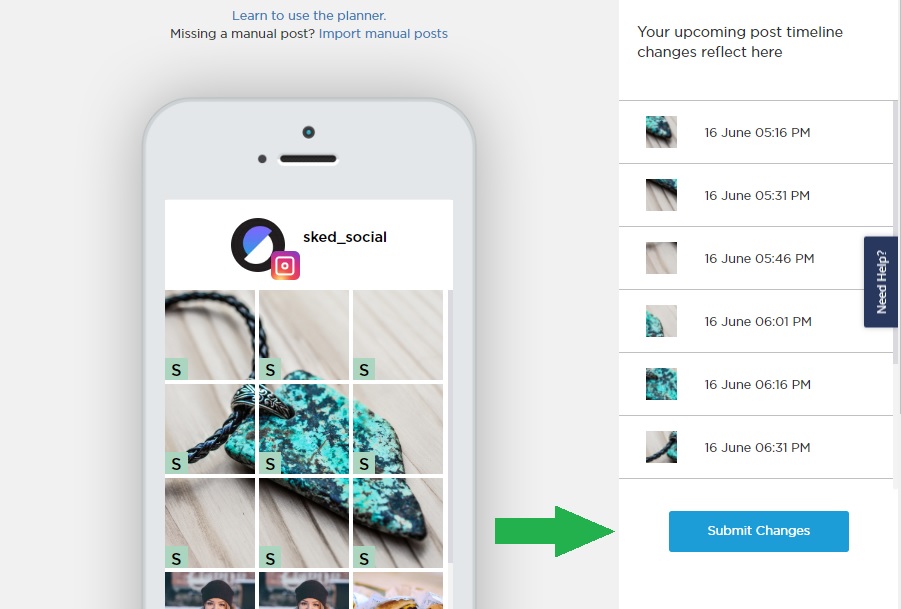
You can only change the schedule for one publication at a time. If multiple publications are selected, the Edit Graph button will not work.
Method A
-
In the Scheduled section of the content library, hover over the publication row.
-
Press , select Change Schedule and enter a different date and time.
Method B
-
In the Scheduled section of the content library, check the box for the post for which you want to change the date and time of display.
-
Select Change Schedule and enter the date and time.
You can only change the schedule for one publication at a time. If multiple publications are selected, the Edit Graph button will not work.
Cancel scheduled publication
Canceling an individual publication
-
In the Scheduled section of the content library, hover over the row of the publication.
-
Click the ••• icon and select Cancel schedule .
Canceling multiple posts
-
In the Scheduled section of the content library, check the boxes for the posts you want to reschedule. You can cancel the impression for several publications at once. nine0007
-
Select Cancel schedule and specify the date and time. Unscheduled publications can be viewed in section Drafts .
Canceling an individual publication
-
In the Scheduled section of the content library, hover over the row of the publication.
-
Click the ••• icon and select Cancel schedule .
Cancel multiple posts
-
In the Scheduled section of the content library, check the box for the posts for which you want to reschedule. You can cancel the impression for several publications at once.
-
Select Cancel schedule and specify the date and time. Unscheduled publications can be viewed in section Drafts .
Changing the date to past
Changing the date to past allows you to post a new post as if it was in the past. You can also change the date of publications already made. nine0007
Change the date of a new post to past (not video)
-
Once you've created a post, click the arrow next to the Post button (bottom right), and then select Change date to past .
-
Enter a date and time in the past. (You can optionally select Hide from News Feed to have the post appear in your video gallery but not in your Fans Feed.)
Publication will be posted immediately.
-
Once you've created your post, click the arrow next to the Post button (lower right), and then select Change date to past .

-
Enter a date and time in the past. (You can optionally select Hide from News Feed to have the post appear in your video gallery but not in your Fans Feed.)
Publication will be posted immediately.
How to change the date of the new publication to the past (video)
-
Upload video , add a description and adjust the settings, and then click Next in the lower right corner.
-
In the Publish Settings window, select Change date to past .
-
Enter a date and time in the past. (If you wish, you can choose Hide from News Feed so that the post appears in your video gallery but not in the Fans Feed.)
-
Select Change date to past at bottom right.
-
Upload video , add a description and adjust settings, and then click Next in the lower right corner.
-
In the Publish Settings window, select Change date to past .
-
Enter a date and time in the past. (You can optionally select Hide from News Feed to have the post appear in your video gallery but not in Fan News Feed.)
-
Select Change date to past at bottom right.
Changing the date of an already made publication to the past
-
In section All published content libraries hover over the post whose date you want to change to the past.
-
Click to open the drop-down menu and select Change date .
-
Enter a date and time in the past. (You can optionally select Hide from News Feed to have the post appear in your video gallery but not in the Fans Feed.)
-
Select Change Post Date to Past.
The publication will be posted immediately.
-
In the All Published section of the content library, hover over the post whose date you want to change to the past.
-
Click to open the drop-down menu and select Change date .
-
Enter a date and time in the past. (You can optionally select Hide from News Feed to have the post appear in your video gallery but not in your Fans Feed.)
-
Select Change Publication Date to Past.
The publication will be posted immediately.
End date setting
Specify when you want the post to stop showing in News Feed. The post will still be visible, but its distribution in News Feed will end on the day you selected.
Setting the end date for a video post already made
Sorry, this feature is currently not available.
You can only set the expiration date for a non-video post in News Feed when you create a post. See Schedule a new publication (non-video) .
Sorry, this feature is currently not available.
You can only set the expiration date for a non-video post in News Feed when you create a post. See Schedule a new publication (non-video) .
Setting the expiration date for a publication that has already been made (not a video)
-
In the All Published section of the content library, hover over the row of the publication.
-
Click and select Edit Publication .
-
Change the publication status to Schedule an expiration date of .
-
Enter date and time and press OK .
-
Click Save in the lower right corner.
You can view all publications that are scheduled to expire on the Expires section of your content library .
-
In section All Published Content Libraries , hover over the publication row.

-
Press and select Edit publication .
-
Change the publication status to Schedule an expiration date of .
-
Enter the date and time and press OK .
-
Click Save in the lower right corner.
You can view all publications that are scheduled for an end date in section Expiration date of your content library .
Test Your Knowledge
Tips
True or False? When a post's expiration date you specify arrives, the post disappears from Facebook and no one sees it again.
Do you publish content as a playlist or series? Try bulk uploading videos, creating posts, saving them as drafts, and scheduling them to show.
For example, if you want to release an entire season of a TV series on the same day, schedule your posts to be posted at the same time. If you want to post a new video once a week at the same time, set the date and time for each post separately.

 Meta* is not stingy with new features - the company recently announced Take a Break for those who stay too long on their smartphones, and soon it looks like it will be possible to edit the feed of posts. nine0007
  twitter.com/fjmkJD4je2


