One of the rare things missing from Instagram is the option to share your links in captions. Yes, you cannot directly copy your website URL and insert it in an Instagram post in the form of a hyperlinked URL, but there are several ways to get around it.
But guess what? There are several ways that make it possible to add links to your favorite social platform.
Yes, using a link in bio tool is one of the popular options but in this article, we’ll show you all 5 simple ways to share links on Instagram, explained step-by-step.
In this article:
show
If happened to all of us – you are scrolling through your Instagram feed, and when reading the caption to some cool post, you are asked to go to ‘link in bio’ for more detailed info.
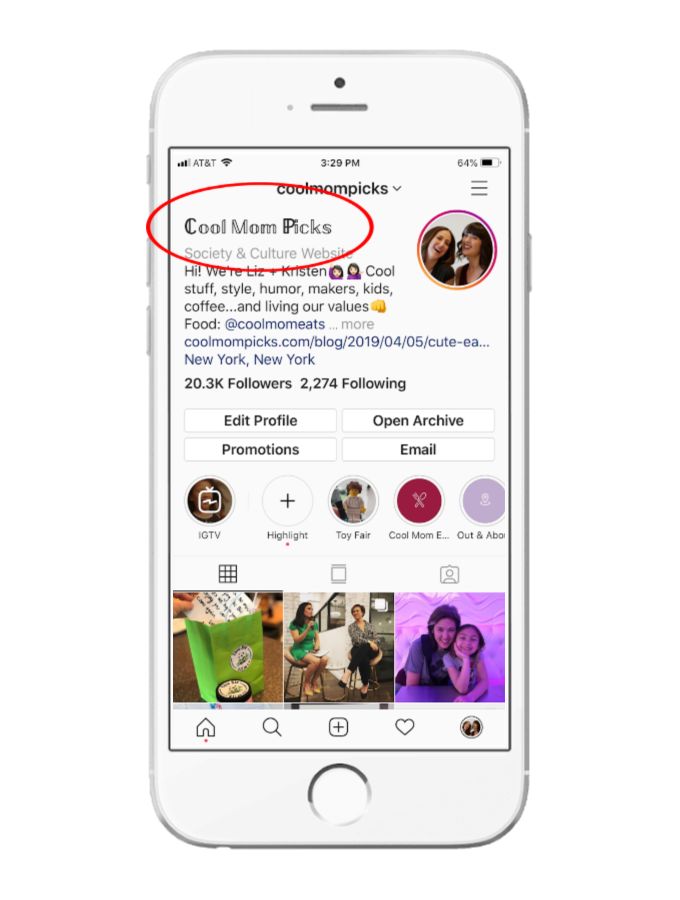
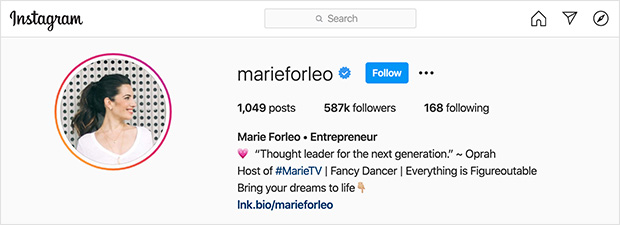
As you know, ‘Link in bio’ refers to the clickable URL that users can see on top of your Instagram profile, and when they click on the link, they will be taken straight to the desired website. This URL can be a product page, landing page, about us section, etc.
This is the simplest way of adding a link to your Instagram profile.
Here is how you can do it:
As you can see, you are limited to placing just one link.
This is what the Feedlink link in bio tool by EmbedSocial is focused on solving.
It is a simple feature that assembles your Instagram feed in one place and allows you to use a unique link for each of your feed photos.
So, the next time someone clicks on your link in bio, they will land on this clickable version of your Instagram feed.
See how your Instagram feed turns out when converted to a web and mobile-optimized landing page:
https://feedlink. link/
link/
For more detailed instructions, check out this video tutorial:
There are several approaches if you want to share your link in an Instagram caption.
I will start with the free one.
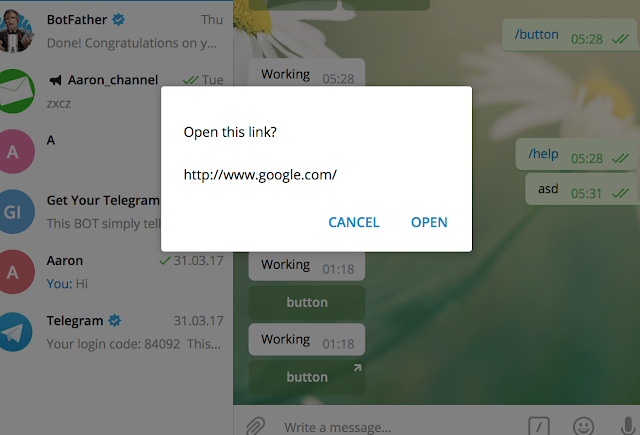
Shorten your linkYou can shorten your link with tools like Bitly, share it in your post caption, and hope that users will memorize the link and type it in their browsers.
However, it is not likely that someone will actually bother to remember your link and type it all over again.
Use Instagram Checkout and Product TagsIf you have an online shop, hurry up to enable your checkout option. This way, you can tag your Instagram posts that show products with shopping links synced with an external e-commerce platform.
We created a detailed step-by-step guide on How to Use Instagram Checkout and Product Tags to Sell More, so make sure to check it out.
If you have an Instagram business profile, you can always pay for a sponsored post with linked call-to-action at the bottom of the post.
These post ads will appear to your target range even to users who don’t follow you.
Pay for a link in captionsAccording to a patent application by Facebook, Instagram may charge you if you want to add links to your captions. The platform will detect a link within a caption and display a pop-up if you want to pay to make the link clickable.
In the patent application, the price for activating links is $2, but the actual price will be known once this feature is officially rolled out.
Here are a few options you can consider for sharing links on your Instagram Story:
This is the latest big Instagram update, that the platform finally allowed adding links to all users not just for users with 10,000+ followers (an option that previously was known as a ‘Swipe up’).
Here is how to add the Link Sticker:
That’s it. The link will appear as a sticker overall and the viewers of the story can interact and click on it, to navigate to the link URL.
Support stickersRecently, with physical stores no longer being an option, Instagram announced 3 types of Story stickers to help small business continue their business activities online.
This way, business and creator accounts can include stickers in their Instagram stories like Order food, Gift card, and Donate that will navigate users to the place where they can order food delivery, donate or purchase a gift card.
Feel free to check out our complete article on how your business can get the most of these Story stickers (step-by-step examples are included).
Stories AdsThere is always an option to pay for Instagram Story ads.
To launch Stories ads, you should use Ads Manager.
But before you get started, think of the ad objective that aligns with your marketing goal, and then proceed to complete all the campaign details and select the ad placement.
If interested to try, here is the official step-by-step guide on how to get started with Instagram Story ads.
If you are an IGTV creator, you probably know that you can also share a link to your IGTV video description.
The tricky part here is that your audience may not realize that there is a link until they tap to expand the description and discover the link.
However, you can easily re-use the IGTV video and make sure a much wider audience sees your efforts by posting the video on your Instagram Stories.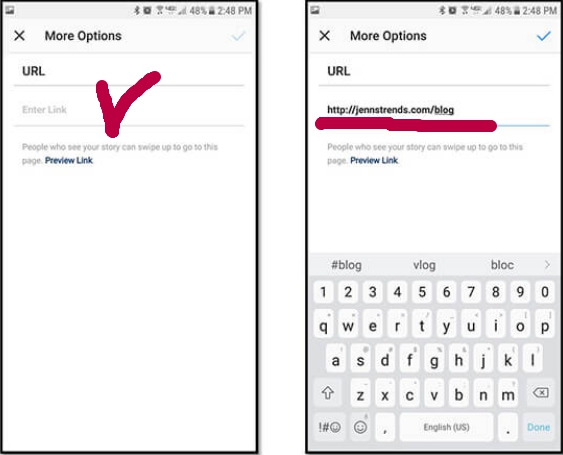
Here is how you can do that:
This way, your IGTV video link will be displayed as a Swipe up link in your Instagram Story.
Once clicked, your video will open.
We created a complete guide on how you can start with IGTV, including steps to upload and share your videos.
Another way to share your links is to set up Instagram action buttons on your Instagram profile. They will show next to your Contact and Message tabs.
This feature is accessible to all business profiles. So if you have one, you can select various CTA copies like Call, Text, Directions, Book, Buy Tickets, Start Order, Reserve, and email buttons or support CTAs like Gift Cards, Order Food, and Donate options.
Next time a user clicks on a CTA button, they will be directed to the 3rd-party app you are integrated with to complete the purchase.
Please have in mind that you can use our free link in bio tool to navigate your followers where you want them to go for the same purpose.
I hope this tutorial helped you learn the best practices of using links on Instagram.
Whatever method you choose, we believe it will drive you some traffic and improve your conversion rates.
And if it happens to know some other way of sharing links on Insta, feel free to reach out to us, and we will be happy to add it to our list.
Create multiple links for your bios.
Easy setup · Cancel any time
Instagram is a social media site known for allowing its users to post pictures and Stories. But, there’s another aspect to Instagram as well.
Many users run businesses and use the social media platform for marketing. To properly market a product, users must direct others to their web pages, YouTube channels, or other sites.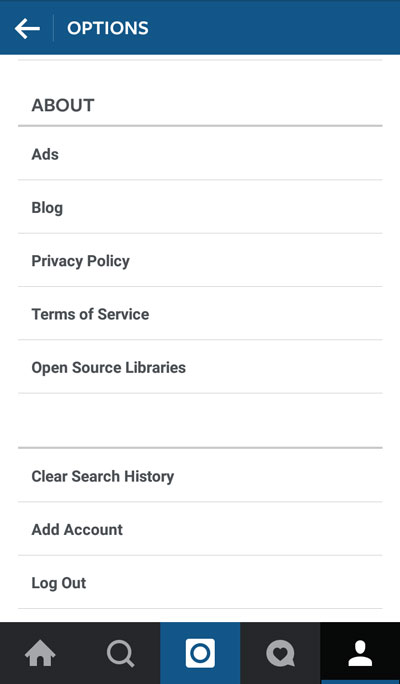 But, how do you add a clickable URL to an Instagram Post?
This article will teach you how to add links to your Instagram post and help with some other tips.
Posting a link to an Instagram Post isn’t as easy as one would think. Instagram limits links to protect users from spam and scams. Unfortunately, this means we’ll have to use some workarounds to our Instagram posts to get users to click links.
If you’re set on a standard Instagram post, your best bet is to add a link to your Bio. Then, let people know to visit that link in the captions of your post.
The downsides to this method are plentiful. First, the user needs to see the Link in Bio text. Next, they need to click on your profile, and then click on the link.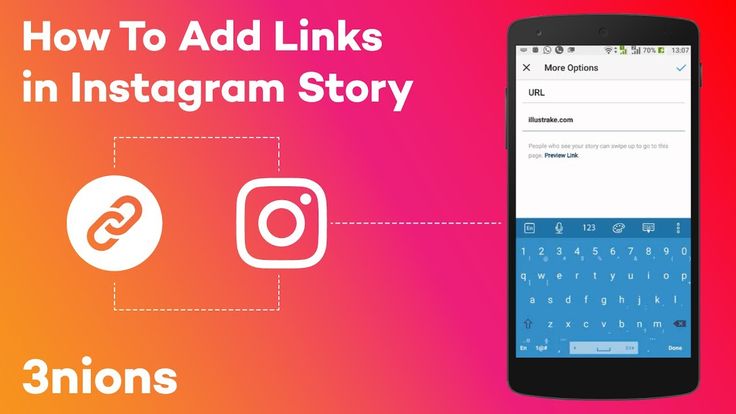 If you have multiple links, you’ll need a Link Tree, further complicating the process.
But, there are other ways to add links to posts on Instagram.
Another option for adding a link to your Instagram post is to create a Bit.ly link and post that in the captions. There are a few drawbacks to this method, too, because your followers will need to copy and paste the link into a browser. Those casually scrolling likely won’t take the steps necessary to visit your website.
But, with a great ad campaign, this method shortens the link making it easier for your followers. Here’s what to do:
 ly link into your Instagram captions.
If you have a short and simple link it’s probably best to use that instead. But, if you need to direct your followers to a longer URL, the Bitly link works better.
If you want the easiest solution, you’ll need to forego the Instagram Post altogether. Although a Story is only available to your viewers for 24 hours, you can add a clickable link without any workarounds. Here’s what to do:
If you want to keep your Story past 24 hours you can turn it into an Instagram Highlight. The Highlight will remain on your profile until you delete it.
Instagram is an excellent place to market your goods and services. But, there are a lot of rules on the platform. This section will answer more of your questions about adding links to Instagram.
As frustrating as it is, Instagram has a very good reason for limiting linking. Once upon a time, users could include links in captions and comments. However, this function was heavily abused with link spamming in comments and frequent hacking and misusing of profiles. Instagram has since taken a firm stance against excessive self-promotion.
Instagram reacted to the abuse of its platform by banning clickable links altogether.
Some companies like Linkin.bio and Link My Photos promise to get working links into posts or to fashion Instagram profile pages that can support multiple links.
However, these services cost money and are typically marketed to companies that want the capability to support regular self-promotion without always purchasing Instagram ads.
If you are interested in creating a linked advertisement, go to Instagram’s advertising page. You can create Story ads, photo ads, video ads, carousel ads, or collection ads.
There are three ways you can purchase Instagram ads. You can just select the posts you want to promote and promote them. You can use the Facebook Ad manager, or you can use the Instagram Partners program to get help with your Instagram advertising.
Do you have any thoughts on posting clickable links on Instagram? If so, please leave a comment below.
Greetings, friends.
Instagram is becoming a favorite social network not only for young people, but also for older people and entrepreneurs.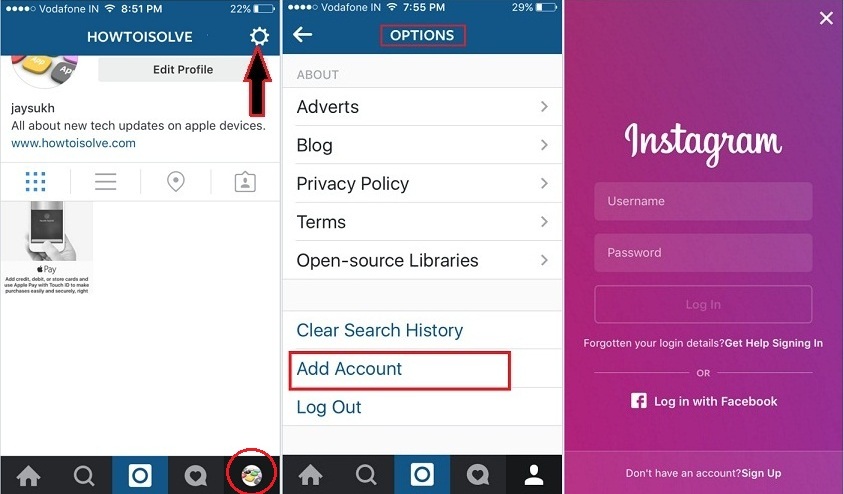 A nice bright interface, the ease with which you can add entries, great functionality - this attracts us to work with this platform.
I went to a friend's profile - as if I were at a meeting with him. Opened a thematic blog - got a lot of useful information. And all this is fast and convenient right in your mobile phone. We continue to master the functions of our favorite social network and today we are talking about how to add a place on Instagram.
Content
When you tag a location in a photo, it helps your followers understand where you are and what the post is about. This is especially important if you share your impressions about a trip to other cities and countries, visiting an unusual cafe or an interesting monument. Then geolocation will allow friends to find and visit this place if they like your review.
The second practical significance of this information is that sometimes users search for their acquaintances by geotags. When you set a place, you help your comrades find you on a social network and increase the number of subscribers.
If you are the owner of a cafe, hairdresser or other business, then creating a label on the map that you can indicate in your posts is also promoting your business.
If the location is already on Instagram, it's very easy to mark it on your post. Click on the plus sign to upload a new photo or video. Make all the necessary settings and tap on the inscription "Add a place".
Allow the app to access your device's location and select from the options or enter a name in the search bar. If you found the option you need, great, tap on it and indicate your place on the record. After saving the post, your location mark will appear under the nickname.
To add a location to your Story, swipe up from the bottom of the screen and tap on "Location".
If the application does not find the desired location, you will first have to create a new location, and then specify it in the entry.
To set an address that is not on Instagram, you must first set it on Facebook. At first glance, the process may seem complicated. To make it easier to understand, I made an algorithm of actions:
If something is not clear right now, start following the instructions below and, I think, all questions will be resolved. I will show you how to set geolocation on your Android phone. On iPhones, the application interface may be slightly different.
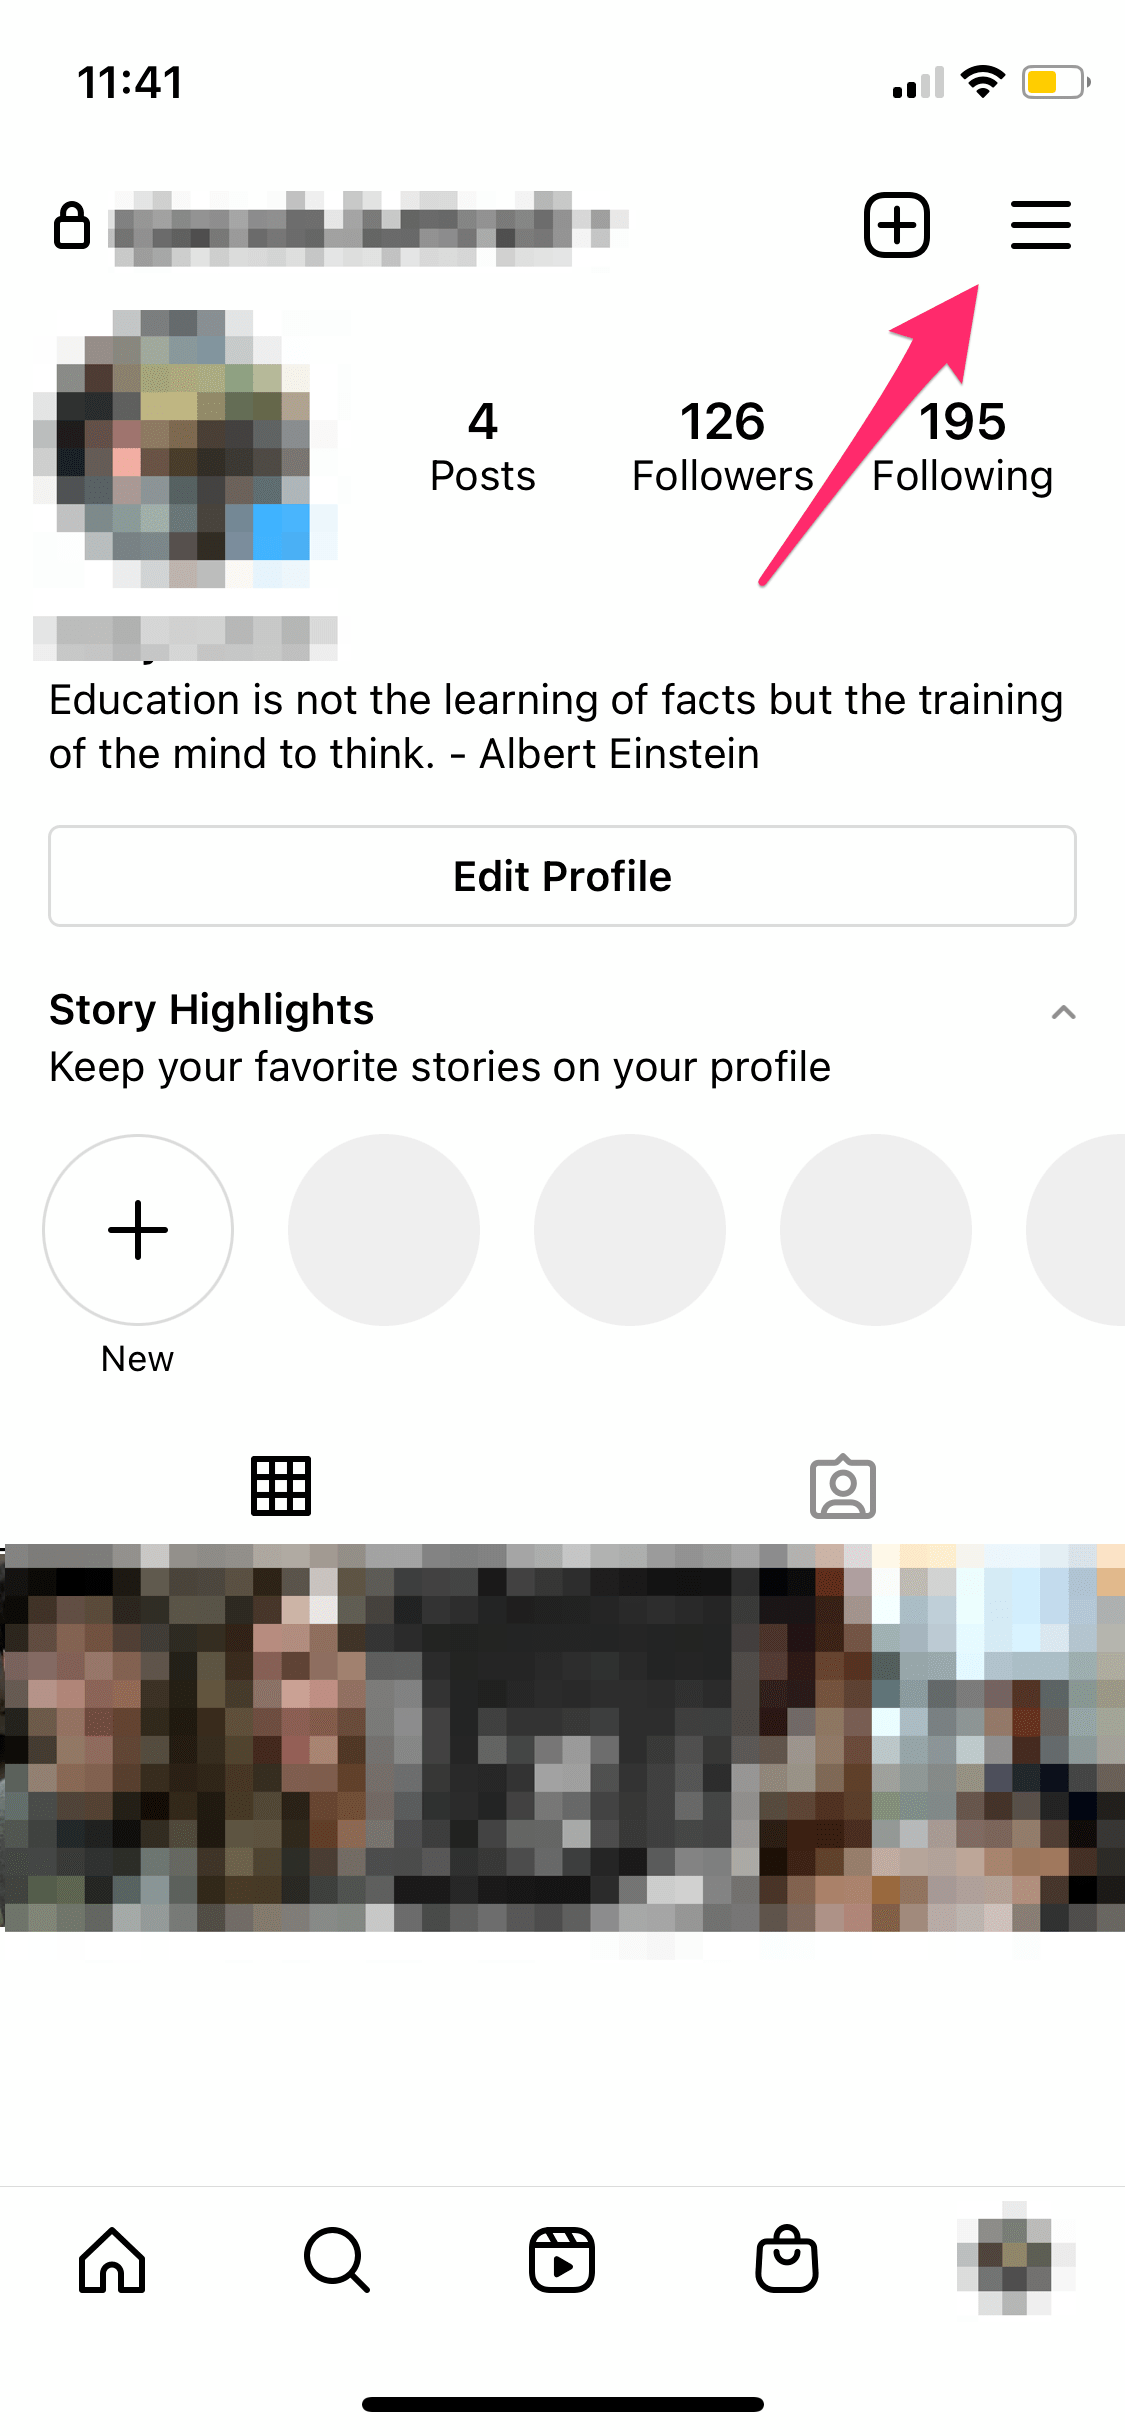
Go to your Instagram account settings by clicking on the 3 bars at the top of the screen. Look under "Privacy and Security" for "Linked Accounts".
Go to this subsection and synchronize your accounts.
To create a new tag, go to your page and tap on the field "What's new with you?" A window will open, at the bottom there will be additional publishing settings. Click on "Mark Visit".
Turn on Facebook geolocation when requested by the app. Enter the name of the settlement or infrastructure object in the search bar. If the program does not find it, then click "Add a new location".
Now select a category from those offered. Then we find the city and write the address or mark it on the map. You can simply put a mark "I'm here now", and the point on the map will be marked by the geolocation of the phone. Check that the fields are filled in correctly and click "Create".
Now go back to Instagram and click on the plus sign to create a new post. Make the necessary settings and click "Next". Then we find the newly created point on the map in the list of available locations and add it to the new publication.
That's it. Already existing posts can be marked with a geotag, and not just recent publications. To do this, you need to open the post and go to editing.
If you followed the steps above, you should get a new map tag that you can add to your Instagram posts. If something does not work, then check the following parameters:
If you have configured everything correctly, then just try again to set the label. I'm sure you will succeed.
If you want to mark your location, then there are 2 options for the development of events: you quickly find this point among the available Instagram data or create a place yourself through the social network Facebook. The second way is more difficult, but you will be able to pinpoint and indicate where you are now in order to tell your subscribers about this place.
I hope everything worked out for you. And if you have any questions, write them in the comments. Subscribe to iklife.ru blog updates and get useful and up-to-date news about social networks and remote work on the Internet.
All the best, friends.
Subscribe to site news
If you want to be the first to be notified about the release of new articles, cases, reports on investments, earnings, creation of profitable projects on the Internet, then be sure to subscribe to the newsletter and social networks!
Share!
Geolocation should be understood as a point that indicates the location of a particular object.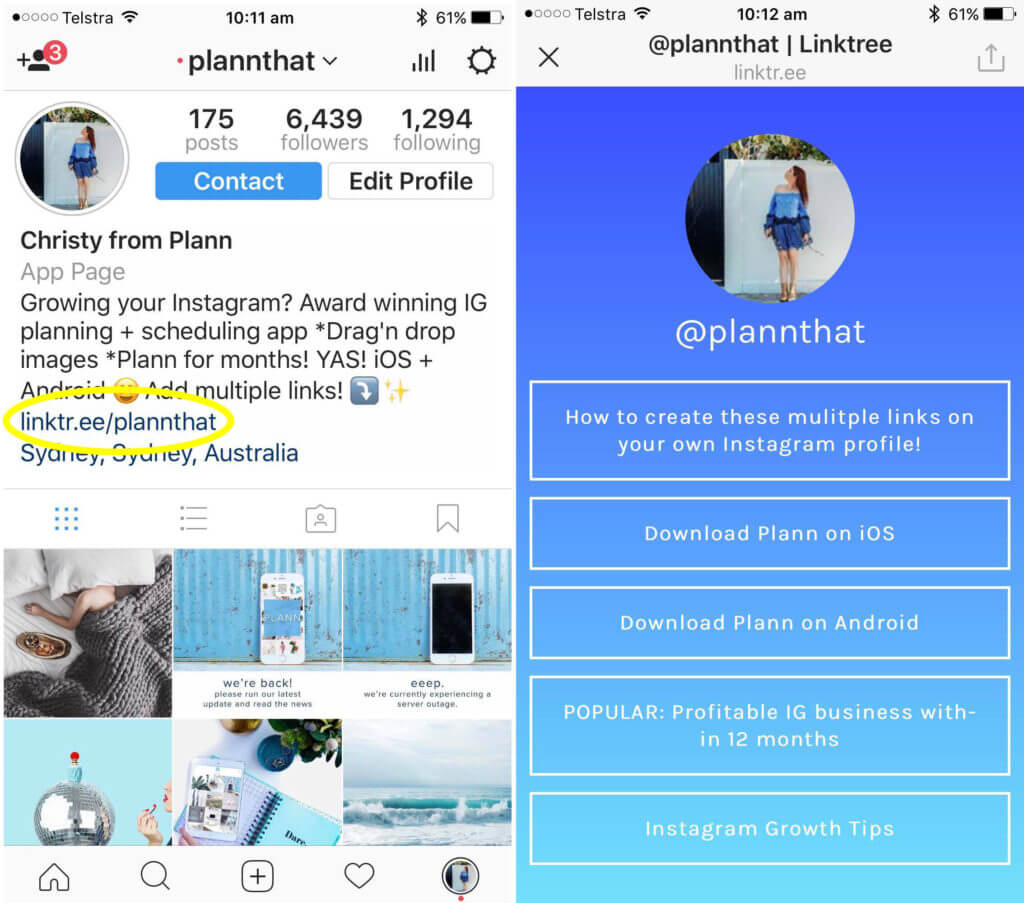 A car in a traffic jam, a place of an appointed rest, a place where your lost cat was last seen, and much more can act as such a point. Geolocation can be used to bind a certain place to it - a store, cafe, beauty salon, fitness club, and so on, and then use this place in profile description or in posts. Thanks to this, customers will be able to quickly find the location of your points of sale.
In this article, we will look at how to create a geolocation on Instagram, add a location and specify a geotag when publishing a post.
Program for promotion on Instagram - SocialKit:
Registration >>>
From the user's point of view, setting a geolocation in a post is an opportunity, no matter how trite it may be, to mark your location. Place of work, restaurant, popular resort and much more.
You can also use geolocation to promote your business. In addition to using a geotag in your profile, you can post using the most popular ones in your city. In addition, you can collect the target audience by geolocations located in close proximity to your points of sale using the SocialKit program, and then launch a mass subscription using the collected audience .
Each user has the ability to create their own point and attach it to the post. For example, you visited a beautiful place and marked it with geodata. This place can be seen by any Instagram user. In addition to the fact that a person will be able to see the name of the place / address, he will be able to open a map where, with the help of a guide, a route to this place will be built. This option is useful not only for commercial enterprises, but also for those who travel a lot and blog on Instagram.
Who must use this Instagram feature?
It has already been mentioned earlier that geolocation is of particular importance for those who are promoting their company. Thus, you will not only advertise your business, but you will also be able to find it in the "Where are you" column. The recognition of the institution due to geolocation will increase significantly, and people who are or live nearby will definitely find out about this place.
The process of creating a new geolocation is quite simple, but it is not carried out in Instagram itself. Since Instagram is owned by Facebook, adding space happens when you create a Facebook business page for the subsequent transition to an Instagram business profile.
If it was previously created by someone else, then you can safely use this geodata. To create a geolocation, it is best to use the phone, but there are applications that are adapted for PC.
After you have downloaded the application, you need to register a new profile or log in if you have already registered.
Next, create a business page for the company.
Enter the exact address in the information section.
This completes all the steps. The point on the map has been created, the place has been added. Now you can attach the created place in two social networks to any of your publications.
If your phone cannot detect your geopoint, then the reason is either in the smartphone settings or in the geosensor. Rebooting the device and checking the internet connection may help. If this does not help, then most likely the reason is in the smartphone settings. You must ensure that location detection is enabled, as it is mandatory.
To enable the function in question, you need to go to the phone settings. We find "Personal data" and open "Location" there. Here you need to move the slider to enable this feature. Everything is quite simple. The location is now turned on and you can see the apps that collect your location.