Tired of posting on Instagram from your phone? Wondering how to post on Instagram from your PC or Mac instead?
You’ve come to the right place. Posting on Instagram from your desktop can save you time and offer more flexibility in what you can upload (such as edited videos and images).
And you can do it without having to upload them onto your phone first.
Below we’ve outlined three different ways to post on Instagram from your computer.
How to post on Instagram from your computer
Method 1: How to post on Instagram from your computer using Hootsuite
Method 2: How to post on Instagram from a PC or Mac
Method 3: How to post on Instagram from your computer using Creator Studio
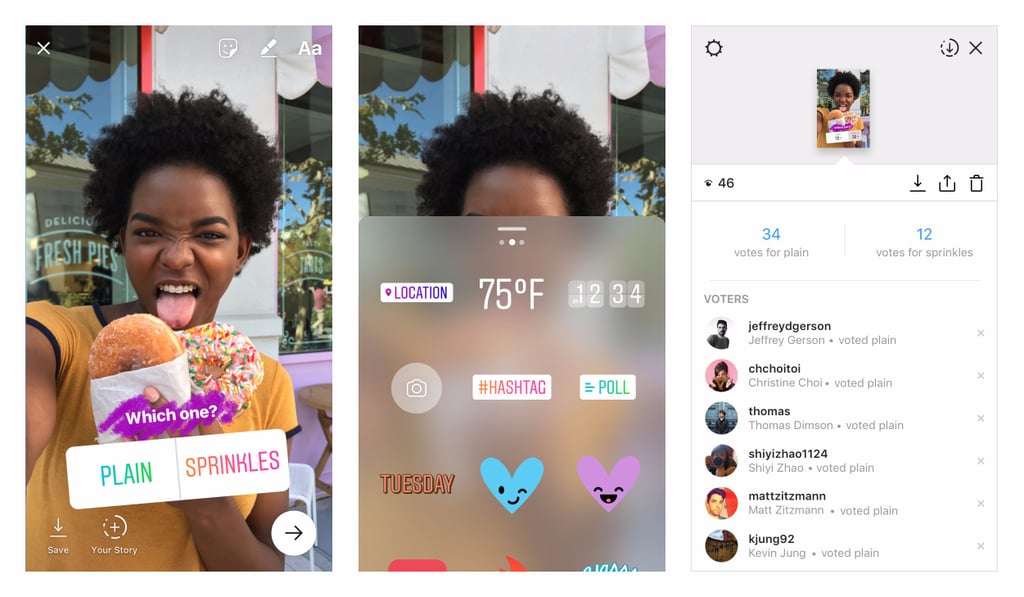
How to post an Instagram Story from desktop
How to post an Instagram carousel post from desktop
How to edit an Instagram post from desktop
Bonus: Download a free checklist that reveals the exact steps a fitness influencer used to grow from 0 to 600,000+ followers on Instagram with no budget and no expensive gear.
Below, you’ll find ways to post on Instagram from your PC or Mac. We’ll also show you how to post via Hootsuite which works on either operating system.
If you’re more of a visual learner, watch this video from our pals at Hootsuite Labs to see how easy it can be:
You can schedule feed posts, Stories, carousel posts, and Instagram ads with Hootsuite.
The instructions below will walk you through the process of posting to your Instagram feed. We cover Instagram Stories and carousels a little further down in this article.
To post on Instagram from a PC or Mac using Hootsuite, follow these steps:
 Alternatively, you can also Schedule for later if you want it to post at a different time.
 For a quick summary of how to post on Instagram from Hootsuite, watch this video:
Voila! Posting photos and videos to Instagram from PC or Mac is that easy.
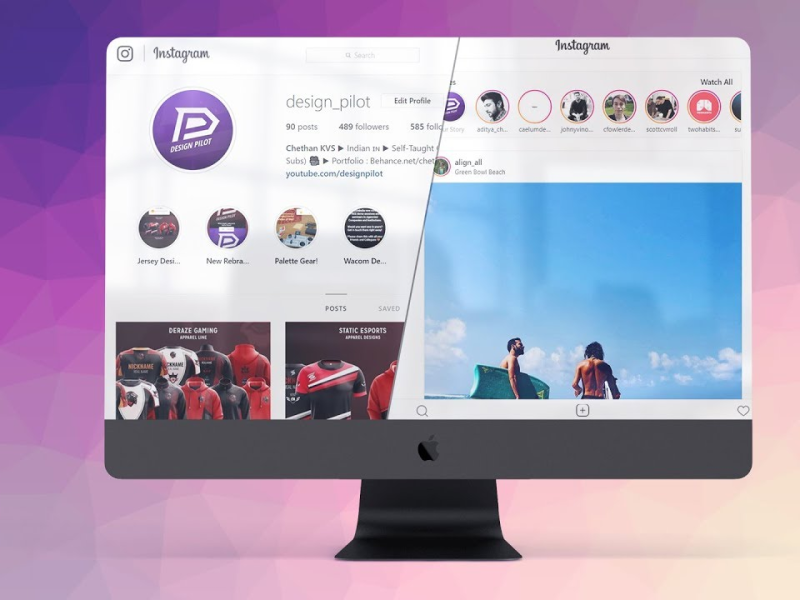
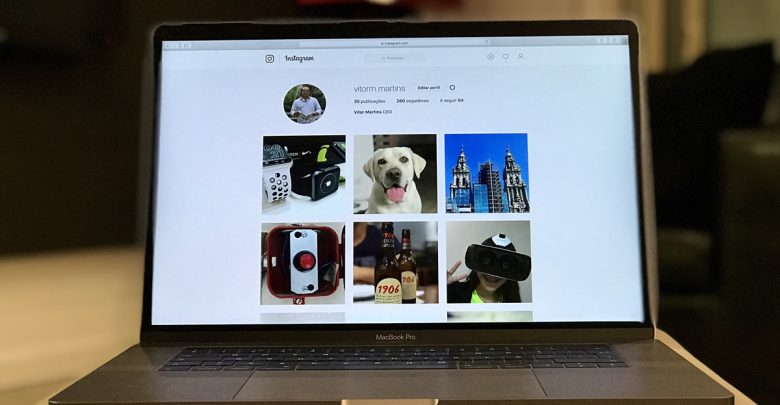
Method 2: How to post on Instagram from a PC or MacAs of October 2021, all Instagram users can create and publish feed posts from the browser version of the app.
To post on Instagram from your desktop computer (PC or Mac), follow these simple steps:
 A Create new post window will pop up.
And that’s it!
At the moment, only feed posts can be created and published directly from Instagram on desktop. Keep reading to find out how to post Instagram Stories from a PC or Mac computer.
If Instagram is your social network of choice and you don’t mind not having all your social networks in one dashboard, Creator Studio could be a good option for you.
Note that when using Creator Studio, you can post and schedule all types of posts other than Instagram Stories.
How to post on Instagram using Creator Studio:
You can post an Instagram Story from your computer using a third-party social media management tool like Hootsuite. Just follow the steps outlined in this short video:
Or, read our step-by-step article on how to post an Instagram Story from your computer.
If you don’t have Hootsuite, you can post an Instagram Story from your PC or Mac through the following steps:
You’re done! It’s practically the same steps as if you were using the Instagram app on a mobile device.
Growth = hacked.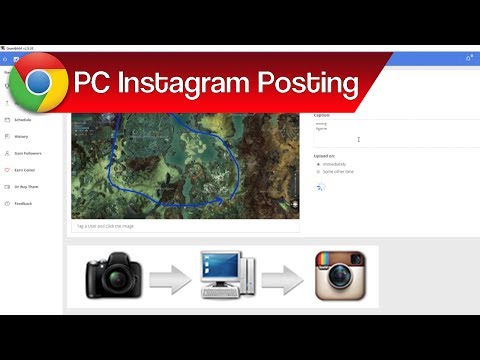
Schedule posts, talk to customers, and track your performance in one place. Grow your business faster with Hootsuite.
Free 30-Day Trial (risk-free!)
With Hootsuite, you can also create and easily publish carousel posts (with up to 10 images or videos) directly to Instagram. Here’s how.
1. Go to Planner and tap New post to launch Compose.
2. Select the Instagram account you want to publish to.
3. Include your caption in the Text box.
4. Go to Media and tap Select files to upload. Select all the images you want to include in your carousel. All selected images should appear under Media.
5. Use the yellow Schedule button to select a date and time to publish your post.
6. Tap Schedule. The post will show up in your Planner at the time you have scheduled it for.
That’s it! Your post will go live on the date and time you selected.
How to edit an Instagram post from desktopHootsuite Compose allows you to edit any image directly on your dashboard before you post it. Unfortunately, you won’t be able to edit the image once it’s posted.
Follow these steps to edit:
Voila! You just edited your image from your desktop.
Post to Instagram from your PC or Mac using Hootsuite. Save time, grow your audience, and measure your performance alongside all your other social channels. Try it free today.
Get Started
Easily publish and schedule Instagram posts from your computer with Hootsuite. Save time and get results.
Try it for Free
By Cat Ellis
last updated
(Image: © Shutterstock)
Learning how to post to Instagram from PC is a nifty little trick to master for those moments when you're desperate to share your latest adventures with your friends and family but find that your phone is completely out of juice.
If you have one of the best Windows laptops or the best computers, posting to Instagram from there can actually offer you more flexibility in terms of being able to easily upload edited images and videos. Plus, you can view everything on a much bigger screen, which can be really helpful depending on what content it is that you're wanting to share.
That being said, trying to post to Instagram from PC isn't the most straightforward of tasks by any stretch of the imagination. Still, it's definitely worth the hassle if you're someone who prefers to take picture-perfect snaps with one of the best DSLR cameras instead of a smartphone. There's no denying the cameras on the best phones have come a long way in recent years, but for the those of us who are photography fanatics, you can't beat holding a digital camera in your hands.
The good news is that for all you aspiring content creators out there or anyone who just wants a bit more freedom when it comes to posting to Instagram, we have all the tips and tricks you need to know below to help you figure out how to post to Instagram from PC. And all it takes is grabbing some free software!
1. Get Vivaldi
The super-customizable web browser Vivaldi offers the quickest and easiest way to post to Instagram from PC or Mac.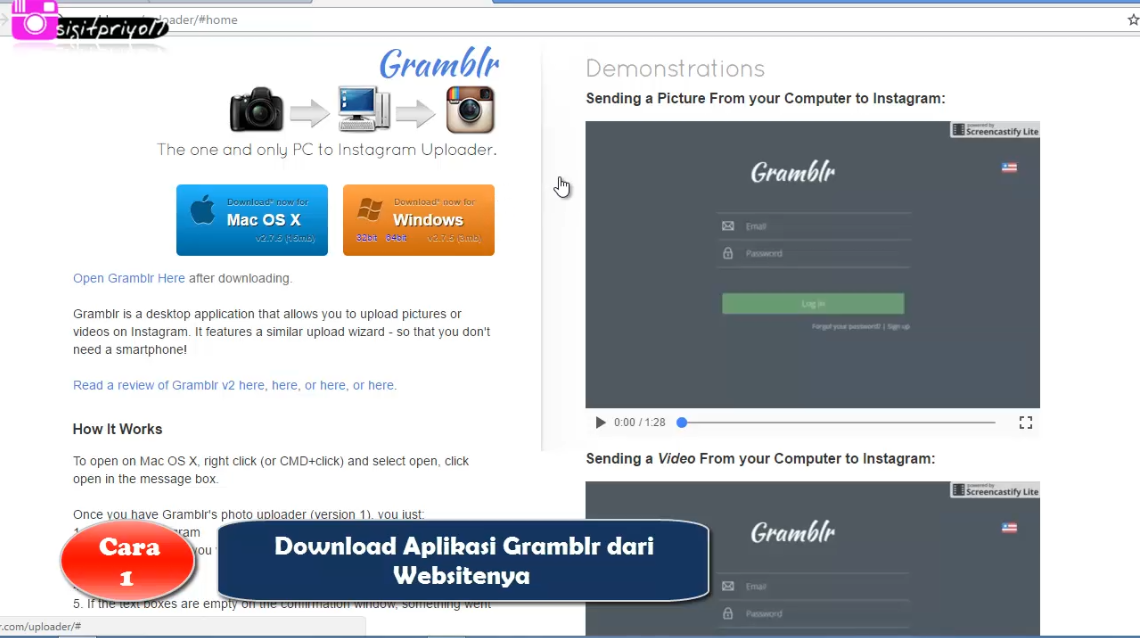 It does this by running the mobile version of Instagram's website in a web panel.
Download and install Vivaldi , then either run through the wizard to import bookmarks and set your preferences, or click 'Skip all' and continue with the browser's default settings.
Image credit: TechRadar2. Create a web panel
Navigate to www.instagram.com , then click the plus icon (Add Web Panel) on the left-hand side of the browser interface. The URL will be filled in automatically, so all you have to do is click the plus again.
The mobile version of Instagram will now appear in a sidebar on the left-hand side of the browser, and will stay there as you browse other sites. Log into your account, then resize the sidebar until the mobile site fits in comfortably.
Image credit: TechRadar3. Upload to Instagram
Click the plus icon at the bottom of the website to choose a photo from your PC or Mac, apply filters, add a caption and tags, and upload it to your account.
1. Get BlueStacks App Player
The Instagram app for Android is superb, and you can run it on your desktop using free Android emulator BlueStacks App Player, enabling you to post to Instagram from PC or Mac.
Download and install BlueStacks , then wait a few minutes while the engine starts for the first time. Dismiss the tutorial using the cross at the top right, make sure the correct language is selected and tap the arrow button.
Image credit: TechRadar2. Log into your Google account
Click ‘Continue’, then log in using your Google account. Review the terms of service and, if you agree, click ‘OK’.
The next checkboxes are completely optional; if you’re only using BlueStacks to upload to Instagram, feel free to uncheck them all. Click the Next arrow, then enter your name (it'll only be used to personalize some apps).
Image credit: TechRadar3. Install the Instagram app
You'll now see a version of the Google Play Store. Search for Instagram (the search bar is in the top right), select the official app when it appears and click Install. The app will request access to information including your contacts and location. If that's OK with you, click 'Accept'.
After a moment, the Instagram icon will appear under the My Apps tab. Click it once to launch it.
Image credit: TechRadar4. Upload, apply filters and share
BlueStacks will change to the size and shape of a vertically-oriented smartphone. Sign into your Instagram account with your usual details (the login link is at the bottom). Your Instagram feed will appear as it would on a phone.
Click the plus icon at the bottom, then select 'Gallery'. Click the 'Gallery' drop-down menu at the top left and select 'Other', then click 'Pick from Windows'. Find the photo you want to upload, select it and click 'Open'.
You can now crop the picture, add filters and a caption, and share it with your followers via all the usual social networks.
Cat is the editor of TechRadar's sister site Advnture. She’s a UK Athletics qualified run leader, and in her spare time enjoys nothing more than lacing up her shoes and hitting the roads and trails (the muddier, the better)
June 12, 2020LikbezTekhnologii
The desktop site of the social network does not allow posting. But there are workarounds.
Share
0You can open the mobile version of the Instagram* website on your computer and create stories and posts there, much like the official app. How to do this - we show on the example of Chrome, but in most other browsers the steps will be similar.
Go to the Instagram* website and log in to your account.
Open developer tools. To do this, press Shift + Ctrl + I or right-click on the page and select View Code (or a line with a similar name).
On the toolbar that opens, find the icon with a schematic representation of multiple monitors or mobile devices and click on it. If you can't find it, press Shift + Ctrl + M. One way or another, the browser should launch the site in mobile mode.
Customize the size of the Instagram* interface that is convenient for you using the buttons above the site window.
Refresh the page. After that, a publish button will appear and you can use the social network on a PC in the same way as on a smartphone.
Last year, Facebook* launched a dedicated Creator Studio section. It allows you to publish and even schedule posts on Instagram*. You can't create stories yet.
To work with Creator Studio, you need to switch your Instagram* account to a professional one (creator profile or business account). To do this, go to the settings of the Instagram* mobile app, select "Account" → "Switch to a professional account" and follow the prompts. The procedure will take you a couple of minutes. If you don’t like something, you can return to the usual account type at any time.
In addition, you must link your profile to a Facebook page*. To do this, click the Edit (iOS) or Edit Profile (Android) button on your account page in the Instagram* app. Select "Page" and connect your new Facebook* page using system prompts.
Now open Creator Studio on your computer browser, select the Instagram* icon at the top and log in with your account.
To make a post, on the left panel, click the Create a post button and select Instagram* Feed. Add a photo or video using the Add Content button.
Click the arrow next to Publish and select the appropriate option: Publish Now (publish now) or Plan (schedule). In the second case, you can specify the time at which the service will publish the post automatically.
Emulators are special programs that allow you to run any Android application directly on your computer. By launching the official Instagram* mobile client this way, you can easily publish Stories and posts. You don't need an Android device for this.
Install any free emulator from Lifehacker's selection for Windows, Linux and macOS. In the screenshot example, you can see a window with the NoxPlayer interface.
Launch the emulator and enter the Google Play app store through it by clicking on the corresponding icon. Connect your old or create a new Google account to be able to download Android apps.
Download Instagram* from Google Play directly in the emulator and log into your profile. After that, you can publish videos and pictures from your computer as if you were using the social network on your smartphone.
See also
 Here's how to do it
 *Meta Platforms Inc. activity. and its social networks Facebook and Instagram are prohibited in the territory of the Russian Federation.
Unfortunately, you can't just open the Instagram website in your browser and post a photo through it. This is because the application is closed source: the system must detect the camera and touch screen in order to allow the publication. This condition greatly complicates the download of photos from a computer. But there are several ways to get around it.
Here is the easiest way: it does not require installation of additional programs and applications. We describe how to post a photo through the Chrome browser.
1. Go to the Instagram website and log in to your profile.
2. Press the key combination Ctrl+Shift+I . With this action, you will call the developer console. Another way to call the console is to right-click anywhere on the page and select View Element Code or View Code in the window that appears.
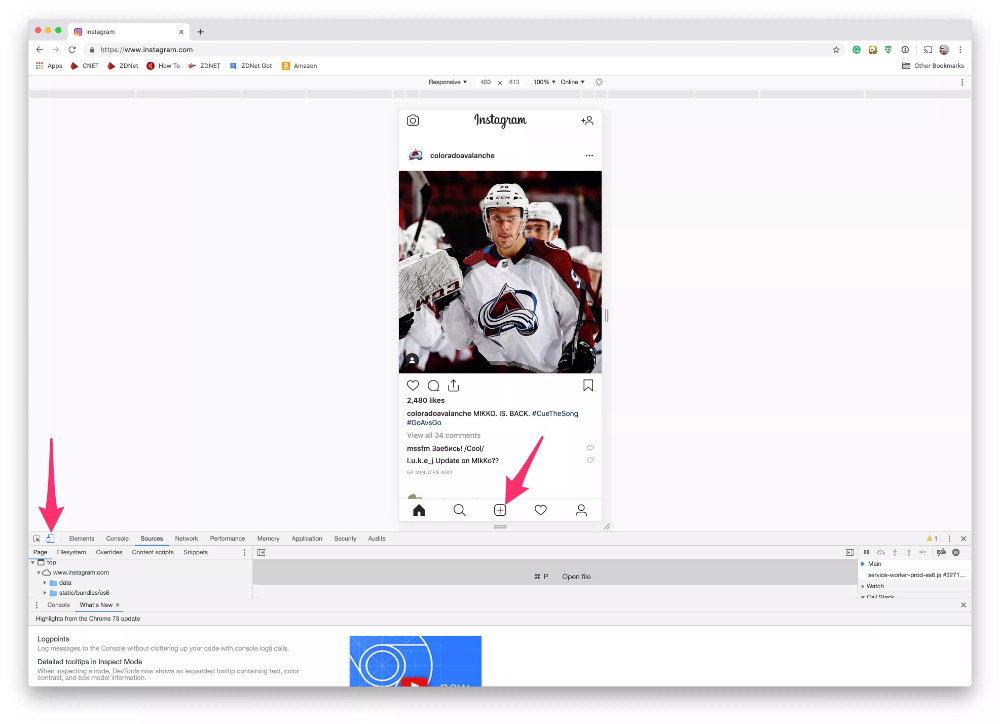
3. Look for the icon , which is indicated by the arrow in the picture below. Clicking on it will turn on the smartphone screen simulation mode. In the settings above the "screen" you can select the type of device that you want to simulate.
4. Reload the page. After that, a button for adding a photo will appear at the bottom of the screen. By clicking on it, you can open a window with computer media files. Select the desired photo and upload it as you would normally do on a smartphone. Mission accomplished!
The second method is more reliable, but also more laborious. For it you need to install additional software: emulator Nox Player or BlueStacks .
1. Install Nox Player. The easiest way is to download it from the official resource.
2. After installing , enter the Play Market . The app will ask you to sign in to your Google account. Find the Instagram app in the store and install it.
3. Place the photos you want to publish in the folder C:\Users\your username\Nox_share\Image .
4. Go to the installed Instagram application, log in to your account. The steps for publishing must be the same as in the mobile version. The only difference is that the photos will be located at: Gallery –> Others –> Internal memory of the device.
1. Install the emulator.
2. Also install Instagram from Play Market.
3. Click on the icon shown below in the photo. In the window that appears, select the desired photo.
4. Next, the program will ask which application to use to launch, select Instagram. And publish photos according to an already known scheme.